BETTER THAN GELLI

My kitchen table has been the craft madness “arting” hub for the past two months, and I’ll be maintaining this momentum, seizing every waking moment until my gardening season resumes in a few weeks.

Now, read this……

Move over, gelli plate printing, you’ve got competition!

Yes folks, you’ve read that correctly.  I’ve got a gelli plate printing alternative that won’t disappoint, and I’m sharing that with you right now.

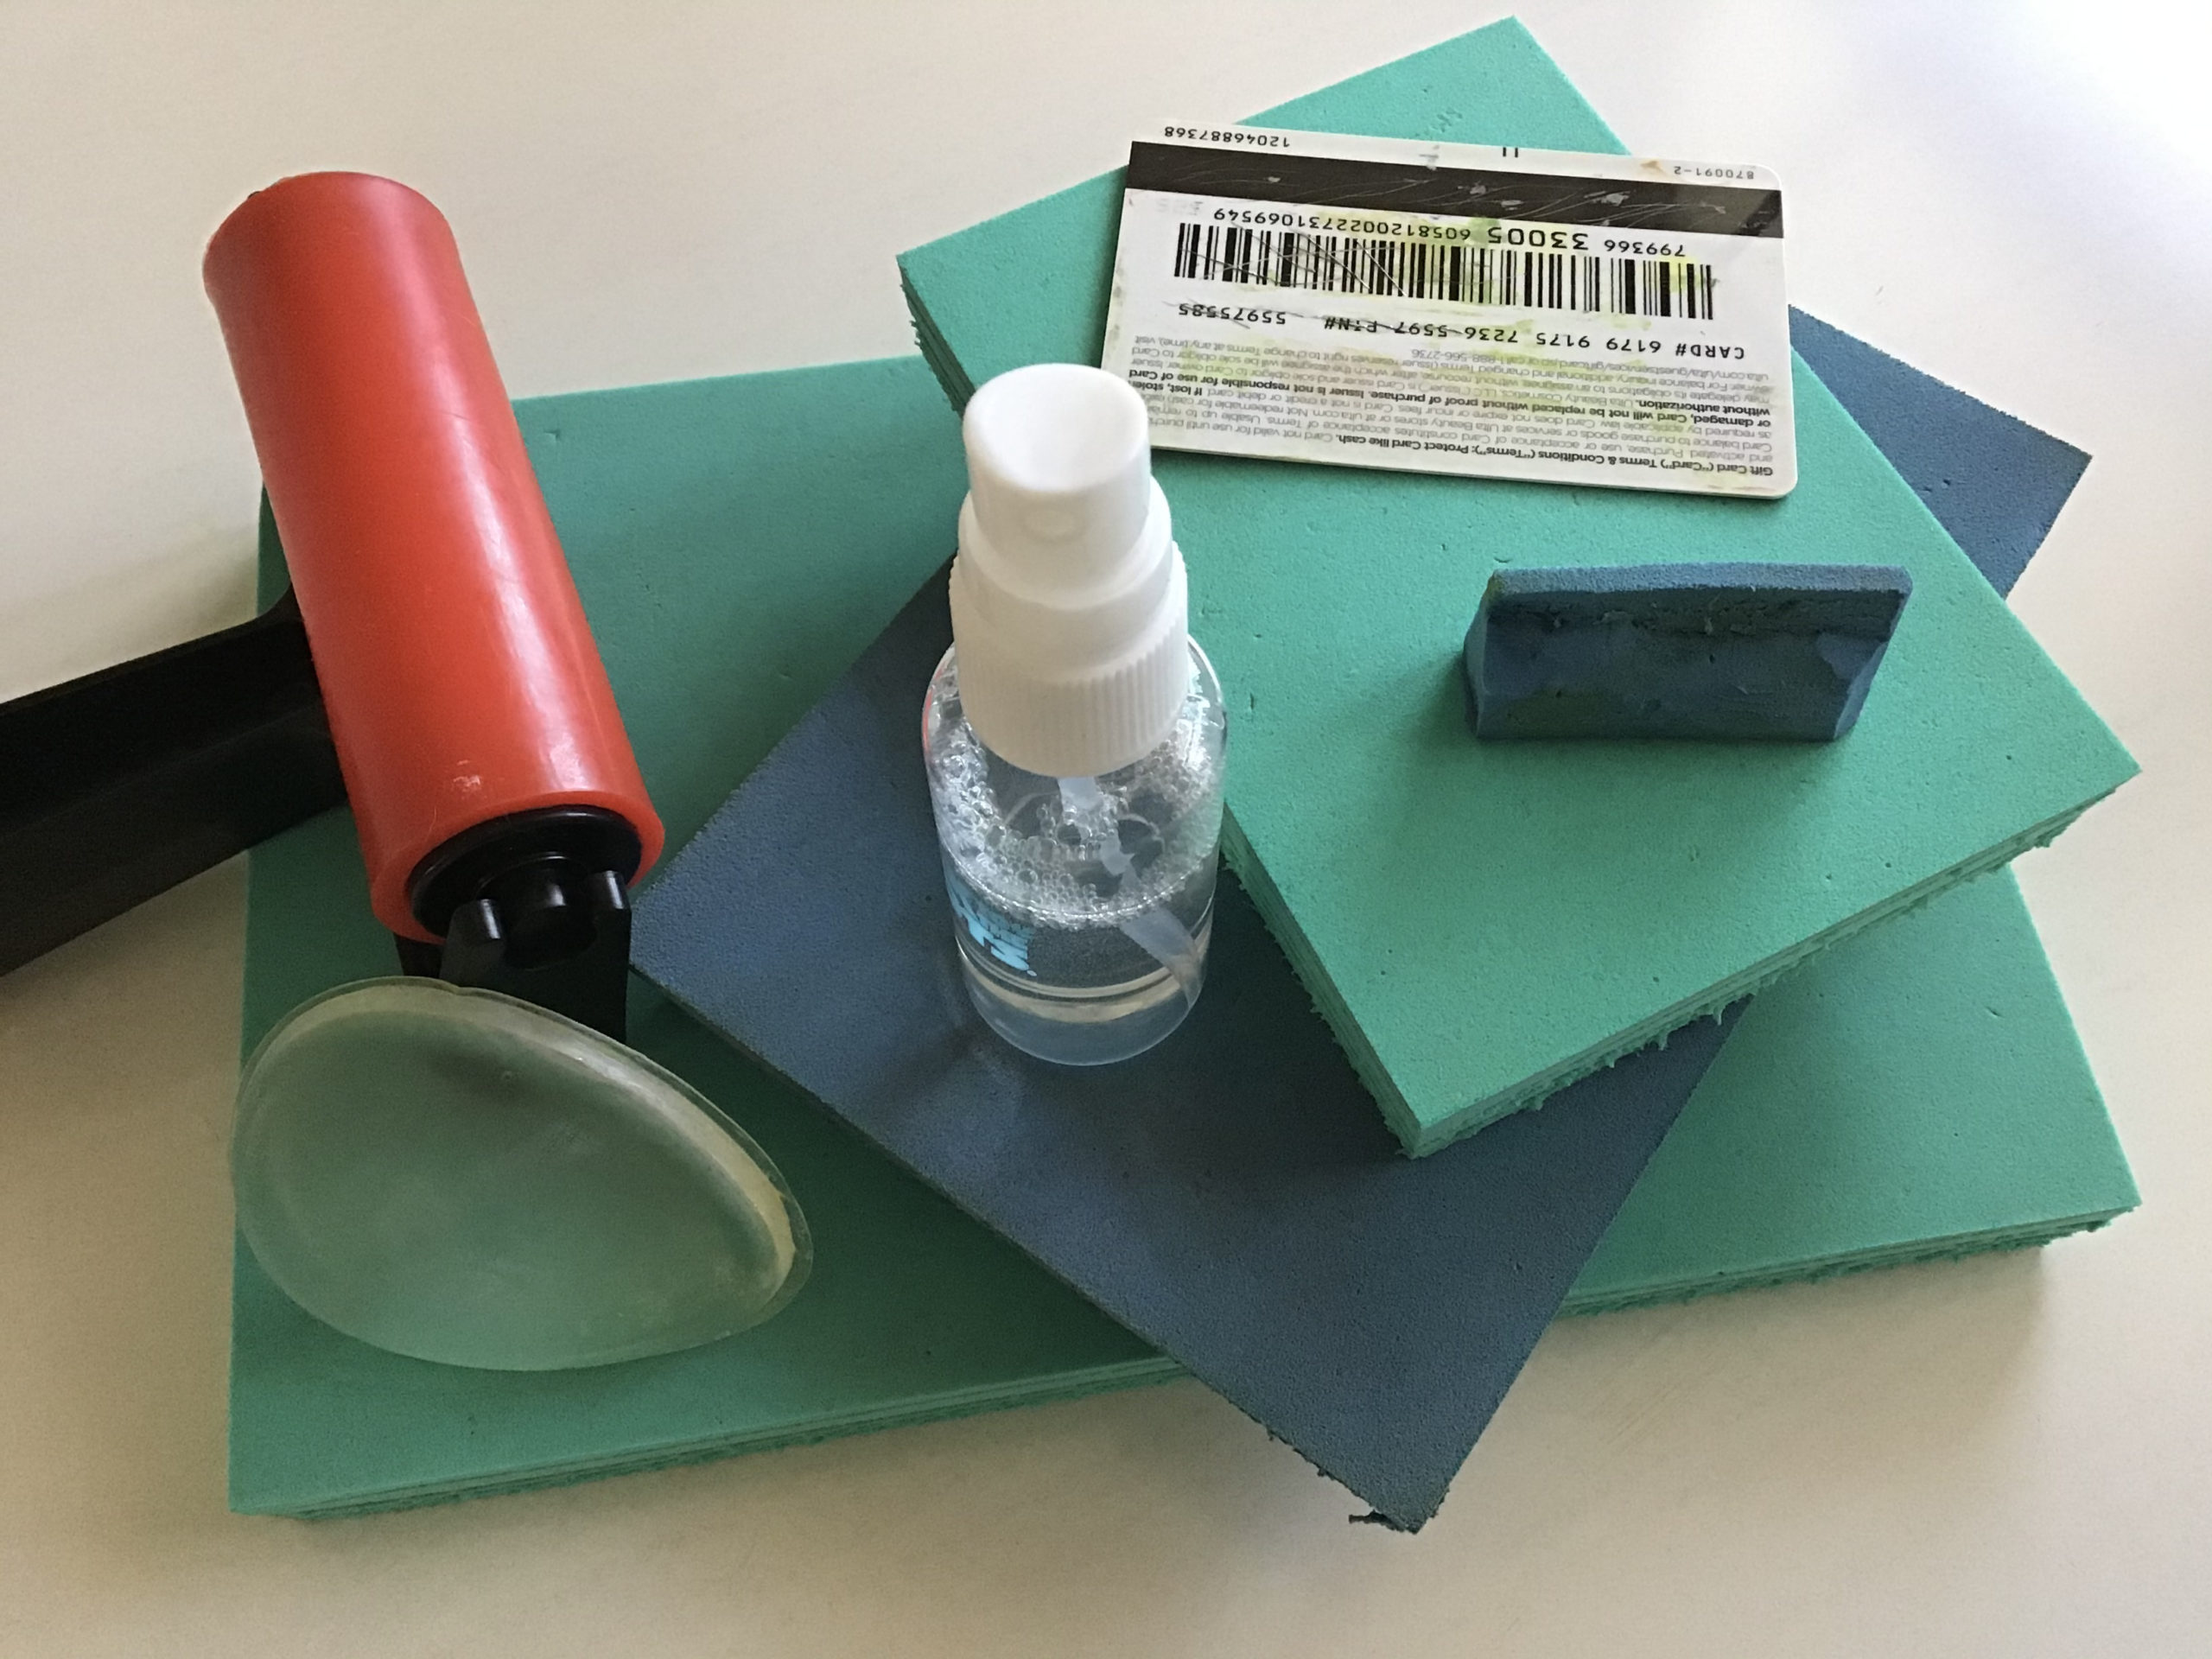
Here’s what you need –

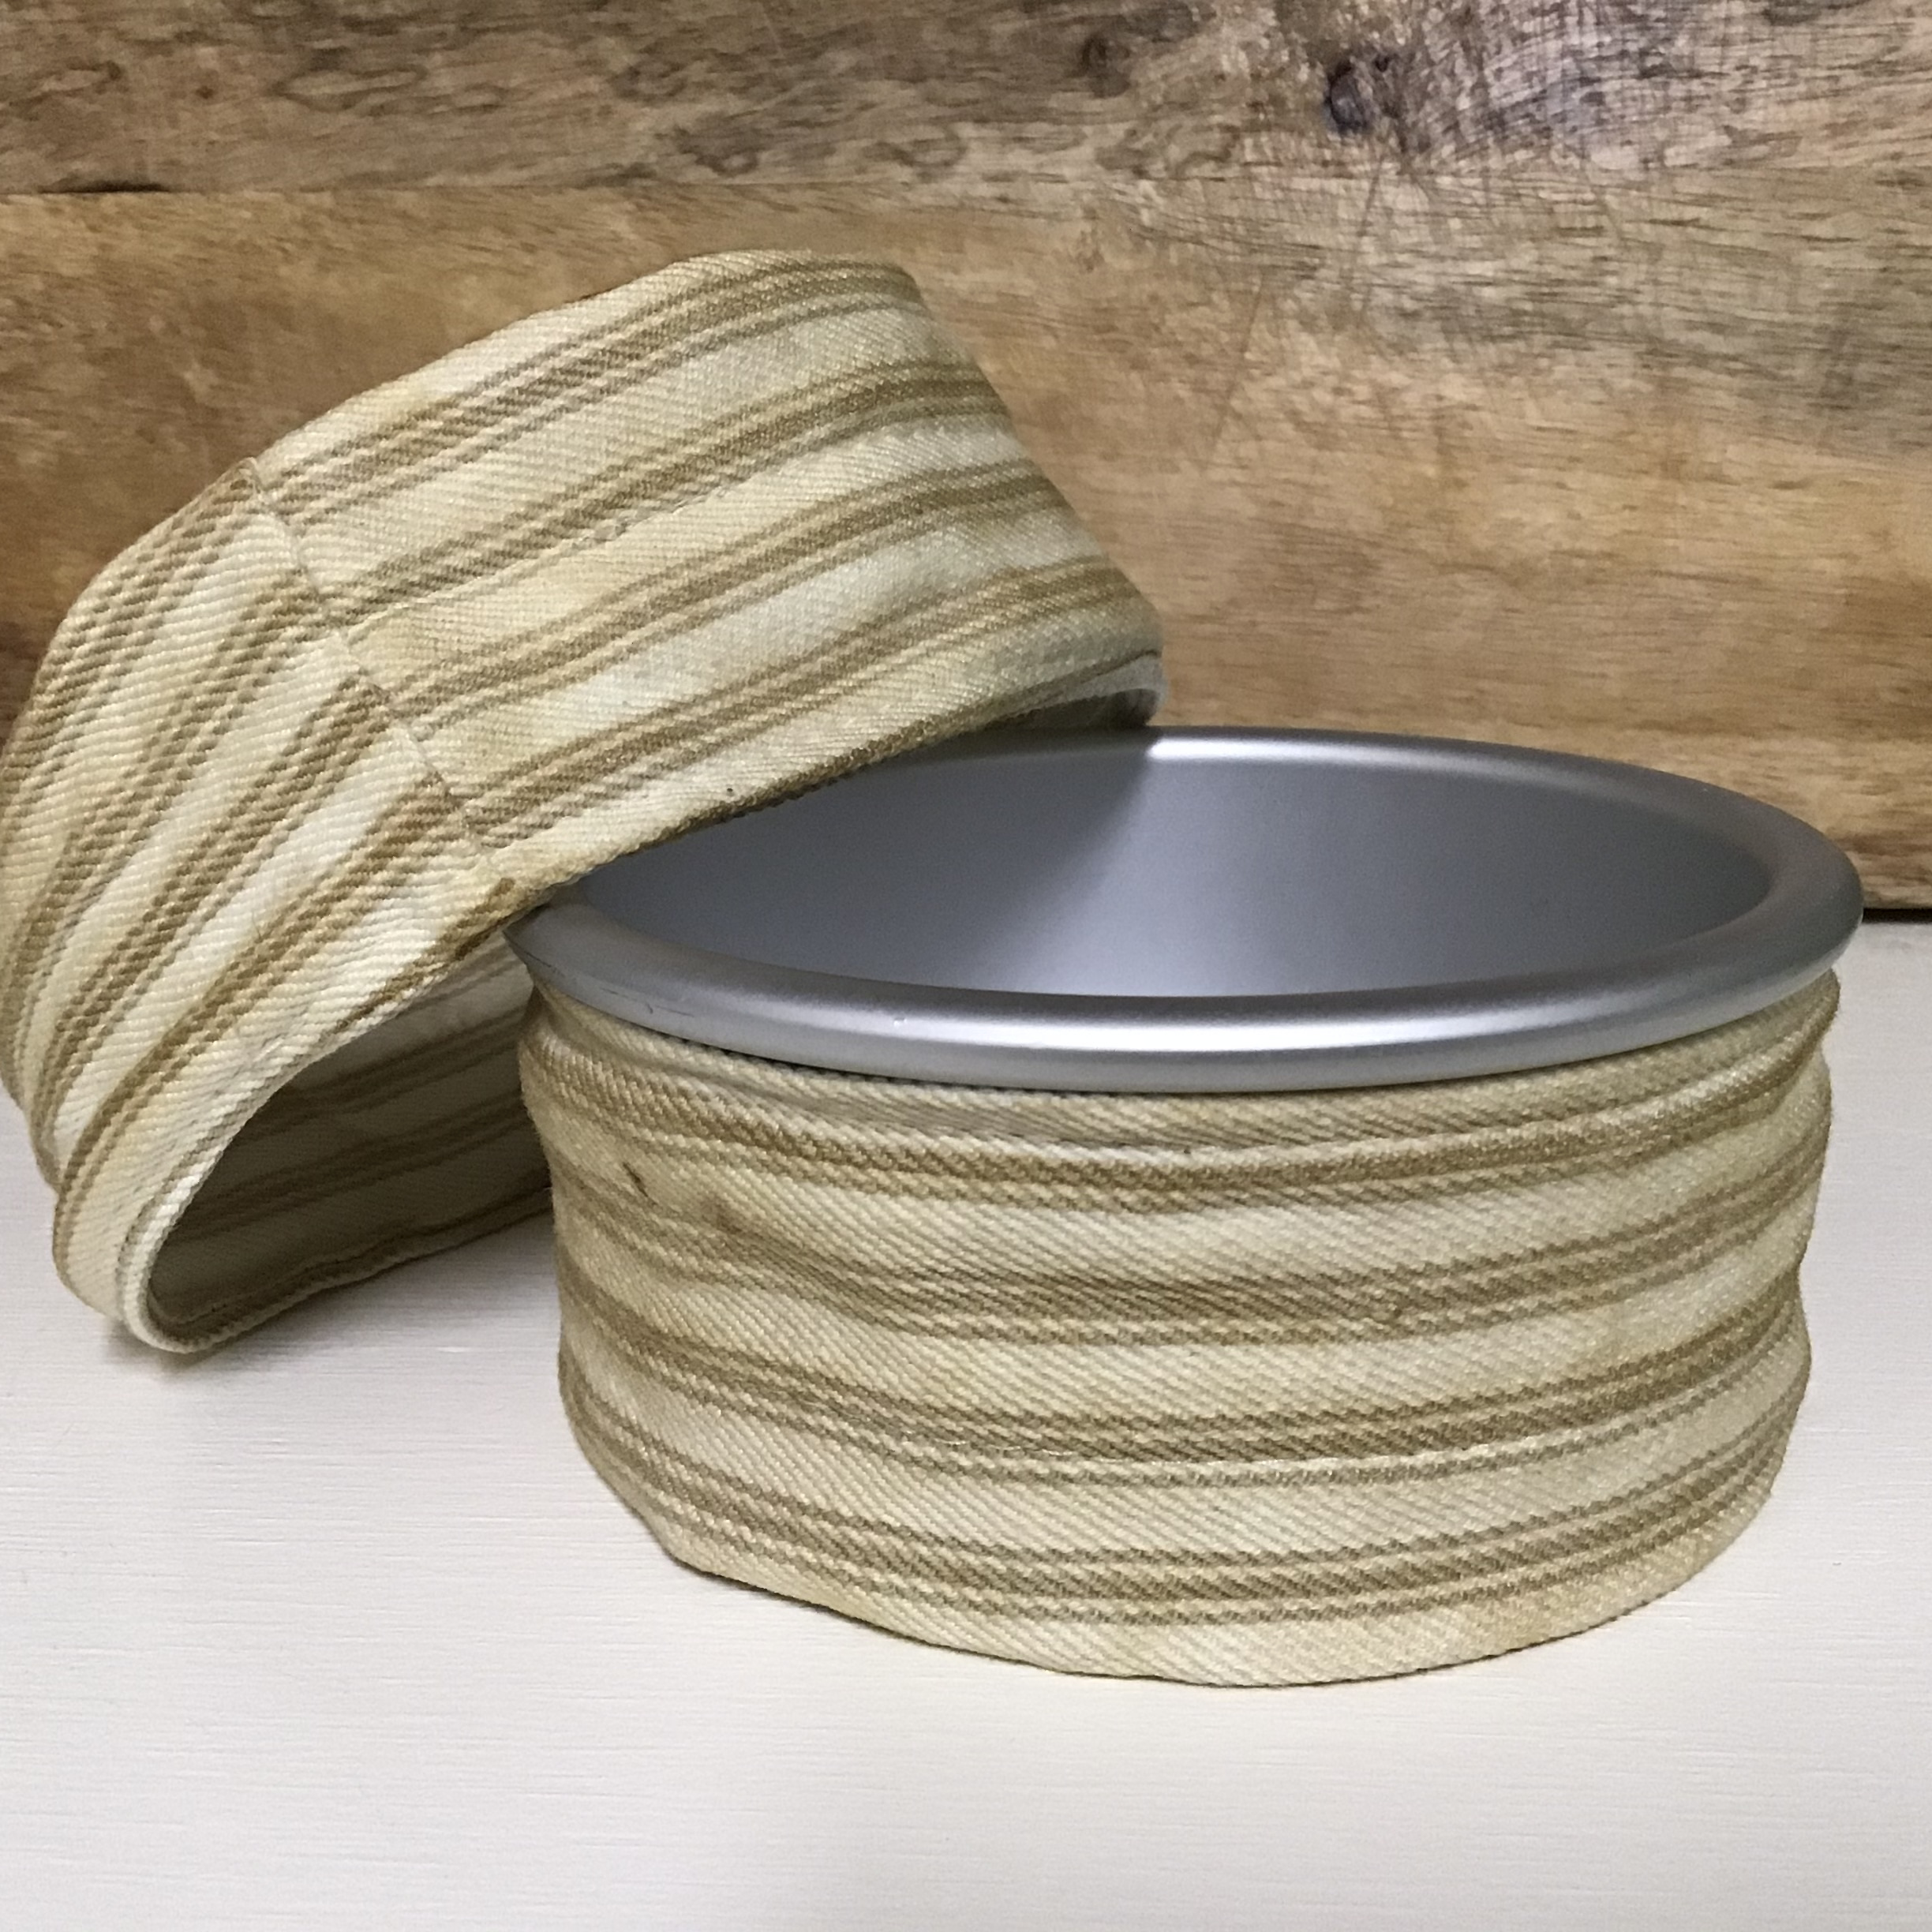
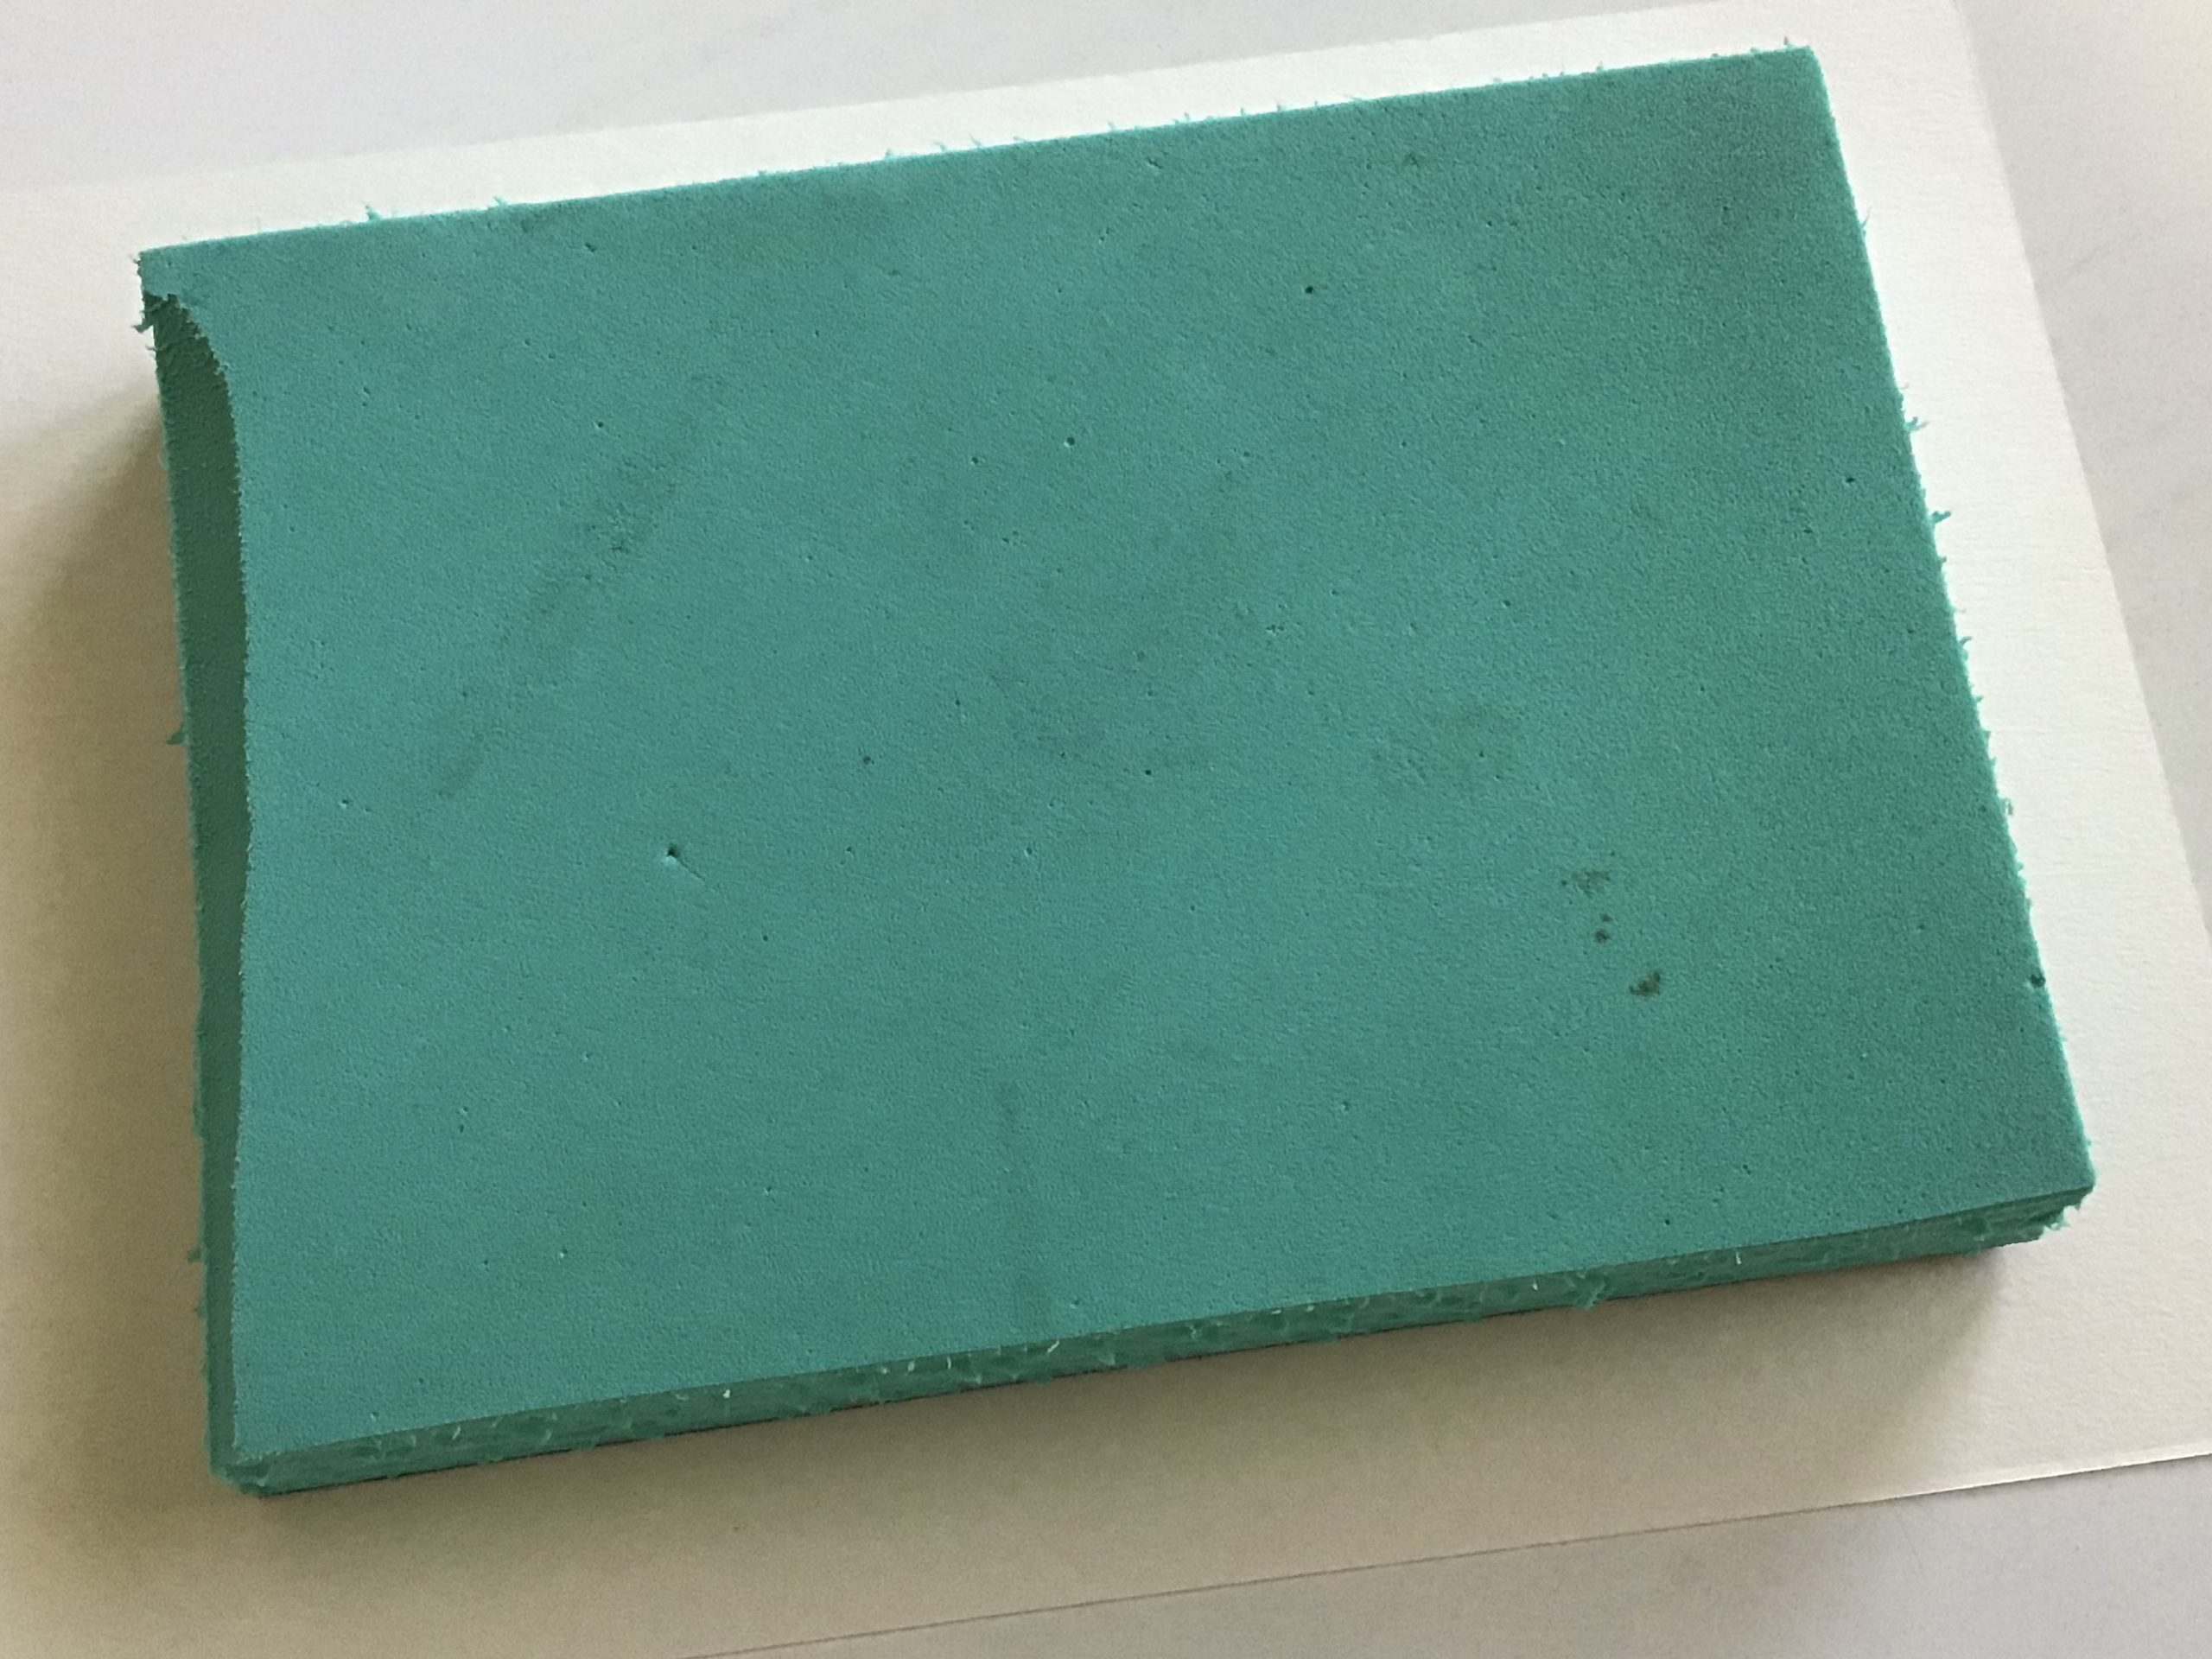
  • smooth garden kneeling pad(No, you can’t use kid’s craft foam or a squishy yoga mat!)
  • liquid glycerin(mix 50/50 with water)
  • old credit/gift card
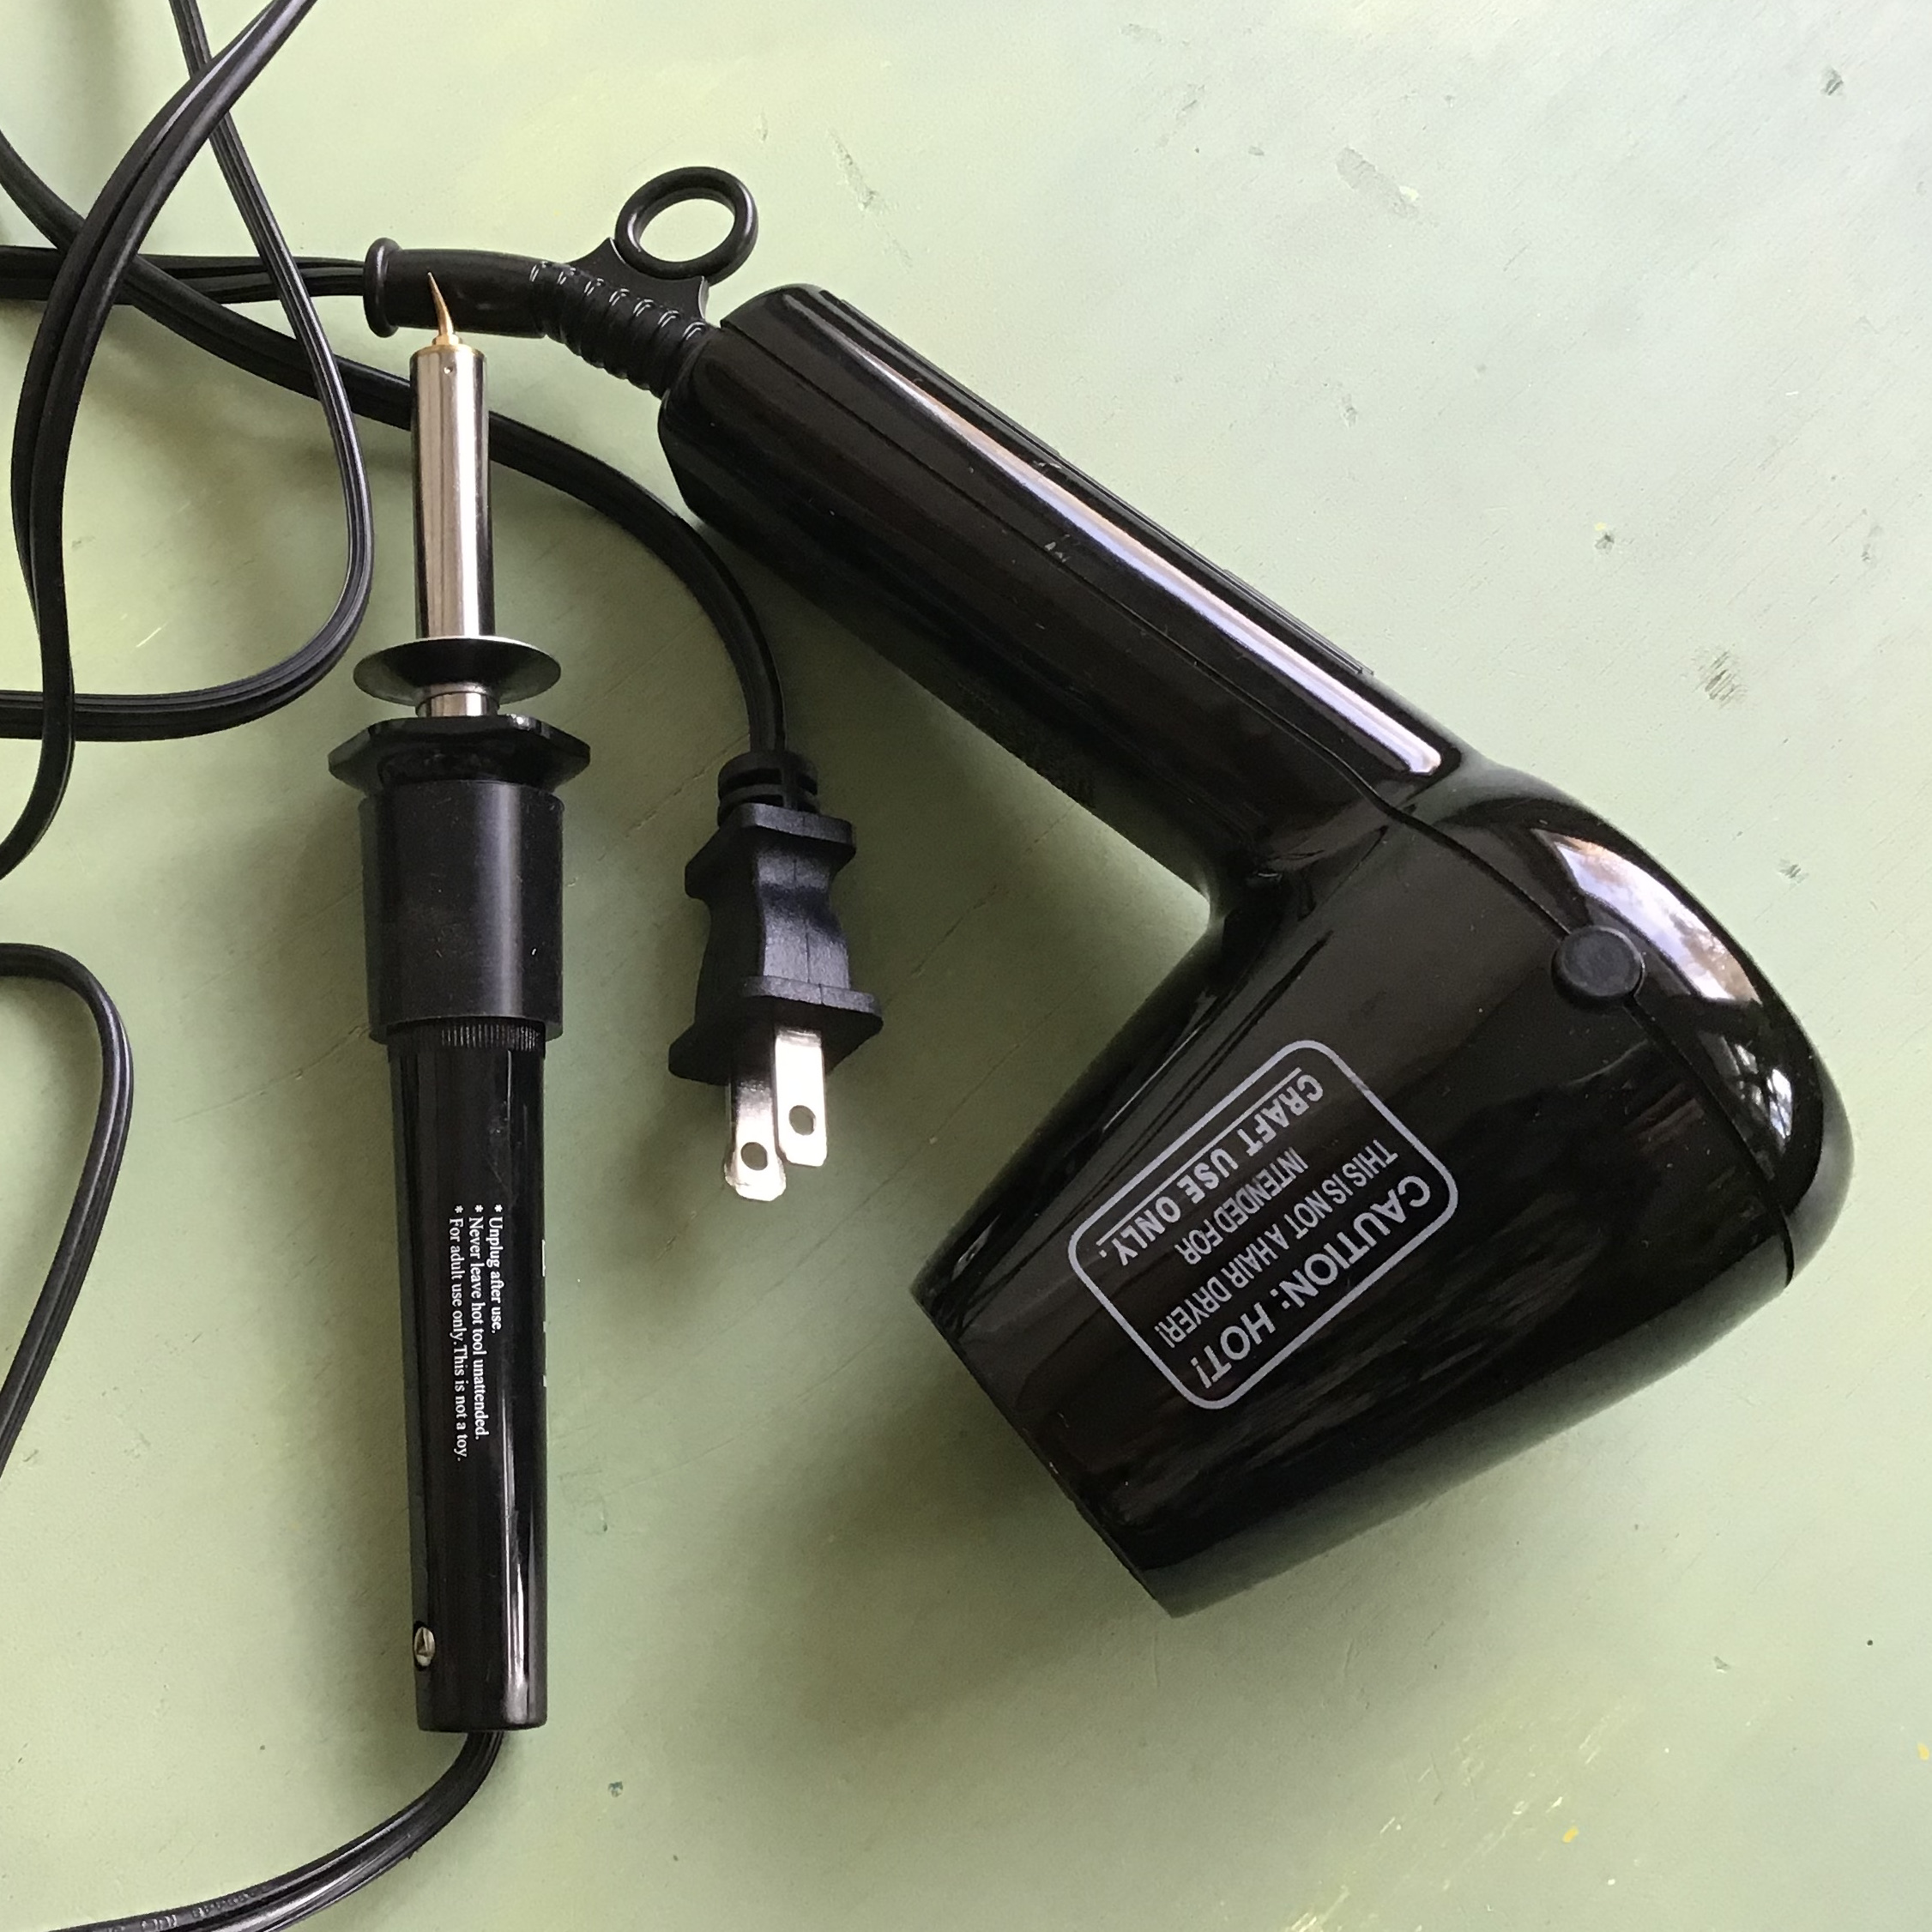
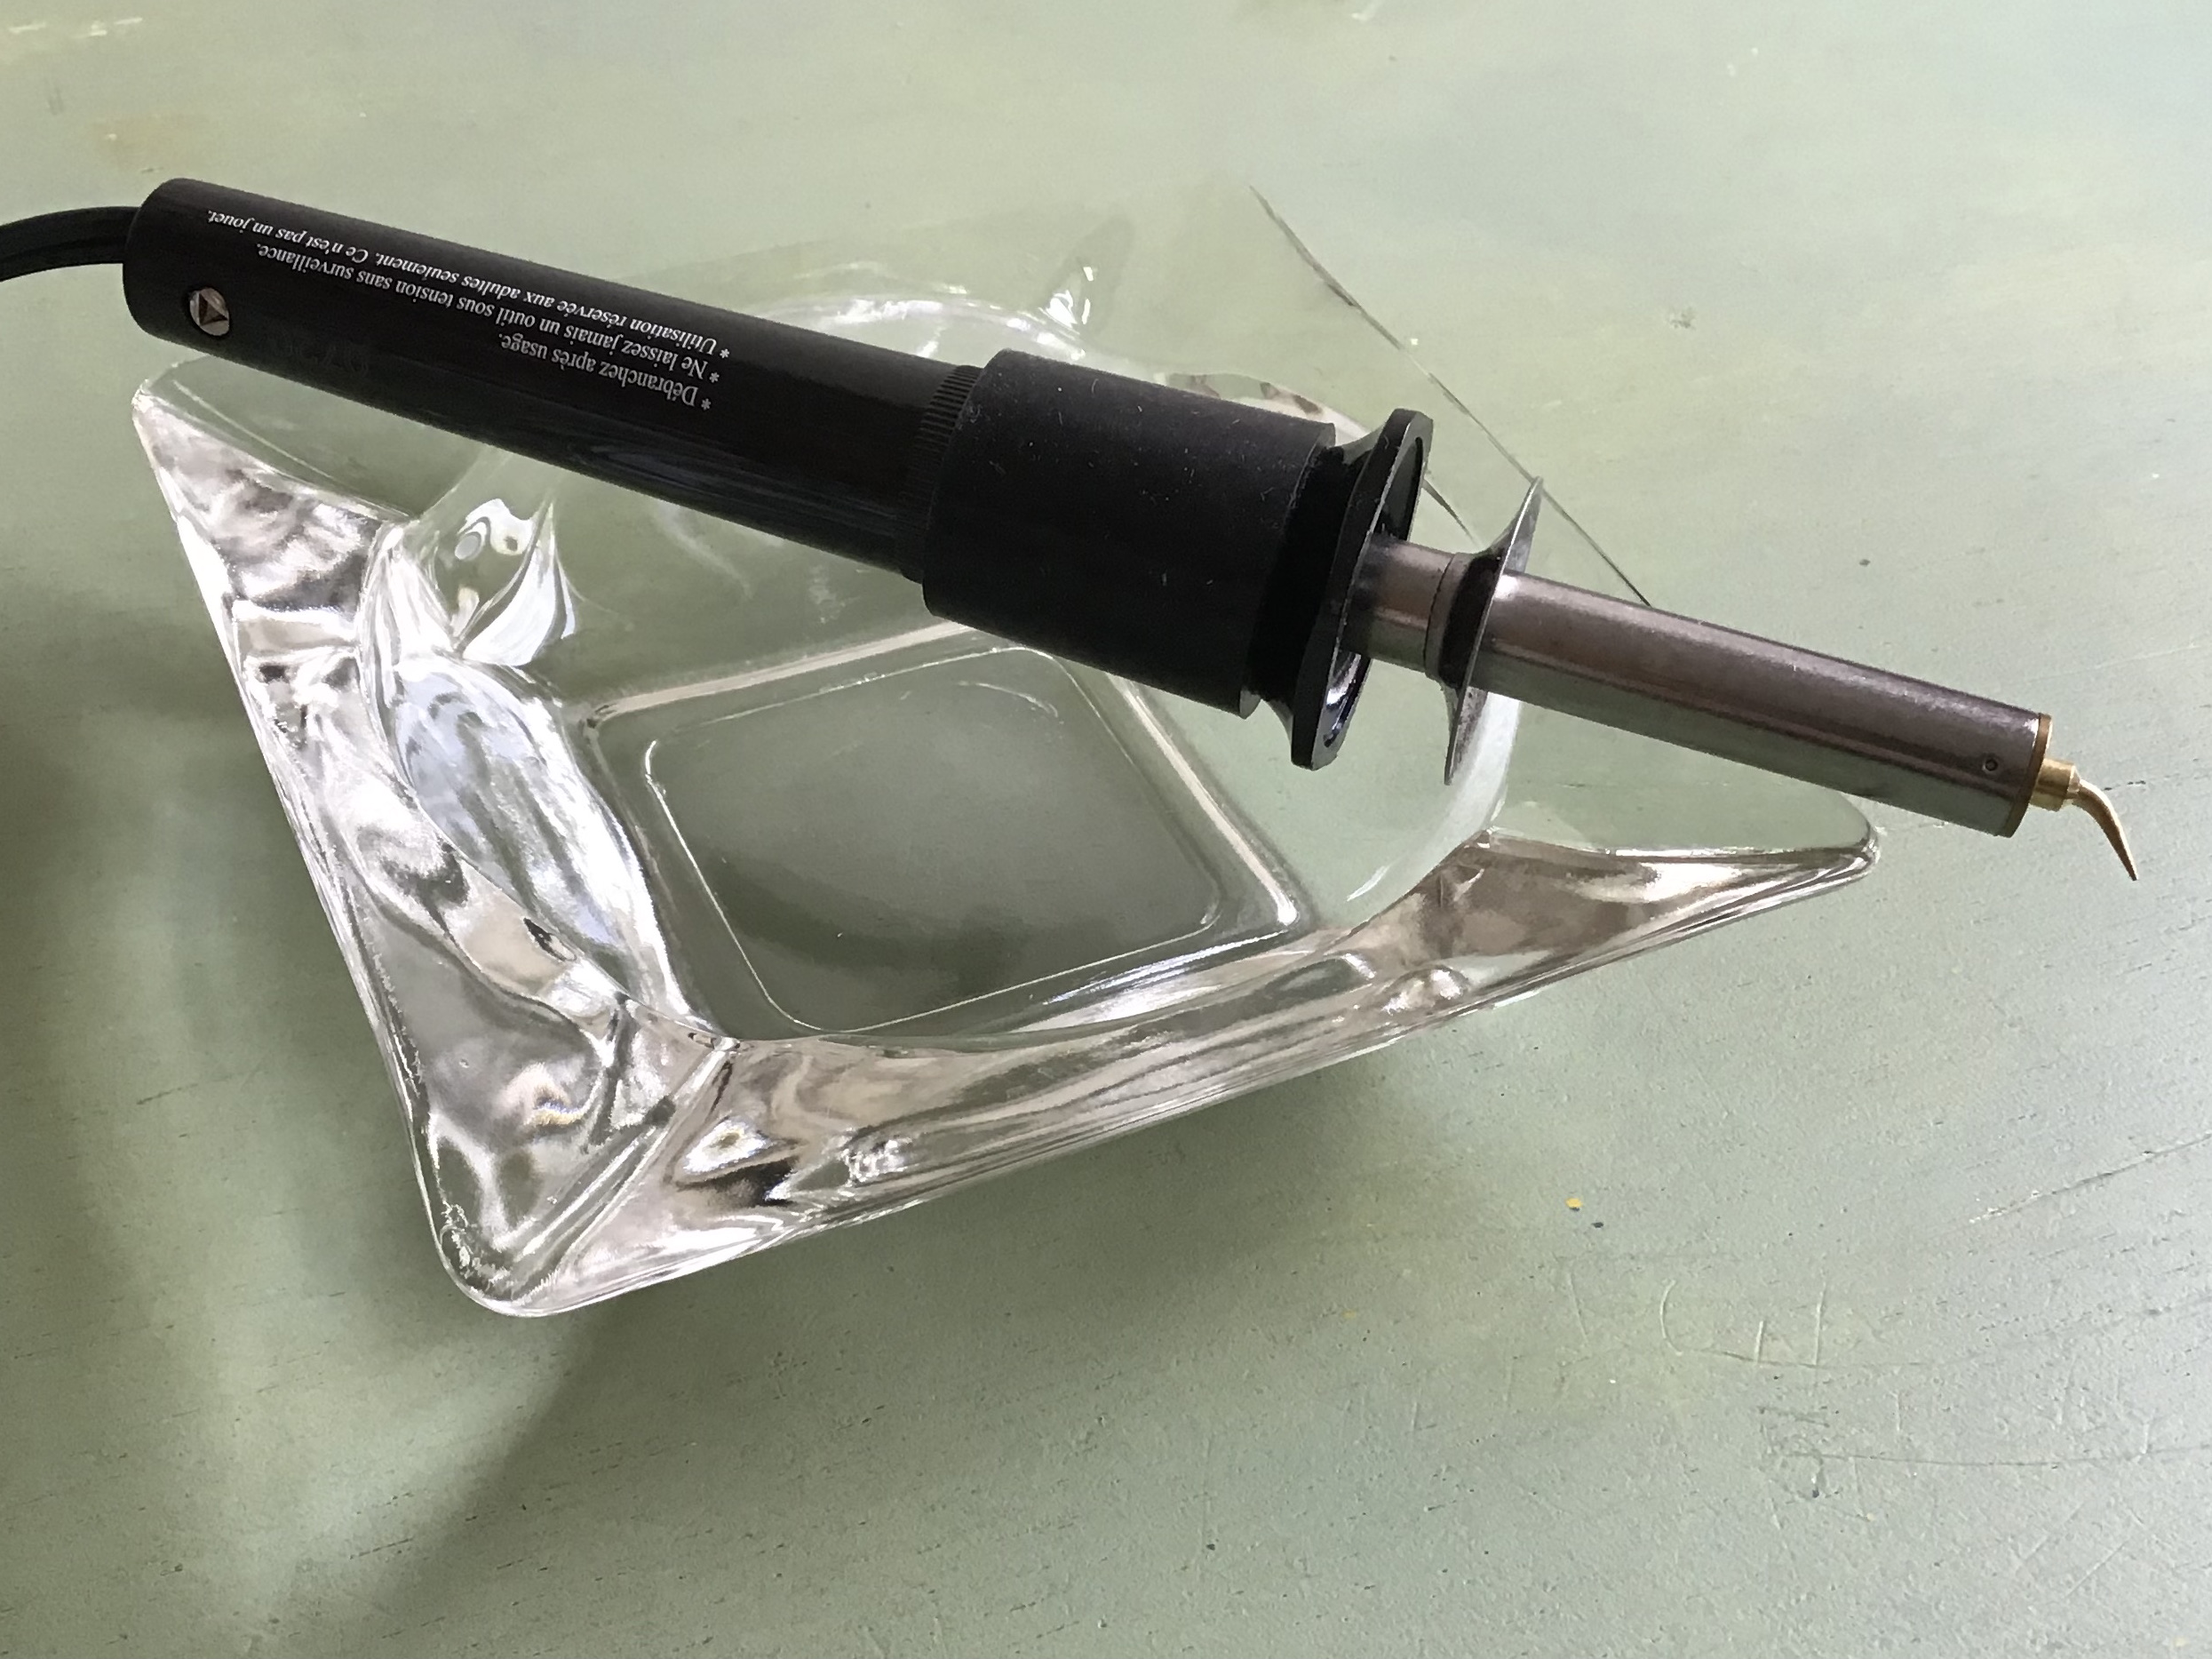
  • acrylic paint, card stock, watercolor paper, stencils, stylus
  • brayer, squeegee, small rubber spatula, silicone makeup applicator or similar “tools”

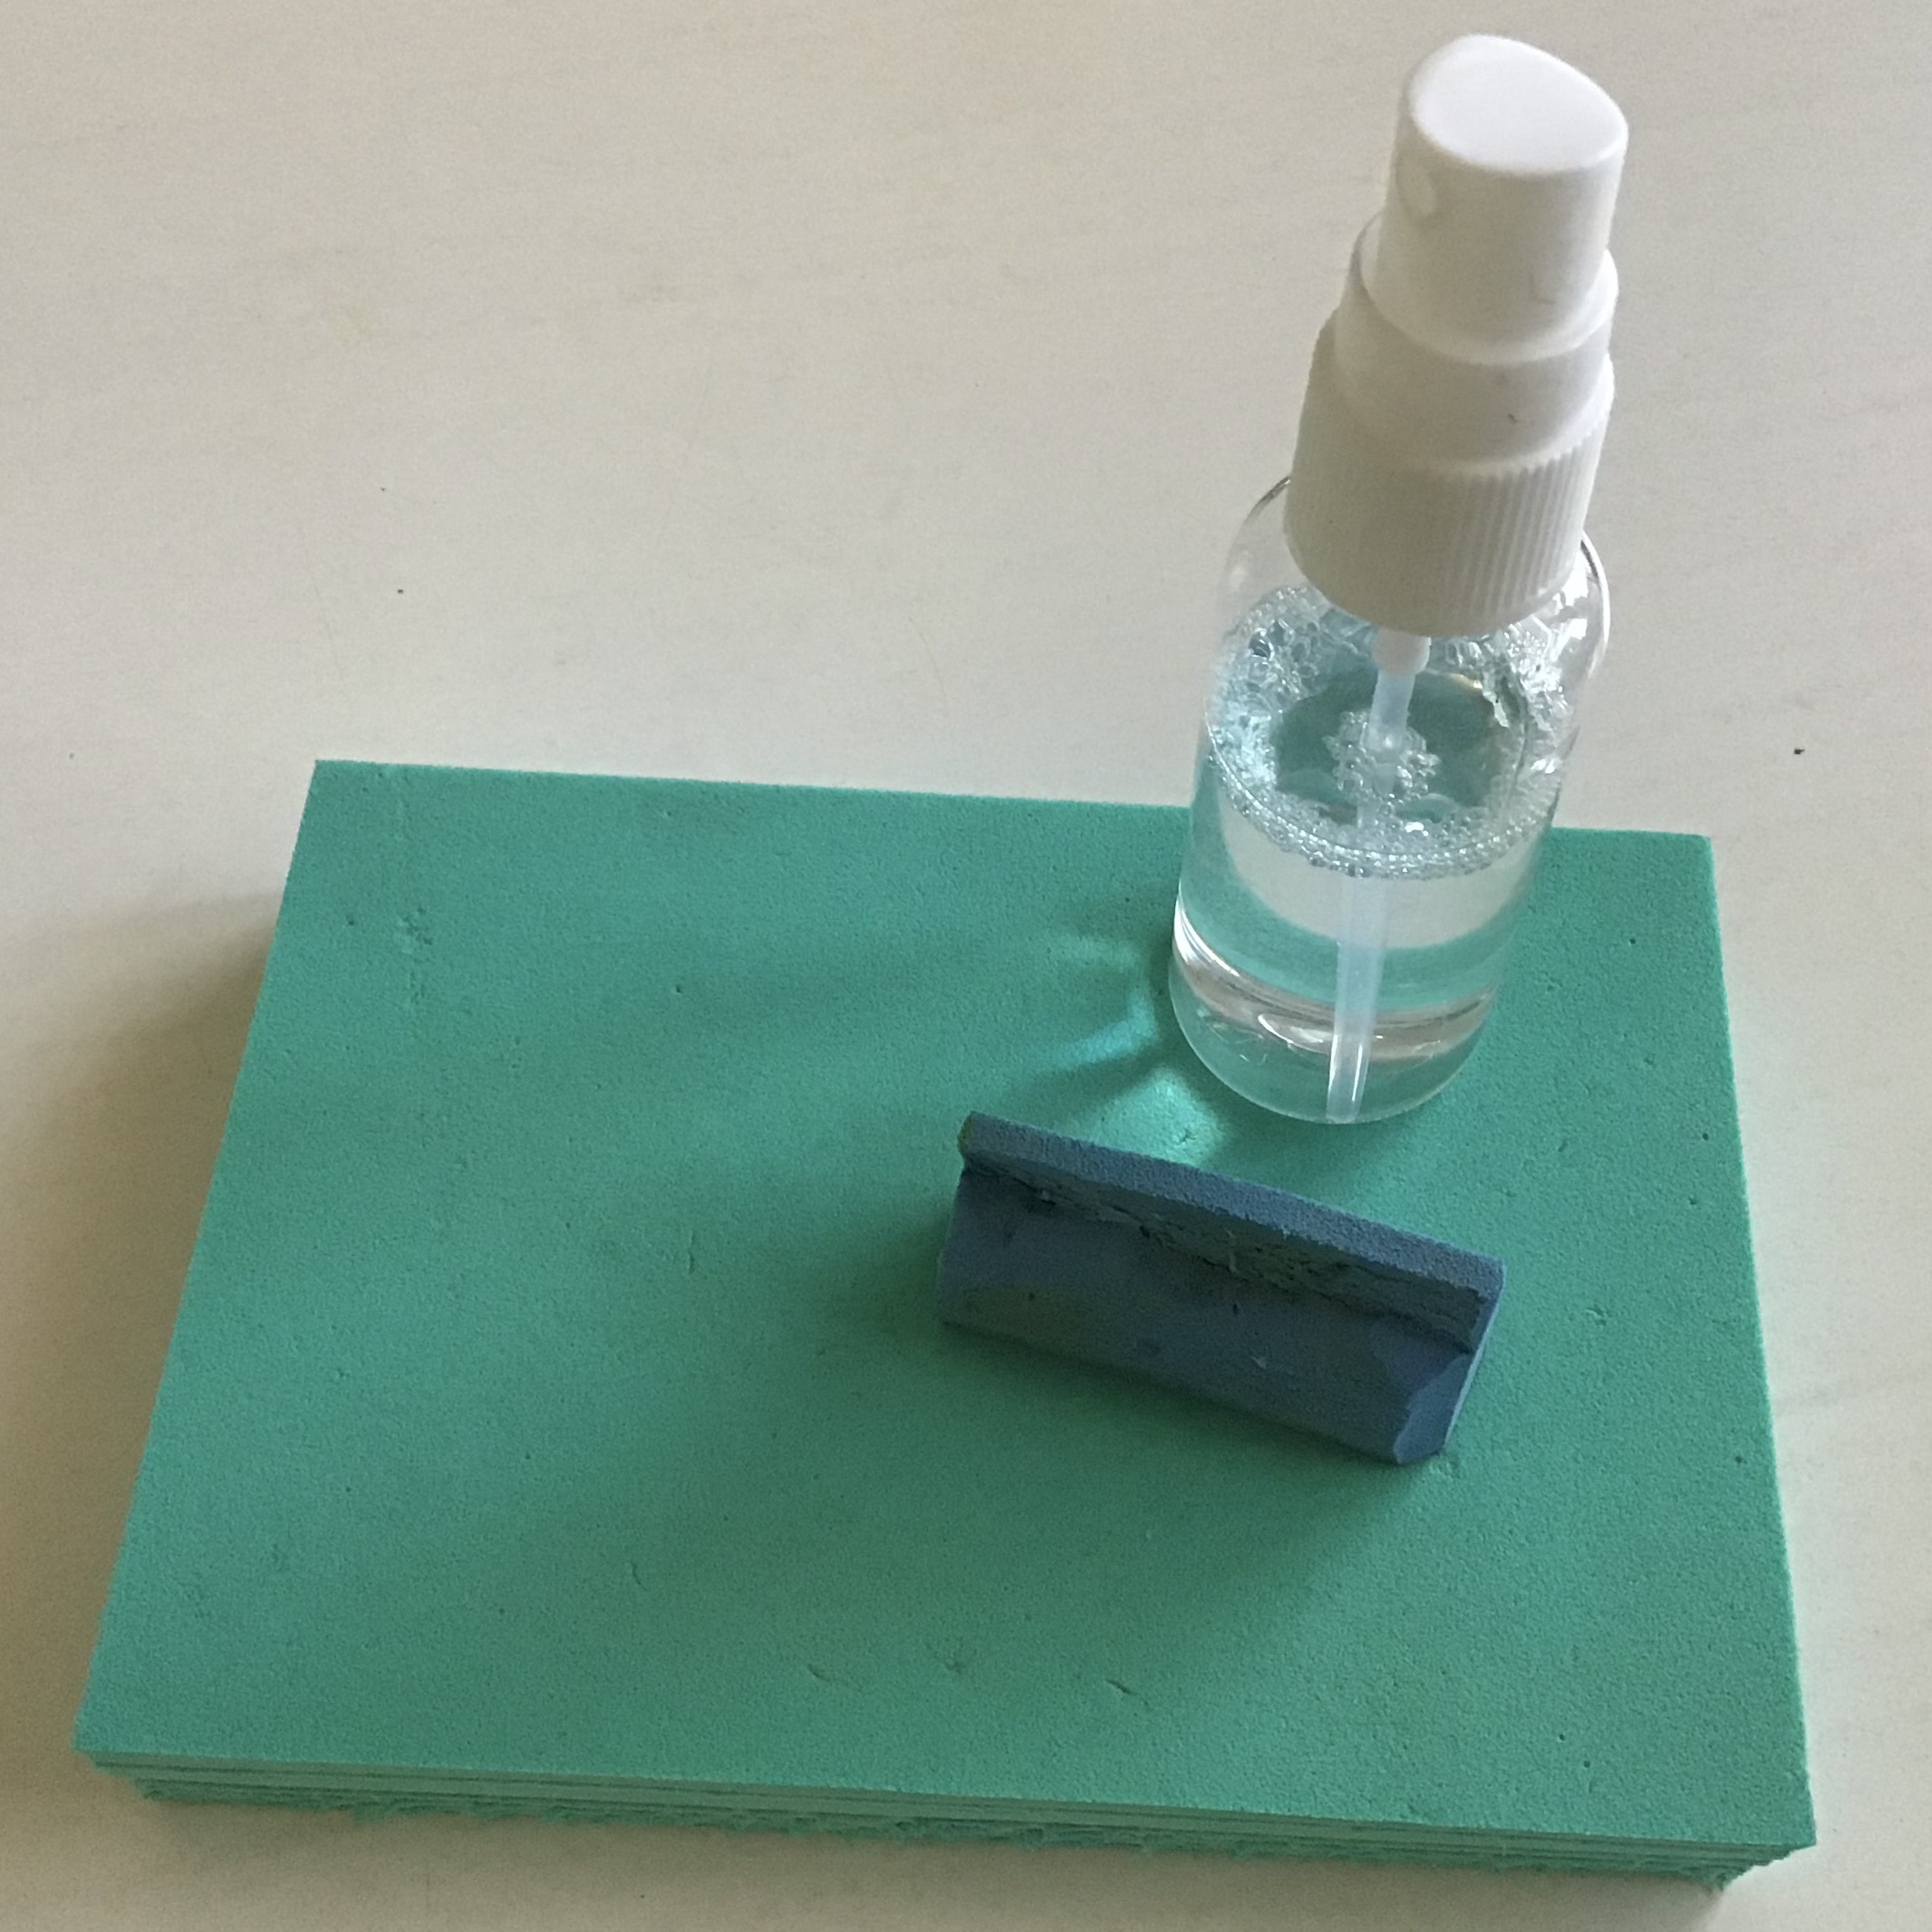
Using a ruler, utility knife and healing mat, cut your kneeler pad to a desired size.  I created three different sizes to suit my needs.  Next, prime the printing surface of your block pad with the glycerin/water mixture; I used a scrap piece of the pad to make a little squeegee-type tool.  Be sure to skim the entire surface, which should feel ever so slightly slick, but not slimy.  If the surface is too slippery, lightly blot it with a paper towel.

Load your brayer or silicone sponge with acrylic paint and apply it over the slicked surface, taking care not too make the paint layer too thick.  You should barely be able to see the tiny pores on the surface of the block.

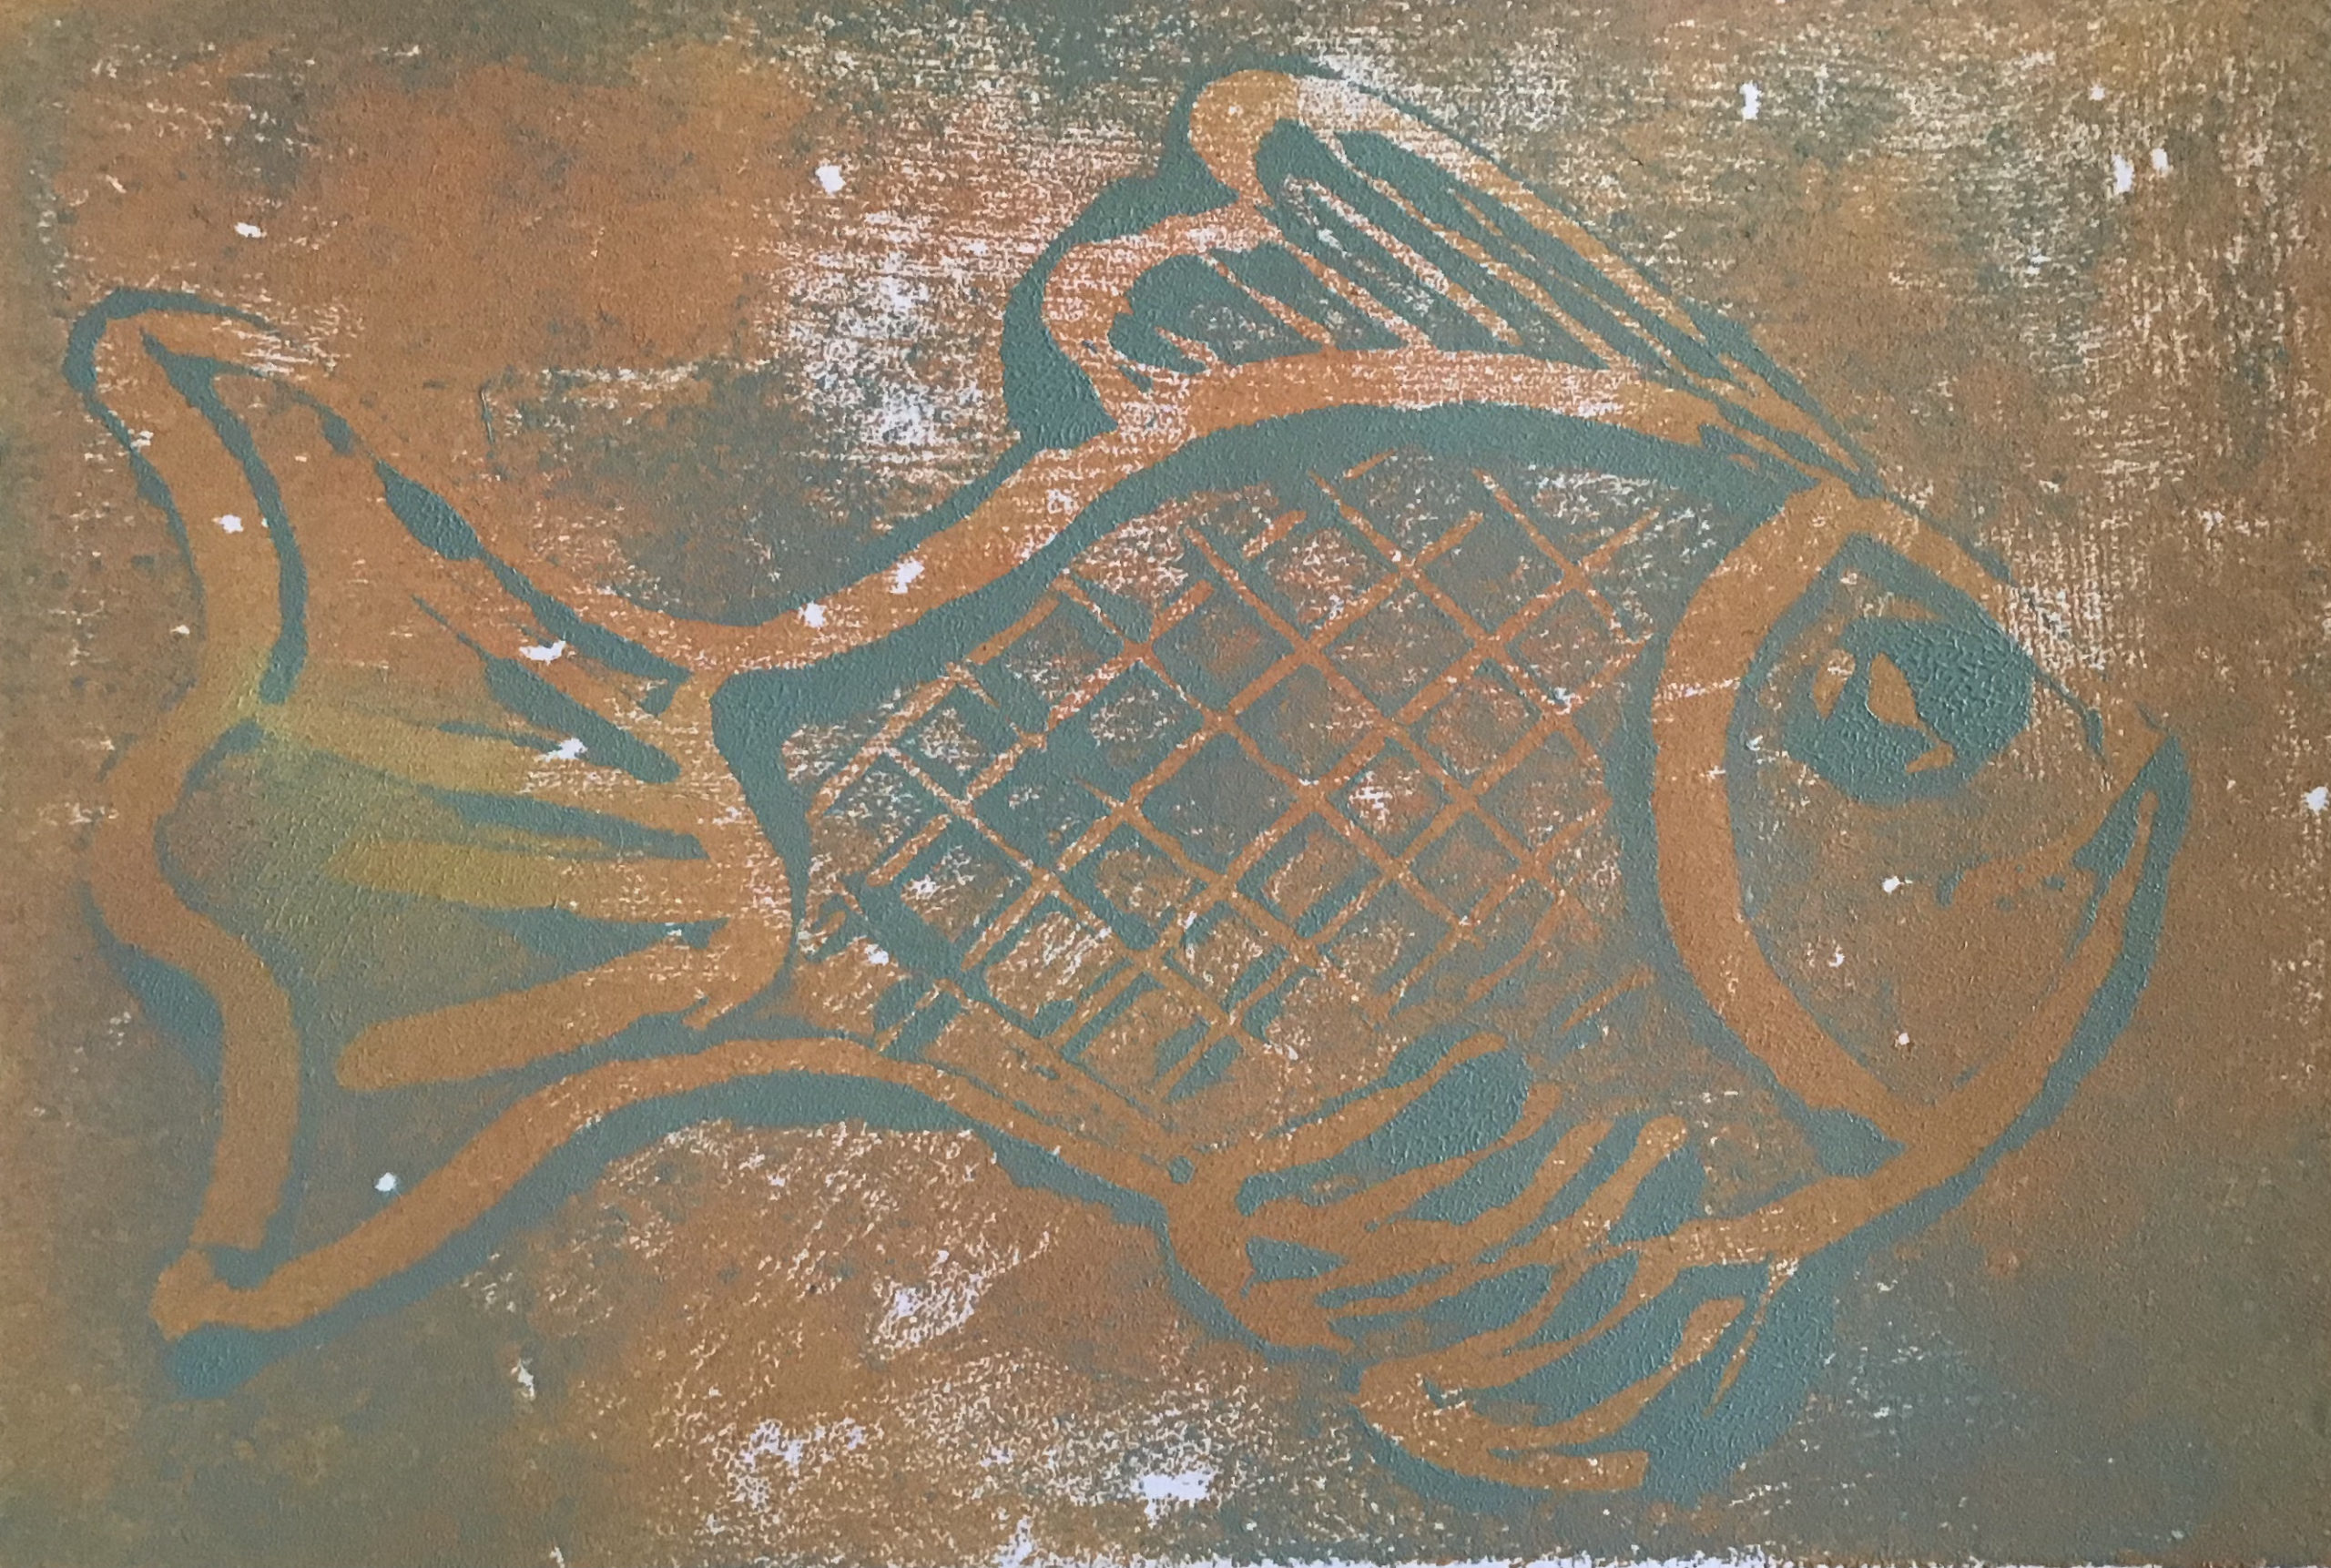
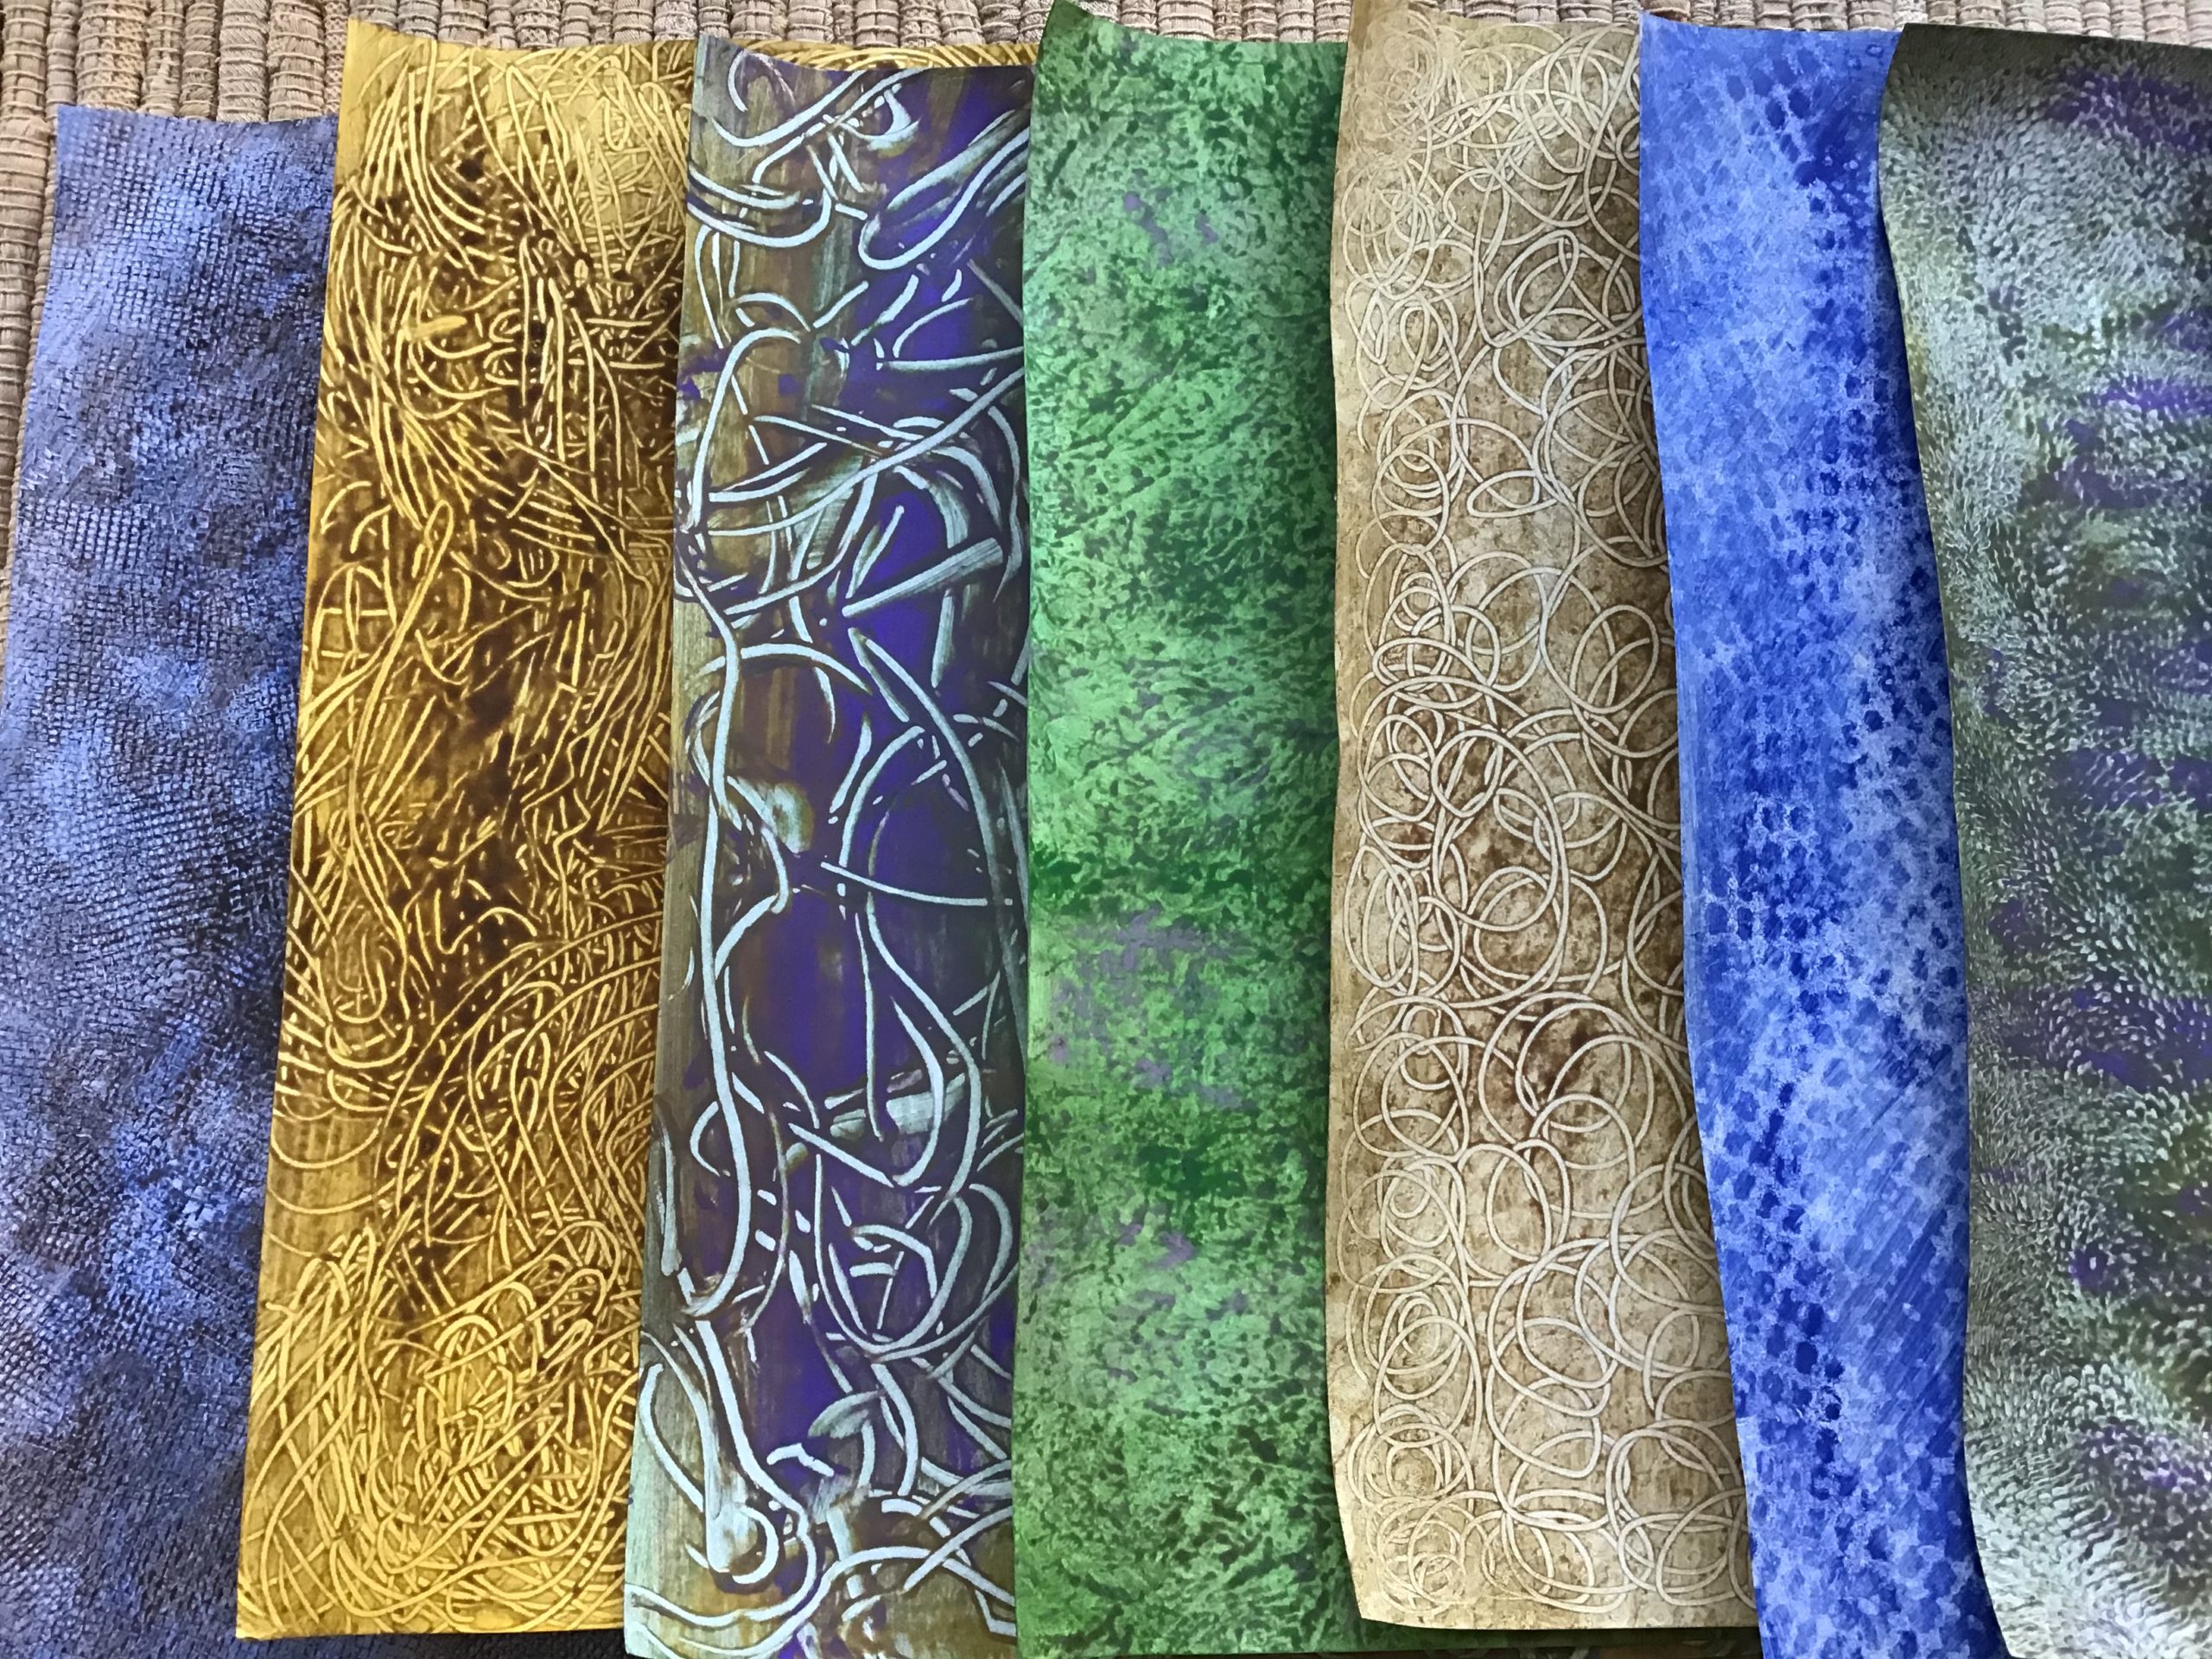
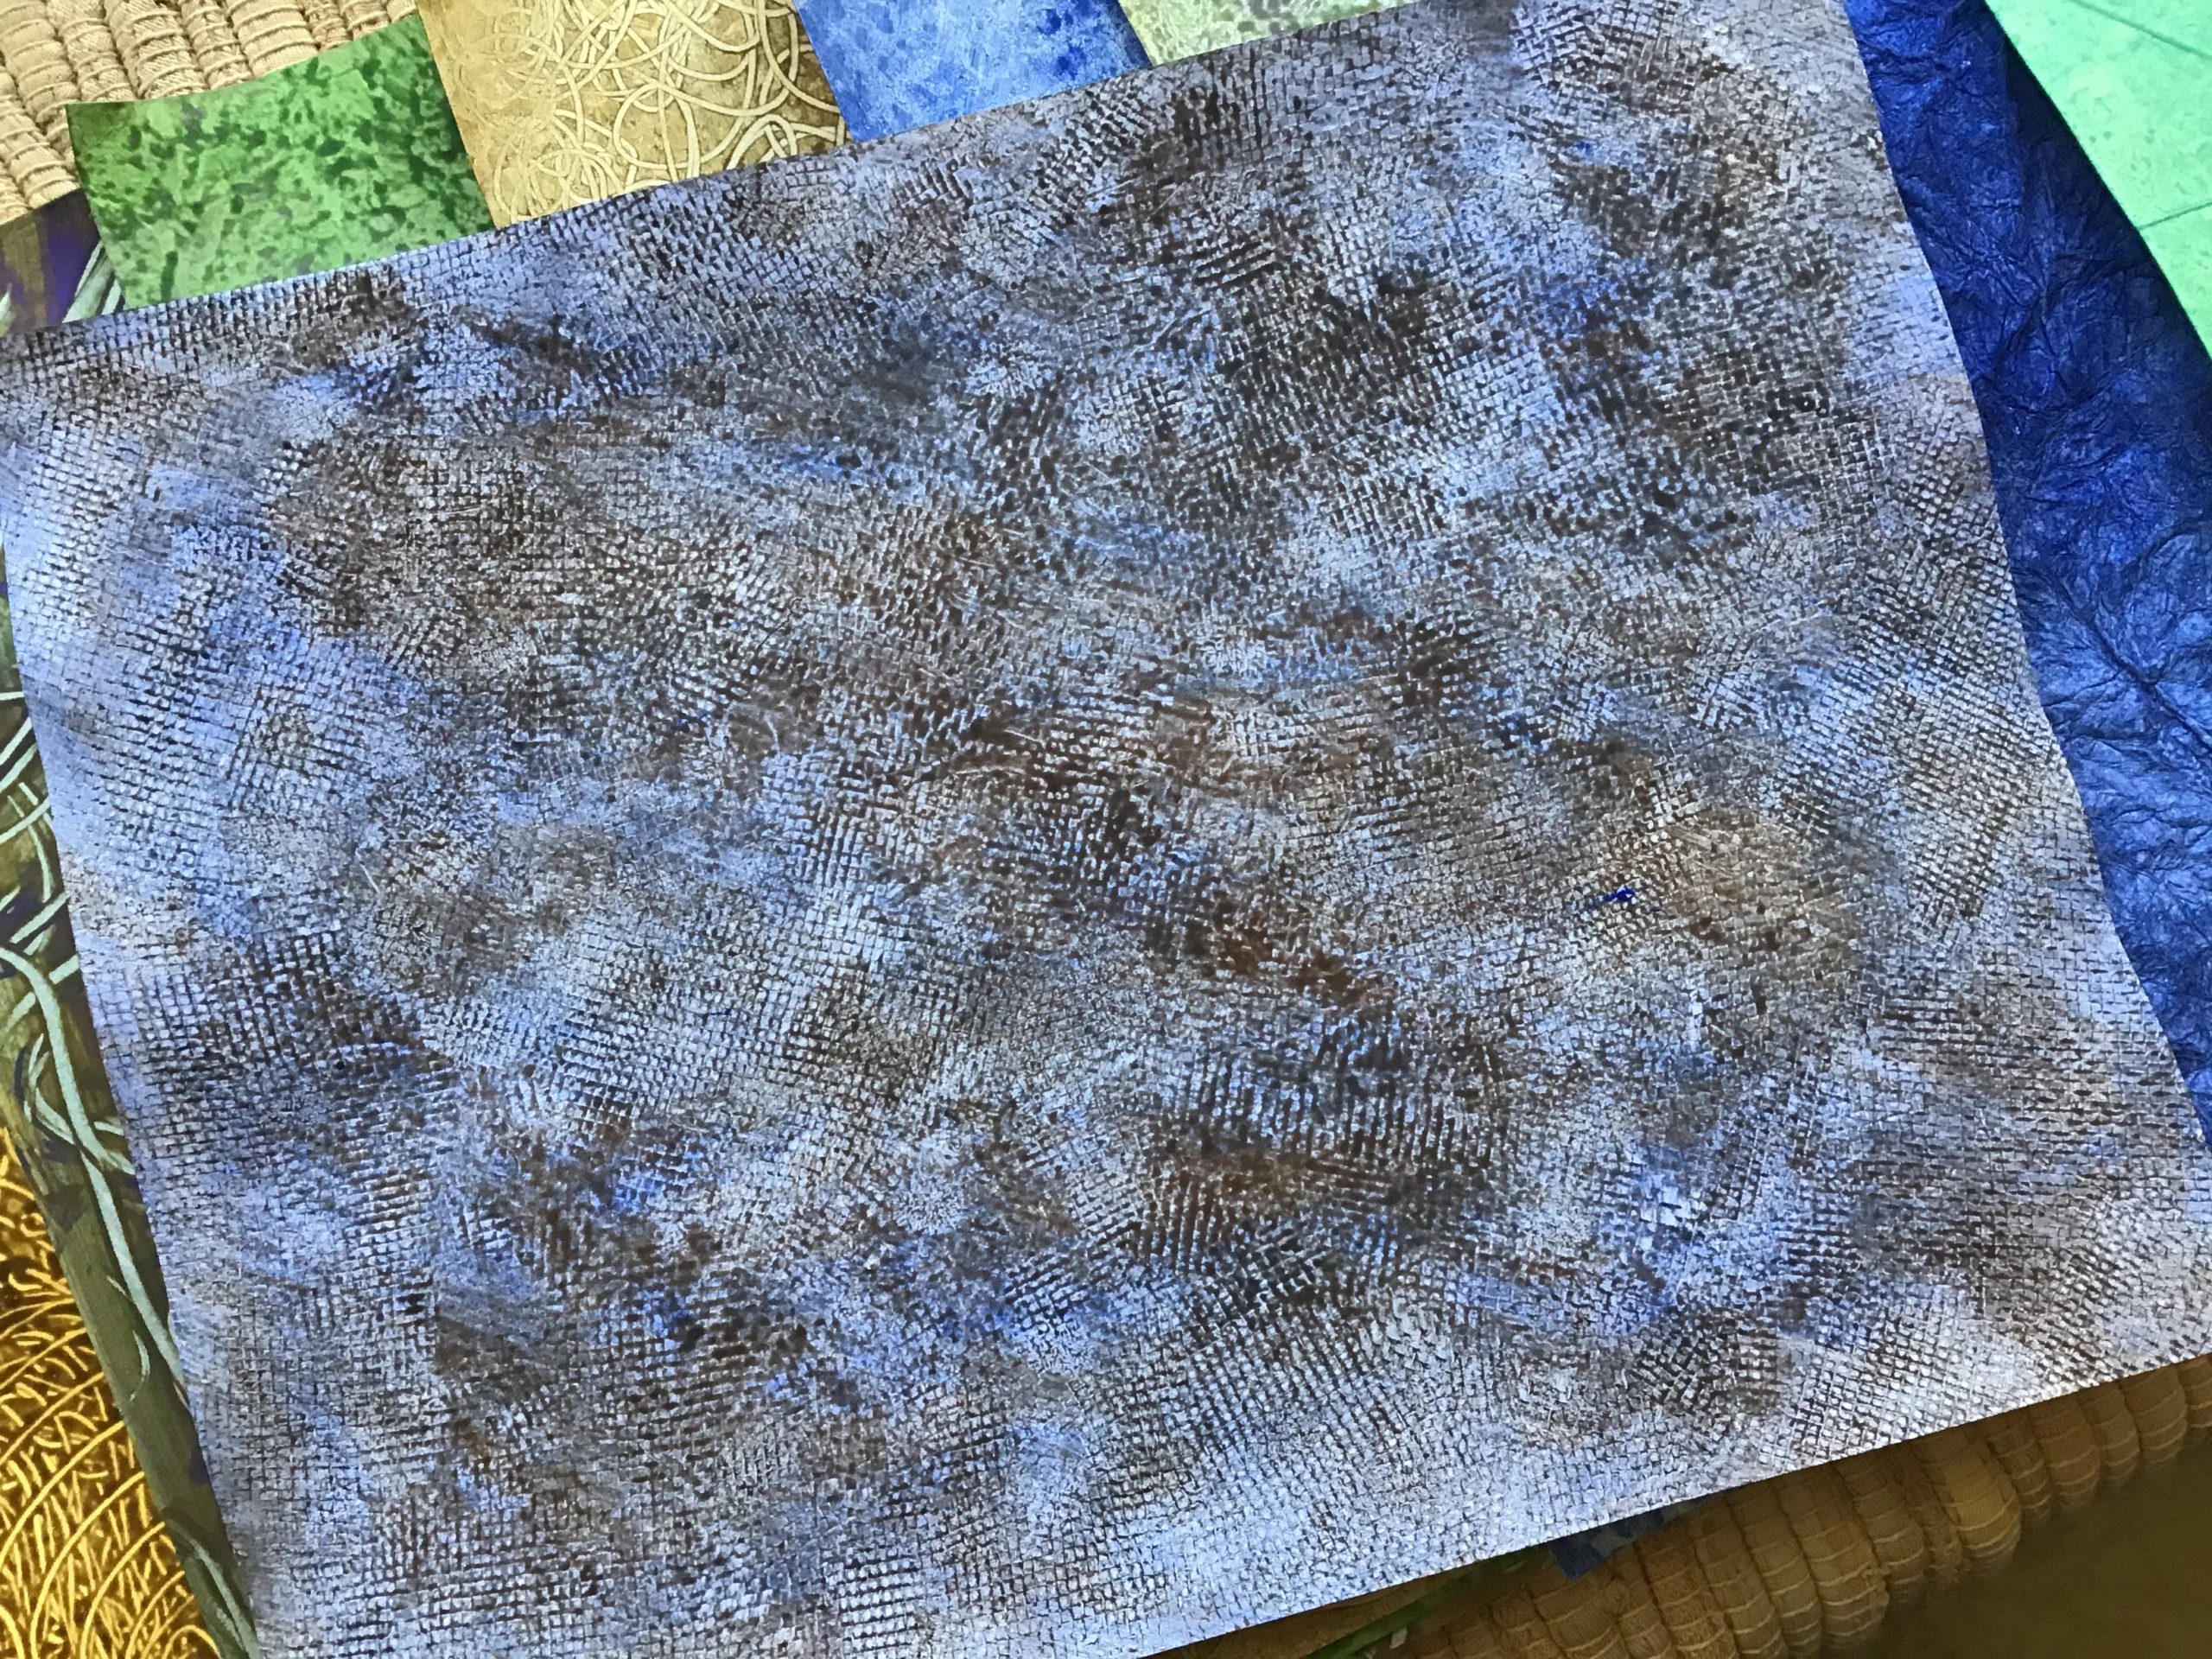
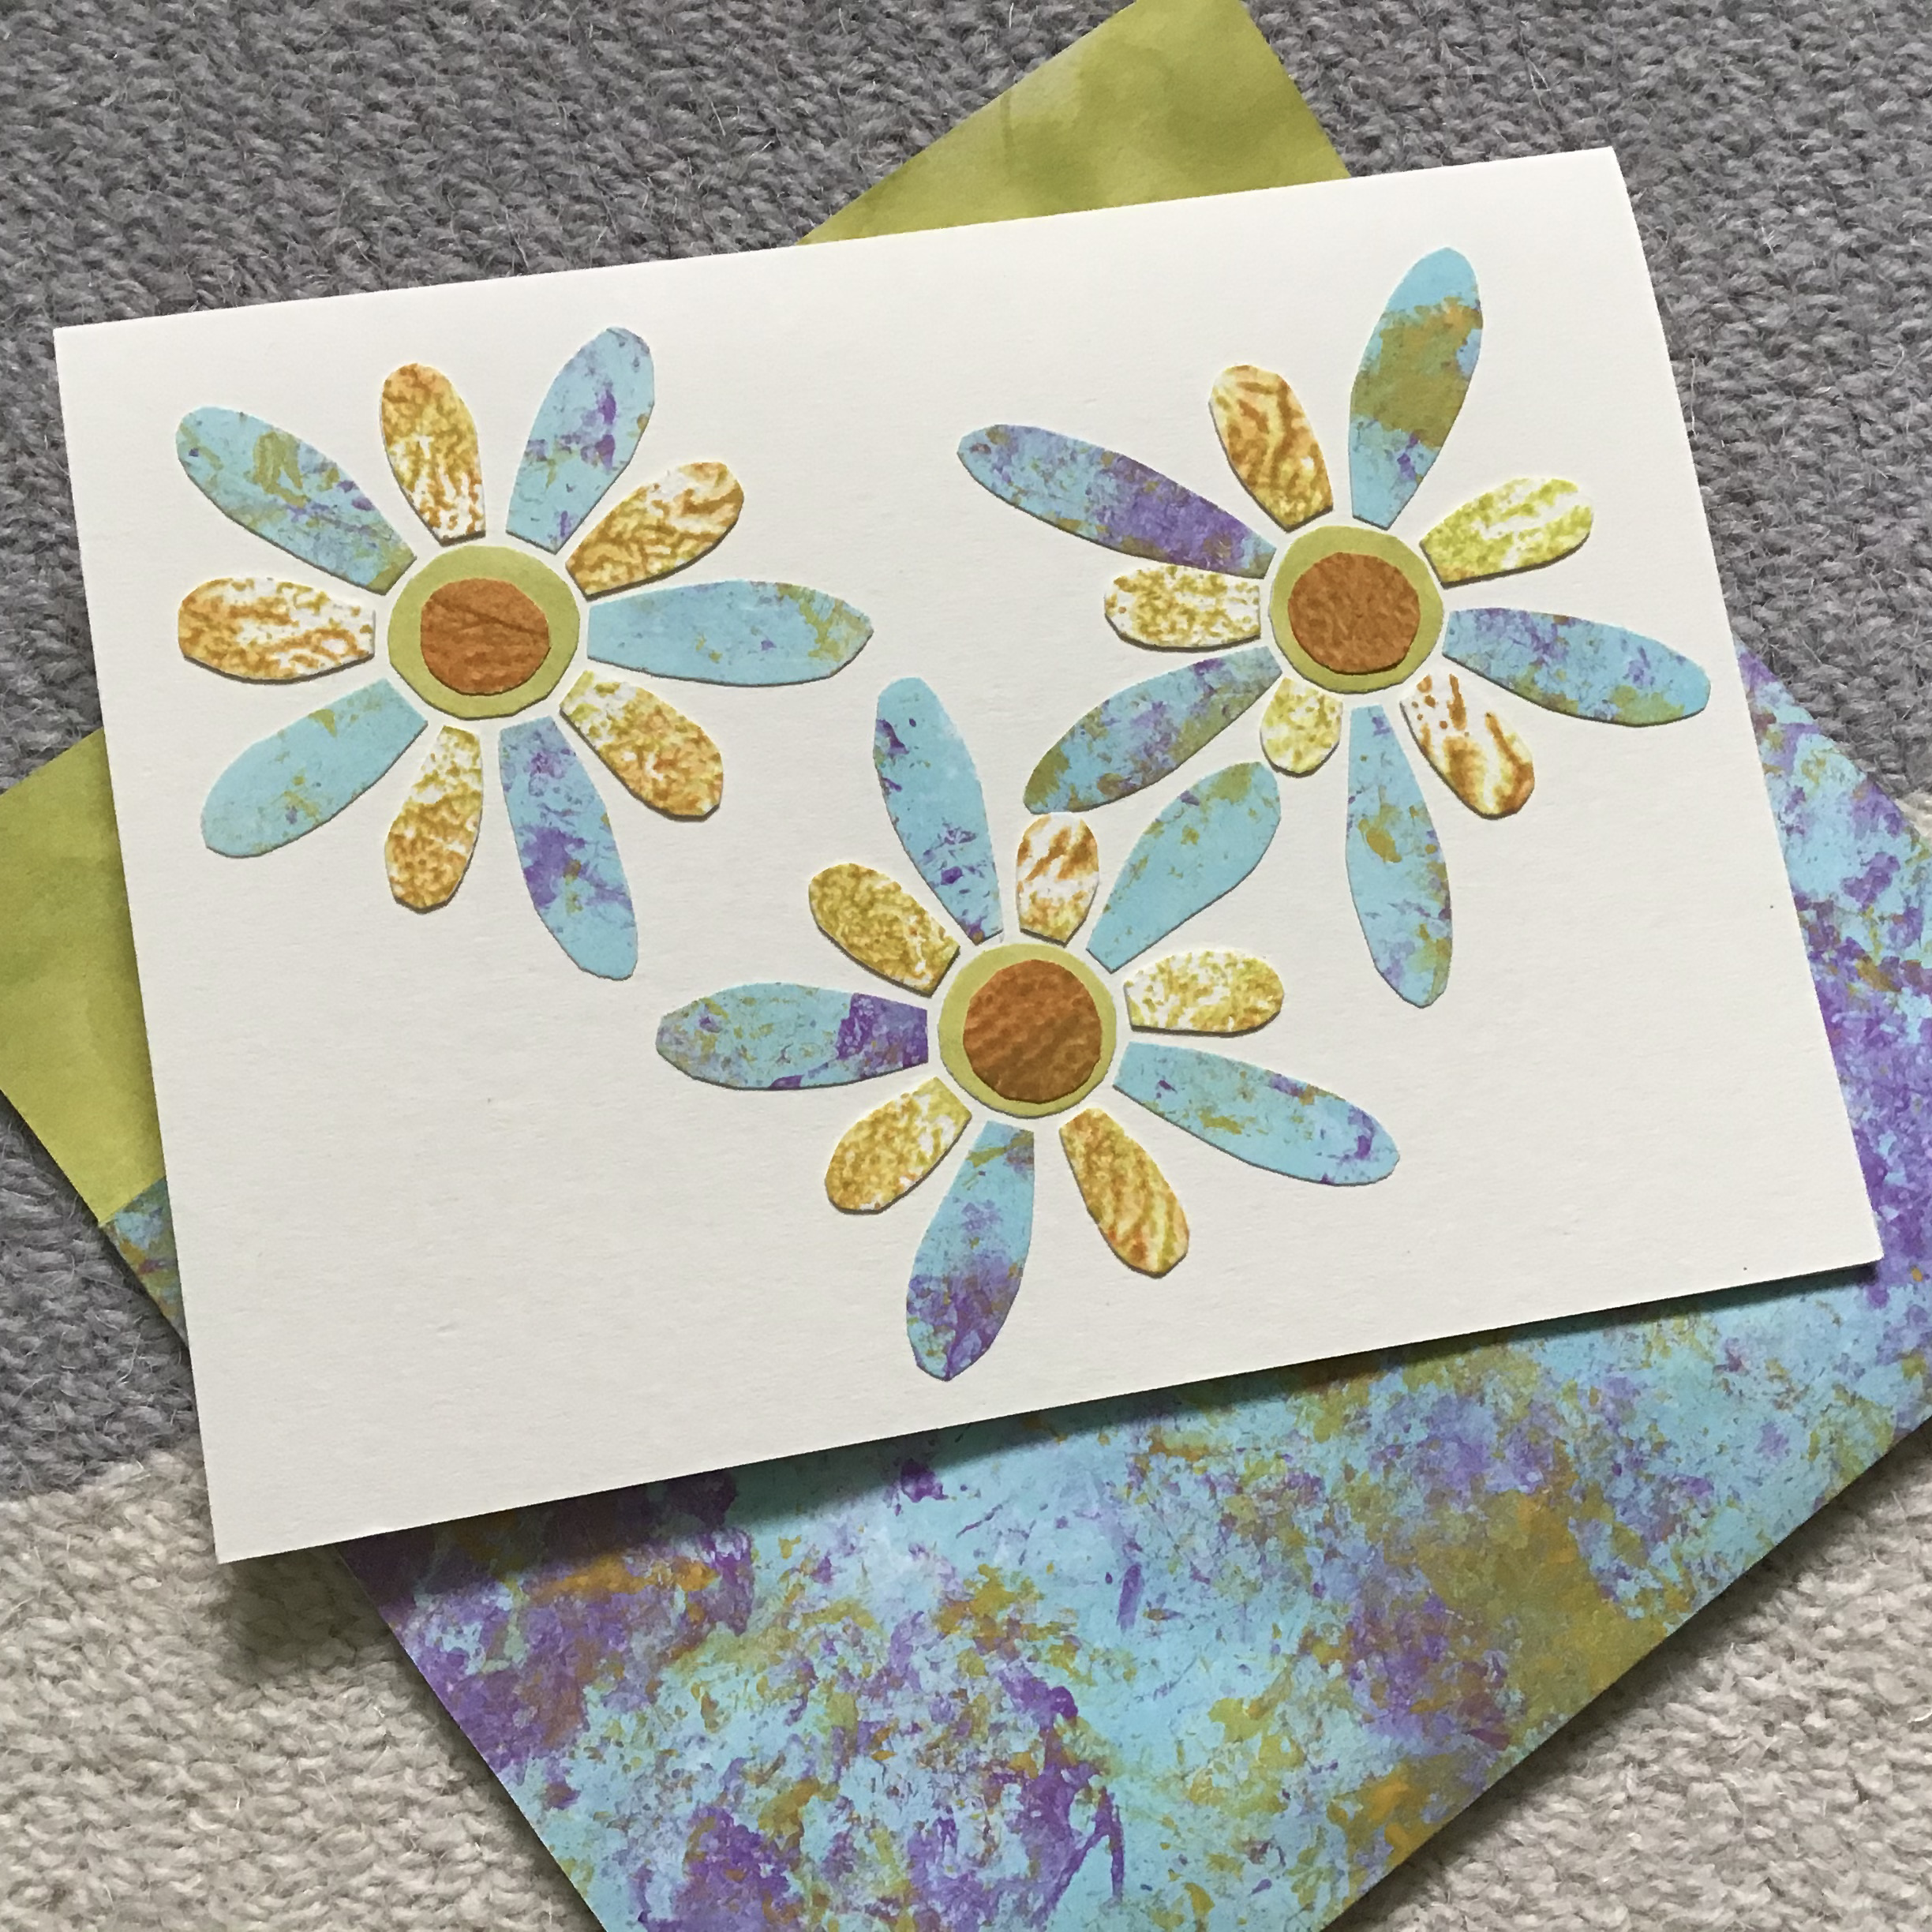
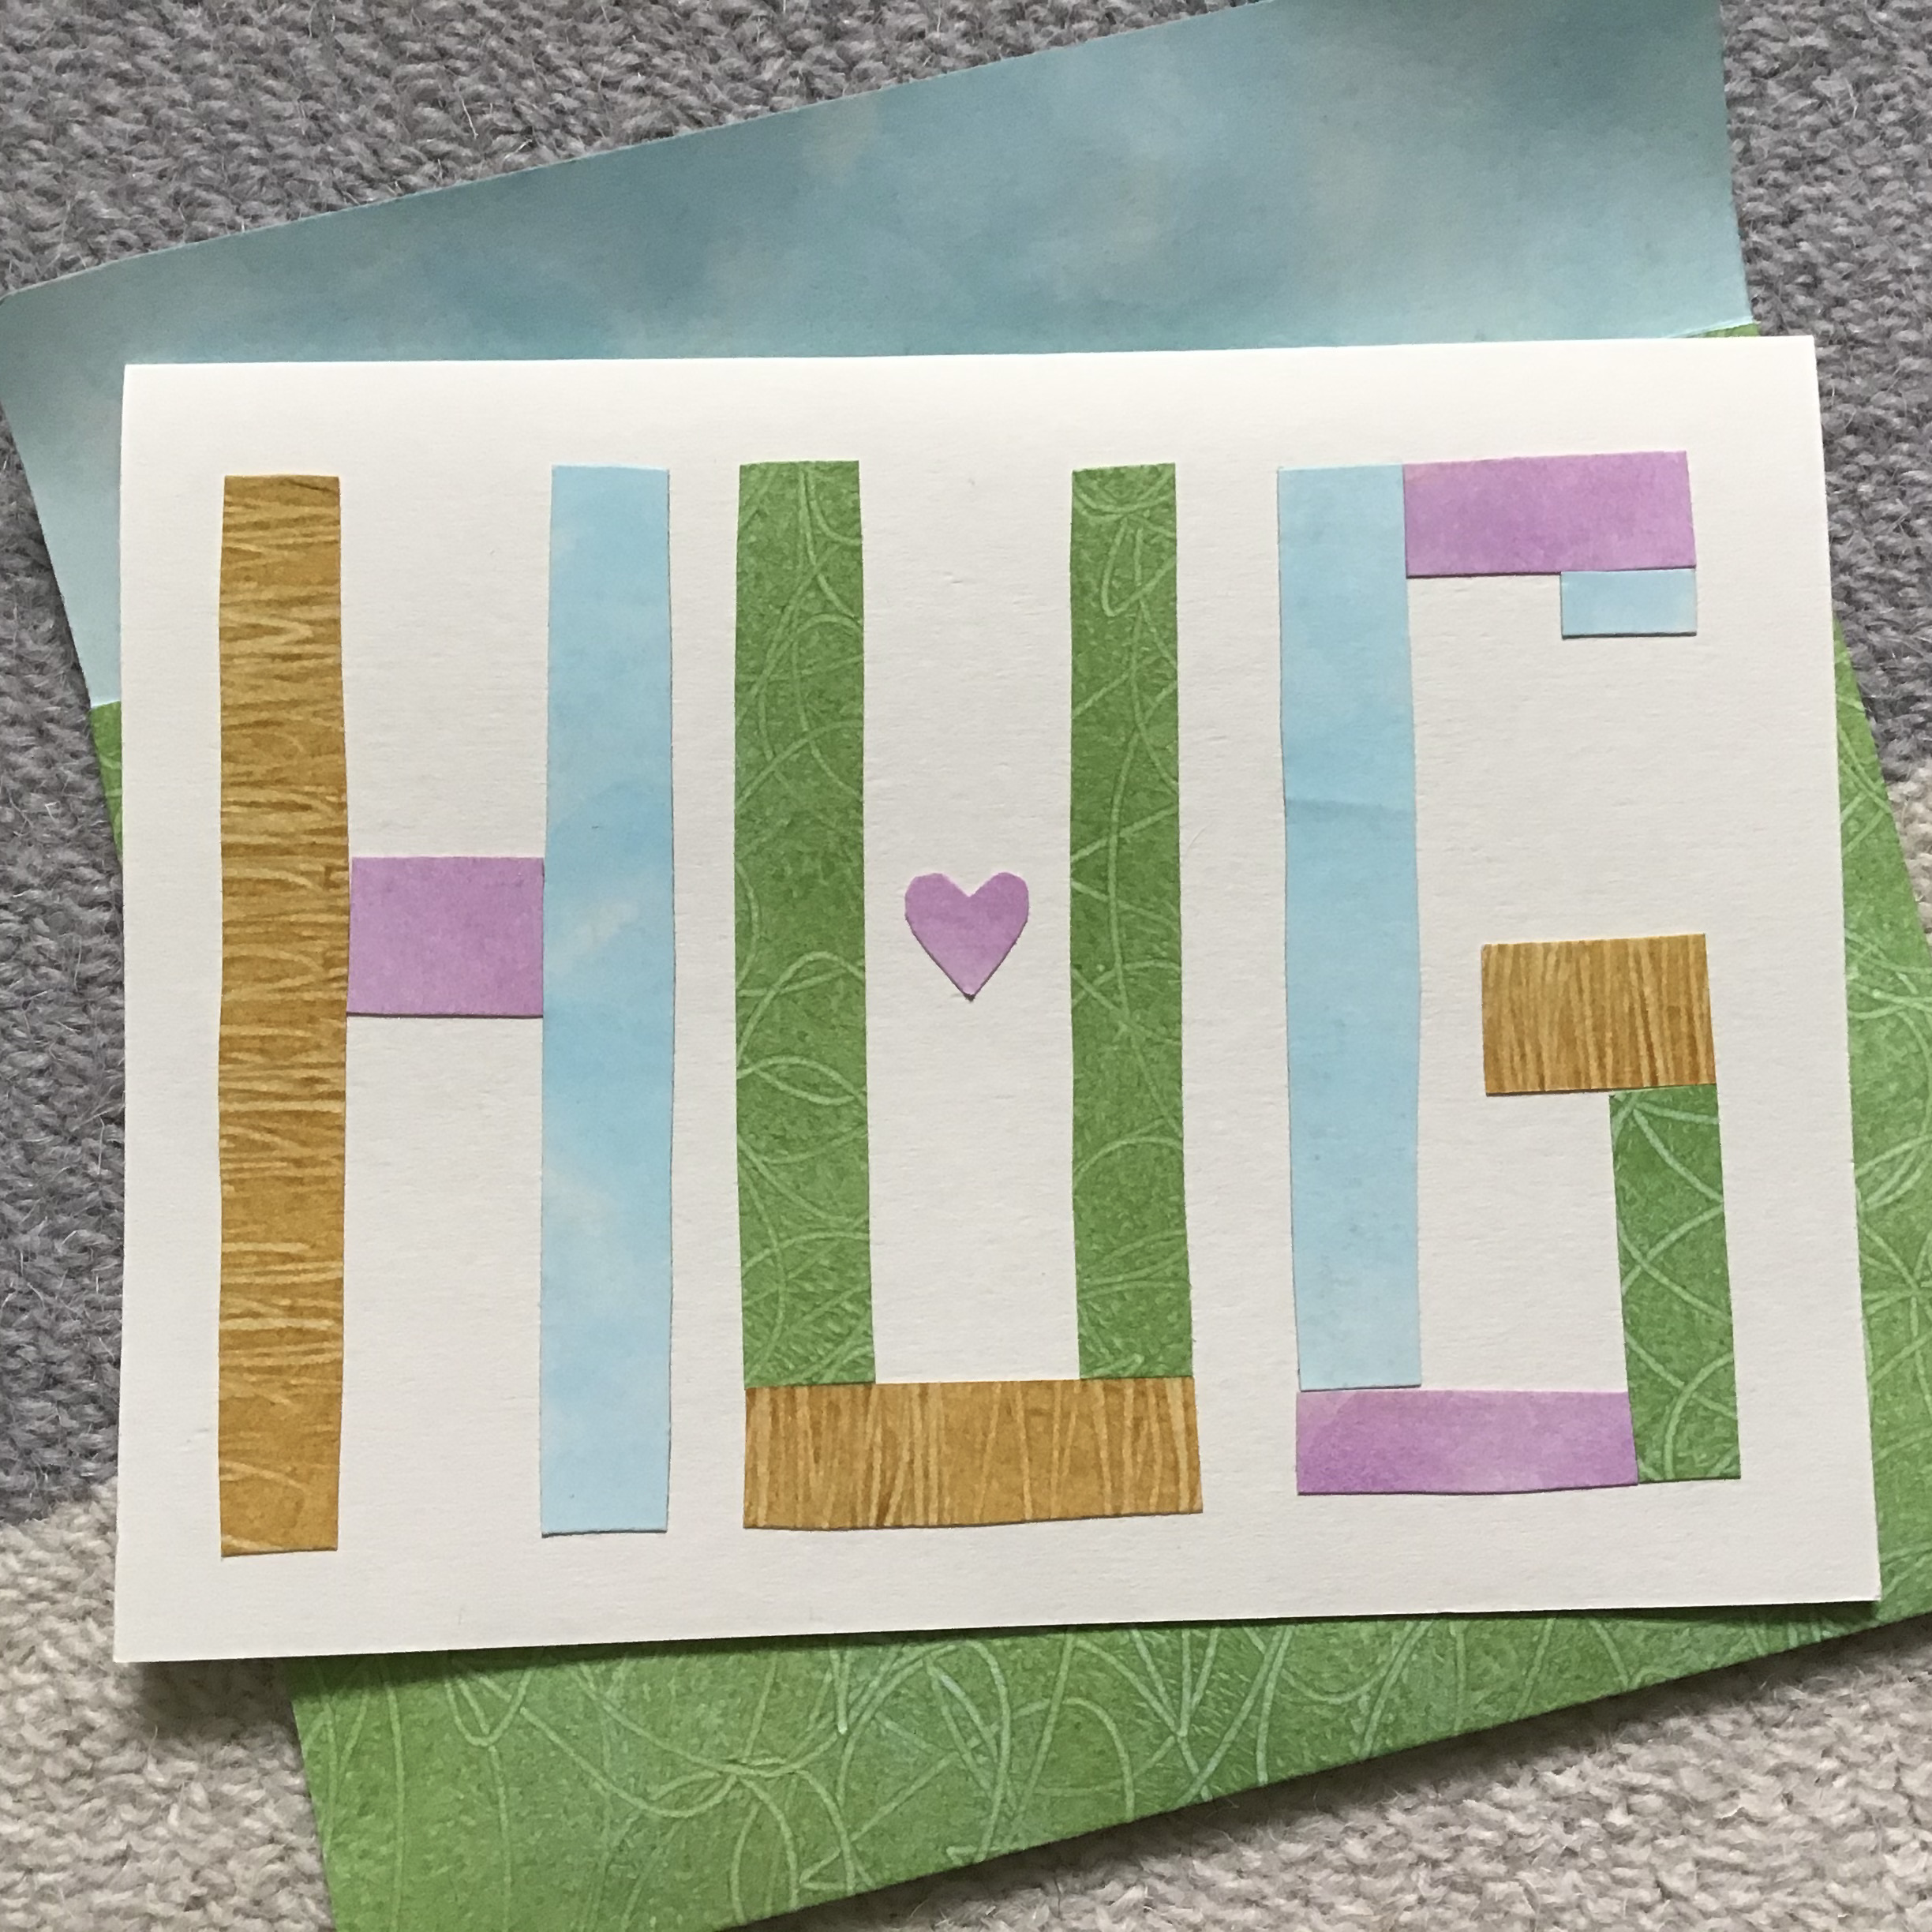
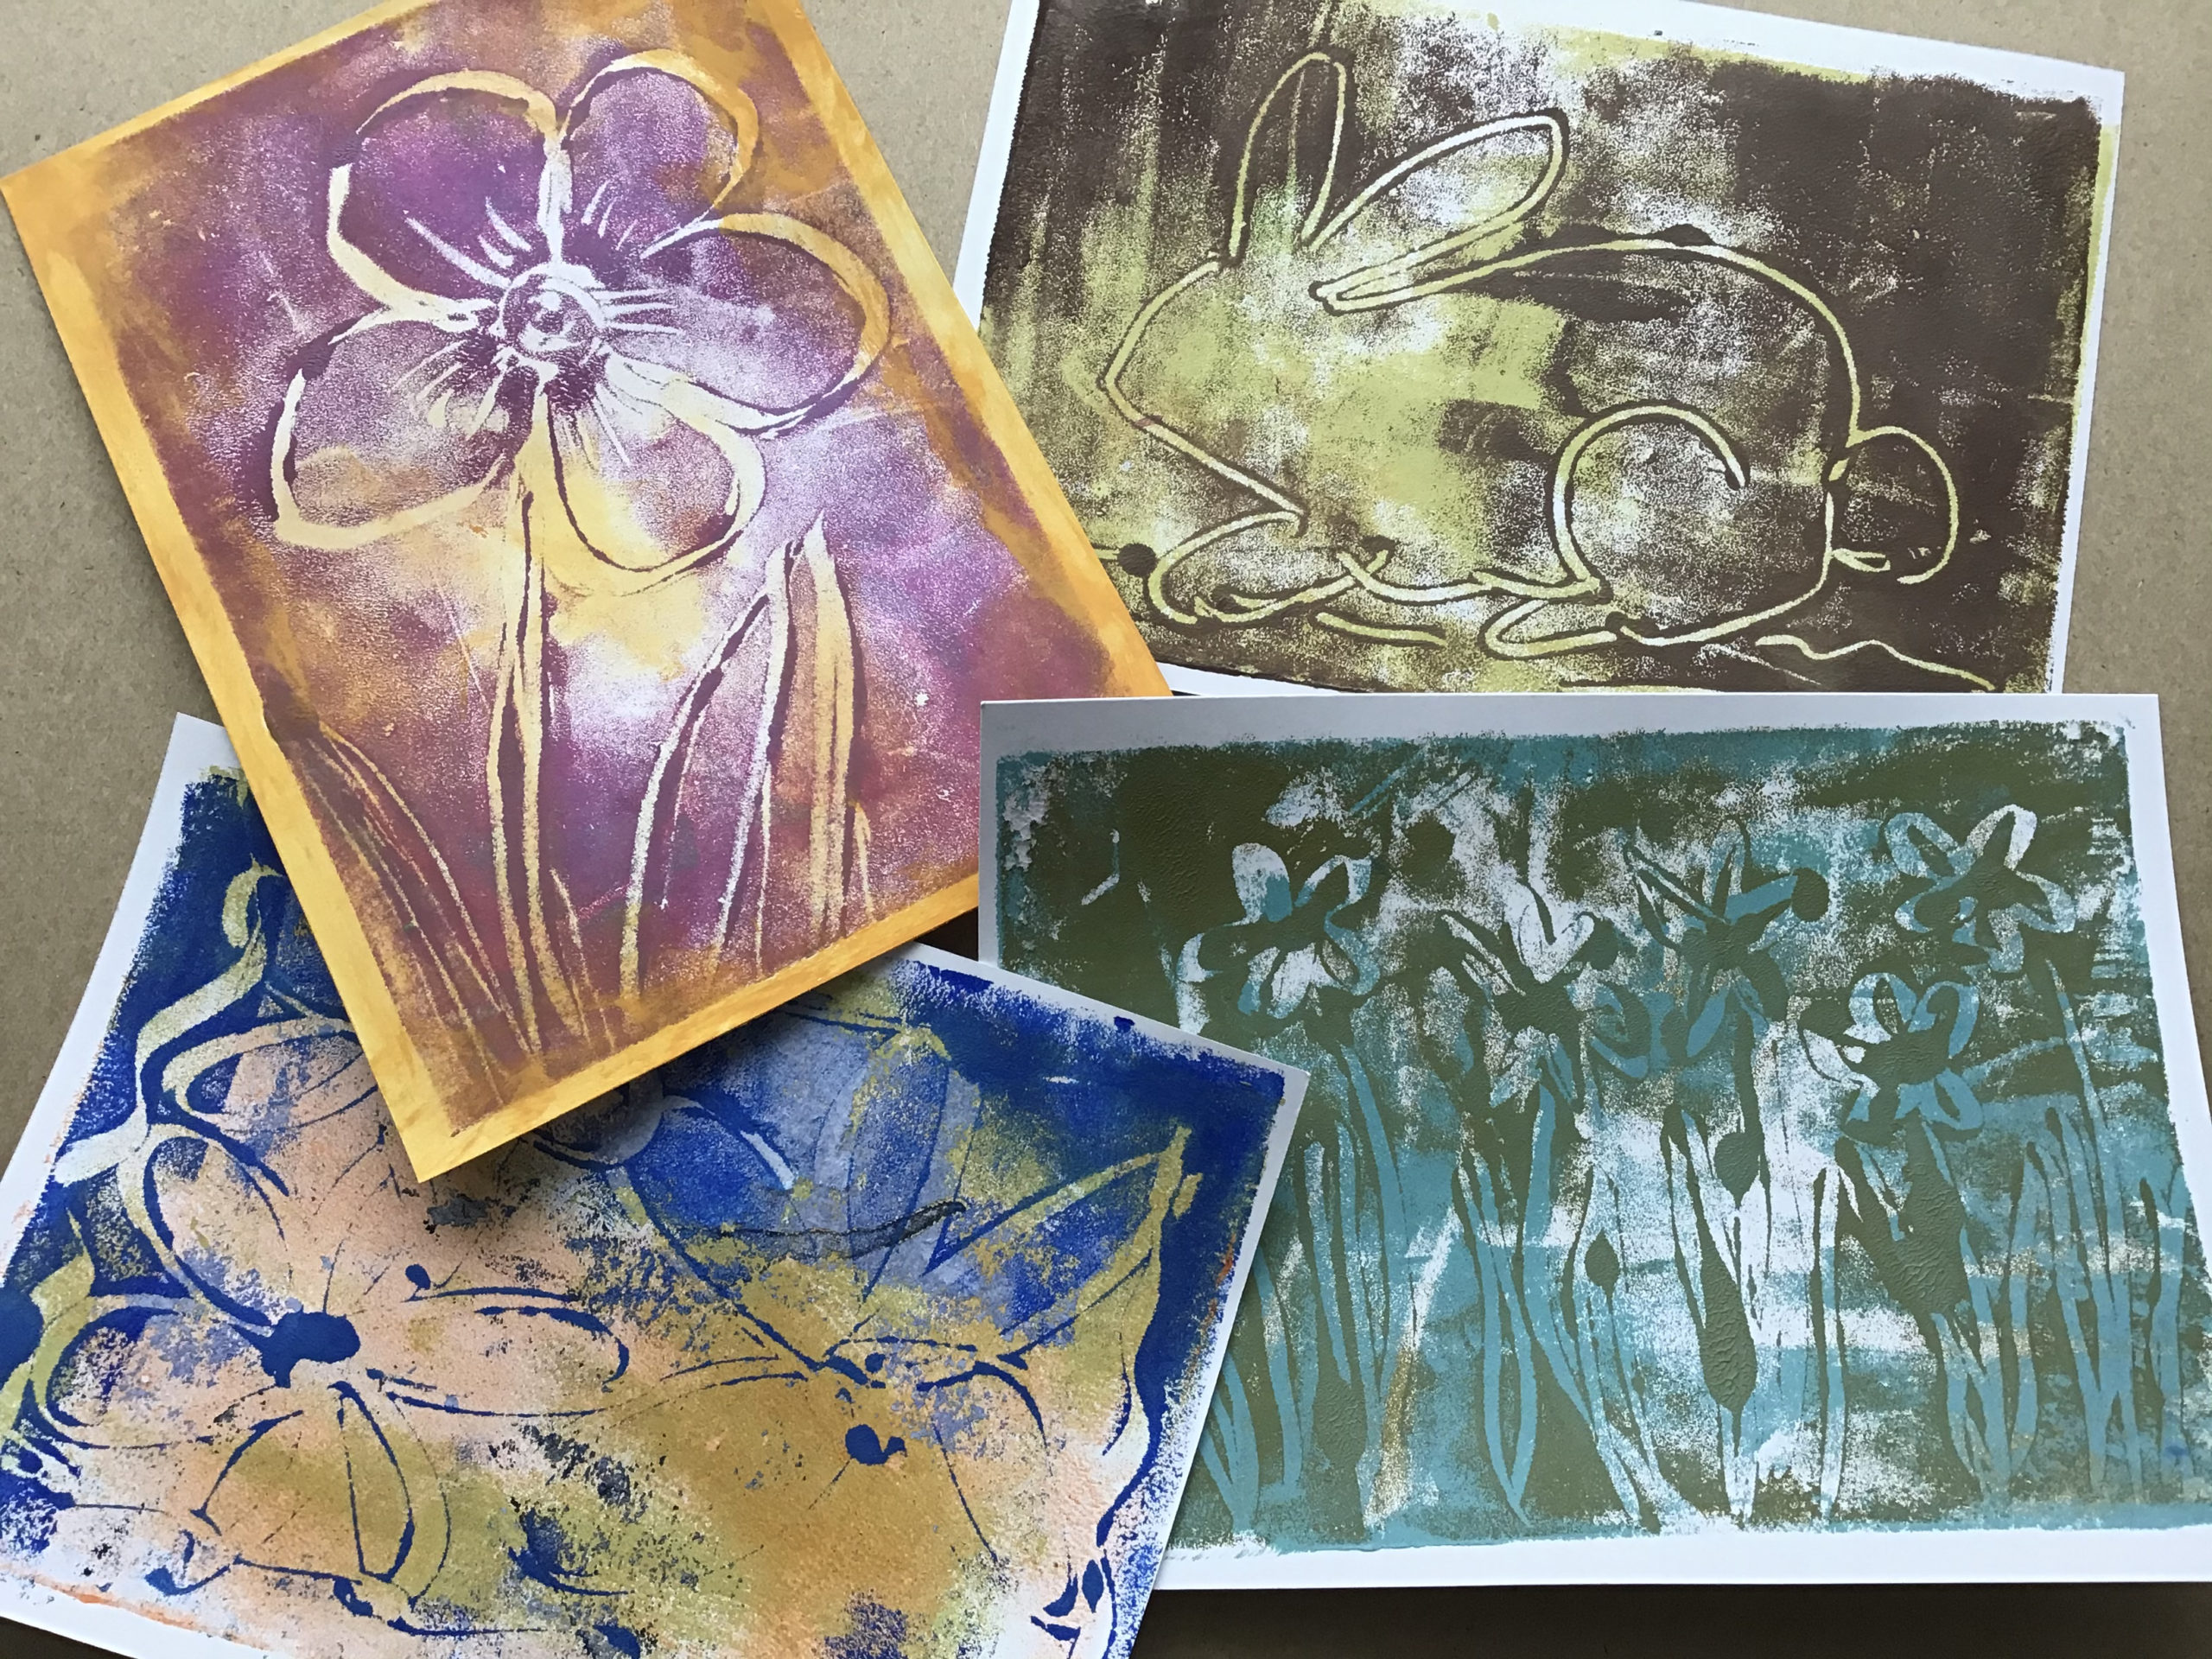
This is where the fun begins.  The choice is yours to use stencils, free-hand draw with a stylus, or both.  Press your stencil firmly onto the block, then carefully lift it off.  When you’re ready, hover the painted block surface above the paper you’re going to print, visually frame it into position, and press it onto the paper.  Press firmly for about 10 seconds, then carefully peel the paper from the block.

Voila!  You’ve just made a gelli plate alternative print!

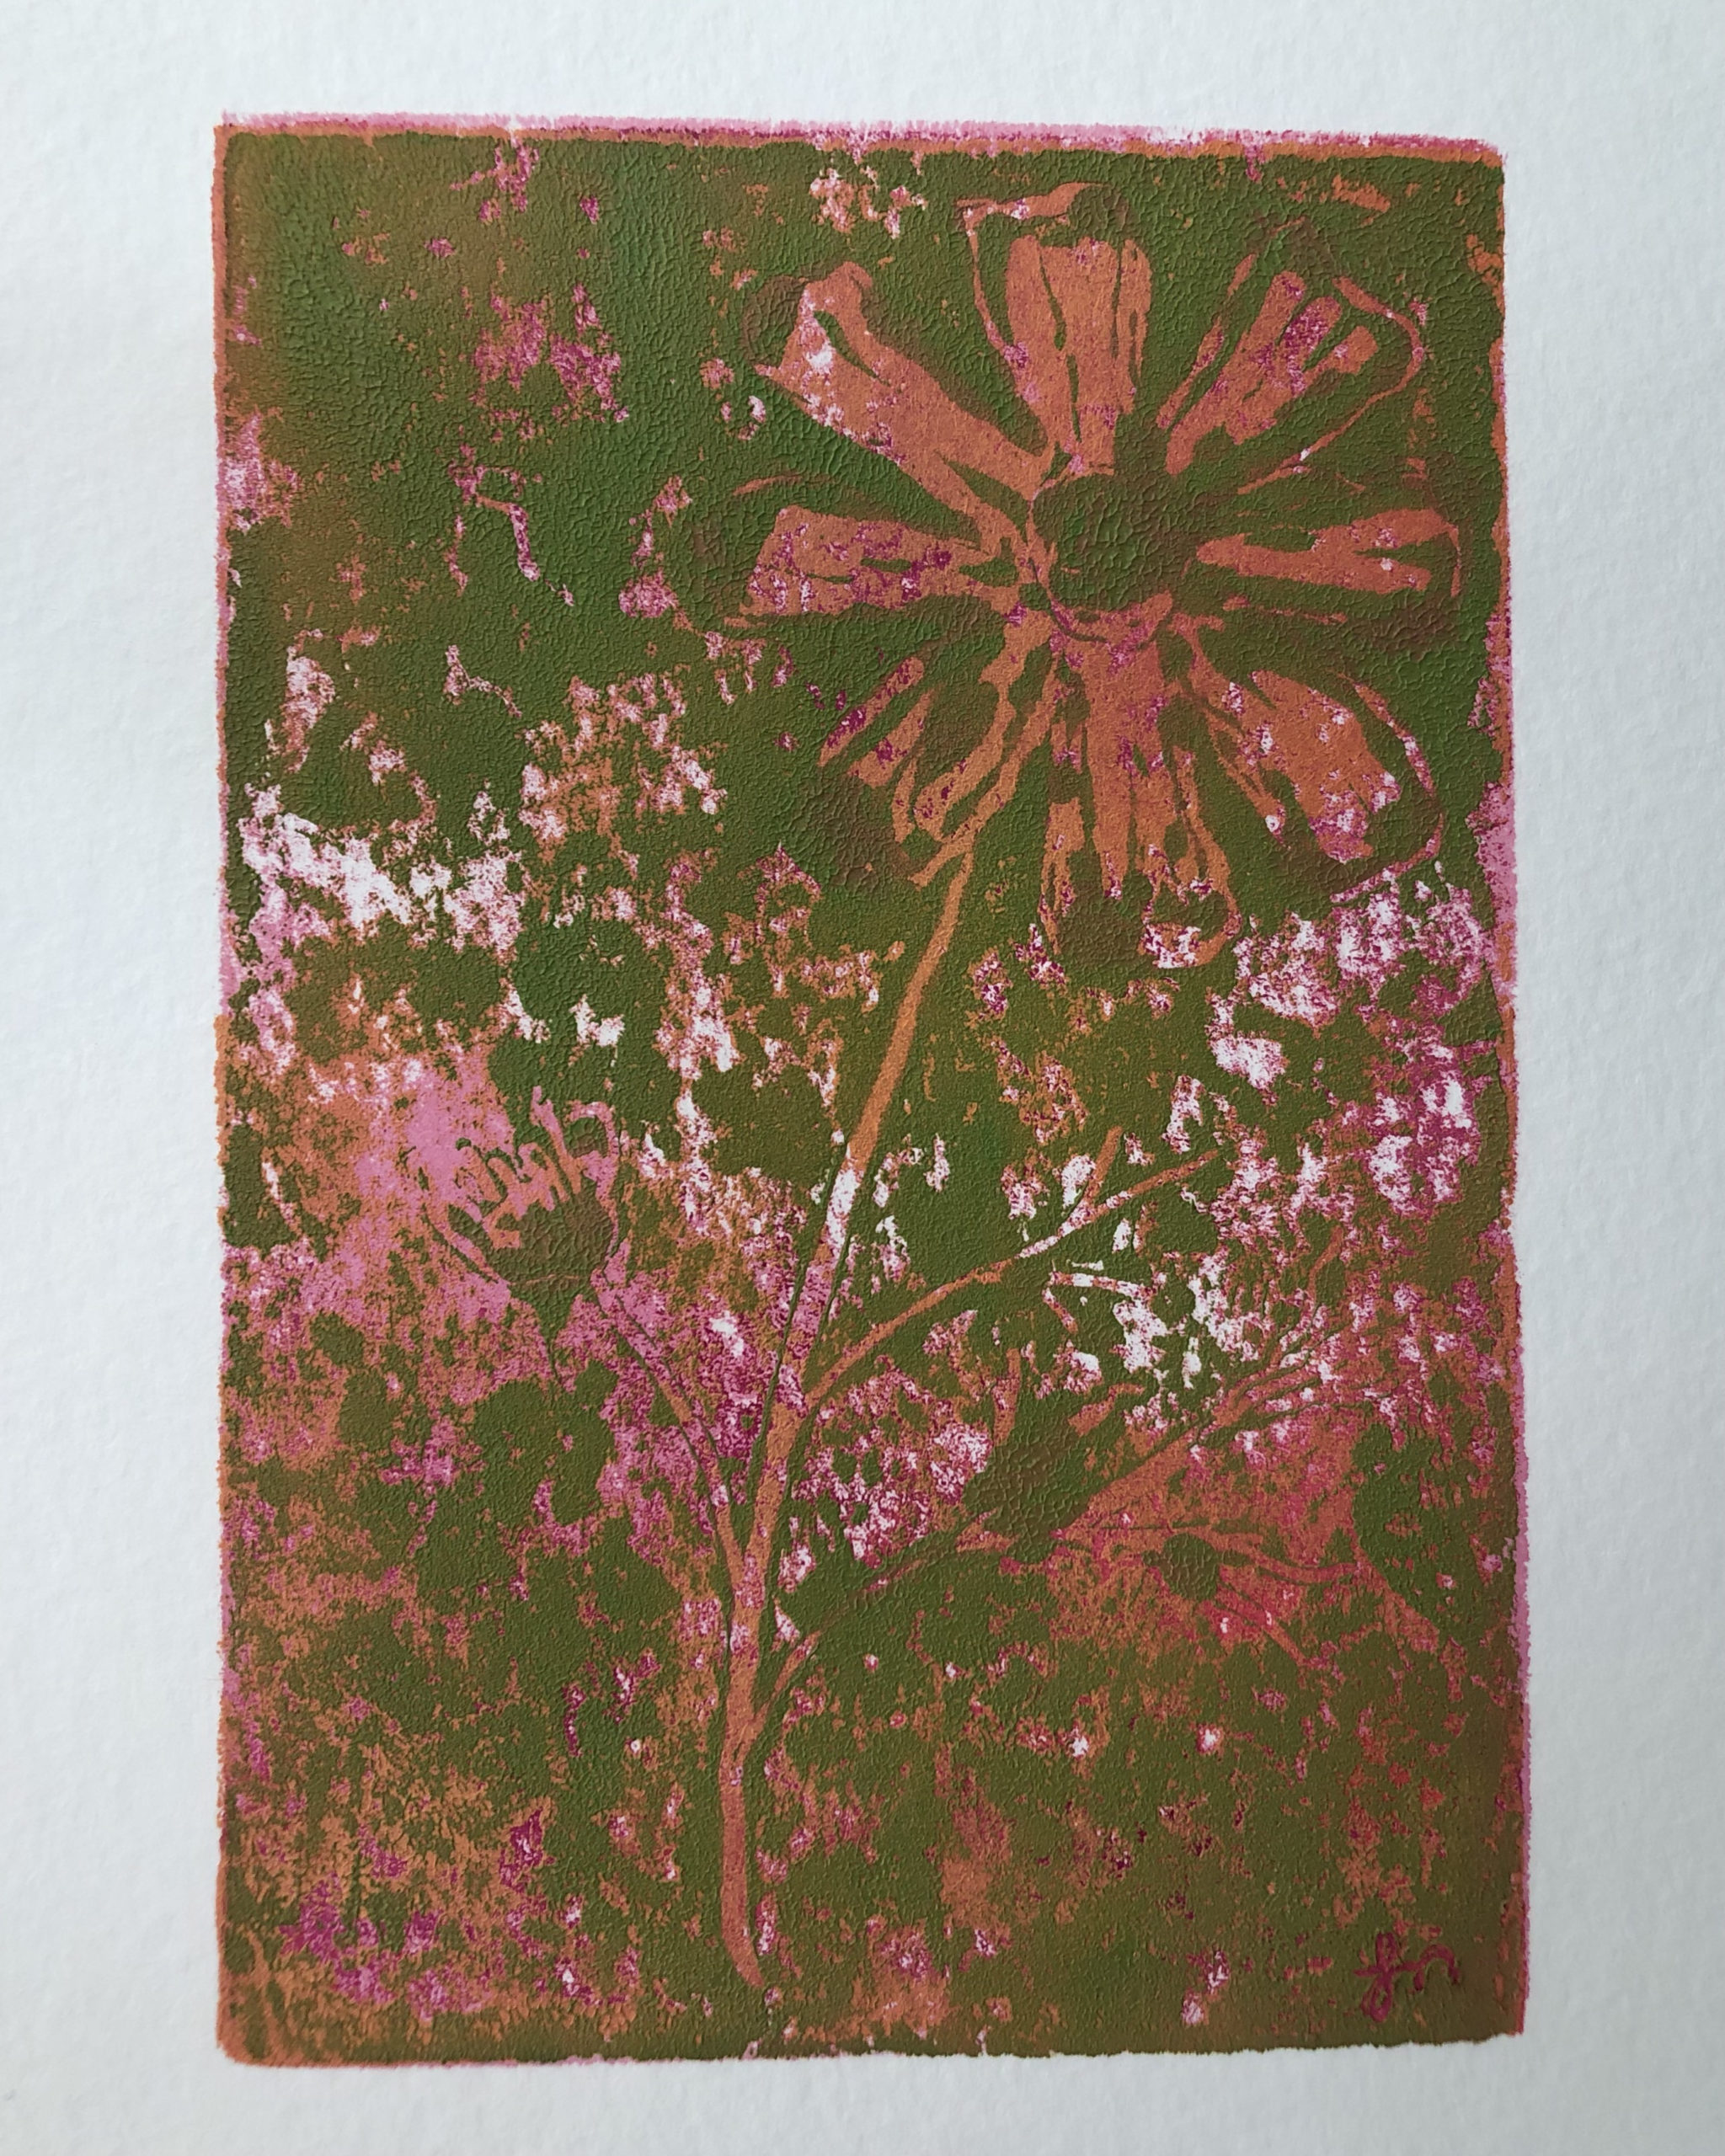
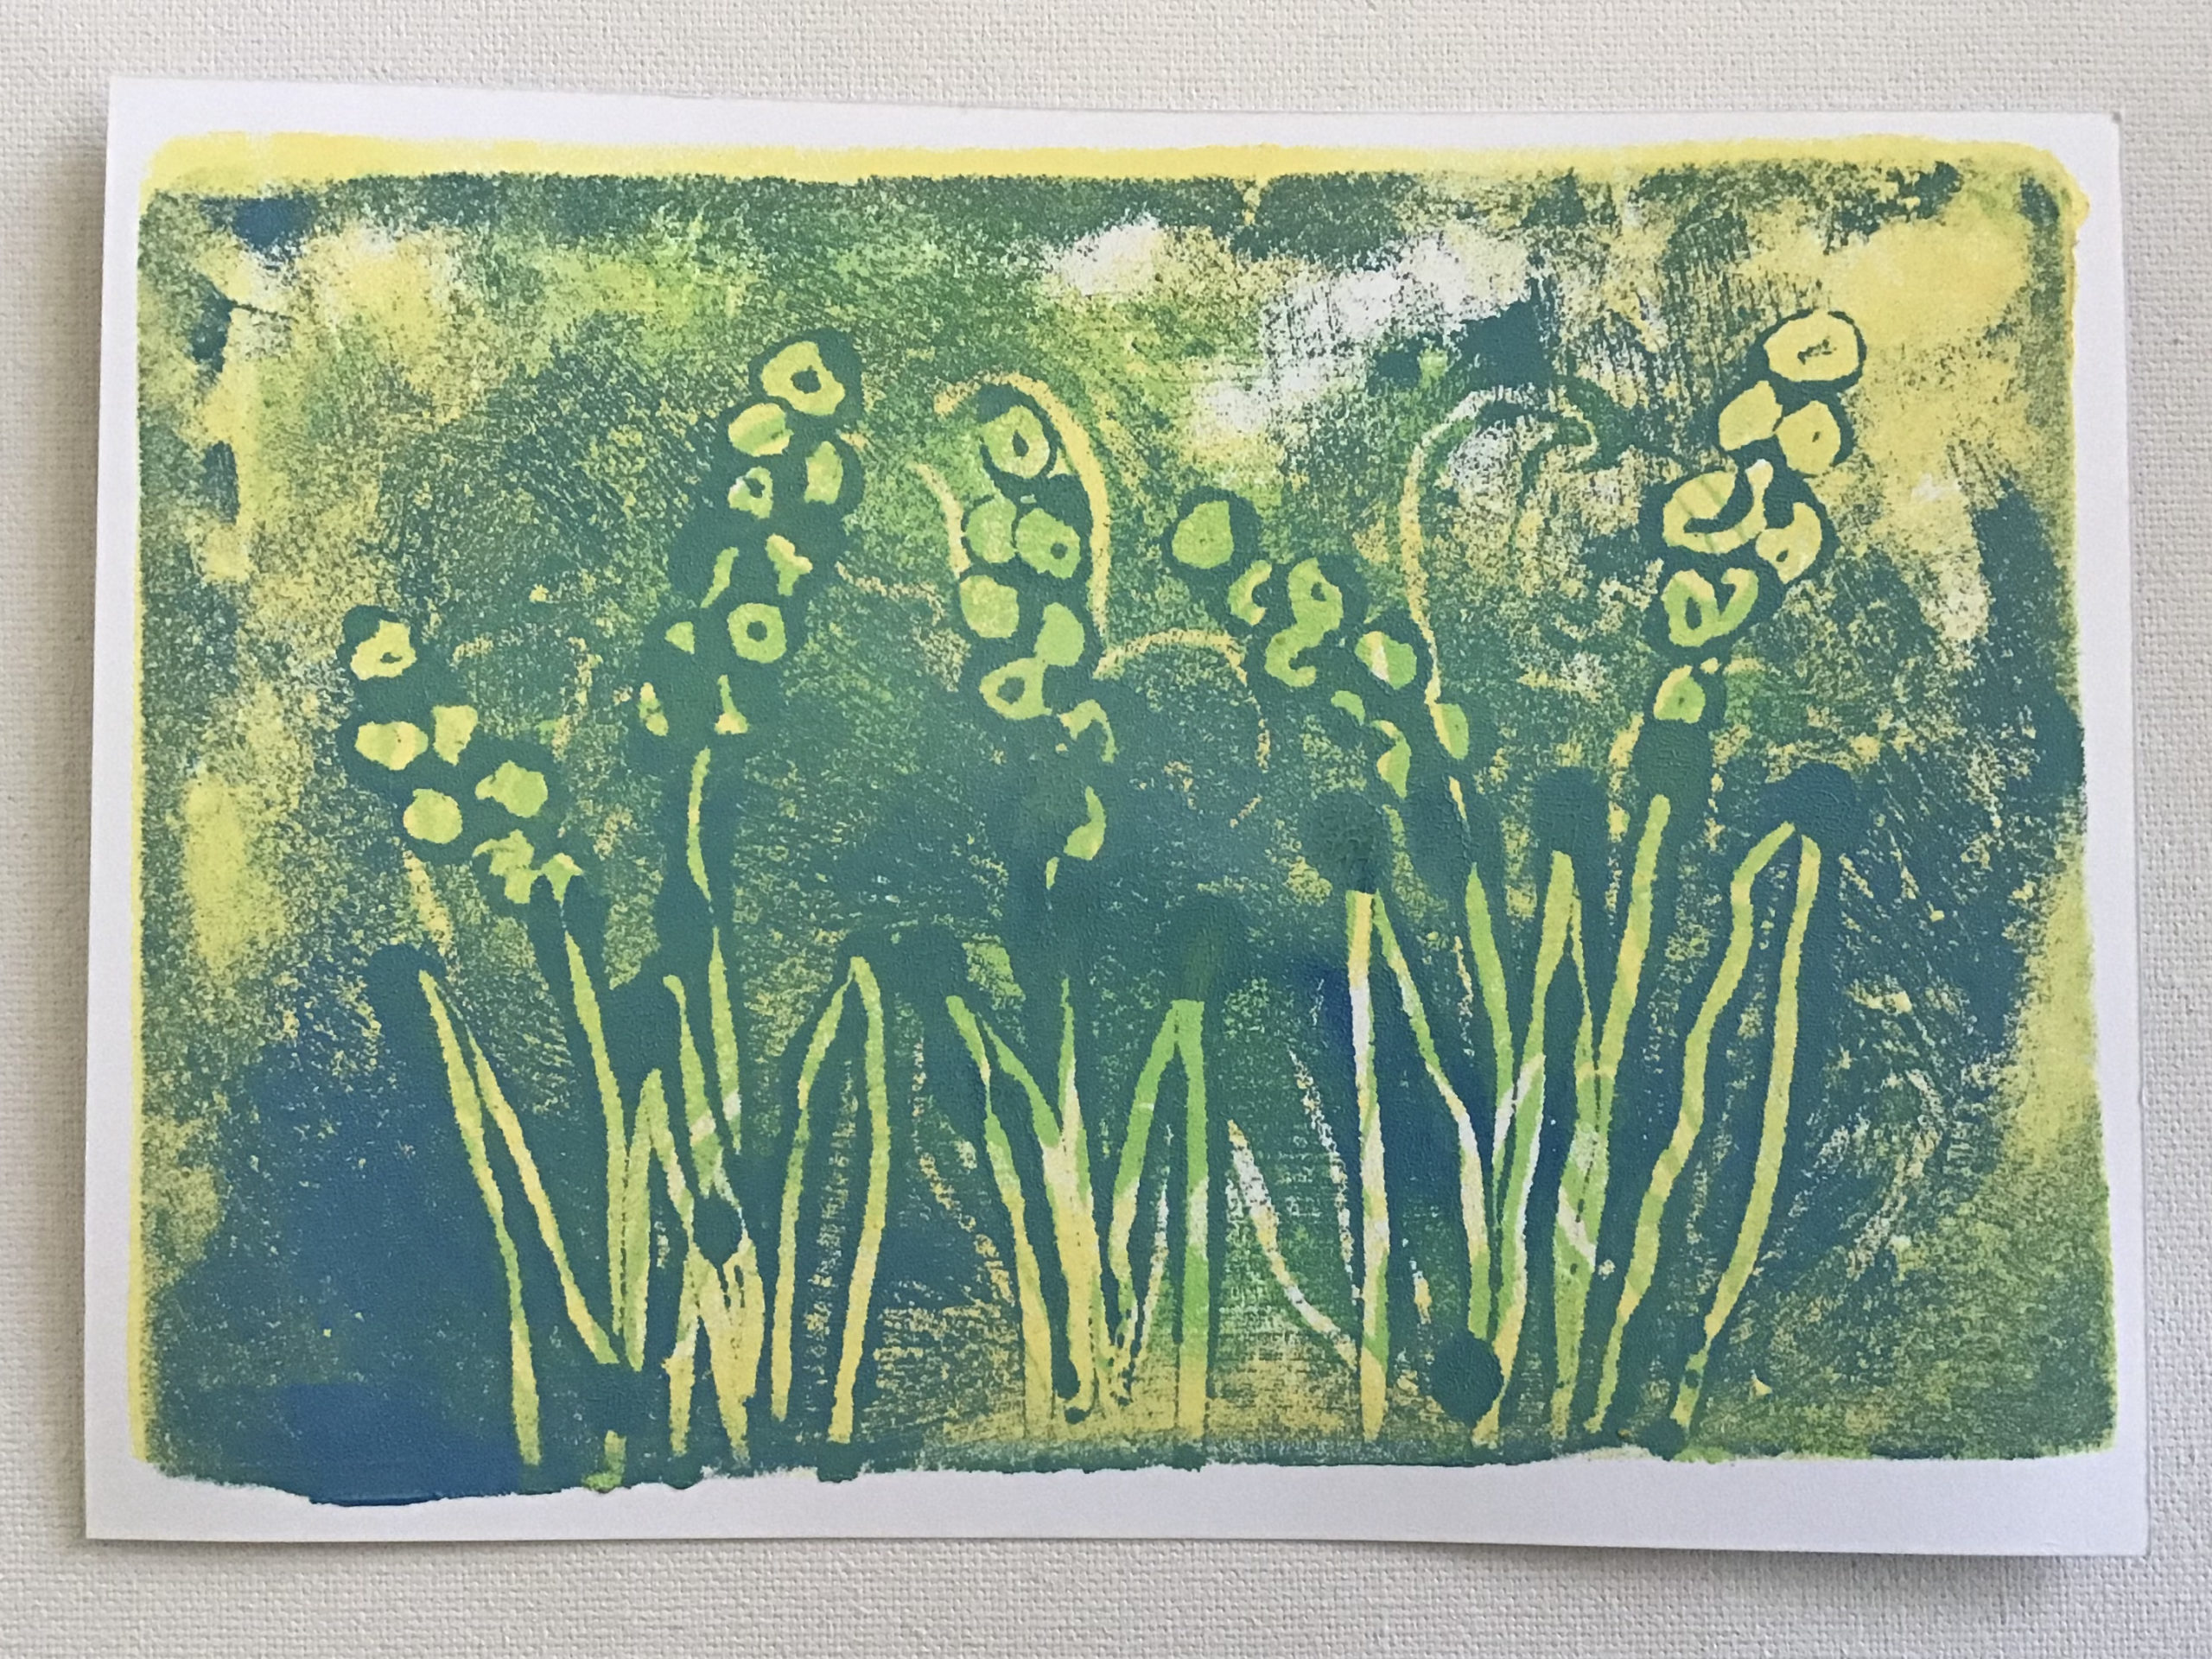
Let your design dry, and if you’d like, proceed with creating another layer on top of the first one.  Wet on wet techniques work too.  Use an old credit card to skim the leftover paint from the foam block before loading a different color onto it.   You’ll be able to do about three prints before needing to reload your block with some some glycerin mix.  How will you know?  The foam block will feel tacky, and you will run the risk of it sticking to and damaging the paper when peeled away from the block.

Well, I hope you’ve been inspired you to give this printing technique a try.  Oh, and unlike gelli printing plates, your foam block is super easy to clean with water and a scrubby sponge, and there’s no fancy storage requirements.

Happy printing!


BETTER THAN GELLI Read More »

BEST CHOCOLATE CAKE EVER

My kitchen is home to a lot of crafting…. crafty crafting, that is.  Culinary crafting, not so much.  But every so often the baking fairy nudges me to play with pots and pans, or in today’s case, one itty bitty mixing bowl and a four inch cake pan.  Yes, today I baked the most delicious, Thumbelina-size chocolate cake ever, and full credit for the recipe goes to The Cake Merchant.

I know, I know, you’re looking at it and thinking how unimpressive my little creation looks.  That’s okay, and I would totally agree.  The point is, I simply wanted chocolate cake.  Delicious cake, without the gooey decadence, and this recipe delivers that.  It’s moist, has great texture and just the right amount of chocolatey deliciousness.  Another bonus, it’s(can be) vegan.

Another credit to The Cake Merchant – explaining the importance of using cake strips.  Hmm… what are cake strips?  I had to look that one up.  Cake strips are placed snuggly around the cake pan just before baking, and prevent the top of your cake from forming a dome shape.  Using cake strips is especially important for artisanal cake decorating, as you would want the top of your cake to be nice and level.  I further investigated on how to make my own.

I grabbed some cotton ticking fabric and stitched it up on my sewing machine in a matter of minutes.  They really work!  Of course you can purchase cake strips, but if you have a sewing machine and some 100% cotton fabric on hand, making them is the way to go.  Fabric cake strips must be dampened right before slipping them onto the pans.

Now, if you’ll excuse me, I must go eat cake.

BEST CHOCOLATE CAKE EVER Read More »

CRAFTING HEAT TOOL STANDS

Today I’d like to chat about a rather practical crafty topic, support stands for crafting heat tools.

Hand held heat devices are staples for many artists and crafters, the reliable ones held on to for many years.  But, I’ll bet the support stands that came with them were tossed in the trash long ago.  Those flimsy stands might have even been stomped on or thrown clear across the room in a disgusted fit of rage directed at the company’s design team.  Sound familiar?   Pictured below are some of my makeshift solutions that really do work.

First up, it pays to take up cigarette smoking.  Just kidding.  However, it does pay to purchase an ashtray at a local thrift or dollar store.

This weighty little jar, former vessel to some very fancy and exorbitantly over-priced yogurt, is actually the preferred holster for my heat gun.  I never have to worry about accidentally melting my vinyl table cover when I set it down after each use.

This little shard, dug up from my garden years ago, cradles my stencil cutter very nicely.

And lastly….. with a simple block of wood and two little screws, you can give some dignity to that stupid flimsy stand.

Now, before you run off and craft your own “smart stand”, take note –

I’ve got a gelli printing alternative that you won’t want to miss!

Sweet, right?

Stay tuned…..


CRAFTING HEAT TOOL STANDS Read More »

ARTSY PASTEY

I’ve gone artsy-craftsy mad, all but creating since early January.  The trigger?   A determination to shed my comfort zone of putting too much mental energy into what I do.  I focus on purpose and end results with my craft way too often.  Making paste paper, my latest kick, has given me permission to be more relaxed in my approach to art making.  It’s somewhat like loose sketch/drawing exercises, only with paint, and is just so liberating.

So, what is it, you ask?  Paste paper is associated with book making and typically used as cover or end papers in book binding assembly.  In a nutshell, a paint/paste mixture is first brushed onto damp paper.  Patterns are then created in the paste paint using a comb, crumpled plastic wrap, a sponge or any suitable “tool” you have on hand.  The pattern and color combinations are endless.

To experiment, I did a light color wash on the back side of a few papers, and then…… the crafty gears in my head starting turning.  I thought, these papers would make for very lovely stationery and brighten a recipient’s day.

After all, it’s still winter and someone may need a little extra sunshine….

Perhaps flowers would bring a smile to ones face……

Or, maybe someone may just need a BIG hug.

The are many YouTube tutorials out there if you like to give this art form a try, but I must give particular credit to DAS Bookbinding’s video; I was instantly pasted ;D

ARTSY PASTEY Read More »

Scroll to Top