ART PAPER “POSTAGE STAMPS”

I’ve been on a “play with paper” kick lately, deeply immersed in the exploration process.  The avenues are endless, but when your work surface happens to be the kitchen table, small scale projects are key.  The one I’m sharing with you today is postage stamp size – literally!

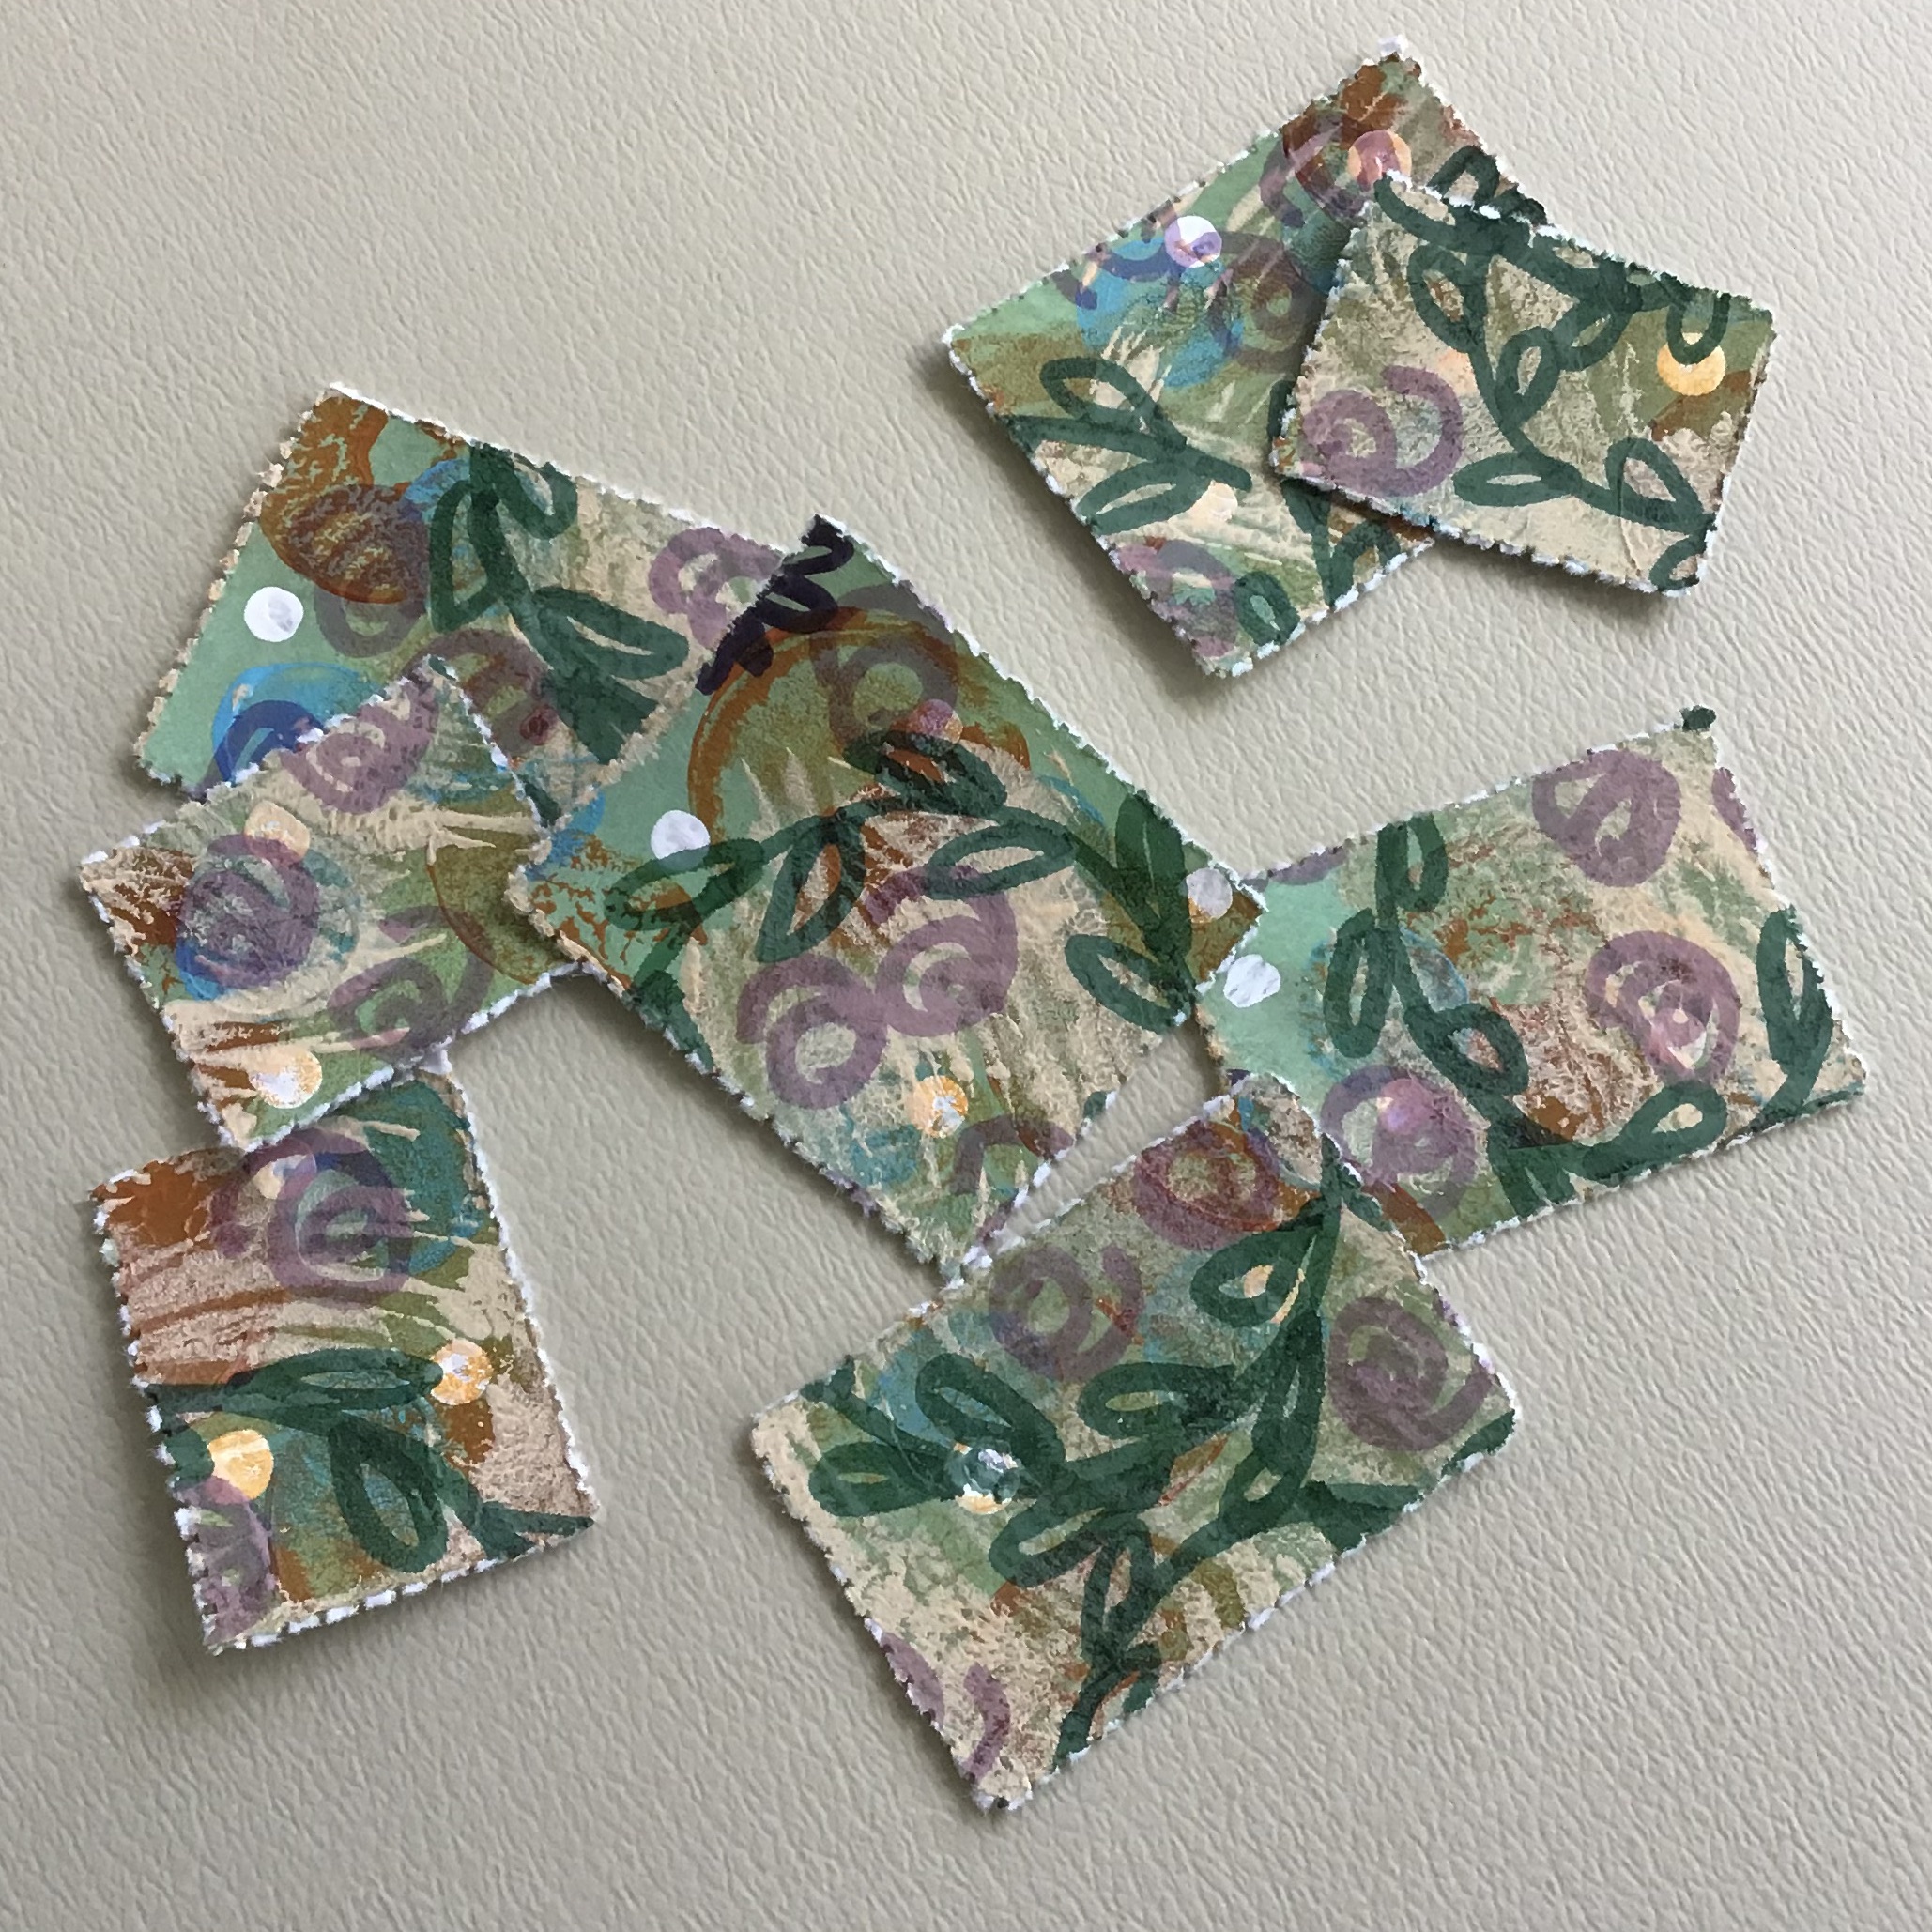
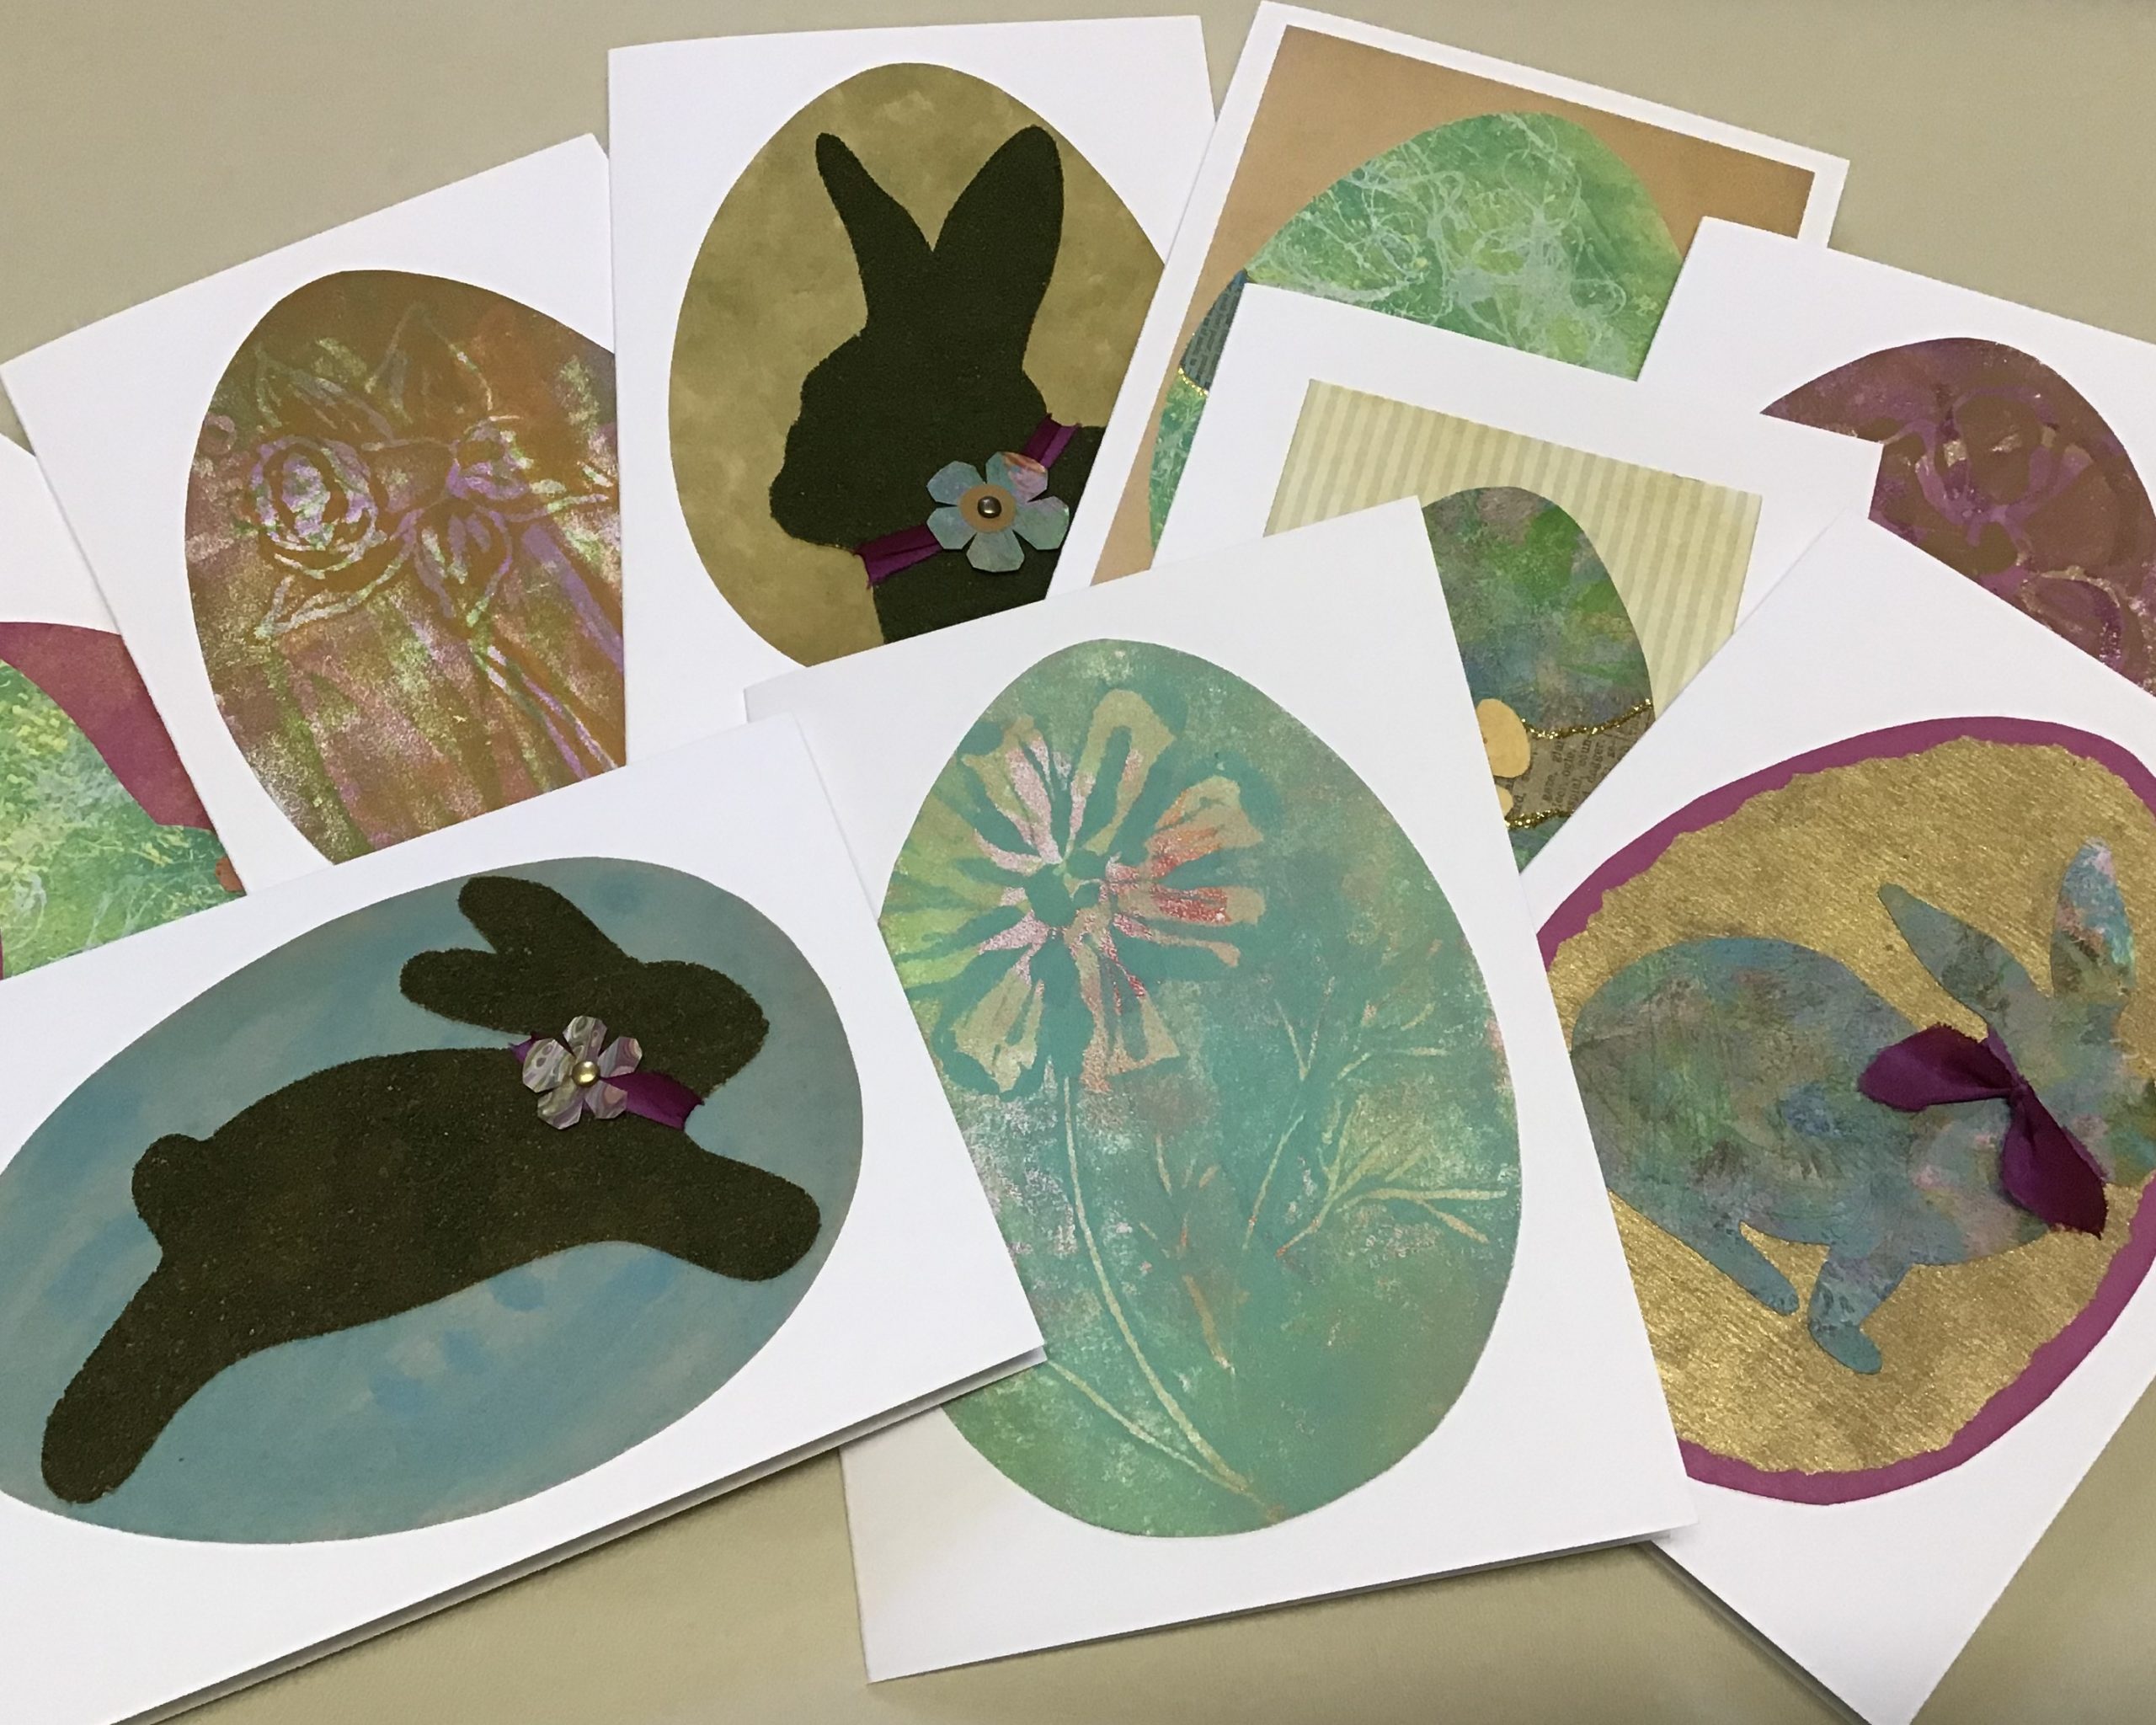
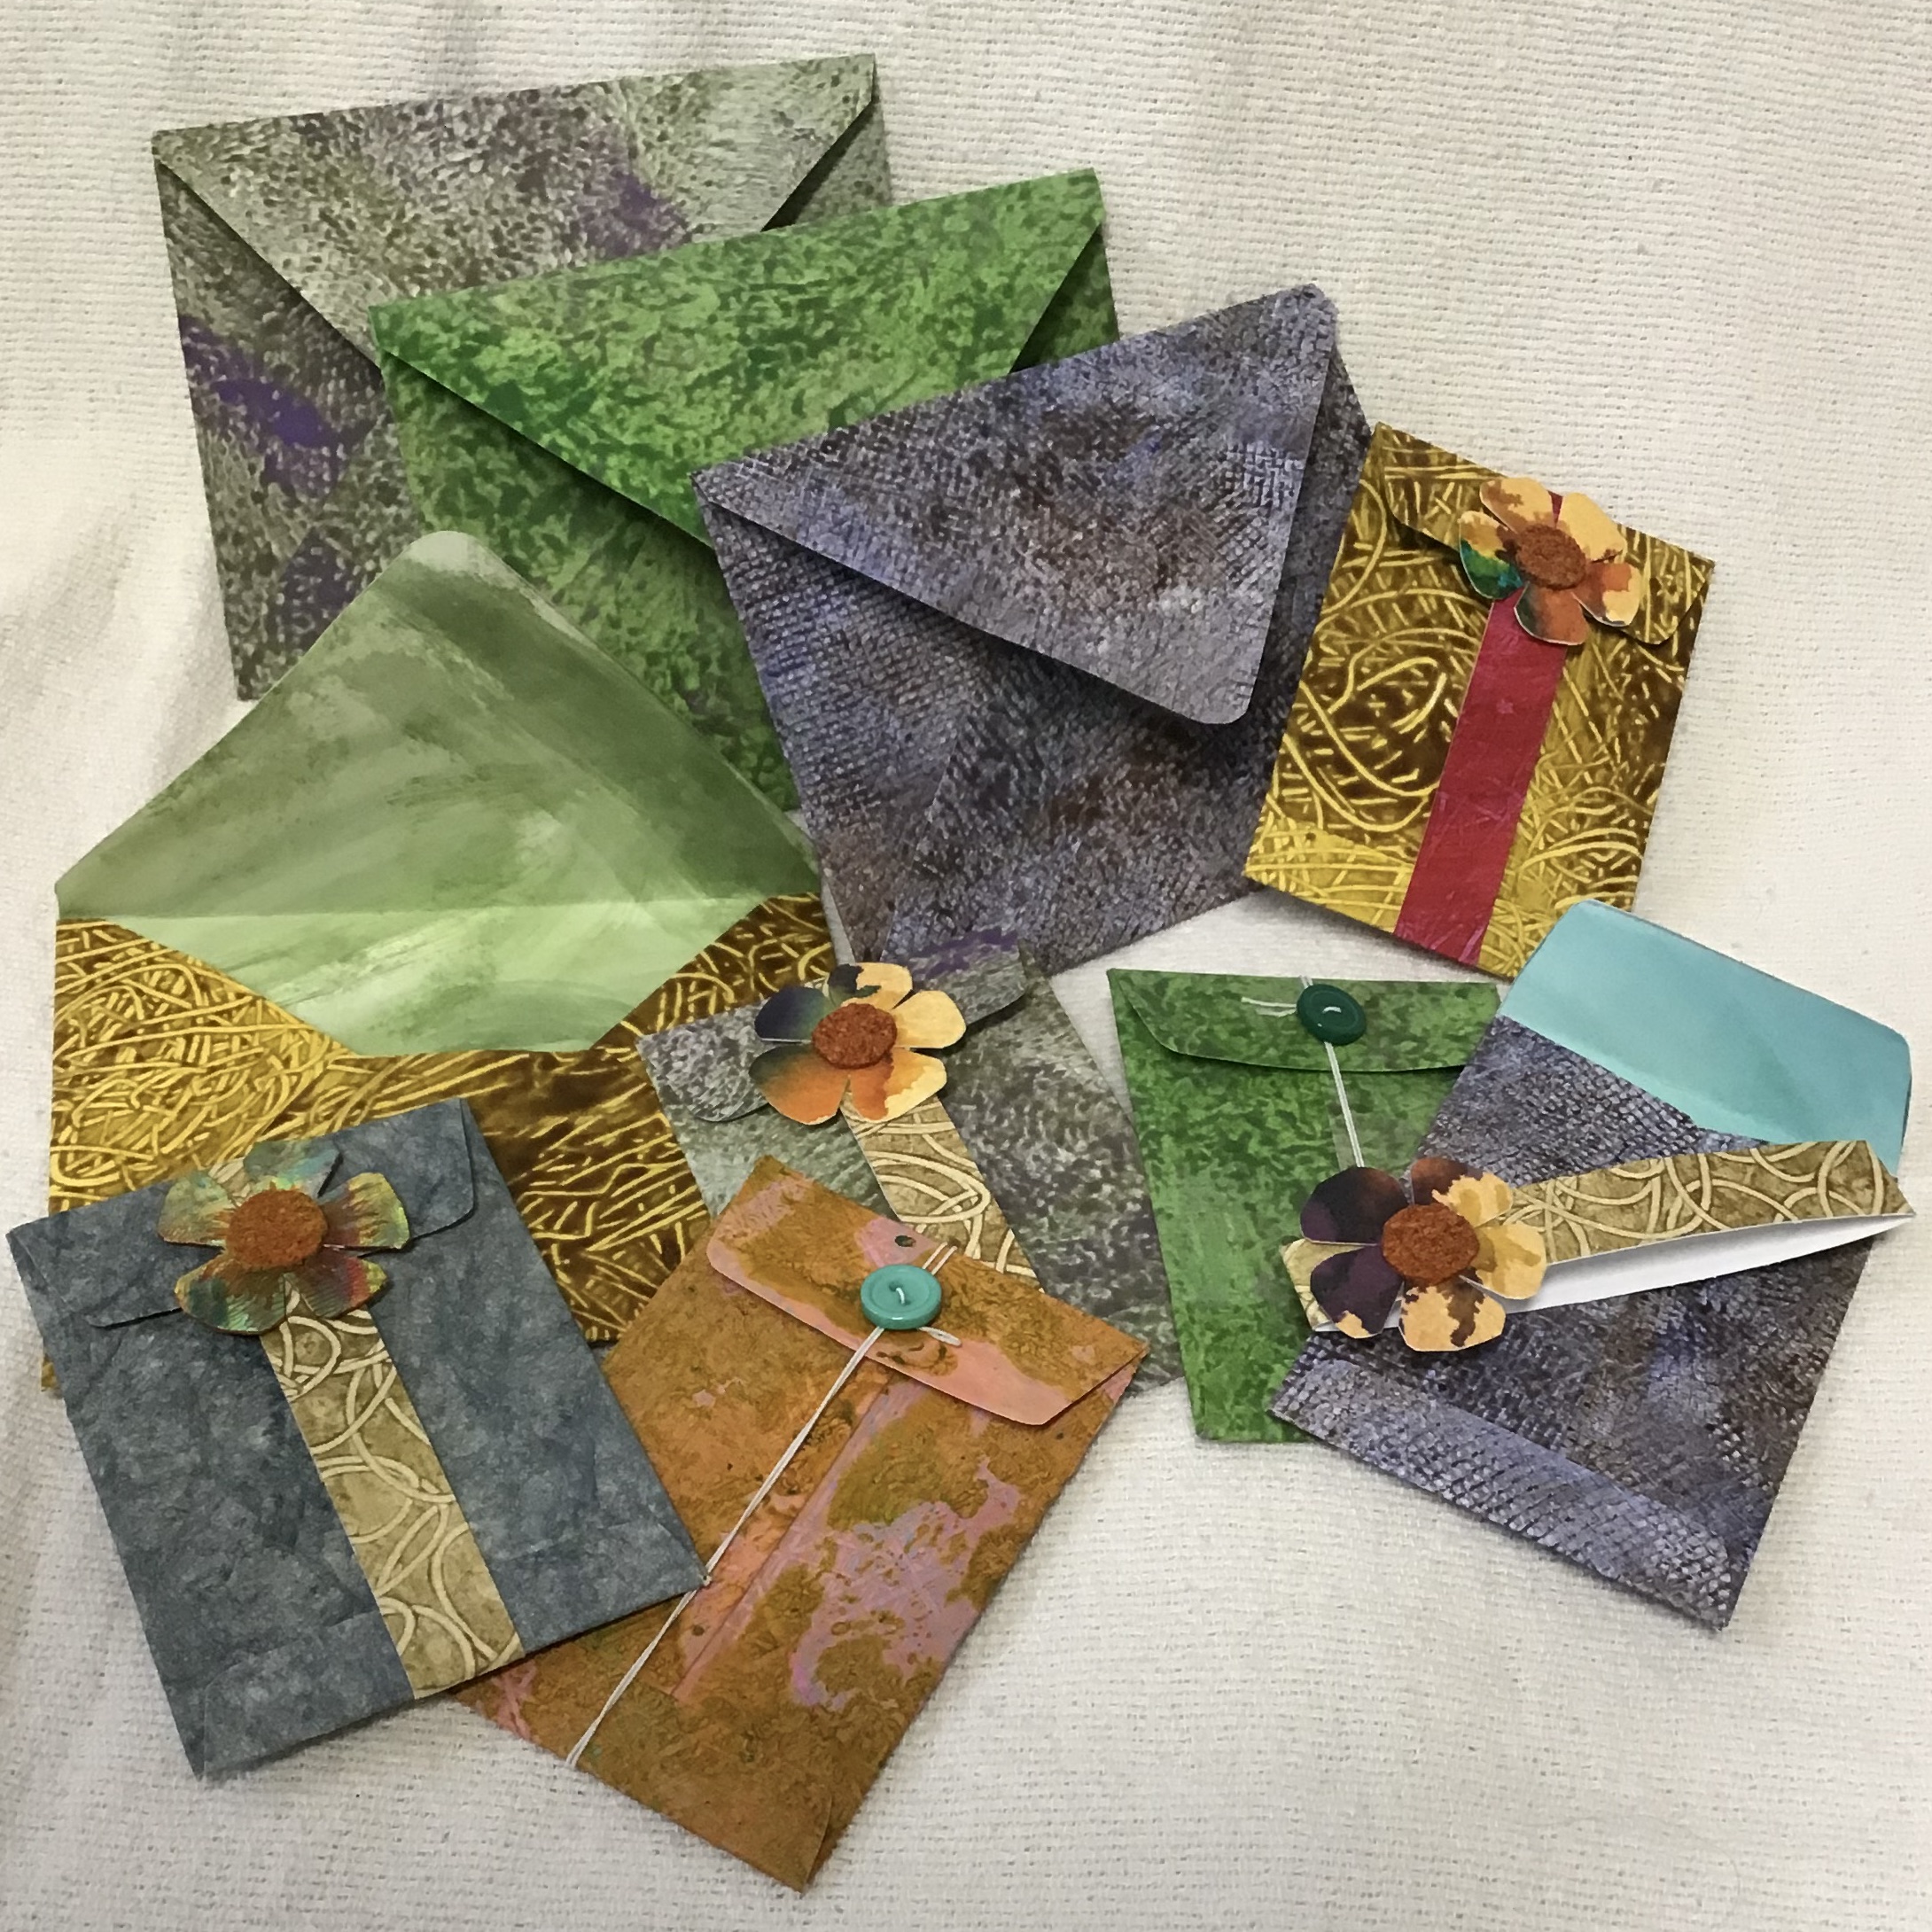
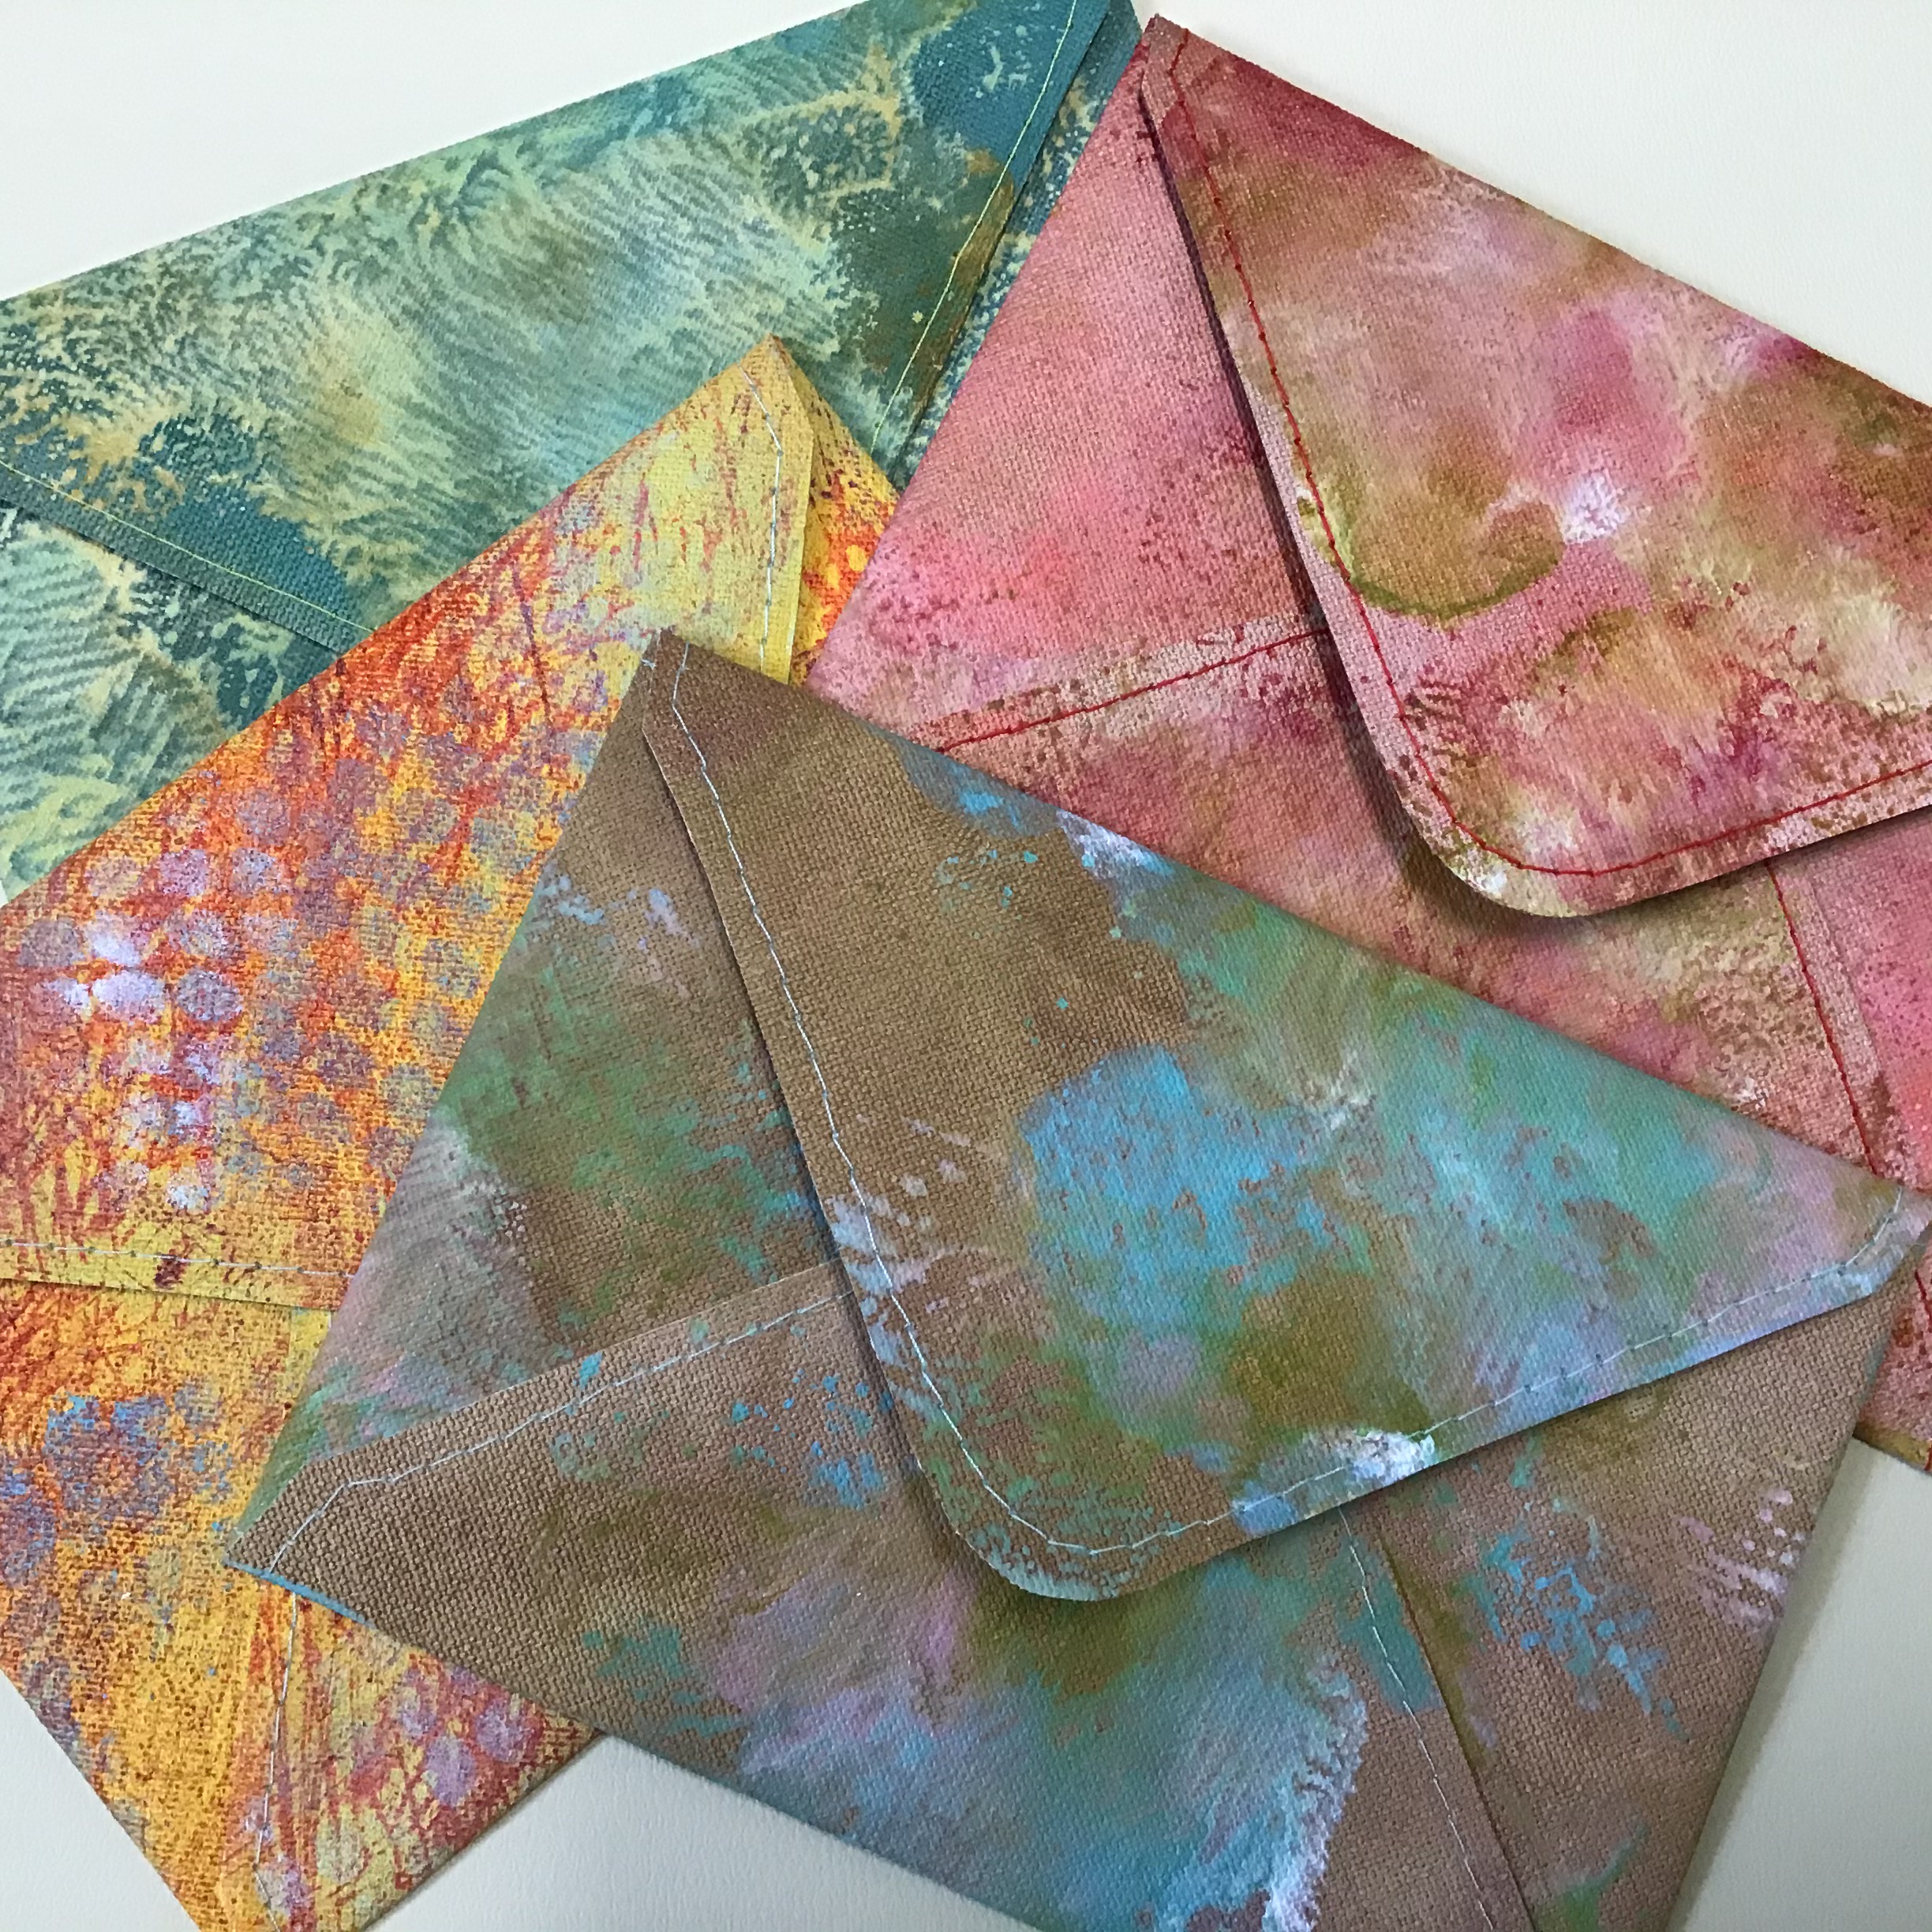
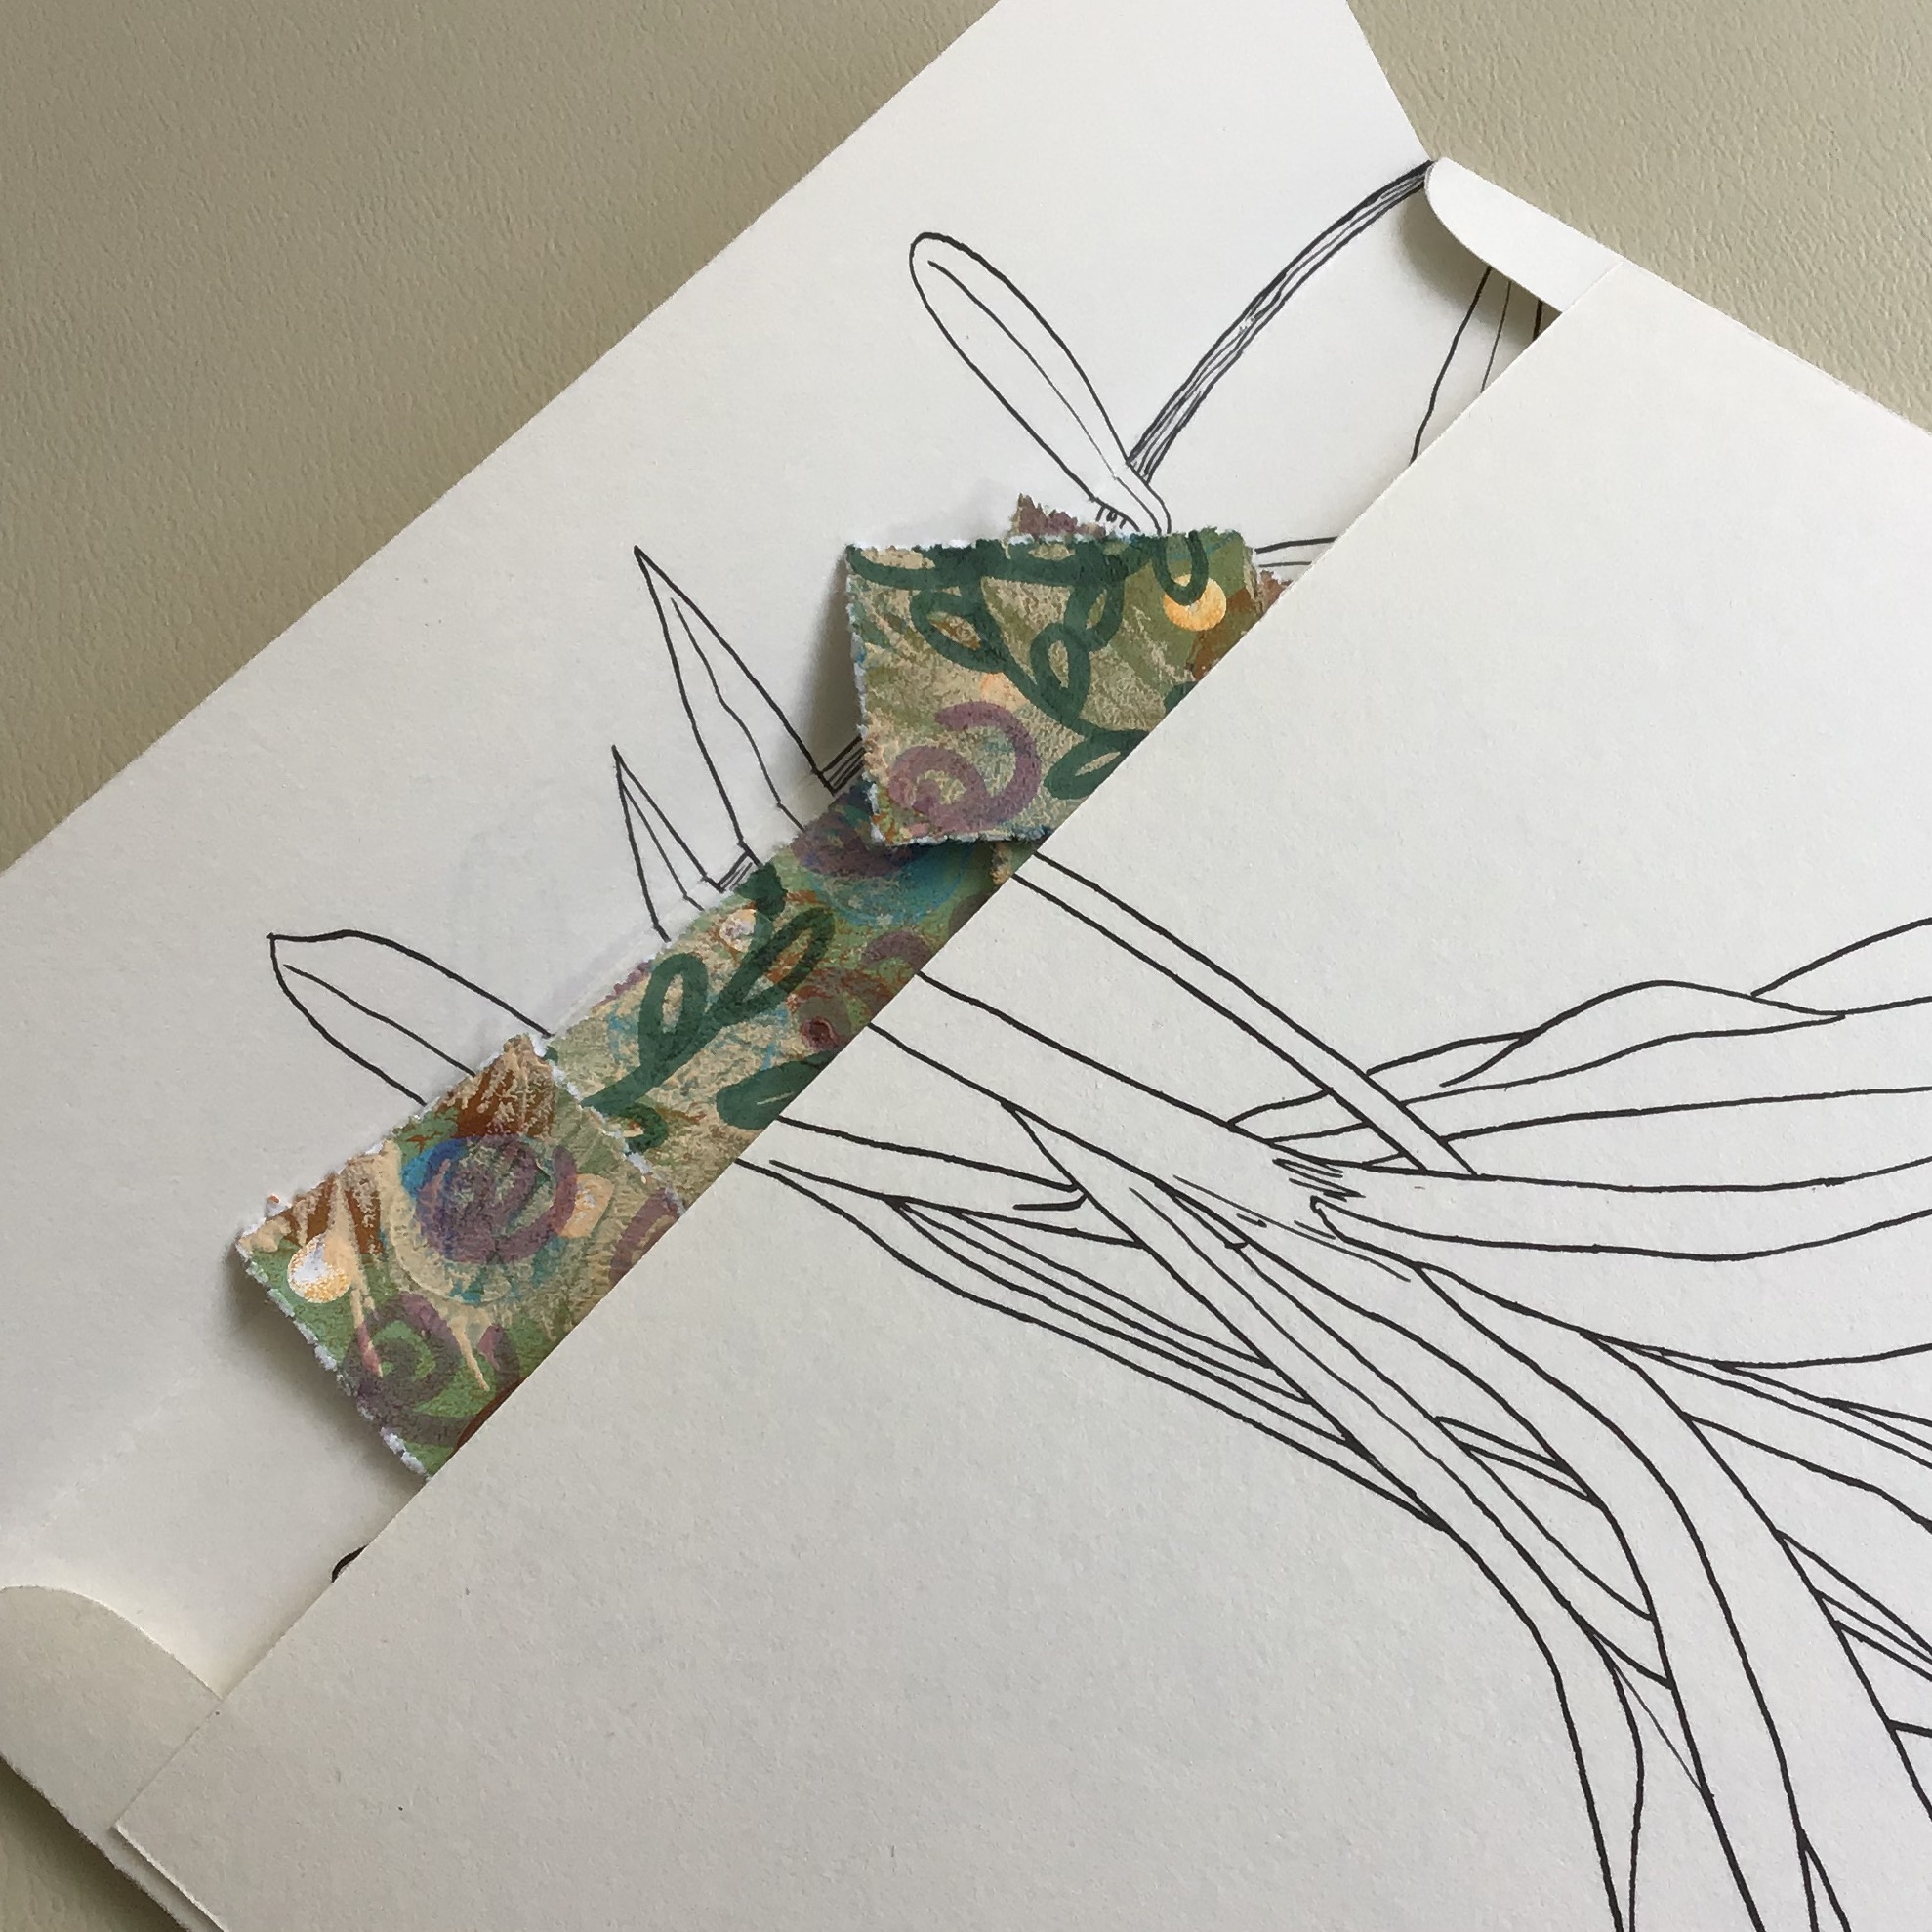
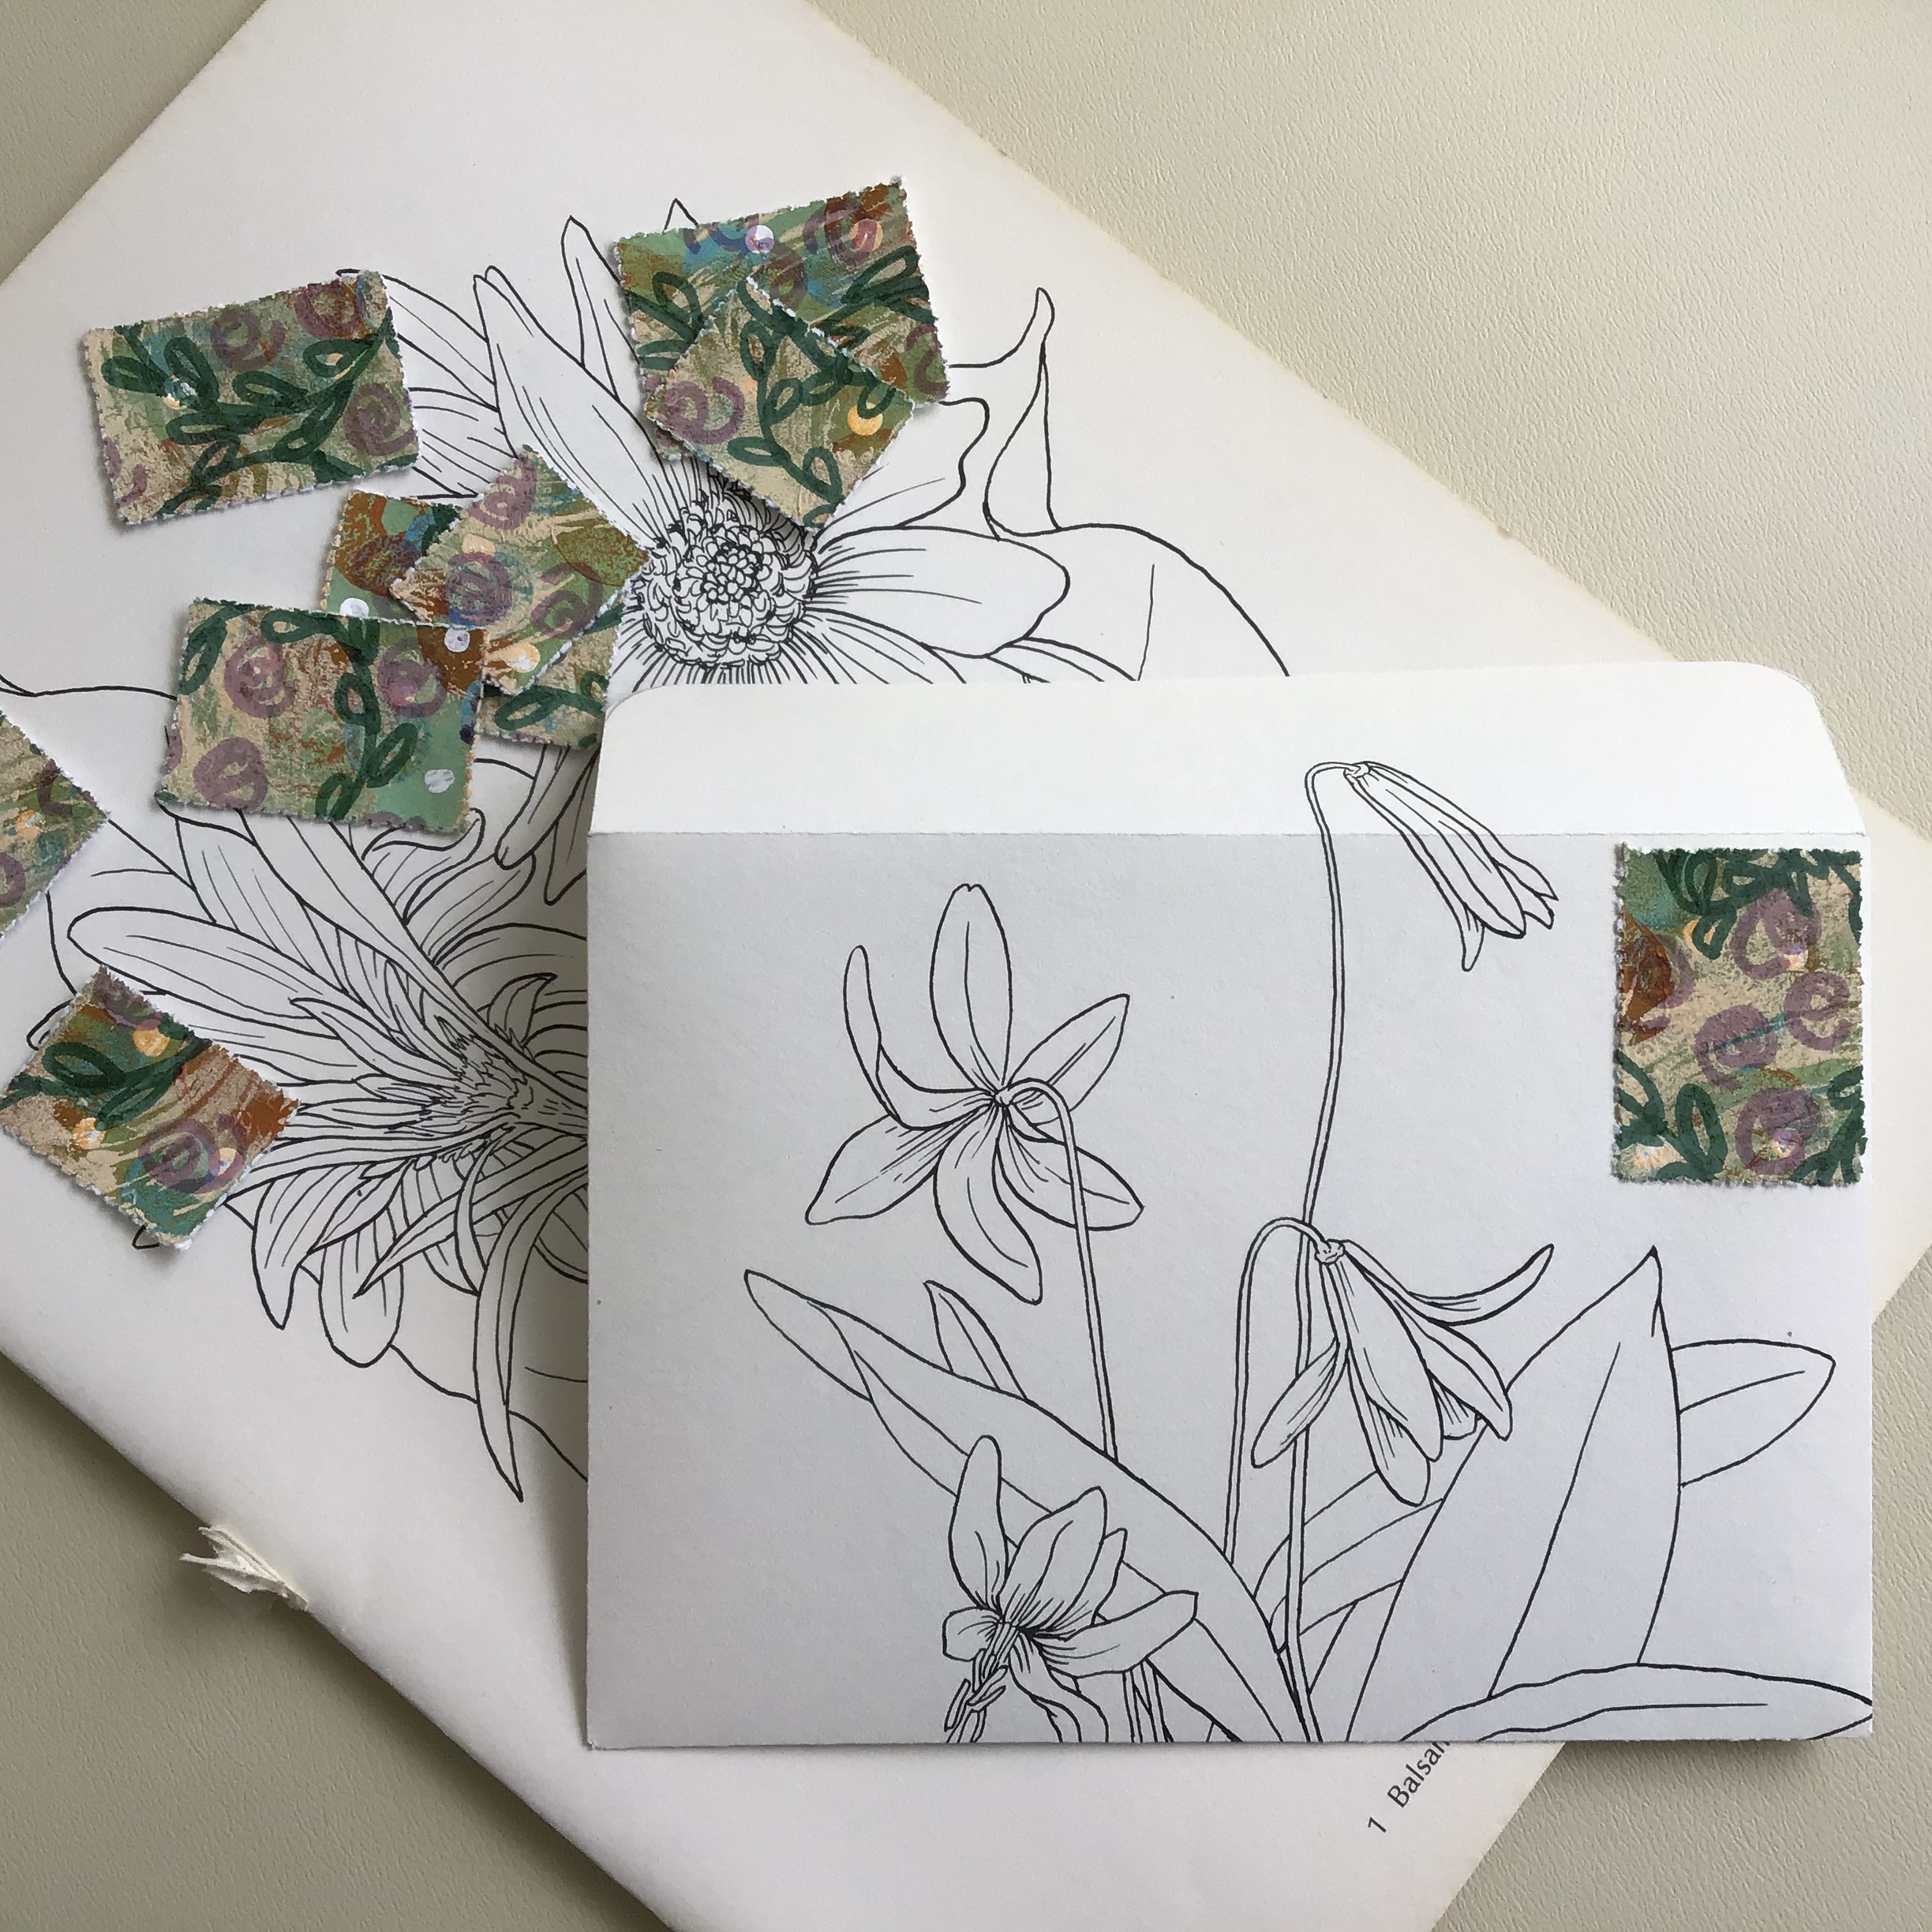
Aren’t they darling?  No, you can’t use them to send letters, but these little art stamps can adorn and embellish handmade note cards/stationery, art/junk journals and mix media projects.  You will need a sewing machine to make them.  However, if you do not own a sewing machine, a pair of craft scissors with a decorative edge will do.

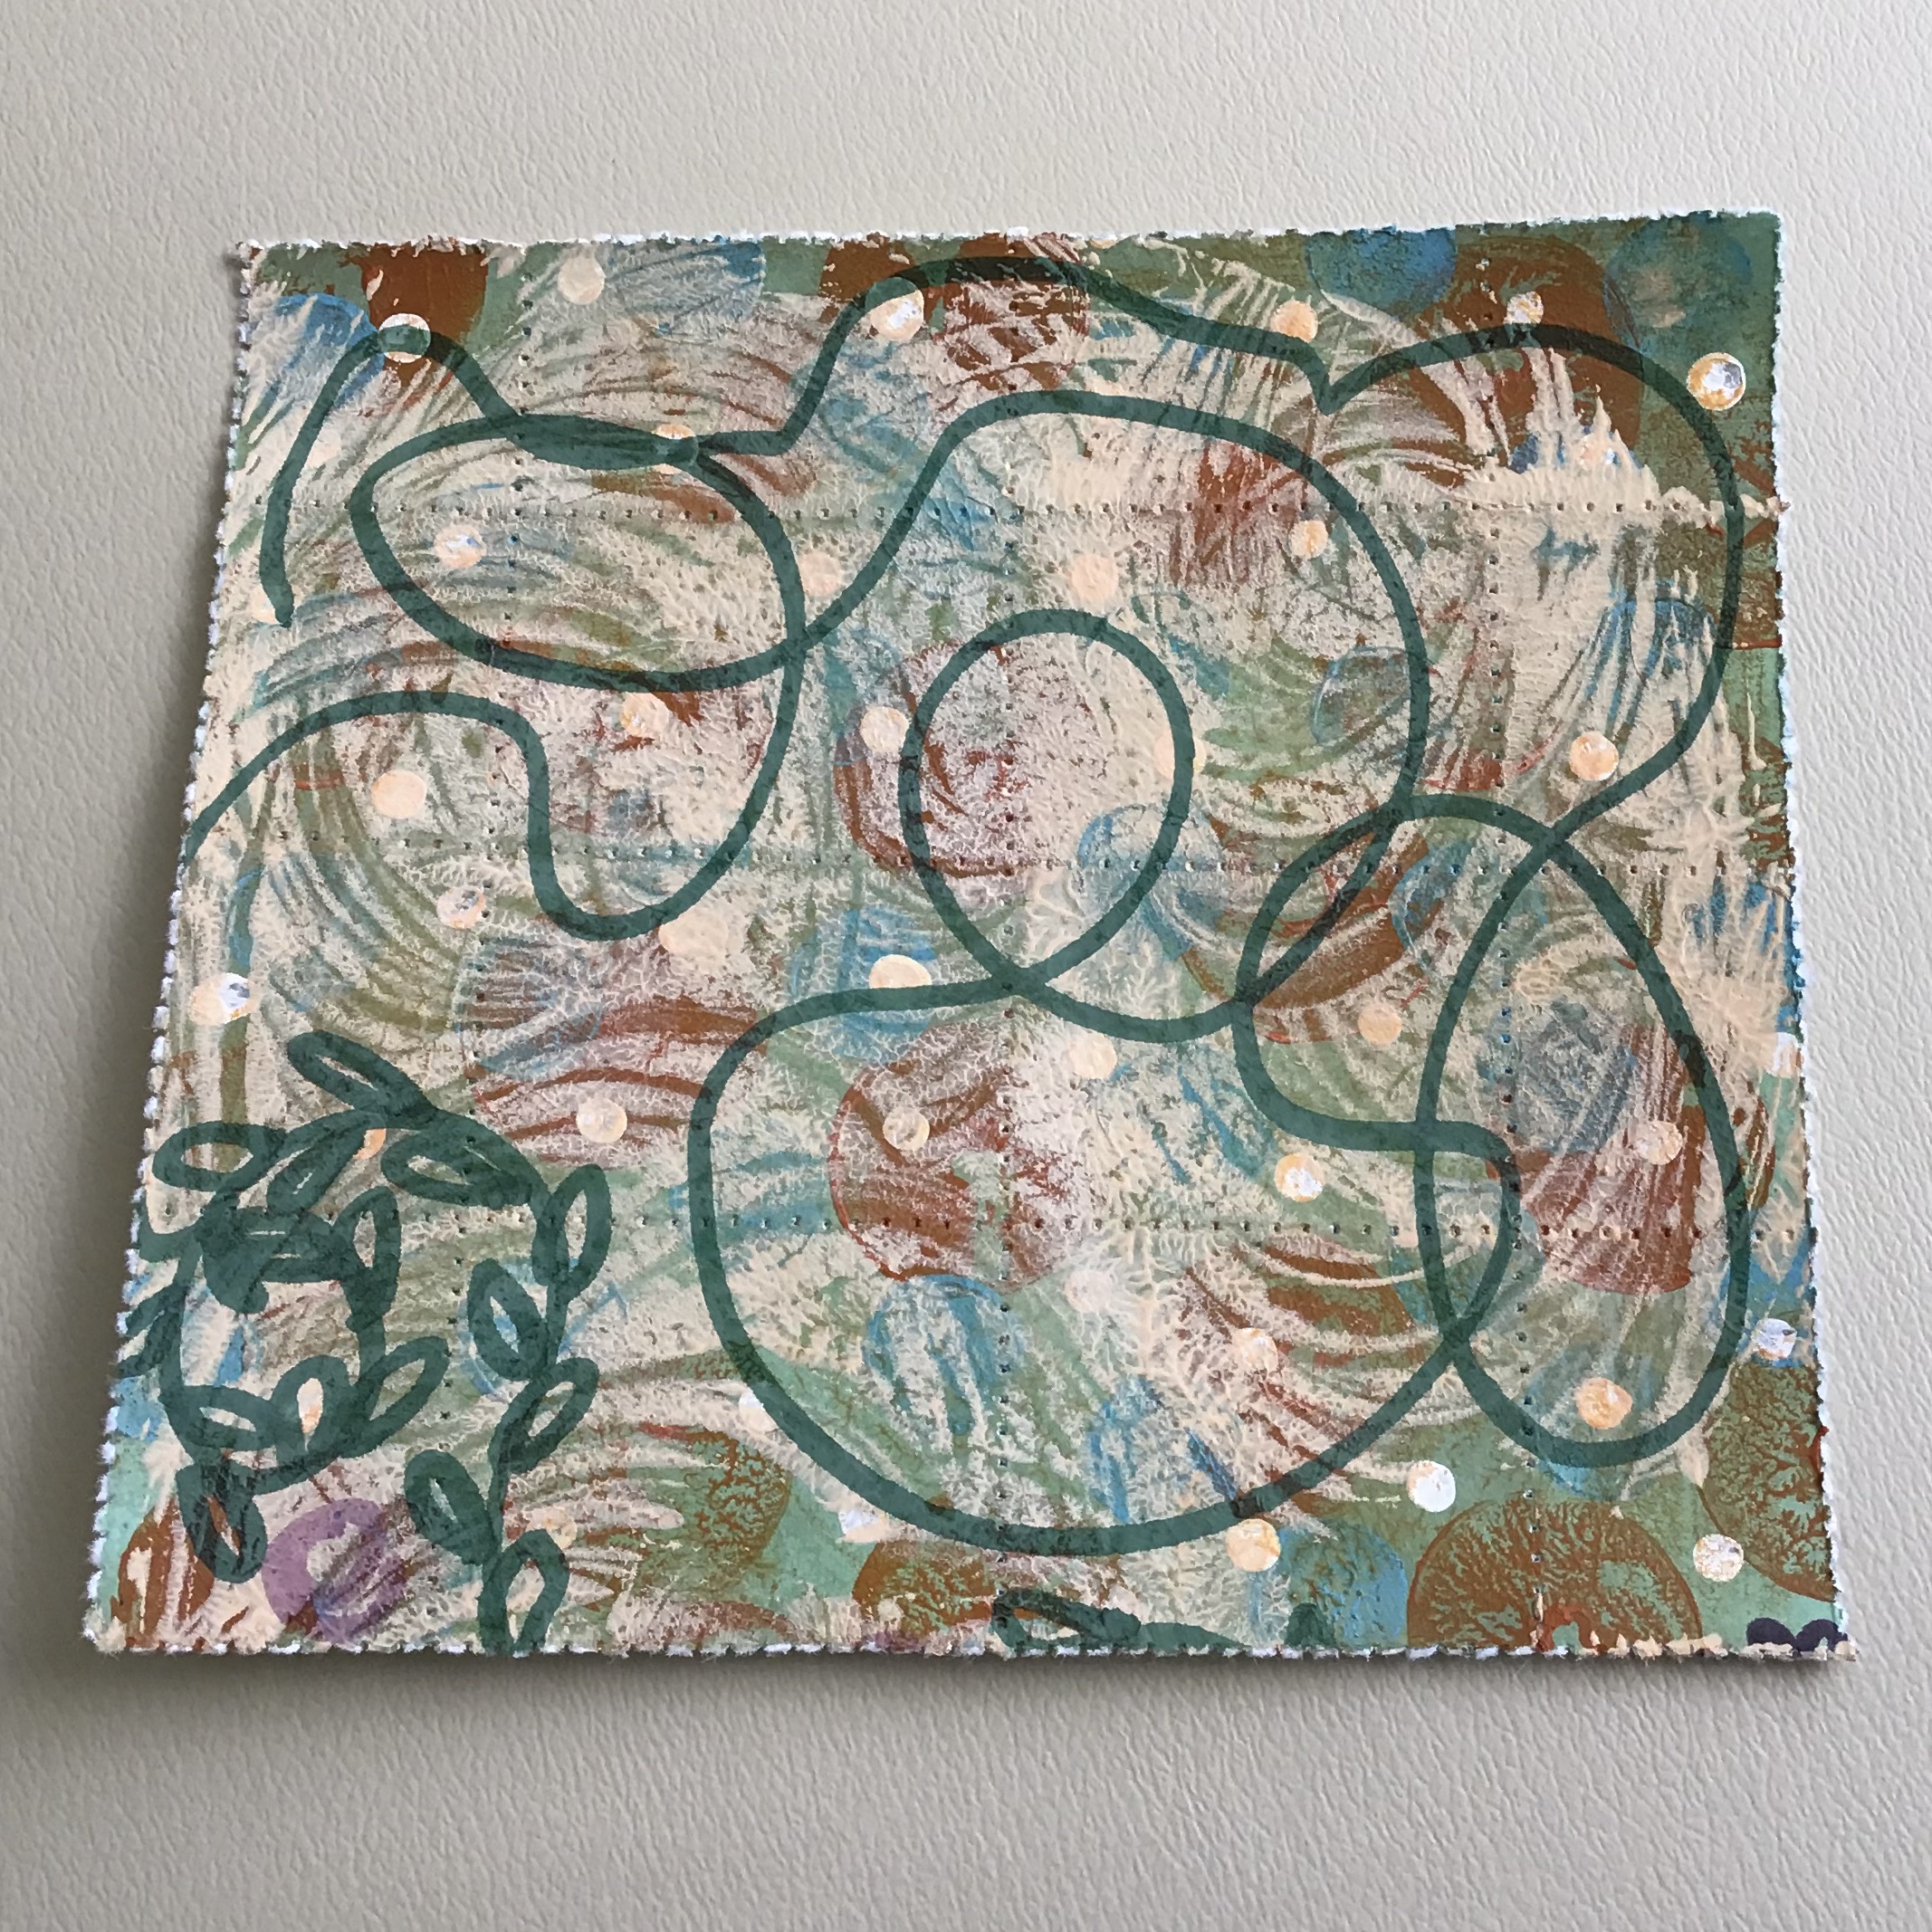
Use a pencil and ruler to lightly draw a grid on a piece of card stock.  Sew over your lines(without any thread!) using a medium setting stitch length.  Now, decorate one side of your paper.  Anything goes – paint, marker, ink, colored pencil, stencils, etc….  If you’d like, seek out a recipe for making a batch of homemade lick-able stamp glue and brush it onto the blank side of the card stock.  Or, just paste your stamps down with glue.

You’re almost done.  Simply fold back and forth along the perforations and tear the card stock into little postage stamp size masterpieces.  That’s it!  What to do with them is completely up to you – have fun.  They make for darling fodder to pass on to a crafty friend.

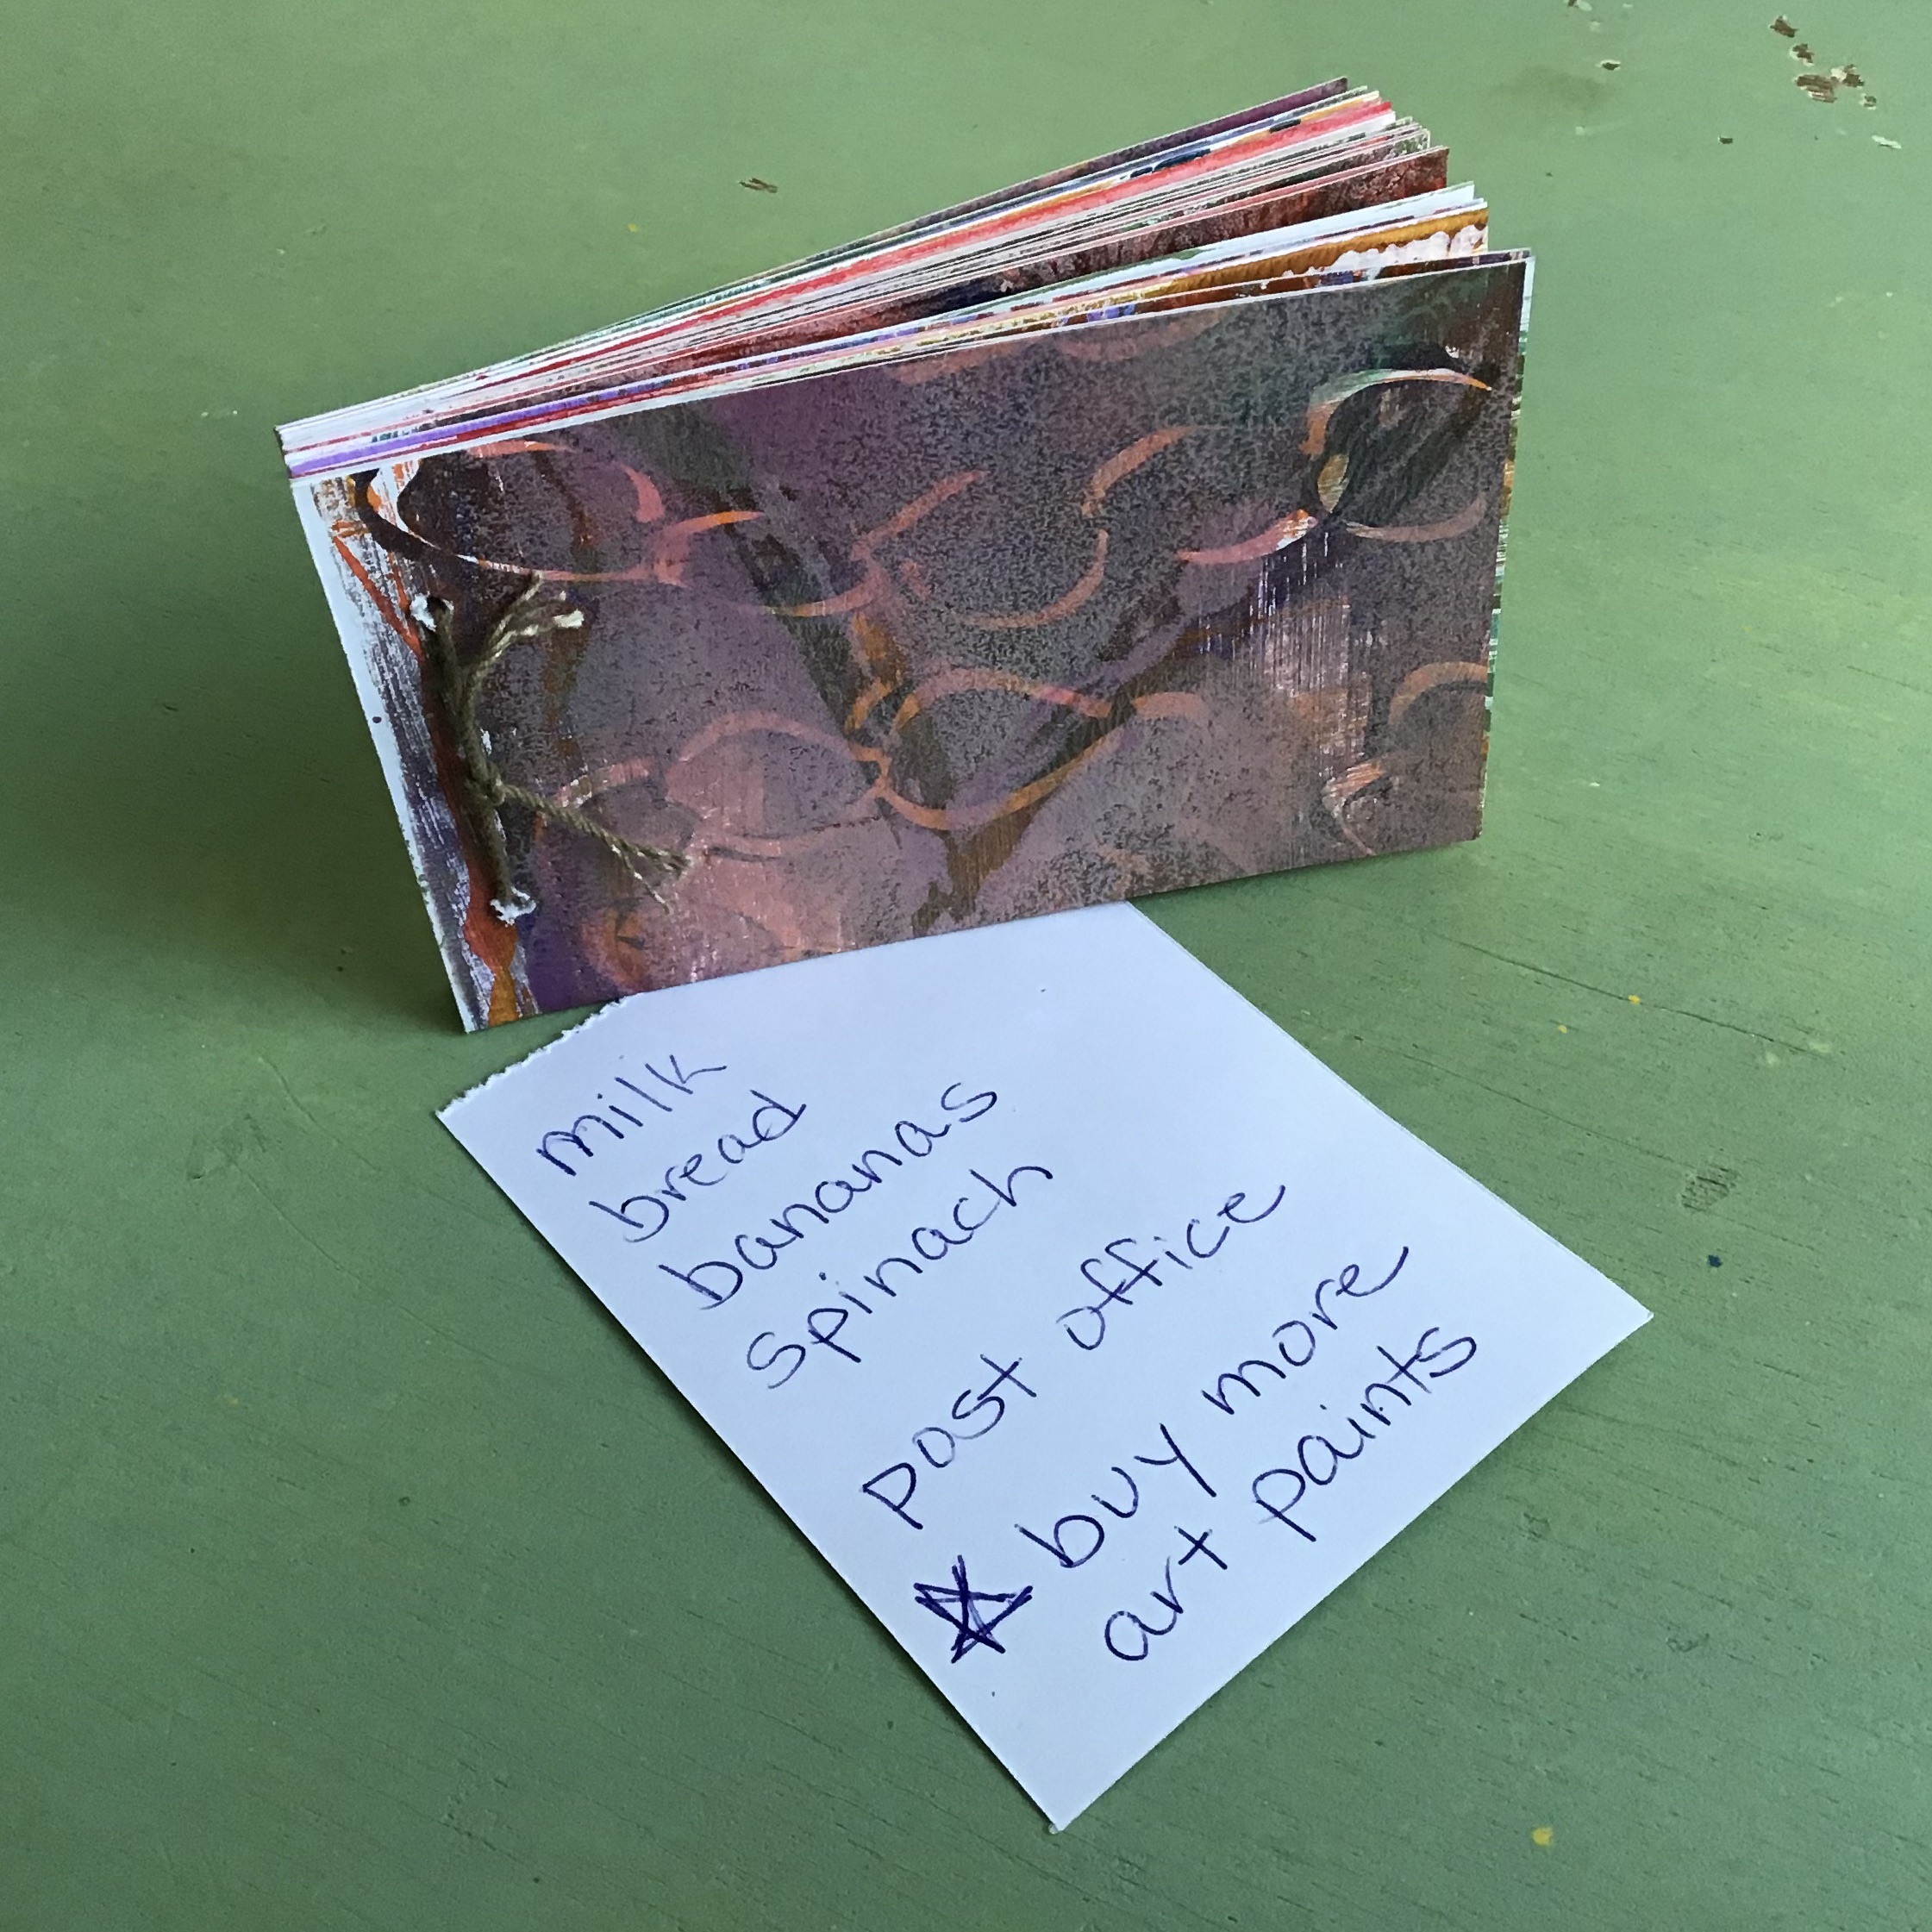
I took some more of my practice/experimental art papers to the sewing machine to make a tear-off notepad, perfect for tossing in my purse.

I hope you enjoyed this little project post.  Please let me know in the comments box.  Now, go get creative.

ART PAPER “POSTAGE STAMPS” Read More »

MAKE TEAR-PROOF TISSUE PAPER!

Today I’m sharing with you a simple technique for making tear-proof tissue paper.  Sounds kind of neat, right?  You can write or paint on it, make stationery with it and even stitch through it.  And, it’s so easy to make.  Just look at this tiny list of materials needed.

  • dress pattern tissue paper, decorative tissue paper and/or paper napkin(single ply)
  • double-sided adhesive sheet
  • straightedge/ruler or bone folder

Cut to size two pieces of tissue or napkin slightly larger all around than the finished size you’d like your paper to be.  Do the same for one double sided adhesive sheet; however, cut it slightly smaller all around than the two sheets of tissue.  For example, if you’d like your finished piece to be 8″x8″, then you’ll want your two pieces of tissue paper to be 8 1/2 “x8 1/2” and your one piece of double sided adhesive to be 8 1/4“x8 1/4“.  Adhere one tissue piece to one side of the adhesive sheet; peel away a small portion of the adhesive backing and carefully line it up and adhere it to one edge of the tissue.  Continue pulling away the adhesive backing a little at a time, evenly pressing the tissue as you go along.  Now do the same on the other side of the adhesive with your second piece of tissue.  A bone folder or straight edge is helpful with keeping even pressure on the paper.  Trim your finished piece to size, and you’re done!  It’s that simple.

Here are two examples of what I made.

This little booklet has a hand painted watercolor paper cover and dress pattern tissue pages.


Using a template, I created this little hand painted envelope and used the pattern directions paper to make a note card.

Well, I hope this post has inspired you to make some indestructible tissue paper.  Have some crafty fun with it and let me know in the comments section what you think.

MAKE TEAR-PROOF TISSUE PAPER! Read More »

SHOP THE CREATEAERIE

Practice does not make an artist perfect.  However, it does better their craft, expand their potential and open the door to further means of creative expression.  Practice also creates piles of artwork pending a destination, the “lucky” pieces moving on to permanent homes.  The studio orphans likely take residence within the artist’s home where vacancy allows.

Well, my practice piles have been getting bigger and bigger, and it was about time I did something about it.  I FINALLY opened my online shop!   Small, humble beginnings, that’s for sure, but I did it.  What took me so long?  Procrastination, anxiousness, dreading the learning curve…. all those yucky feelings that get in the way, that make one stagnate.  But it then occurred to me that I could start small, focusing on handmade items that are easy to ship, are at an affordable price point and are convenient for me to make and restock.  I admire people who go big, far and fast, and who’s ideas come to fruition in a snap; but that has never been my style.  I have to do what feels right for me, don’t you?

Here’s a peak of what is currently in my shop –

And here’s a peak of some items to come –

I will keep it simple and continue to take small steps.  Because small steps are better than no steps at all, right?


SHOP THE CREATEAERIE Read More »

LET THE CHRISTMAS SPIRIT LINGER

All too often I hear of folks who dismantle all of their decorations right after Christmas, so eager to move on to the next thing.  I find that quite sad.  Christmas week is such a beautiful time to exhale, relax and actually admire the decorations that took such effort to display.  It’s a time to rejoice and keep the “Merry Christmas” sentiment going.  Be a wise king(or three), make the trek, seek the Gift and maintain that sense of wonder.  It’s “the most wonderful time of the year”, why make it go away?  Bake those cookies you didn’t get a chance to bake before the 25th.  Delight in an evening drive around your neighborhood to admire the twinkle lights.  Or a leisurely stroll down a village street to get a closeup view of the storefront displays.  I bet you didn’t have time to do that with all the holiday preparations in your lap.  Just keep the spirit going for a little bit longer, minus the hustle and bustle.

That being said, I have to share with you a most wonderful gift that made my Christmas Day.

My precious kitty celebrated his 21st Christmas!  This little old man is blind and deaf, but his appetite does not wane and he still loves scratches under the chin.  I cherish every day that he is still here with me.

And this is his younger brother, who loves tease.

Merry Christmas!

LET THE CHRISTMAS SPIRIT LINGER Read More »

Scroll to Top