gift

DISTRESS…. AND CHIP!

‘Distress…. and chip!’.  But, you have to say it with the cadence of ‘Bend…. and snap!’, okay?   If you have no idea what I’m talking about, then just view this clip.

I just recently had to upgrade my cell phone.  I was about to toss the box that my old one came in, when I noticed that it was in mint condition; however, the surface design was obviously that of the company the phone came from.  That’s when I immediately assumed the position of ‘distress…. and chip’. Perhaps you crafty DIYers would like to get in on the action, too.

linda nelson at the createaerie

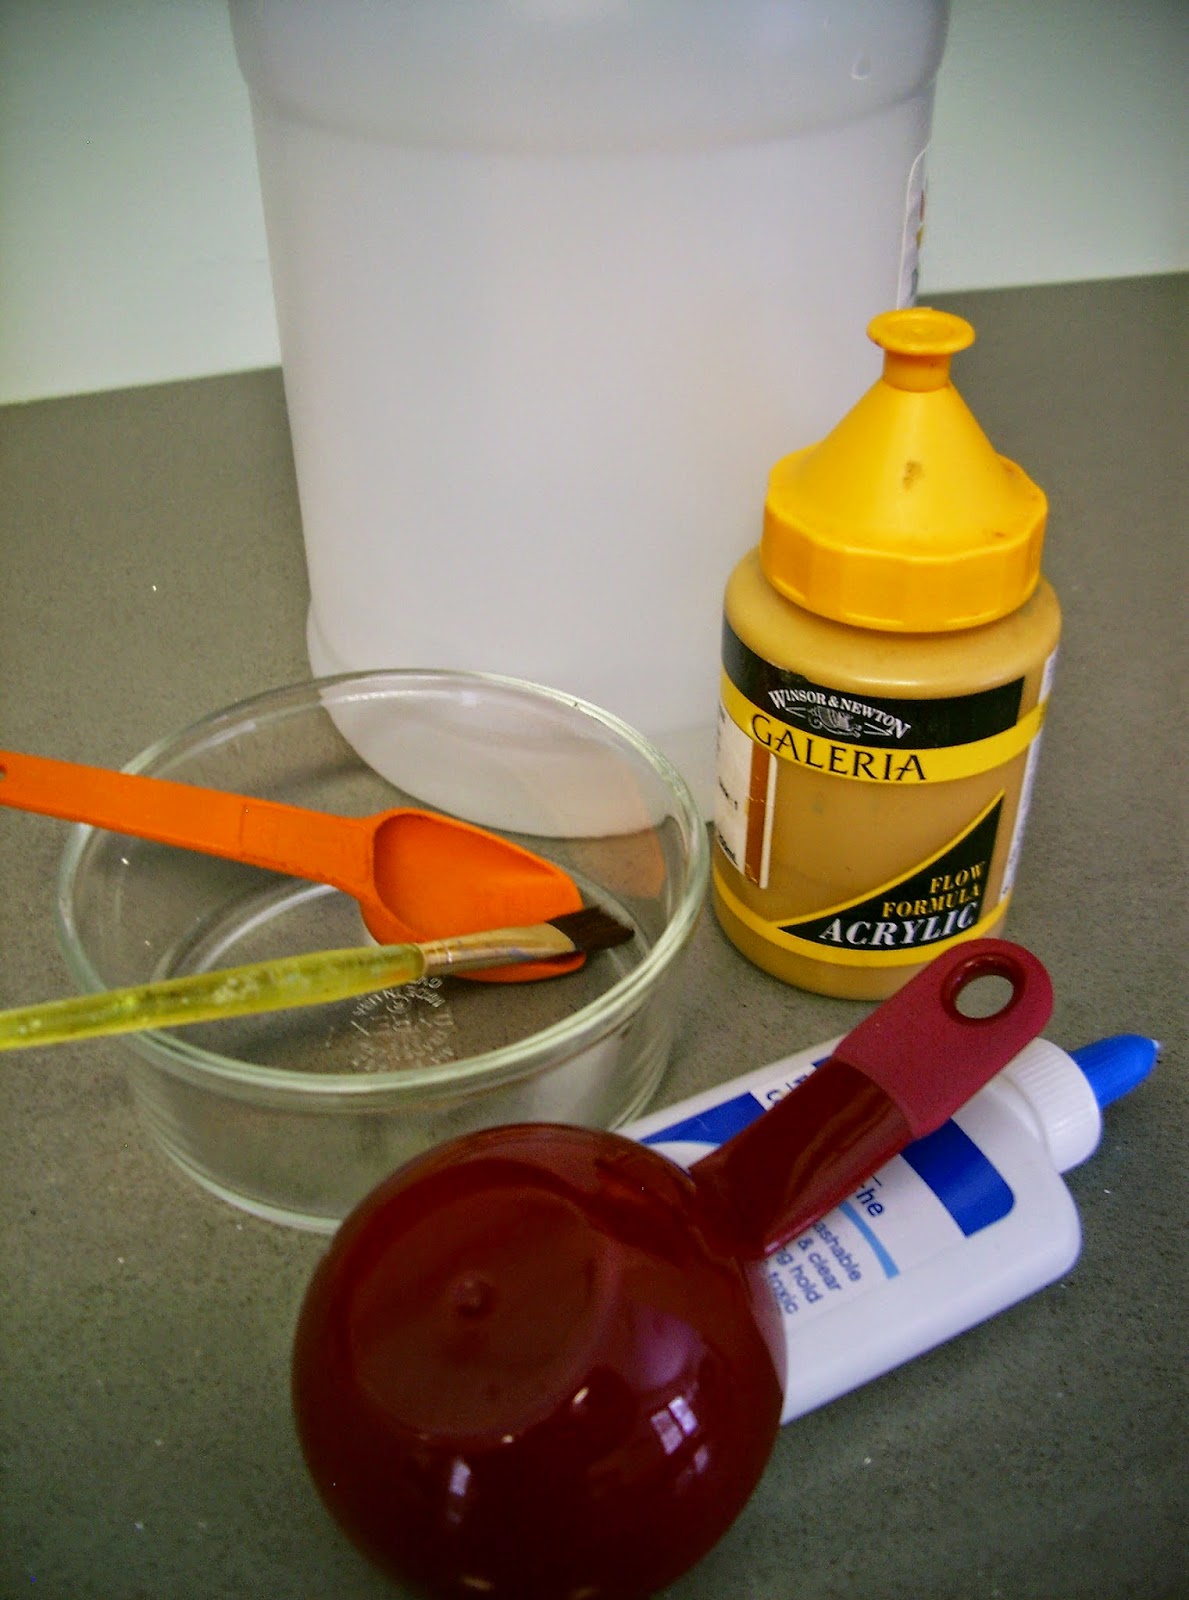
Isn’t it a charming little packaging box transformation?   Some homemade chalk finish paint, homemade moss tape, a piece of rusty wire and some decoupaging action was all it took to put this crafty project together.  I made a matching gift tag, too.

linda nelson at the createaerie

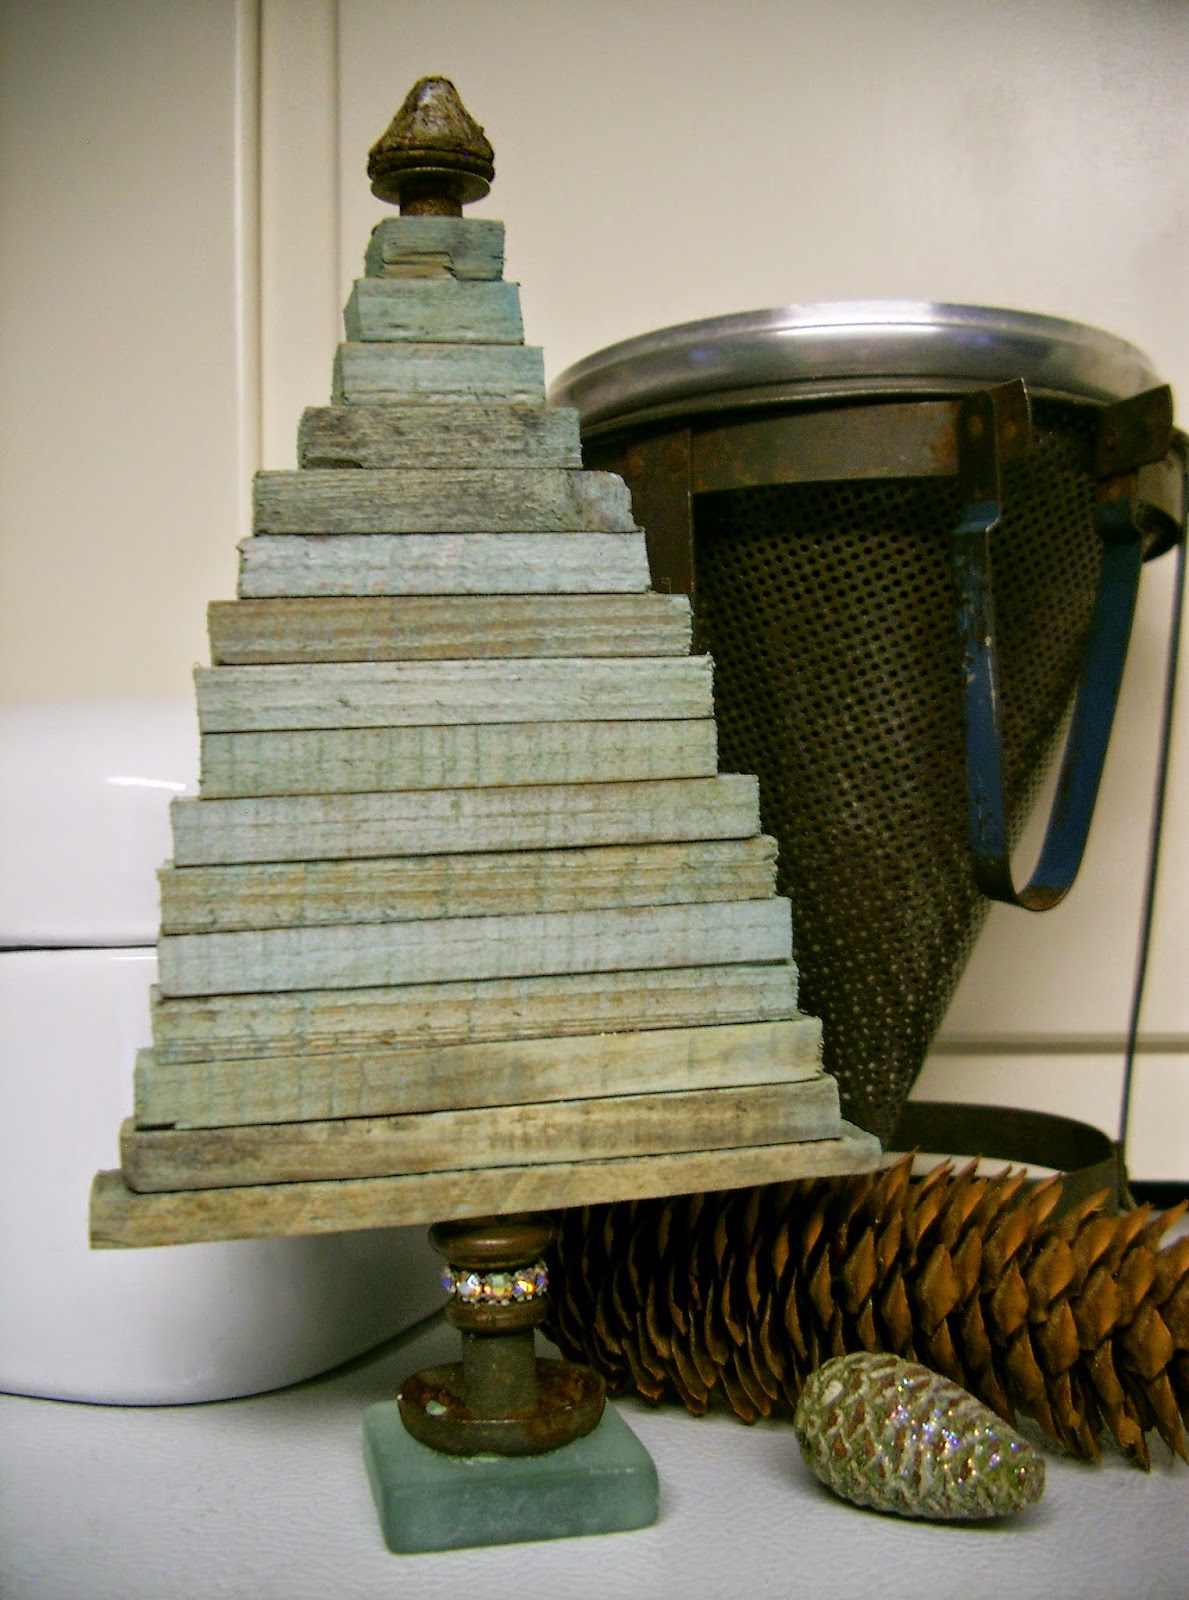
See the subtle chippy finish details?  They’re so easy to achieve on a cardboard box.

linda nelson at the createaerie

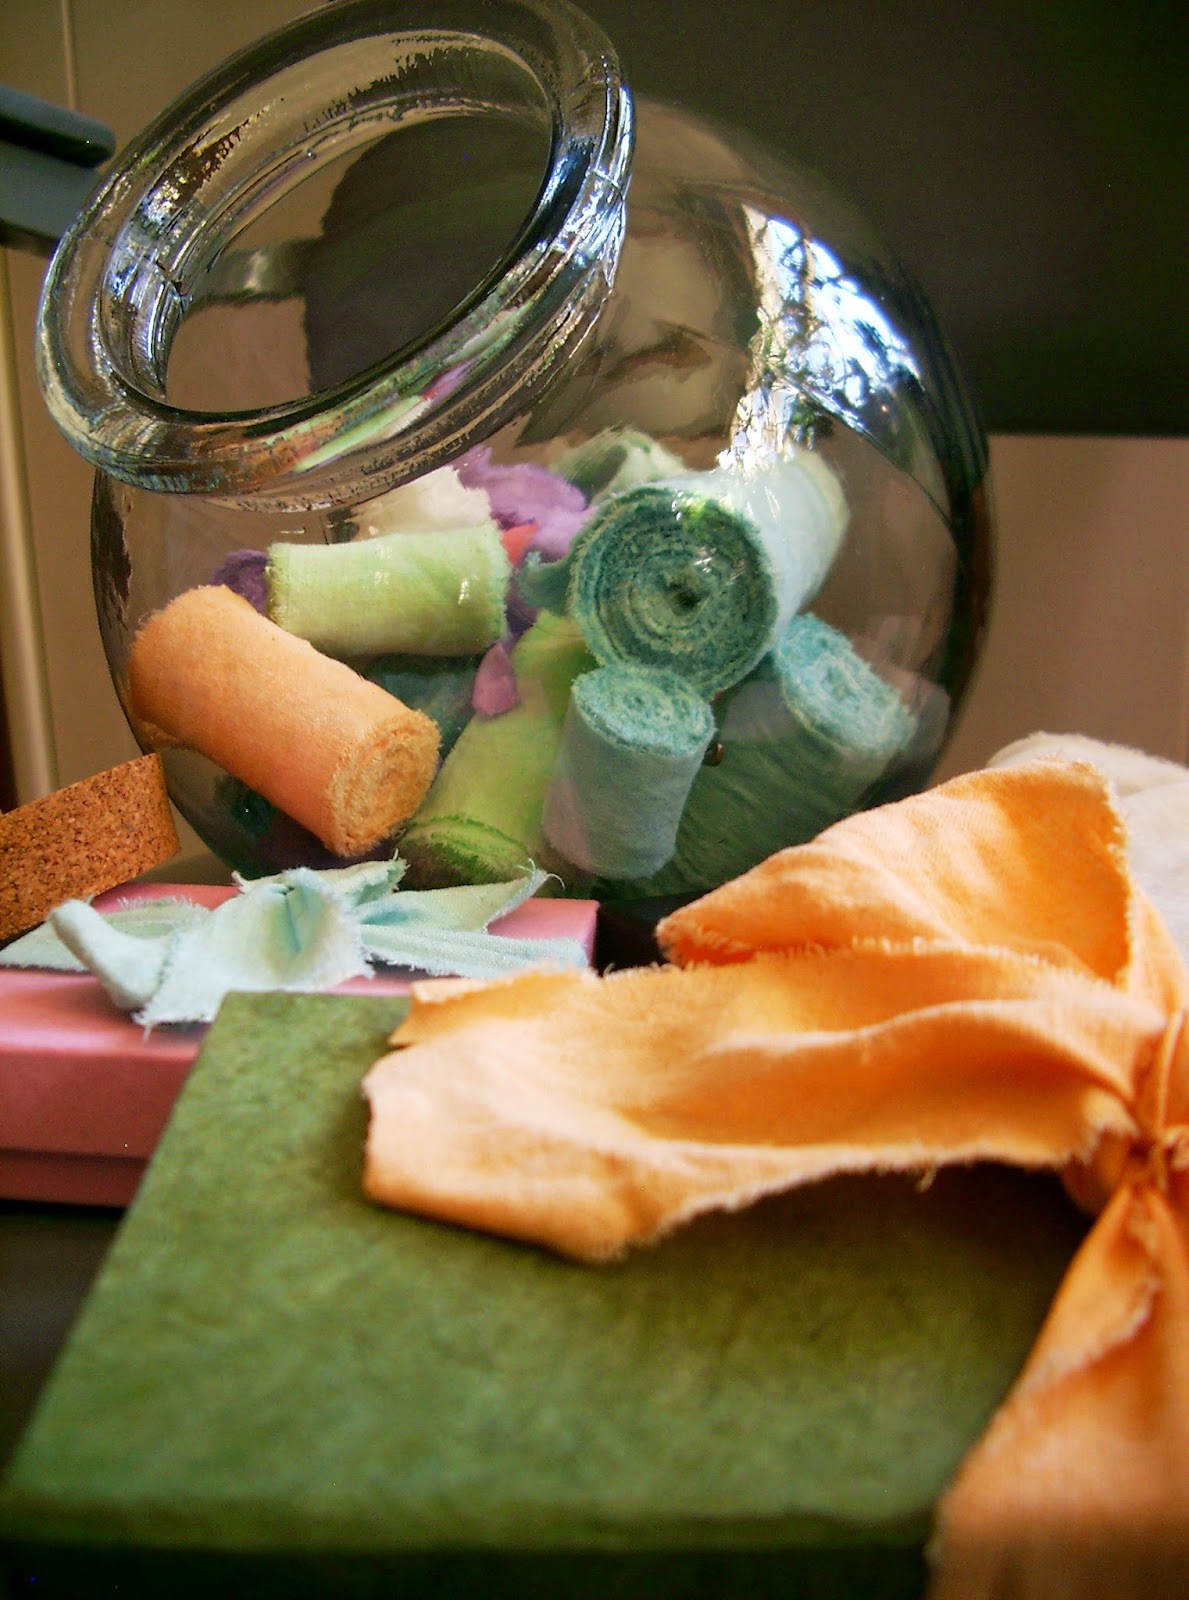
I was just about to tuck some tissue paper inside my gift box before photographing it, when it dawned on me that fabric would be an even better idea.  I would have used organza, but I don’t have any on hand.  Tulle would be a lovely option, too.

linda nelson at the createaerie

It doesn’t necessarily have to be a gift box, either.  It could be used as a decorative storage box.

Well, I hope you enjoyed this session of ‘Distress…… and chip!’.

DISTRESS…. AND CHIP! Read More »

RIP-DIP-N-ROLL

Yesterday I defrocked an old linen tablecloth, then repurposed it into shabby, vintagesque fabric gift wrap ribbon.  Paired with a color coordinating box, this simple ensemble is presentation worthy.

If you have an old(white) linen tablecloth that’s seen its day perhaps you’d like to make some ribbon yourself.

Here’s what you’ll need (besides the tablecloth) – 
  • 2 small bowls
  • small paint brush
  • measuring tablespoon
  • 1/2 cup water
  • white school glue
  • various colors of acrylic paint with a viscosity thicker than cheap craft paint
  • mesh sieve or coffee filter (not pictured)

Begin by snipping one end of the cloth with scissors, then rip/tear cut the rest of the length.  Continue snipping and ripping various widths of “ribbon” until you have the amount of pieces you’d like to color.

Next, remove the warp/weft threads created by the ripping step.  Remove only as many necessary to create a tiny, shabby fringe.

Combine one tablespoon of paint, one tablespoon of glue and one tablespoon of vinegar with 1/2 cup water in a small bowl; stir/blend thoroughly with the paintbrush.  Pour paint mixture through sieve and into another small bowl.  This procedure captures any globs of paint or glue that didn’t dissolve completely.

Dip your fabric strip into the paint mixture, then squeeze out the excess.  Wait a minute or two, then rinse under COLD water.  Squeeze out excess water, hang to damp-dry, then toss them in the dryer on high heat for a few minutes until completely dry.  Remove additional warp/weft strands made during the drying process.
A half cup of paint solution will color about ten feet of fabric.
Roll up your ribbon and secure with a safety pin to prevent unraveling.
The rolled repurposements are so pretty; they can be stored in plain sight.

There you have it.

Now start ripping, dipping and rolling, and get creative!

RIP-DIP-N-ROLL Read More »

GO BACK TO THE SHED!

In my previous post I shared an idea for repurposing flowering vine trellises.  Upon completion I still had 3/4 of a trellis left to play with (I actually have about thirty trellises stashed in my shed, he-he-he….).

Ta-da!

Now, aren’t these little gift tags just too stinking cute?  I had a few cut “shorties” leftover and didn’t have the heart to toss them.  I had the ink stamp on hand, a clearance purchase from a craft supply store a few years back; but I never used it.  This was the perfect opportunity to christen it.  The cotton twine is attached with tiny U nails; sanding smooth the back side of the tags creates an ideal surface to write on.

I do hope this post triggers a few ideas in your head, and motivates you to create something original yourself.

There you have it.

Now, grab a trellis and get creative.

GO BACK TO THE SHED! Read More »

CHARMINGLY REPURPOSED GIFT GIVING

©linda nelson 2014

Have you acquired an abundance of mismatched vintage tableware, possibly too much for your cupboards to hold?  Repurpose and incorporate some pieces into sweet little hostess gifts.  Homemade jam, a teaspoon, doily and dessert plate, tied up with fabric ribbon, makes for a darling presentation.

©linda nelson 2014
Have a pair of teacups, saucers and spoons?  All that’s needed to complete this ensemble is some specialty tea bags and a pair of dessert napkins.
©linda nelson 2014

Do be mindful of and thoughtful with your intentions, though.  Your recipient may really love the idea and want to pay your gifted wares forward to another friend.  She may want to use the dish under one of her little potted plants.  A teacup may become the perfect (and adorable) catchall for buttons or stamps.  That’s okay.  It’s all about letting go and letting a new purpose be had for these items.  Who knows, as luck may have it you may one day be presented with a little treasure that you sent off years ago!

CHARMINGLY REPURPOSED GIFT GIVING Read More »

Scroll to Top