eggs

MY FAILED EGG HUNT

Do you ever have an item pictured in your mind, then set out to purchase it, only to find that it doesn’t seem to exist, or is simply not available?  My sister and I have occasionally mused about this subject, be it about a piece of furniture, clothing, the go-with-everything basic and non complicated handbag……  What ever it may be, it’s frustrating when you search the internet beyond exhaustion or comb every local store, and what you’re looking for just isn’t there.

Well, that’s how I felt about some decorative props I had in mind for a client.  I recall, and I know I didn’t dream it, that the big box-type stores sold jumbo plastic lawn eggs.  I’ve seen them before, I’m certain.  They’re the tackiest things going on at this time of year, and are in the same family as plastic flamingos and garden gnomes.  No, my client does not like such things; however I was planning on using them as forms for making giant concrete eggs.  My client would most certainly love that….. and so would I.

FYI, jumbo plastic lawn eggs are available online from
Miles Kimball; however, at this time, they’re on back order.

The other vision in my head happened to be colossal-sized dimensional wire eggs, perhaps topiary forms?  An internet search including the most logical key words provided no such luck.

Now what?

I’ve since drawn up another idea for my client.  However, for myself, I’ve taken matters into my own hands…. literally.

linda nelson at the createaerie

I picked up a 7″ plastic goodie egg and a package of traditional “egg hunting” eggs from the local dollar store and used them as molds for my concrete “recipe”.  I’m pleased with the way they turned out; however, the seams from the plastic eggs clearly showed up on the surface of the concrete.  I buffed the seam lines out as best as I could.

For the wire form egg, I grabbed a piece of chicken wire I had on hand, donned my heavy-duty leather gloves and got to work.

linda nelson at the createaerie

I like the way it turned out, do you? I used floral wire to reinforce and secure the egg’s shape.  Too bad I didn’t have any more chicken wire; I would have either made more of them, or would have just made this one much, much larger.  Well, I now will certainly be on the hunt for curbside, discarded rolls of chicken wire.  The painted egg is concrete.

These props are not eggs-actly what I was envisioning, but I’m not disappointed with my efforts.

I’m no stranger to creative ingenuity, but purchasing “right off the rack”, or in this case, “right out of the nest”, would have been nice.

Thanks for stopping by!

MY FAILED EGG HUNT Read More »

HOW TO LAY CHIPPY EGGS!

I know how much you all love chippy finish furniture and decorative accessories, so I thought you you might enjoy my tutorial for laying chippy eggs.  But, before I do that, I’m going to let you in on a little secret – I really don’t like chippy stuff in my home.  There….. I said it.  You see, I delight in looking at all the pictures of lovely chippy furniture, chippy home accessories and artfully photographed chippy vignettes.  But, I just don’t want it in my home.  Why?  Well, when you move, bump into or handle authentic chippy objects, chips flake off and fall onto the floor, and that would bug the heck out of me.  I would be destined to traipsing around the house with my vacuum in tow all day long.  I don’t do crumby either.  Crumbs are not allowed to linger on my counters for more than a few seconds before I absolutely must clean them up.  Immediately afterward, I drag my hand across the entire countertop to make sure that I didn’t miss a crumb.  I periodically vacuum out my toaster, too.  Really! I kid you not.

Anyway, I sure hope this instructional satisfies the chippy egg layer in you.  Please note that this exercise is for the experimentally inclined.  Or, let’s put it this way – it’s not a paint by number approach; results will, indeed, vary.

Grab your materials –

  • a Styrofoam or wooden egg
  • Plaster of Paris
  • white gesso
  • powdered tempera pigment (ground up colored chalk is a good substitute)
  • acrylic craft paints
  • paint brush
  • small paint sponge
  • skewer or metal screw eye

Begin by inserting a skewer into the rounded end of the styrofoam egg; use a screw eye and wire hanging loop if you have a wooden egg.  This step is for making your egg easier to handle during the painting process.  Apply a base coat of gesso to your egg, then let it dry.

  • The paint mixing ratios are per one egg, and are rough measurements not to be taken so literally.  It’s simply a guideline to assist you in using close to exact needed amounts.  I do not have every color under the sun of pigment powder; I just have the basics(red, yellow, blue, black and white), and custom mix my own hues.  Also, DO NOT rinse the leftover Plaster of Paris down the drain.  Instead, wipe brushes and paint mixing bowls out with paper towels to remove as much residual solid matter as possible before washing your tools.

Now, for the experimental, messy and fun part –

Mix together 1/2 teaspoon gesso, 1/4 teaspoon of powdered pigment and 1/4 teaspoon of Plaster of Paris to make a pasty consistency, and slather it onto your egg.  When the paint becomes sticky to the touch, cup the egg in your hands and use a “squeeze and release” action to suction lift off various patches of paint from the egg’s surface.  If done correctly, you should now have messy hands and a sloppy looking egg.

©Linda Nelson 2016

Set your egg aside to dry, then repeat this step with a different paint color, only this time, mix a one half batch of paste and apply to select areas of your egg.  Follow up with the “squeeze and release” action, then set aside to dry.

With your sponge, lightly dab some white gesso onto the surface of the egg to create a whitewash effect.  Put a tiny drop of acrylic craft paint onto your fingertip and gently dab irregular shaped splotches on random areas of the egg.  Mix another one half batch of gesso/pigment/Plaster of Paris, and slather it onto various spots on your egg.  Follow up with the “squeeze and release” step.  Observe your egg to determine if you are satisfied with the look, or whether you’d like to create more paint layers.  At this point, you can decide which painting step you’d like to repeat – the thick slather, gesso whitewash, or random dabs of patchy color.
Here are some chippy eggs that I laid.  I’ll probably lay a few more because they’re so much fun to make.

For this egg, I finished it off with a rubdown using a dab of FolkArt “Espresso” antiquing medium.

Happy chippy egg laying, my friends!

    HOW TO LAY CHIPPY EGGS! Read More »

    A CLUTCH OF INSPIRATION

    It’s certainly still heavy coat season in the northeast, but before we know it, crocus flowers will be poking up through the ground, forsythia flower buds will be plumping up, springtime props will accent our abodes……..and eggs will be laid.  Yes, they will be laid atop mantles, in hutches, under cloches, within tabletop centerpieces, and will magically find their way into the most curious of places in our homes.

    Today I thought I’d lay a little visual clutch of inspiration for you in the hopes that it may hatch a few ideas in your head.

    Who says that you can’t clutch eggs in a chum pot?  Oh, yes you can…..

    linda nelson at the createaerie

    ….and, in mop wringers……..

    linda nelson at the createaerie

    ……..and scale trays.

    linda nelson at the createaerie

    Clutch them in deep fryer baskets…….

    linda nelson at the createaerie

    and in coffee pots…….

    linda nelson at the createaerie

    Stash them inside tomato mashers and cigar boxes……….

    linda nelson at the createaerie

    linda nelson at the createaerie

    and nestle them within your favorite fashion accessory, too.

    linda nelson at the createaerie

    Trust me, no one will cackle at you.

    Besides, mama always said to never put all of your eggs in one basket.  She was right.

    A CLUTCH OF INSPIRATION Read More »

    HOW THESE EGGS GOT LAID

    I assure you this post is naughty-free and as wholesome as an egg could be.

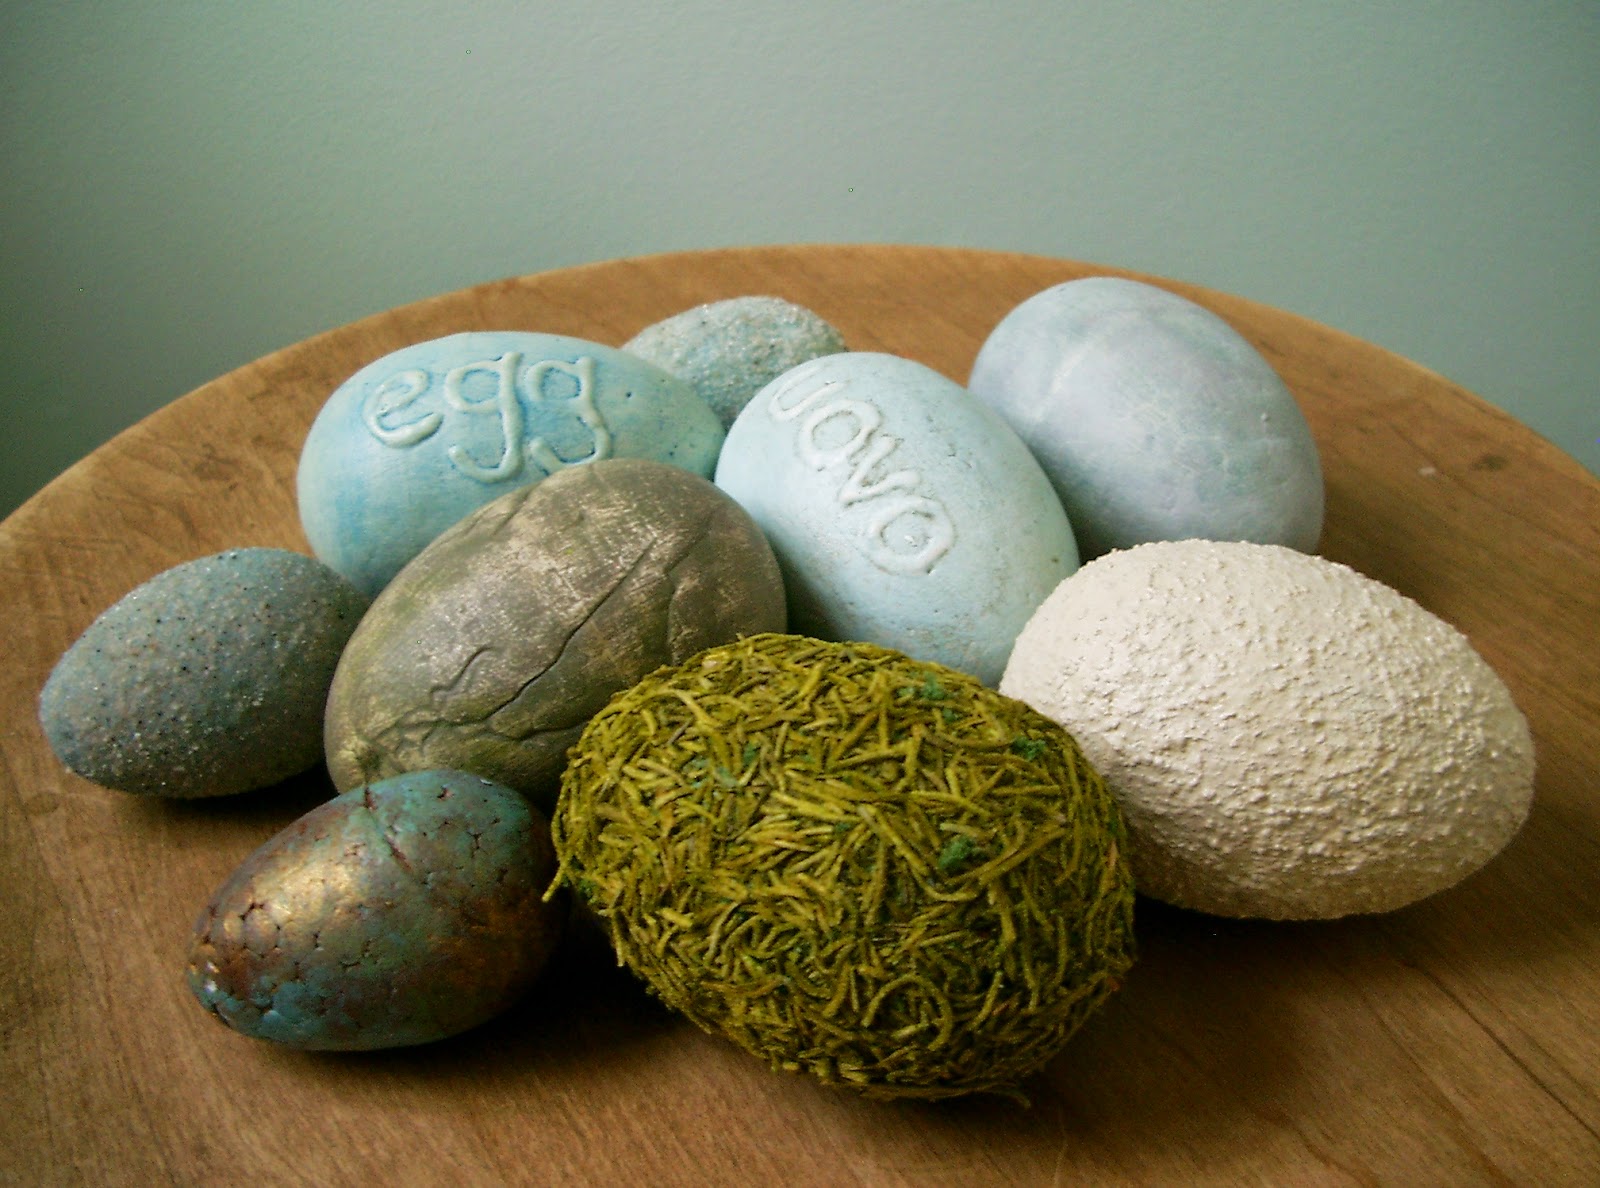
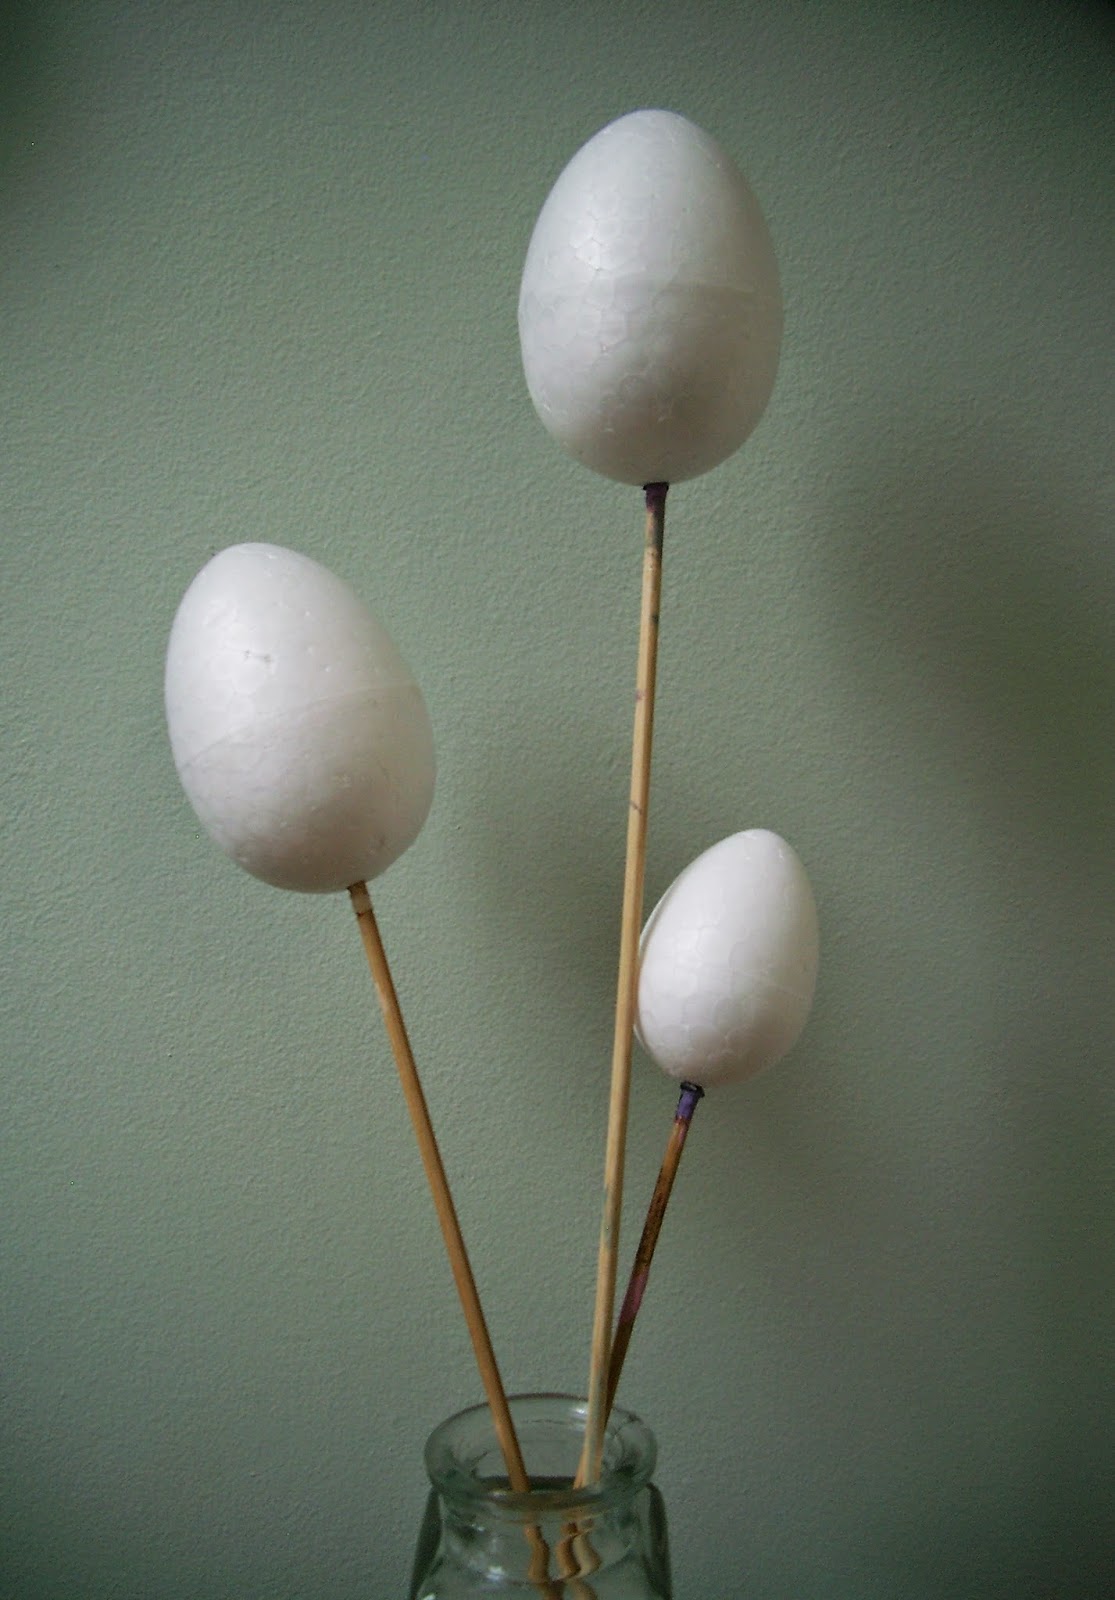
    You are staring at styrofoam eggs.  Yup….. cheap, dollar-store styrofoam eggs.  The magical transformation lies in gesso, paint, a little sand, green spanish moss, some craft glue and some school glue.  That’s it.  Oh, and some skewers for handling convenience.

    ©linda nelson 2015
    ©linda nelson 2015

    Begin by applying two coats of gesso to your eggs.  For the sandy beach egg you’ll want to use a drop of acrylic paint to tint the gesso roughly the same color as the sand you intend to use.  I mixed some fine grit beach sand with teal blue decor sand; therefore, I tinted the gesso for that egg a light, “muddy” teal color.

    ©linda nelson 2015

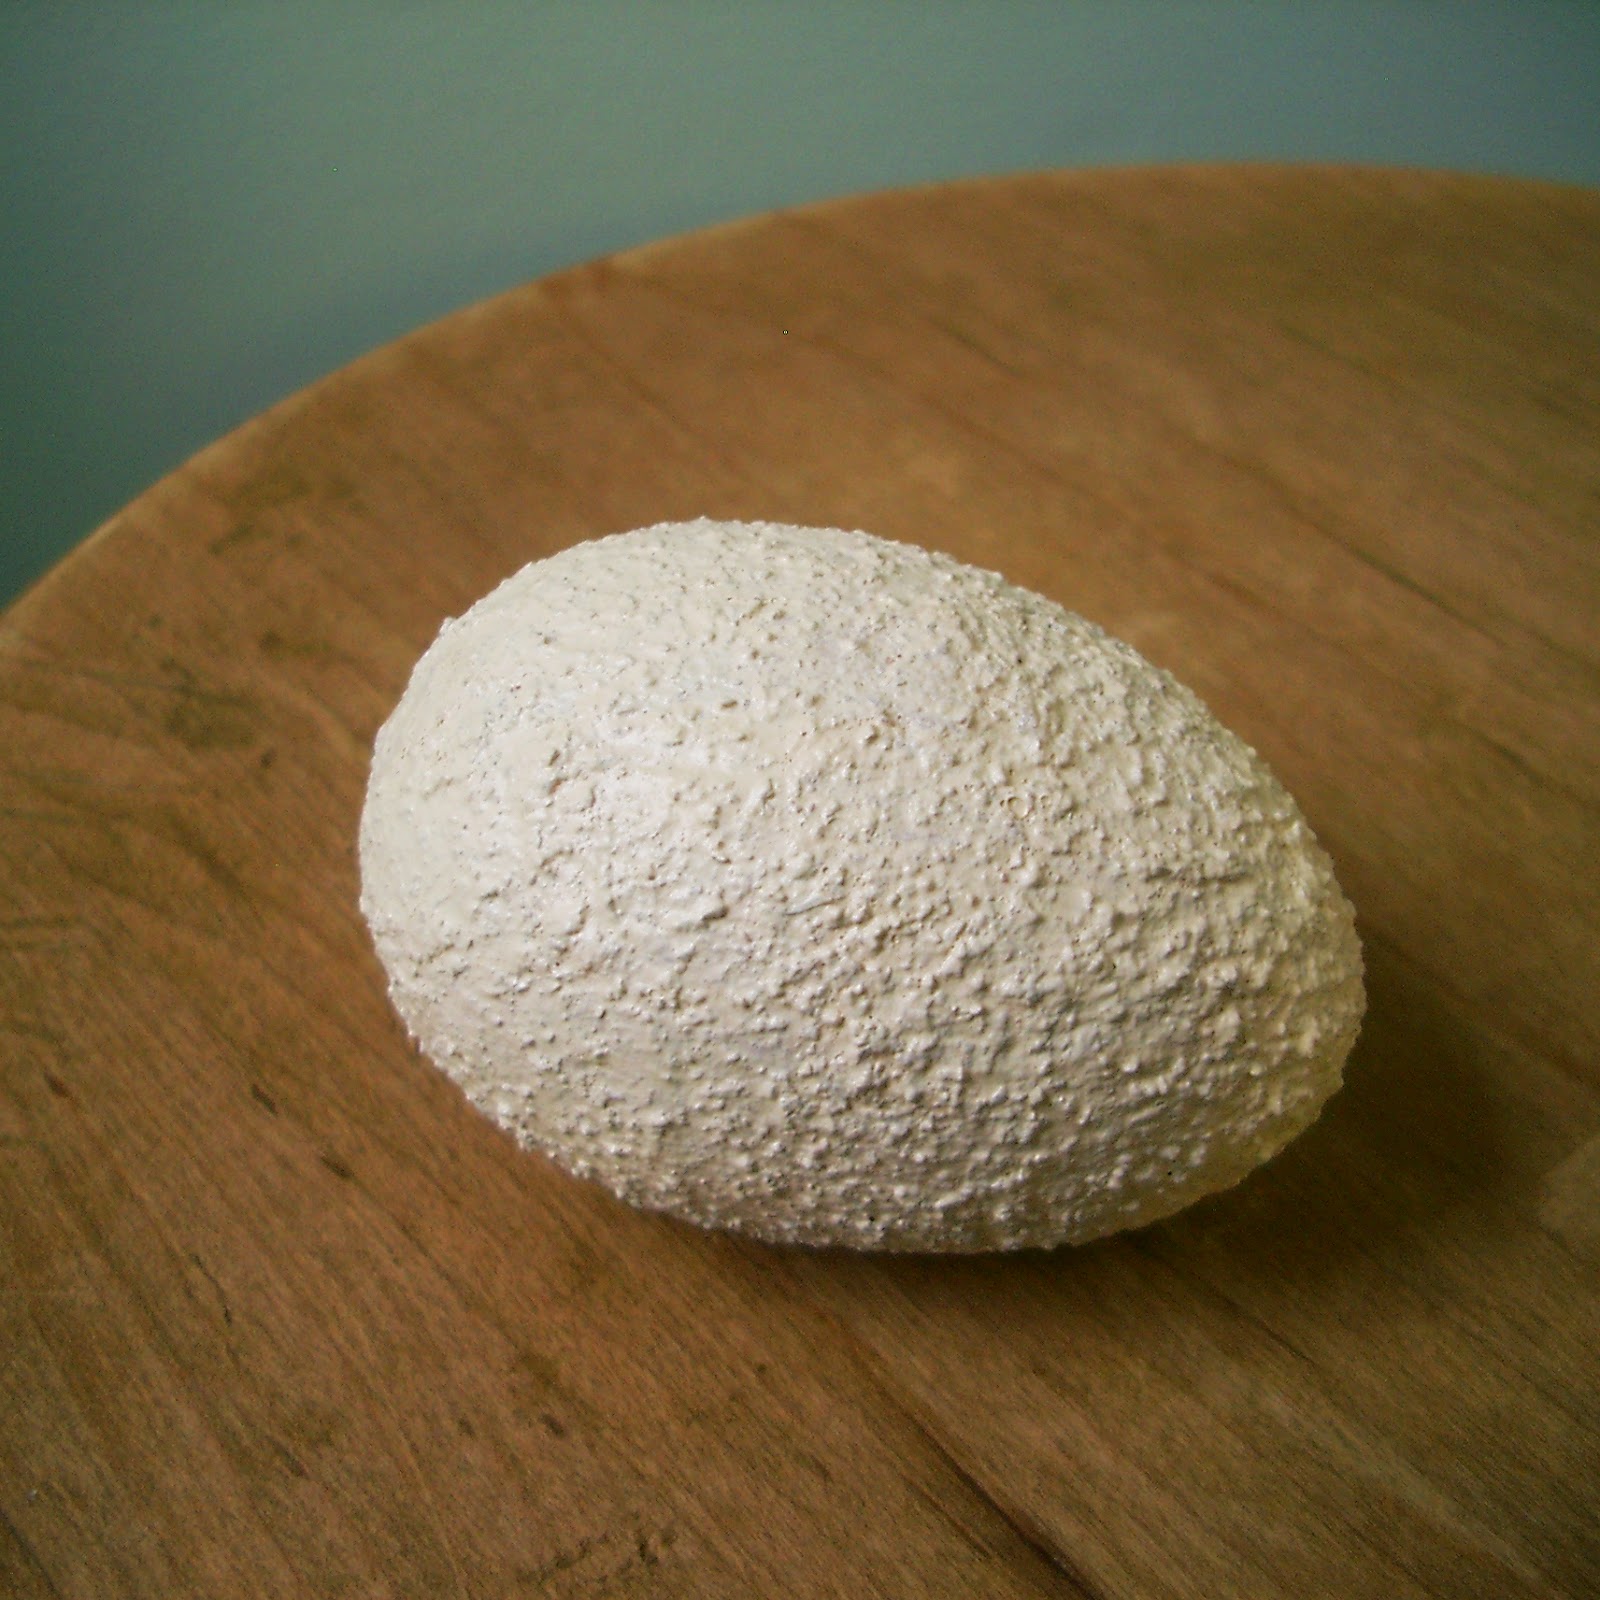
    First on display is the stucco egg, created by simply brushing on a generous layer of craft glue, coating the egg in sand, then leaving it to dry.  Brush off the loose, residual sand particles, then slap on a coat of buff colored acrylic paint.  That’s it.  Done.

    ©linda nelson 2015

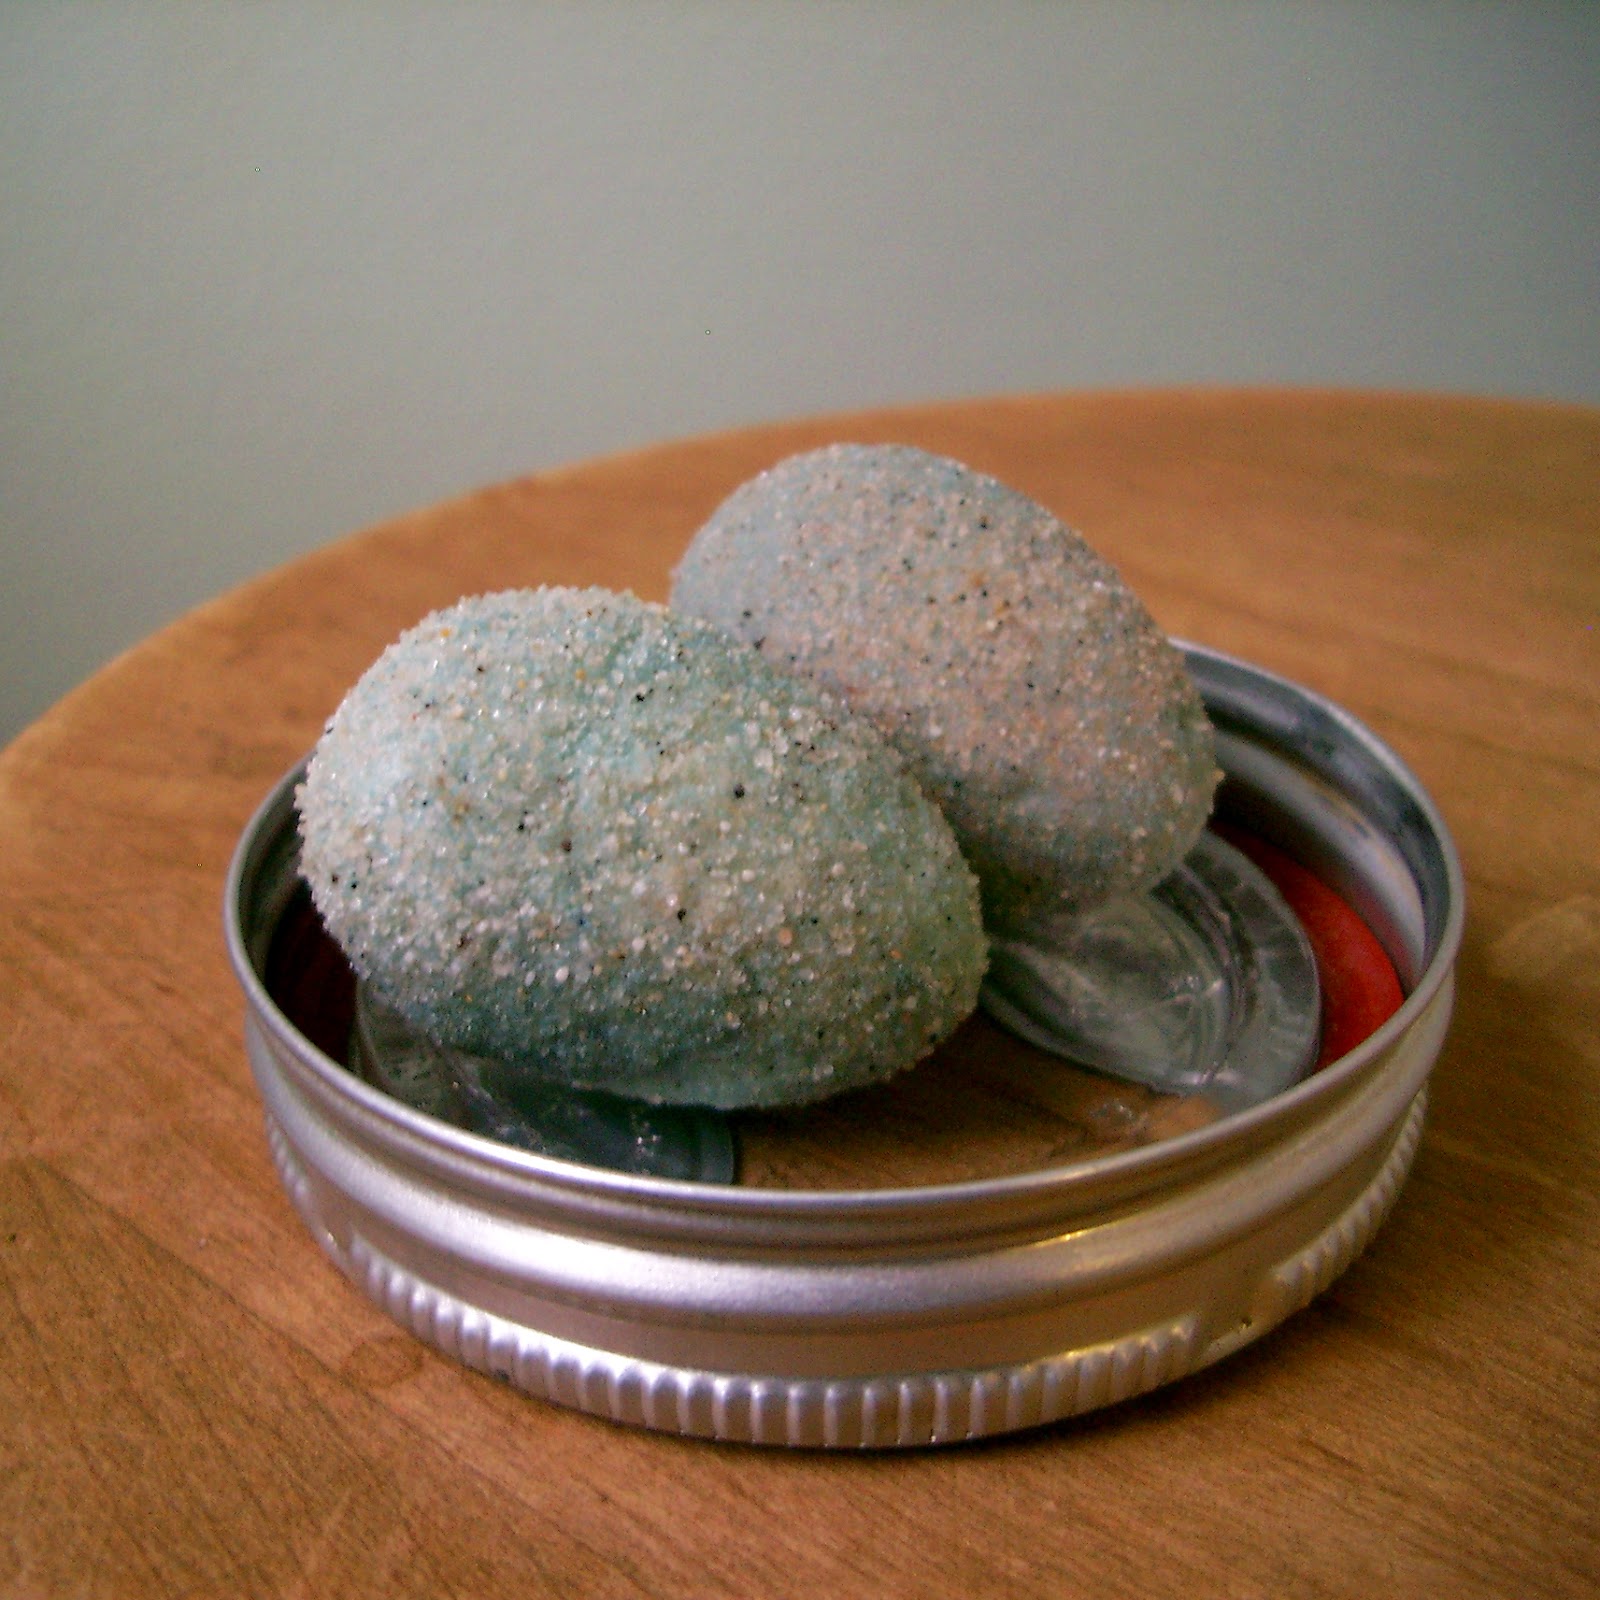
    Now, let’s make a sandy beach egg.  Apply a generous coat of craft glue onto the gesso tinted egg, coat the egg with sand, then leave it to dry.  Brush off the loose, residual sand particles.  That’s it.  Done.

    • A tip for working with sandy eggs – I put the sand in a little tub, coat and bury the egg right within the tub, and leave it that way to dry.
    ©linda nelson 2015

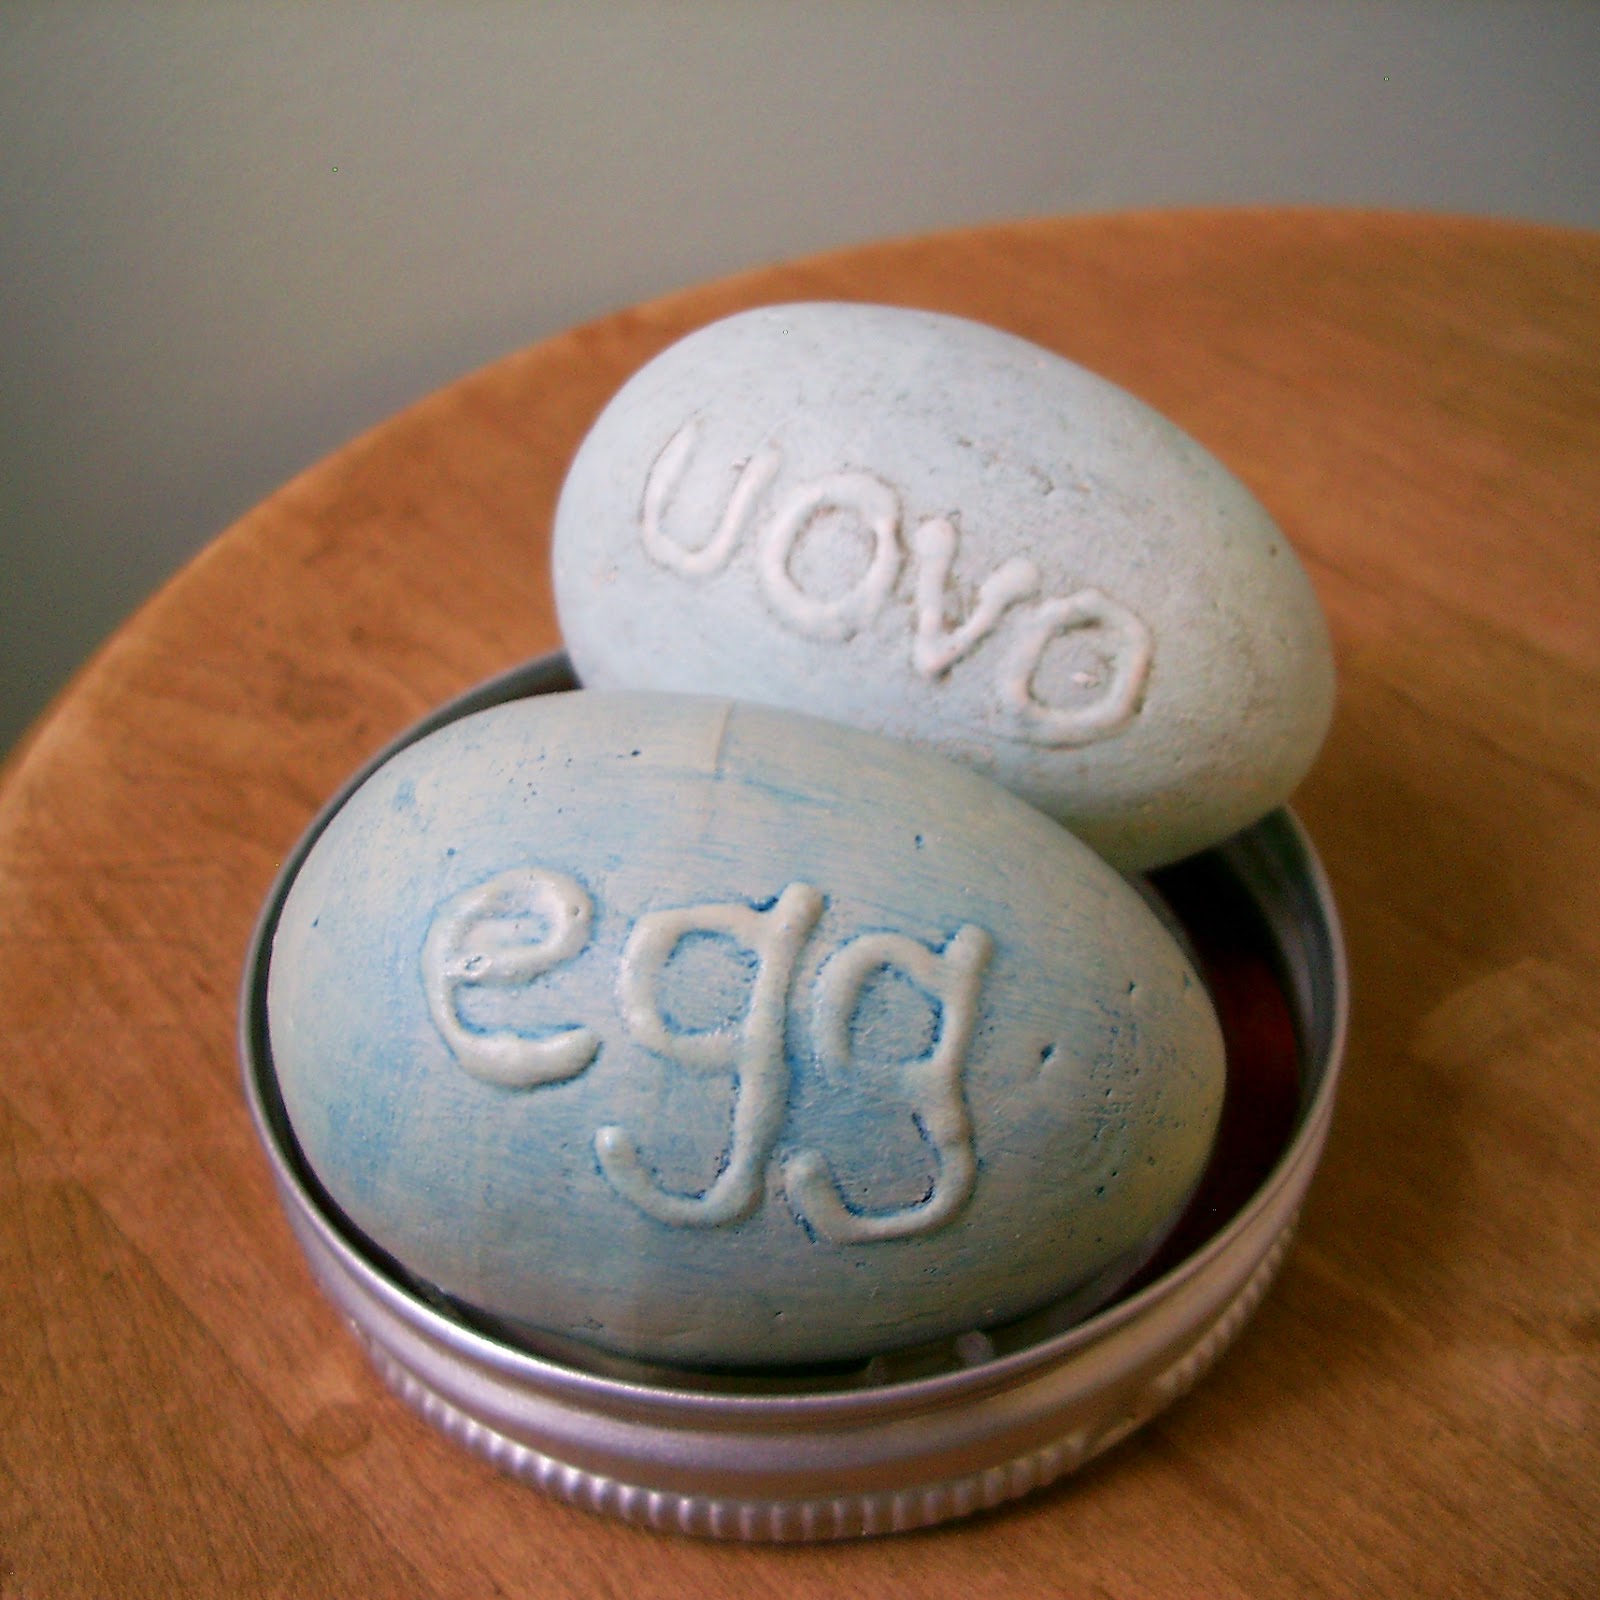
    For the embossed words egg grab some school glue and write something on the egg.  I don’t care what you write, just write something.  When the glue is completely dry apply another coat of gesso over the entire egg.  Create an antique-like effect with a top coat of tinted glaze, shoe polish, distress ink or whatever crafty method you prefer.  A rubdown with powdered eyeshadow works well, too.  That’s it.  Done.

    ©linda nelson 2015

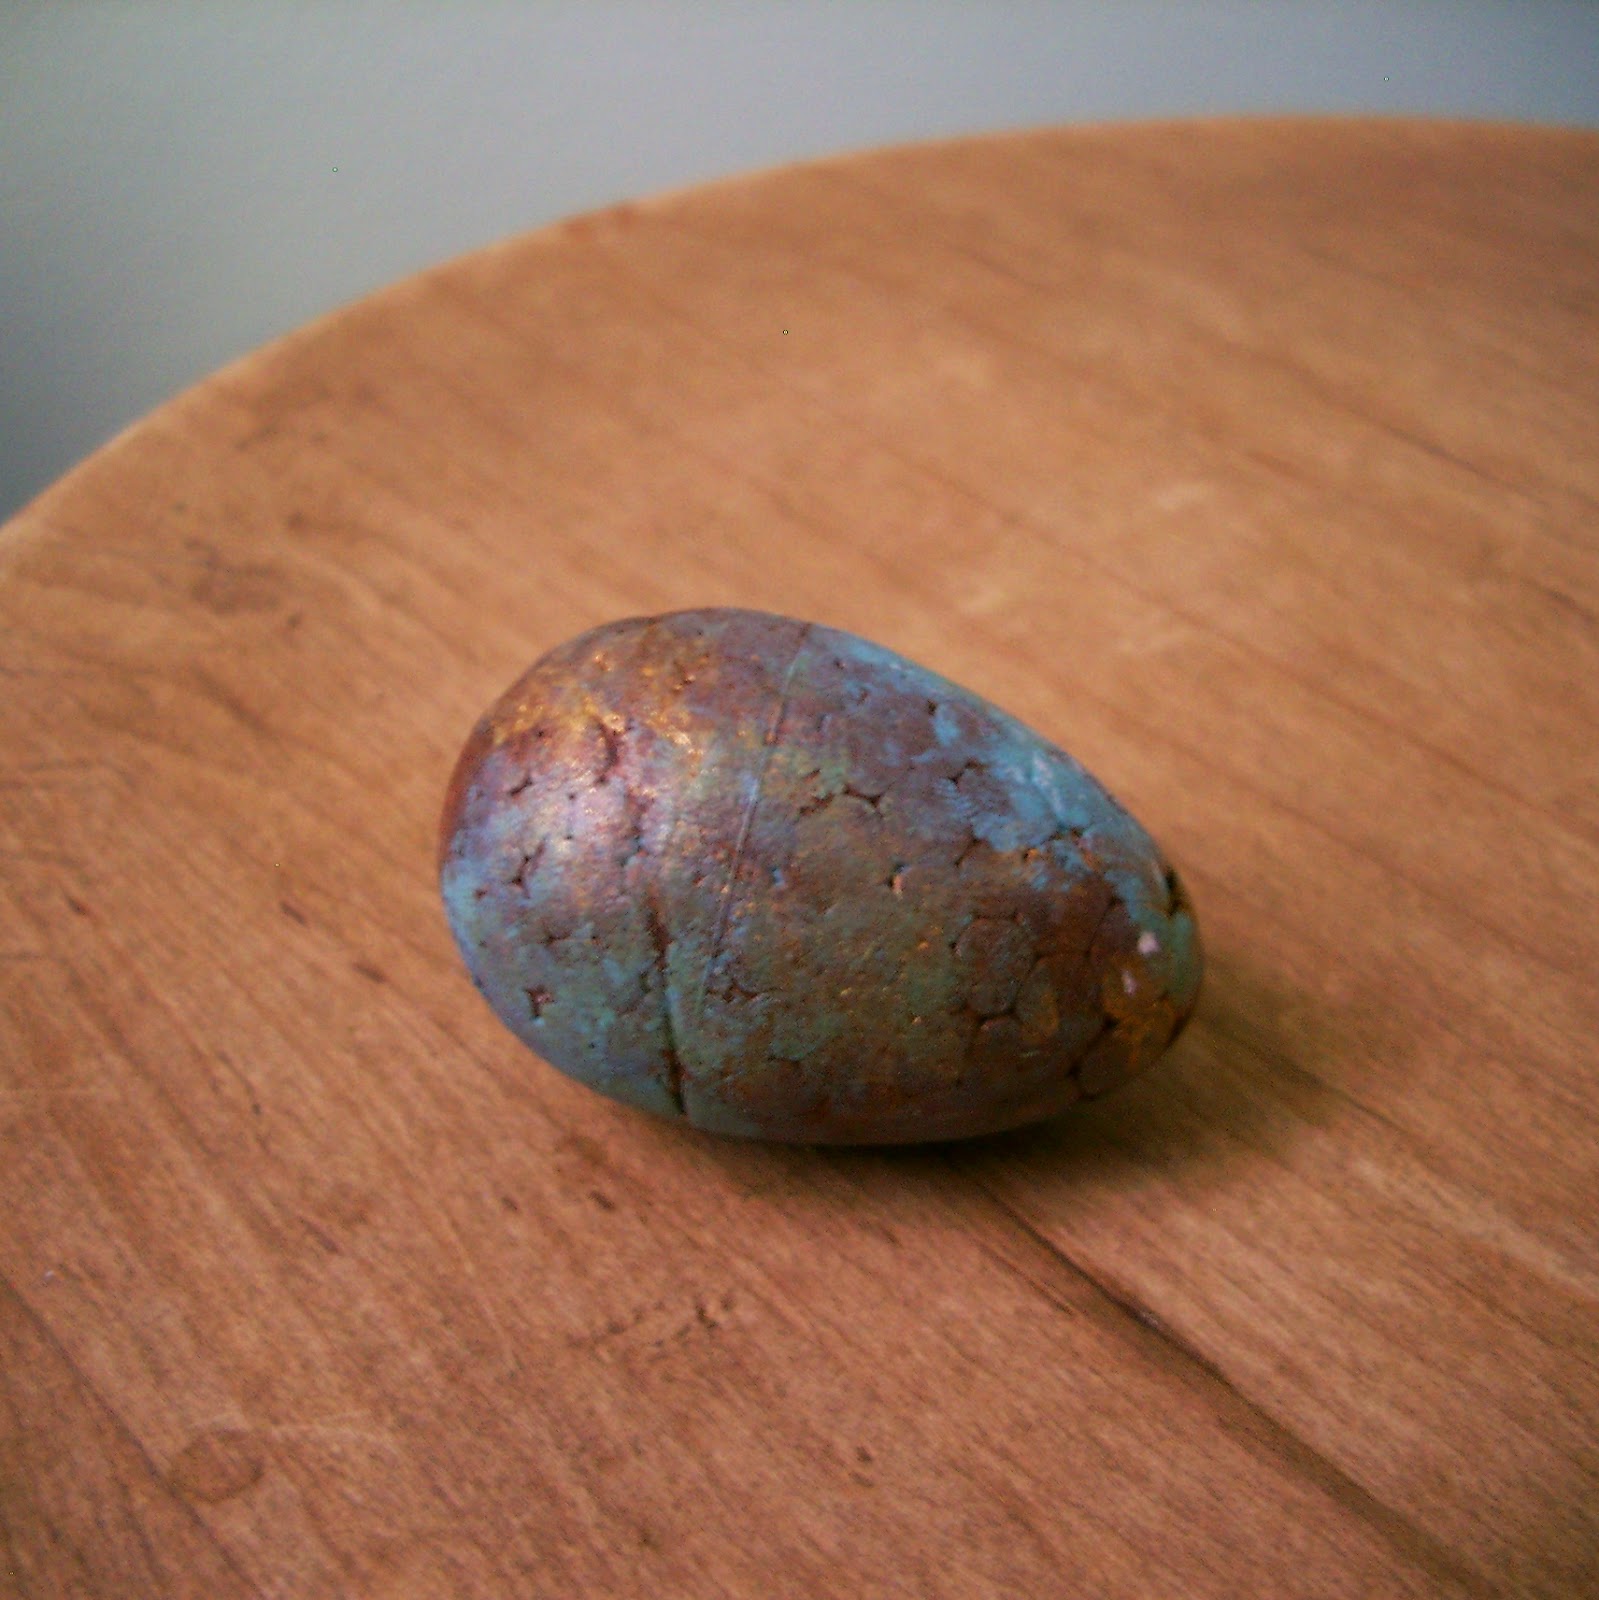
    Would you like to make a patinated copper egg?  Slap a coat of dull brown paint onto the egg.  Pat on some antique gold paint with your fingertip or a little sponge.  Make sure you pat in random places.  Use this same patting technique with some olive green, light teal and dull brown paint.  Finish it off with a few select accent streaks or dabs of gold and bright teal paint.  That’s it.  Done.

    ©linda nelson 2015

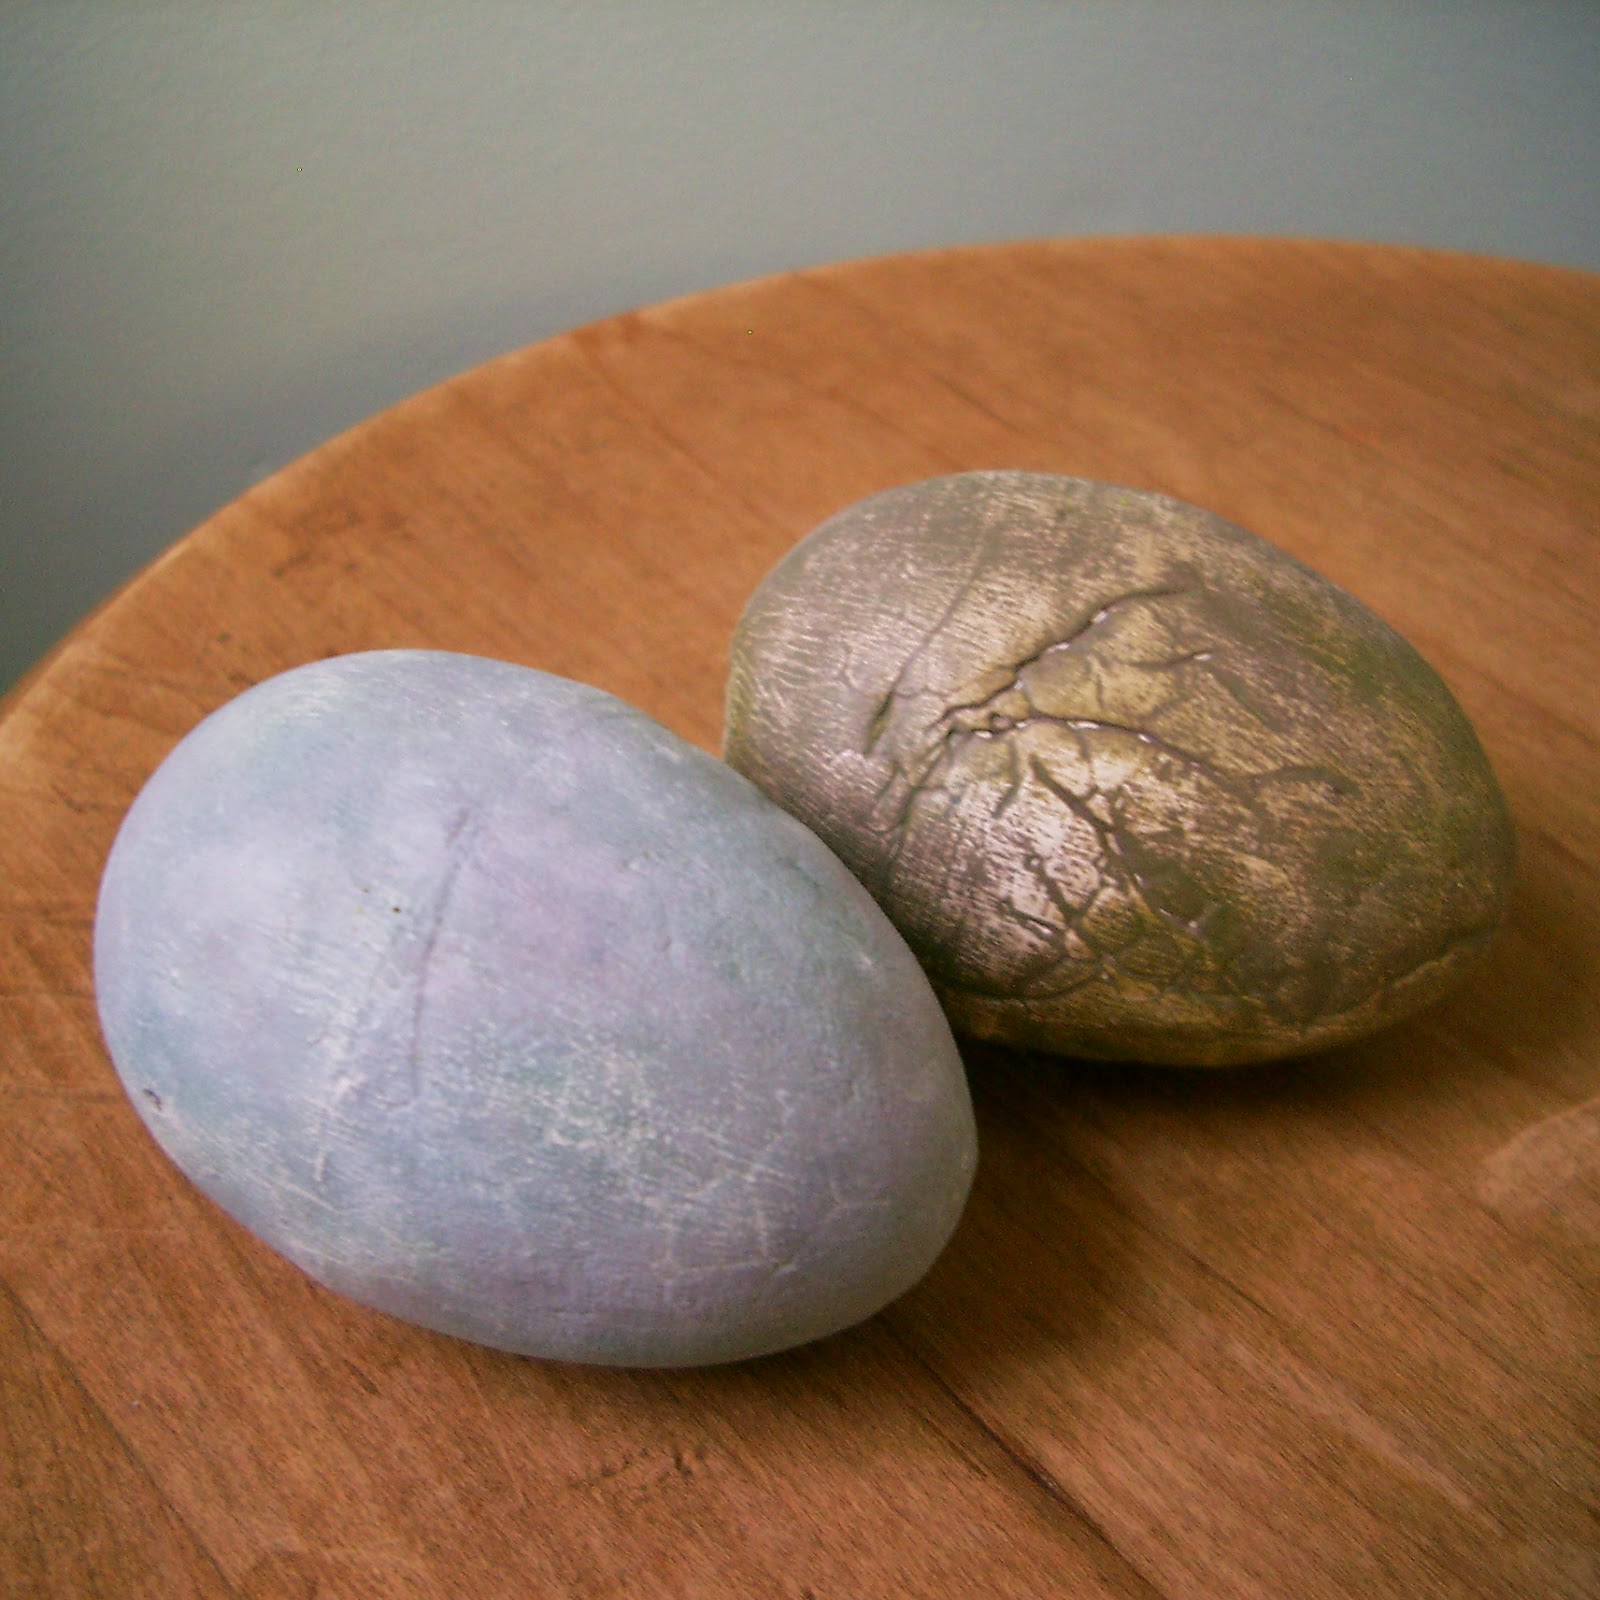
    How about some concrete/cement/stone-like eggs?  Use your fingernail to first create some grooves and crevices on the egg, if you so choose.  Grab some black, white, blue, olive and brown paint and mix them to make a few different cement-like hues to work with.  Each mixture should be mostly white, with only a hint of the other colors mixed in.  Adding a little drop of water to the paint will help to give it a ‘wash-like’ consistency.  Rub the paint onto the egg with your fingers, massaging the color in using an ‘imperfect’ approach.  When dry, lightly sand the egg in random places.   Rub on another wash of paint, randomly sand down, then ask yourself if your are satisfied with the result.  Keep repeating all the steps until you achieve the look you want.  And then you will be done.

    ©linda nelson 2015

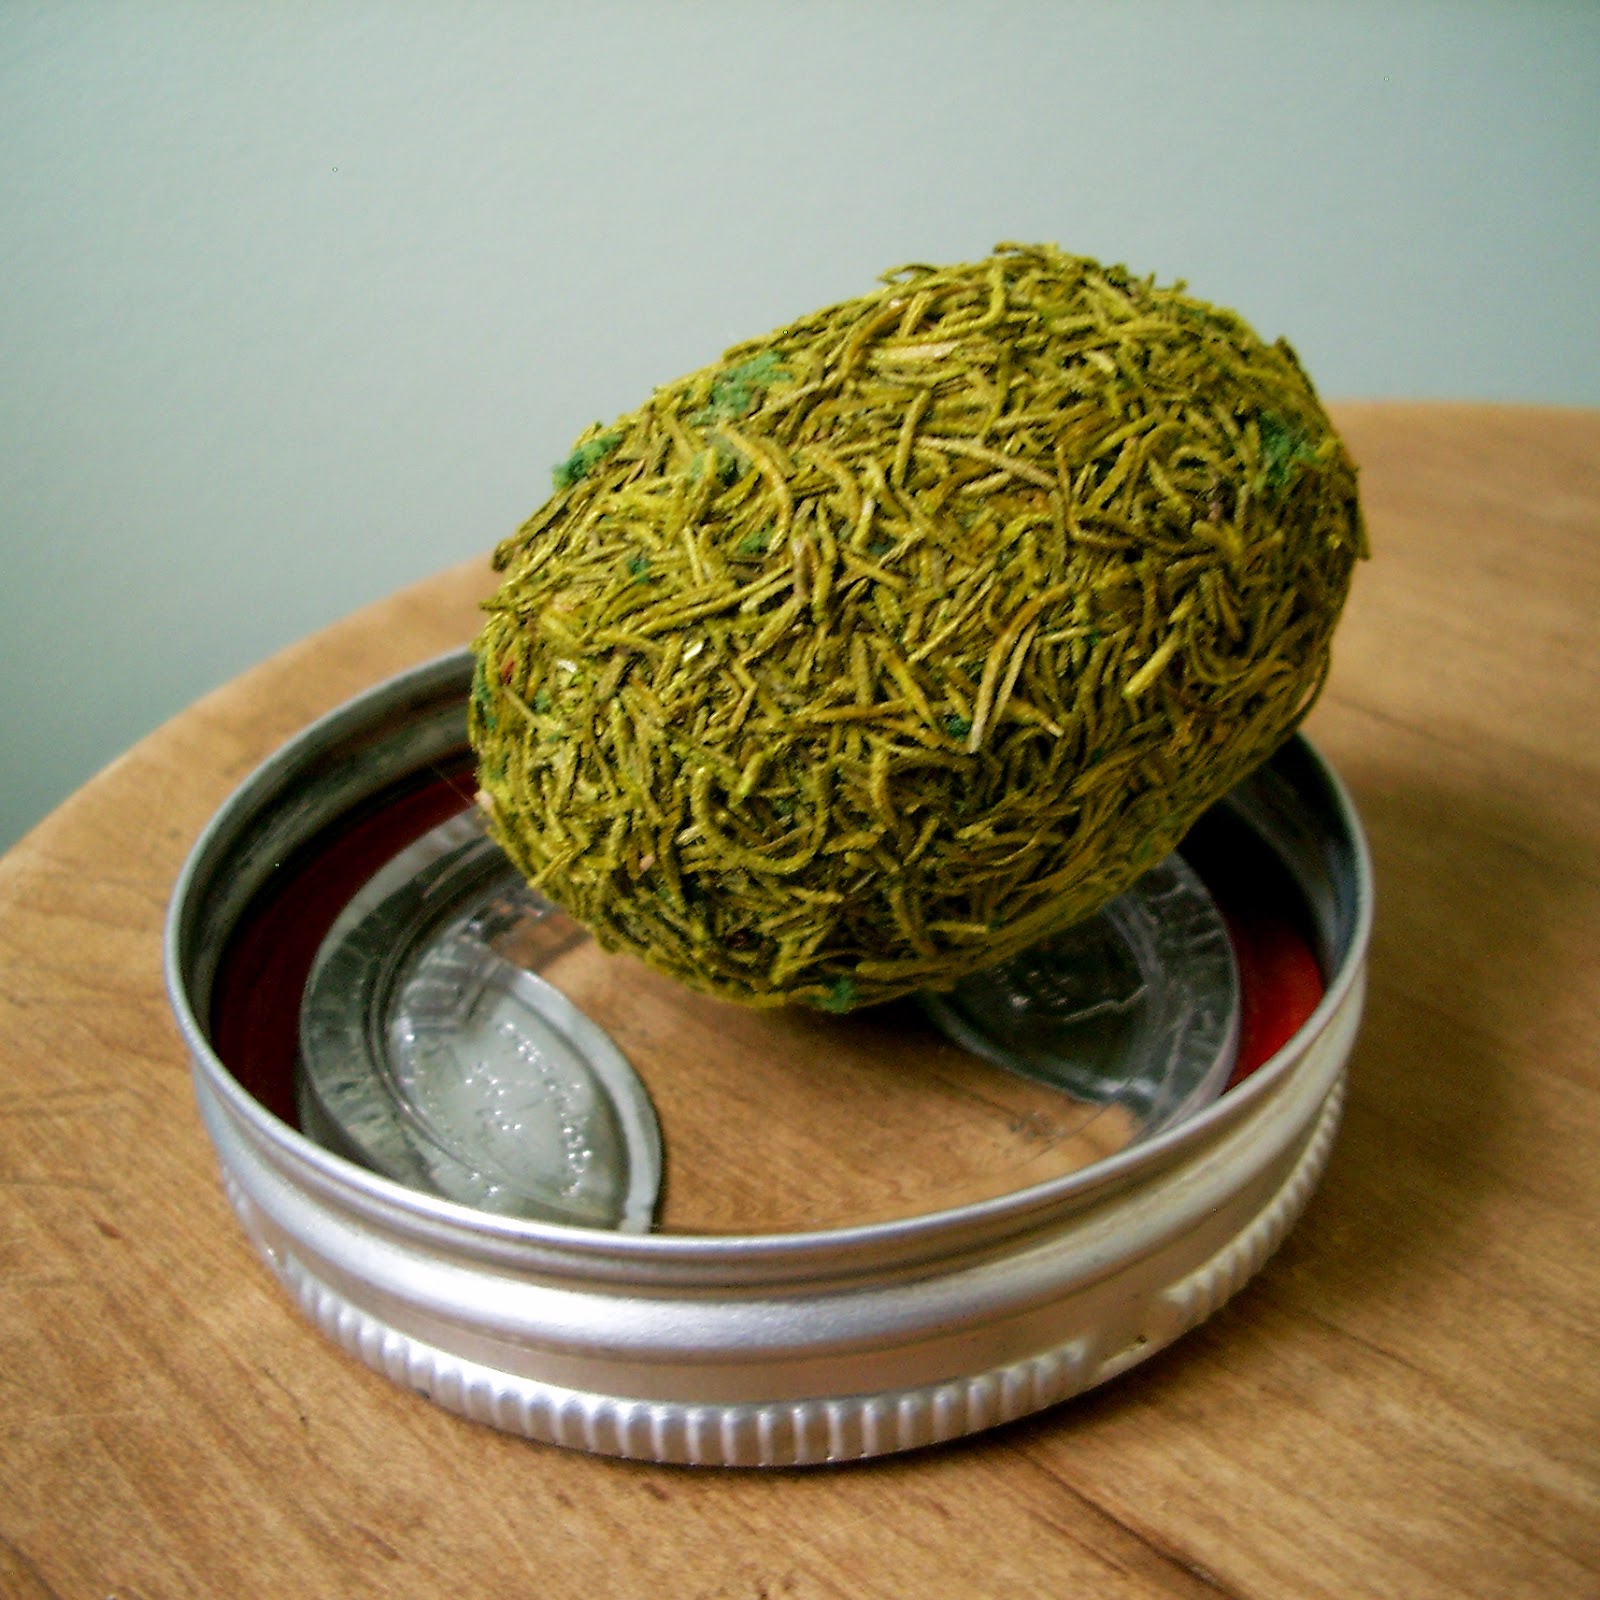
    I’ve never met a hen that lays mossy eggs (nor stucco, sandy or cement eggs for that matter), but I think mossy eggs can make for very nice decorative objects.  Slap a coat of mossy green colored paint onto the egg.  Initially, you could tint your gesso and just skip the extra layer of paint.  Lift the nice, fresh stringy moss out of its bag, then reach in and collect the fine, dusty remnant-like pieces at the bottom of the bag.  Coat the egg with a generous layer of craft glue and cover it with the moss.  Cup the egg in your hand and gently squish, holding your squish for a minute or two, or just until you feel that the moss has really clung to the glue.  When dry, brush off the loose, residual moss particles.  If the egg appears to look a little “hairy”, clip the wayward strands with a pair of scissors.

    My goodness, this was a lengthy post.  Are we done yet?  By golly, we are!

    There you have it.

    Now, go lay some eggs.

    HOW THESE EGGS GOT LAID Read More »

    Scroll to Top