I assure you this post is naughty-free and as wholesome as an egg could be.
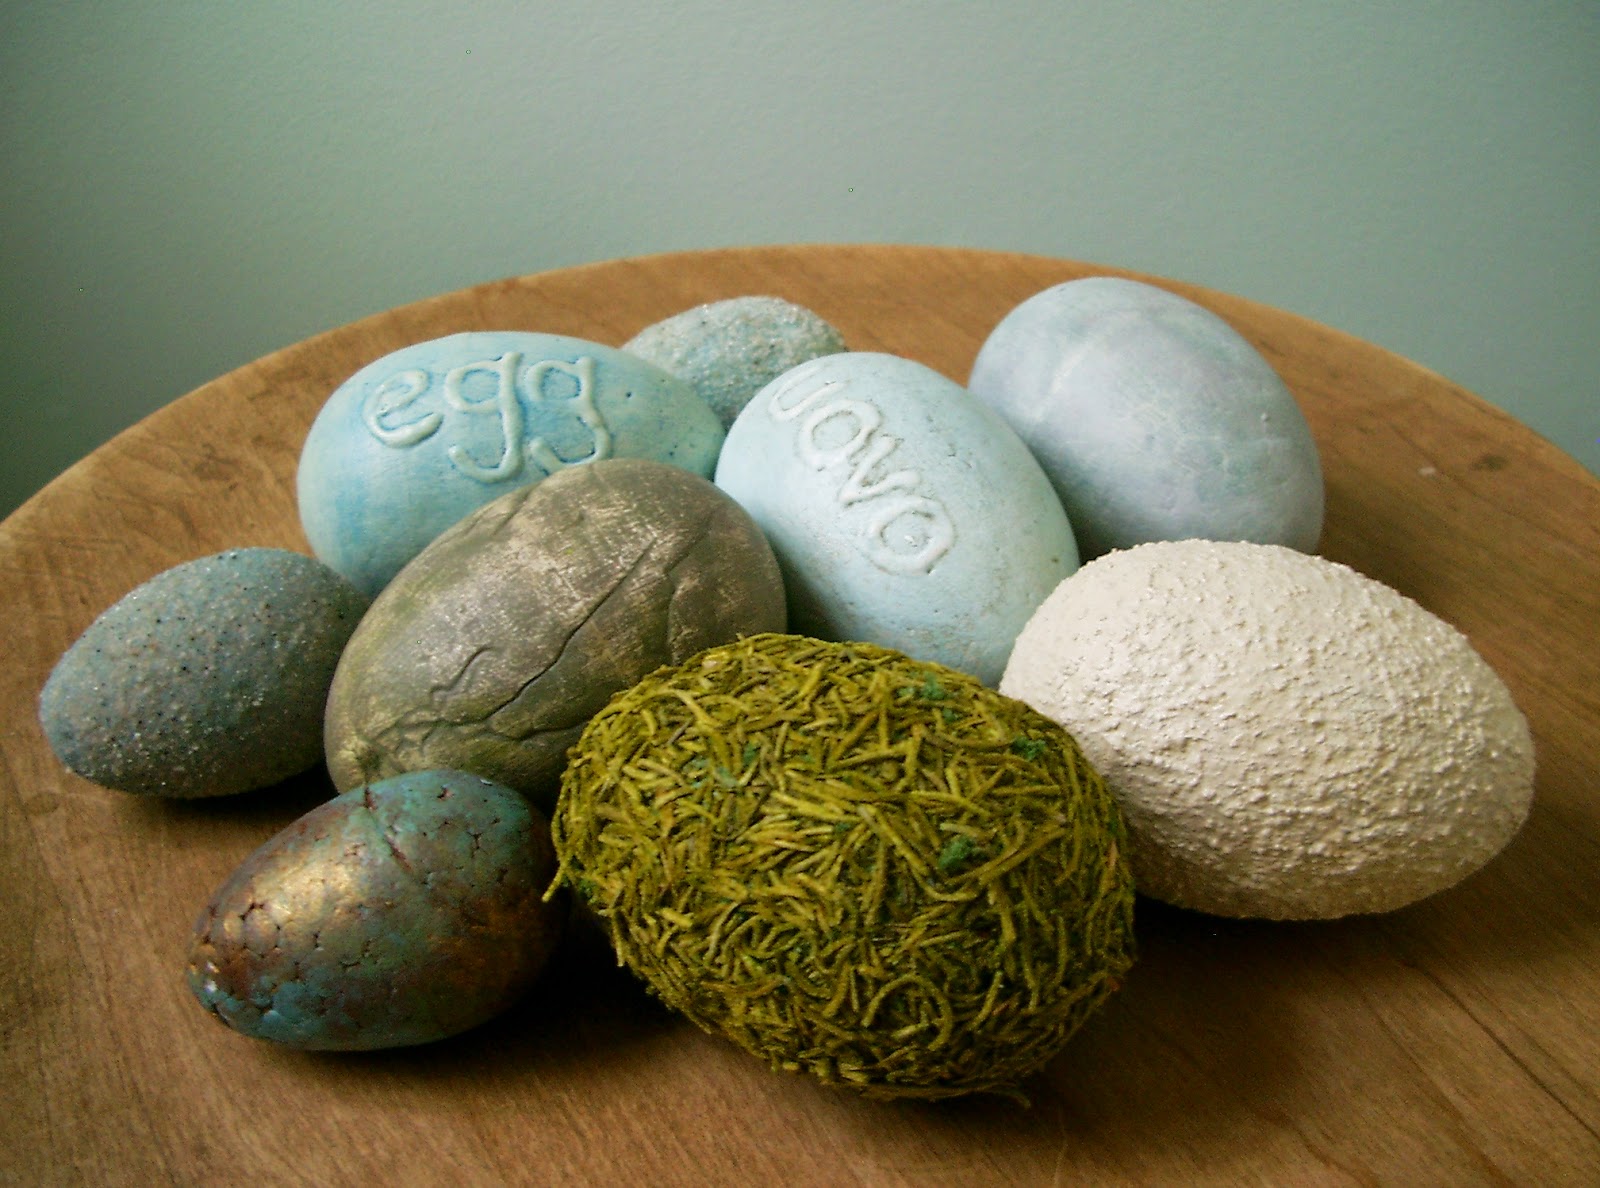
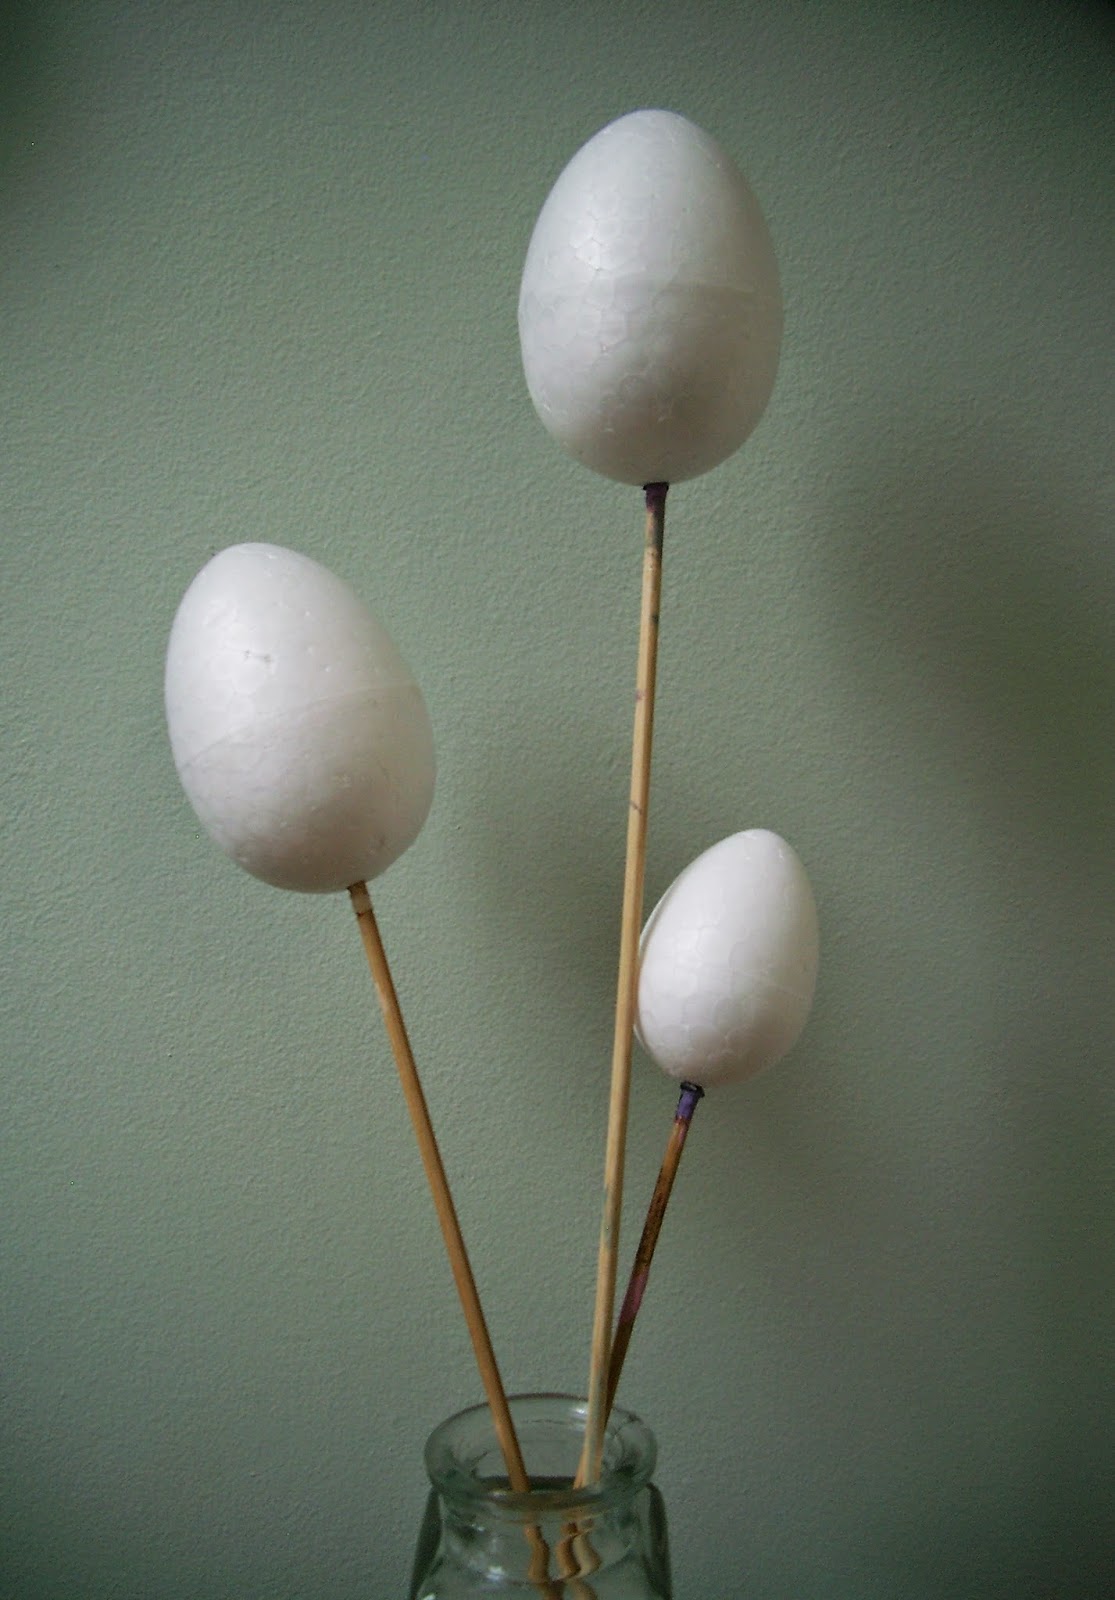
You are staring at styrofoam eggs. Yup….. cheap, dollar-store styrofoam eggs. The magical transformation lies in gesso, paint, a little sand, green spanish moss, some craft glue and some school glue. That’s it. Oh, and some skewers for handling convenience.
 |
| ©Linda Nelson 2015 |
 |
| ©Linda Nelson 2015 |
Begin by applying two coats of gesso to your eggs. For the sandy beach egg you’ll want to use a drop of acrylic paint to tint the gesso roughly the same color as the sand you intend to use. I mixed some fine grit beach sand with teal blue decor sand; therefore, I tinted the gesso for that egg a light, “muddy” teal color.
 |
| ©Linda Nelson 2015 |
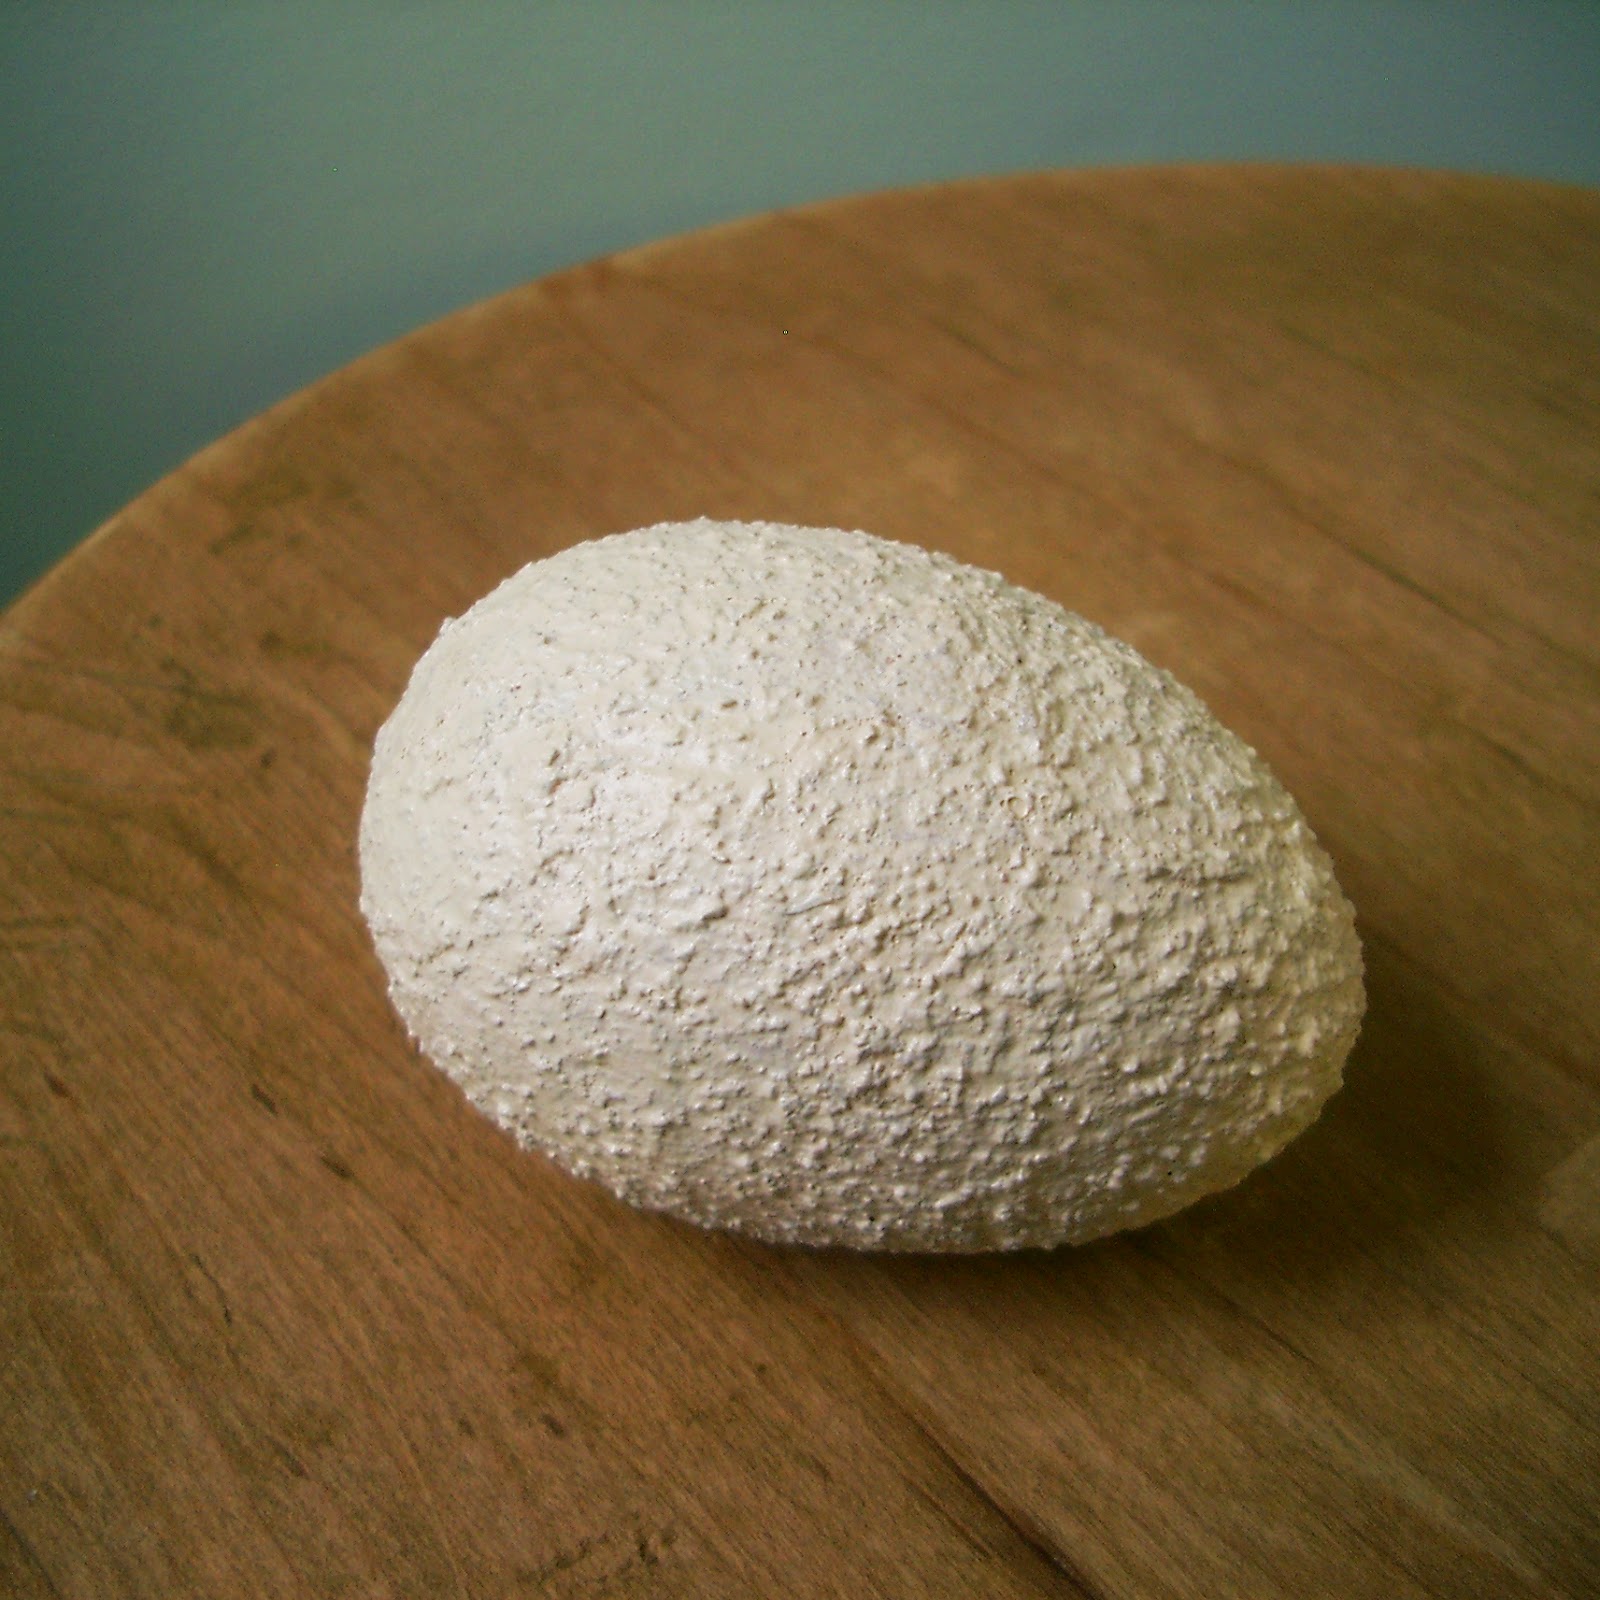
First on display is the stucco egg, created by simply brushing on a generous layer of craft glue, coating the egg in sand, then leaving it to dry. Brush off the loose, residual sand particles, then slap on a coat of buff colored acrylic paint. That’s it. Done.
 |
| ©Linda Nelson 2015 |
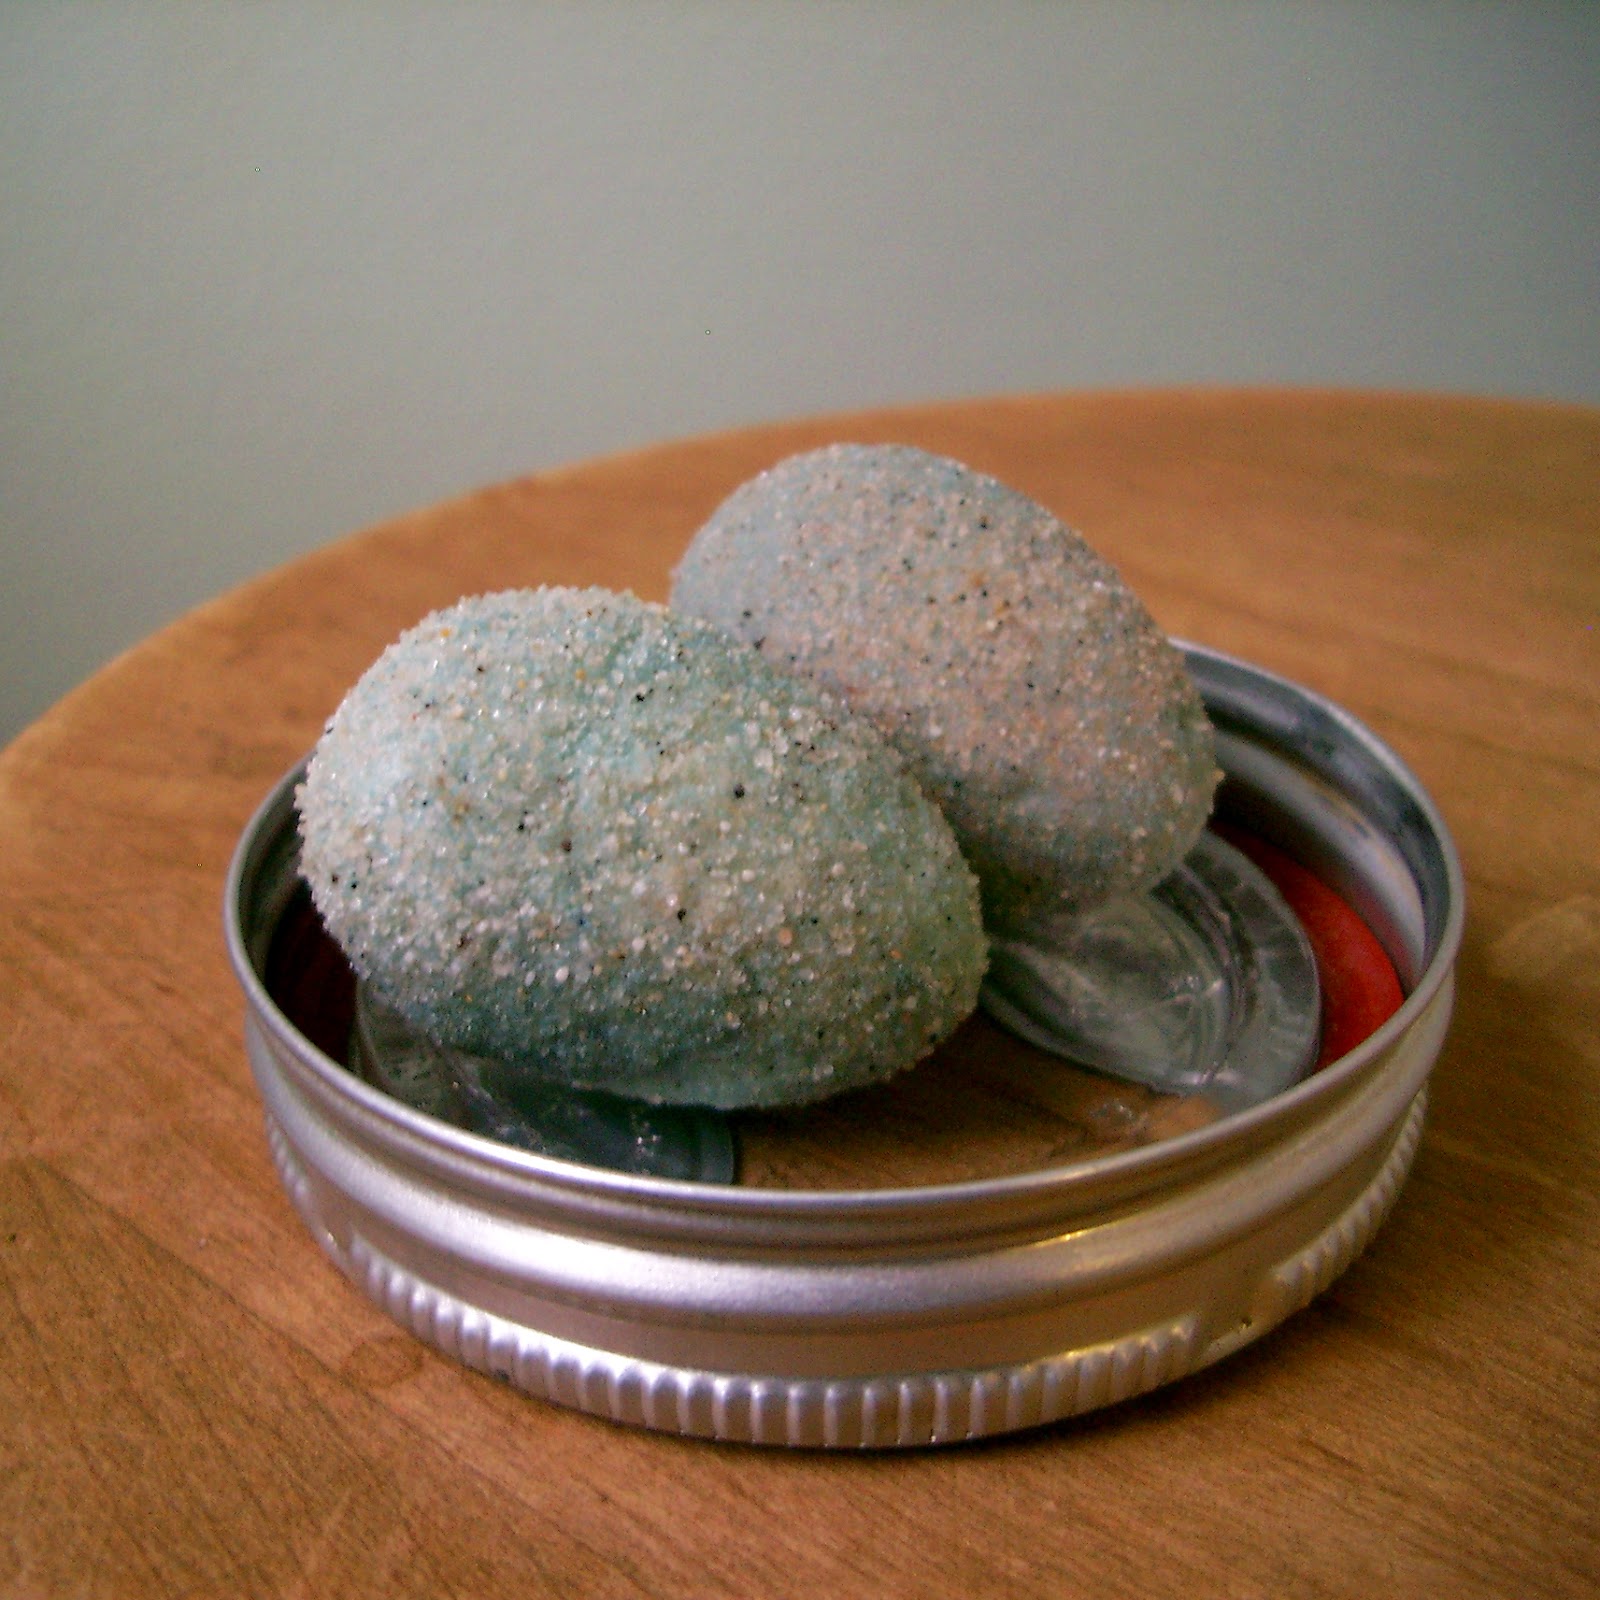
Now, let’s make a sandy beach egg. Apply a generous coat of craft glue onto the gesso tinted egg, coat the egg with sand, then leave it to dry. Brush off the loose, residual sand particles. That’s it. Done.
- A tip for working with sandy eggs – I put the sand in a little tub, coat and bury the egg right within the tub, and leave it that way to dry.
 |
| ©Linda Nelson 2015 |
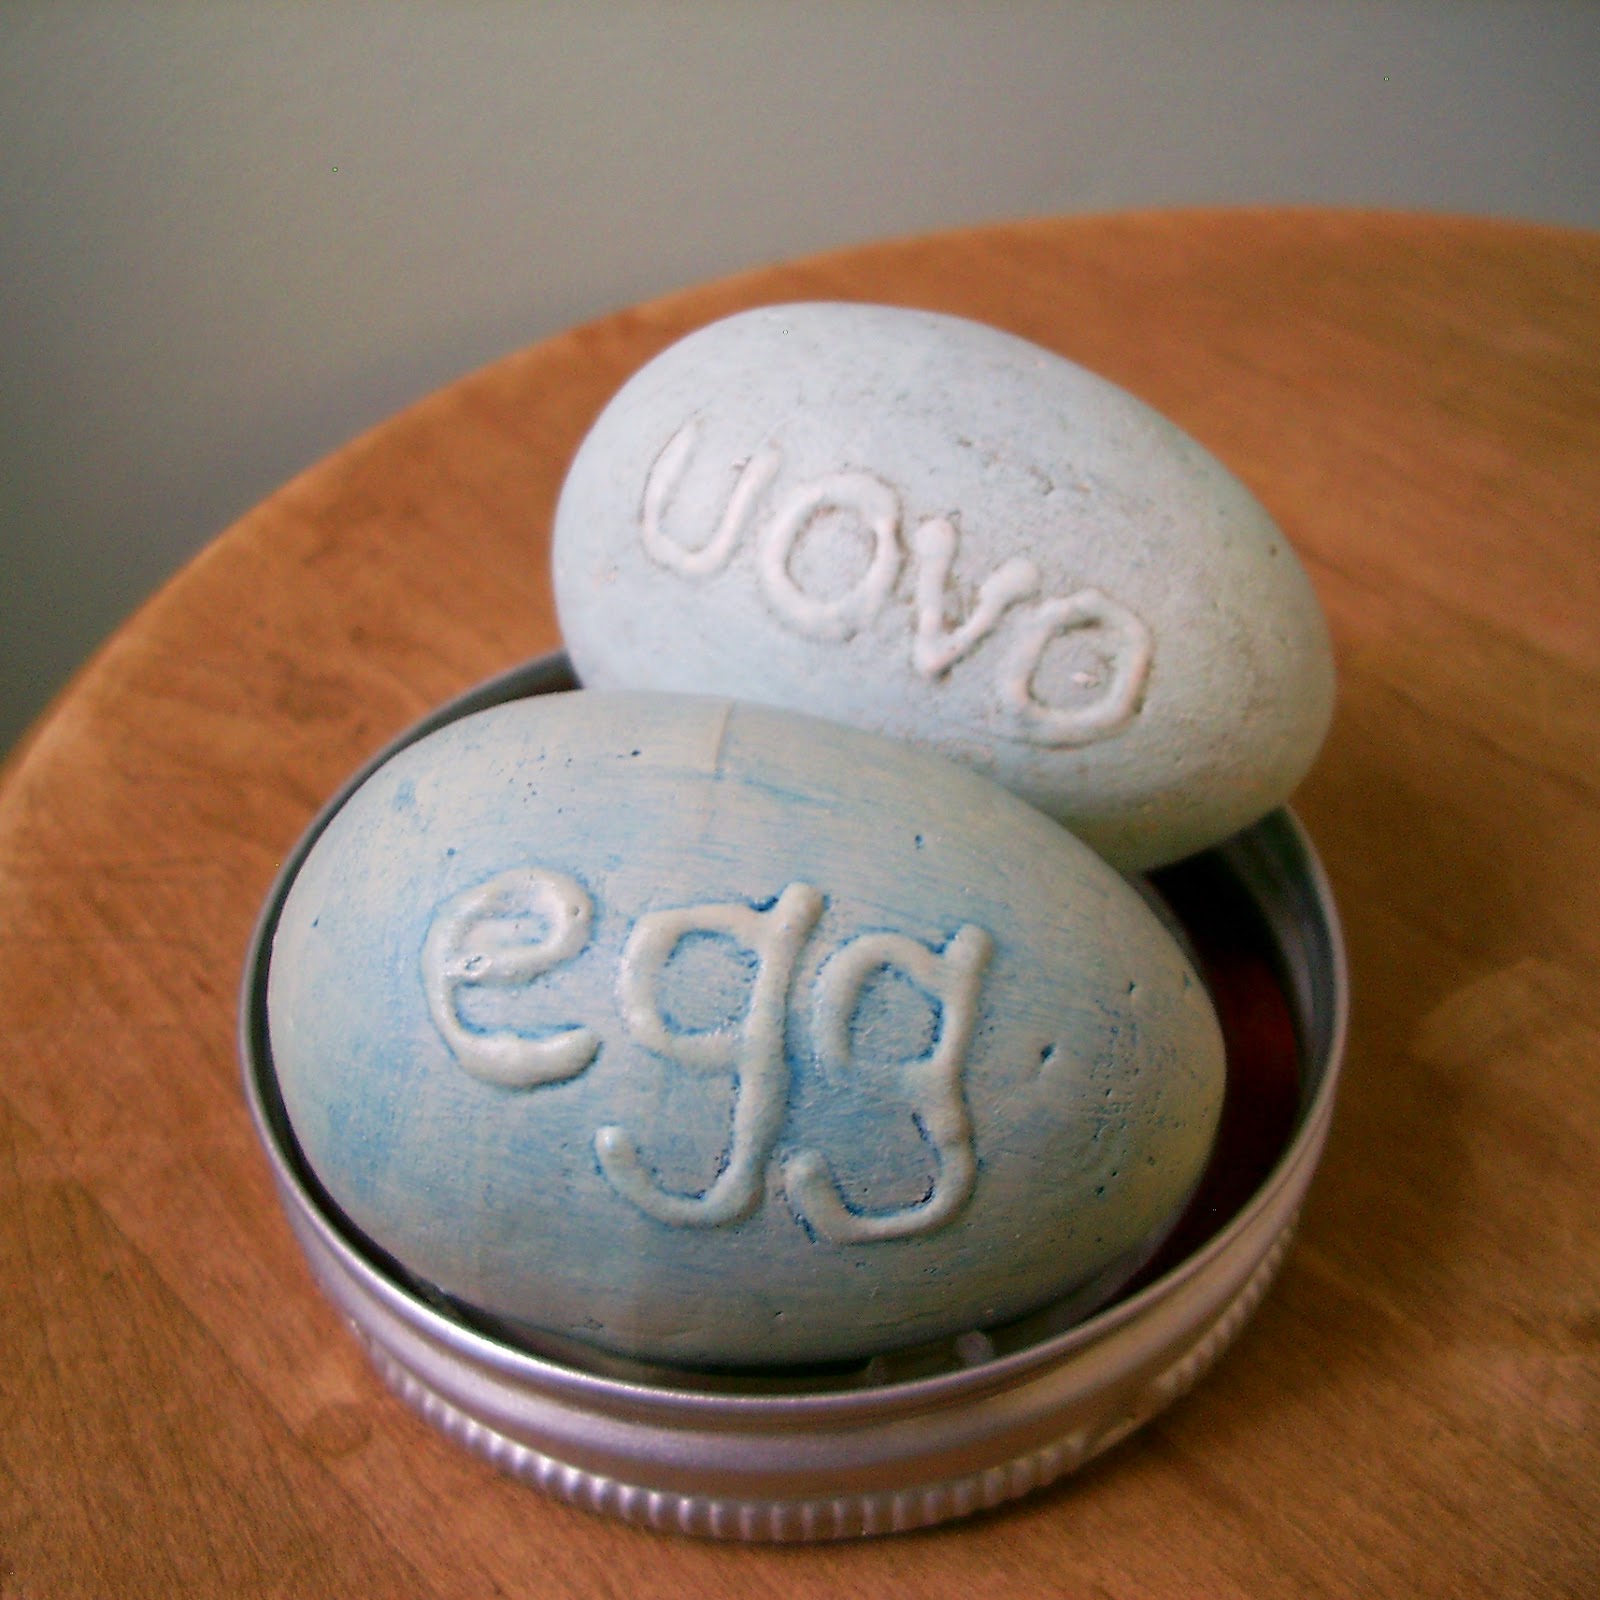
For the embossed words egg grab some school glue and write something on the egg. I don’t care what you write, just write something. When the glue is completely dry apply another coat of gesso over the entire egg. Create an antique-like effect with a top coat of tinted glaze, shoe polish, distress ink or whatever crafty method you prefer. A rubdown with powdered eyeshadow works well, too. That’s it. Done.
 |
| ©Linda Nelson 2015 |
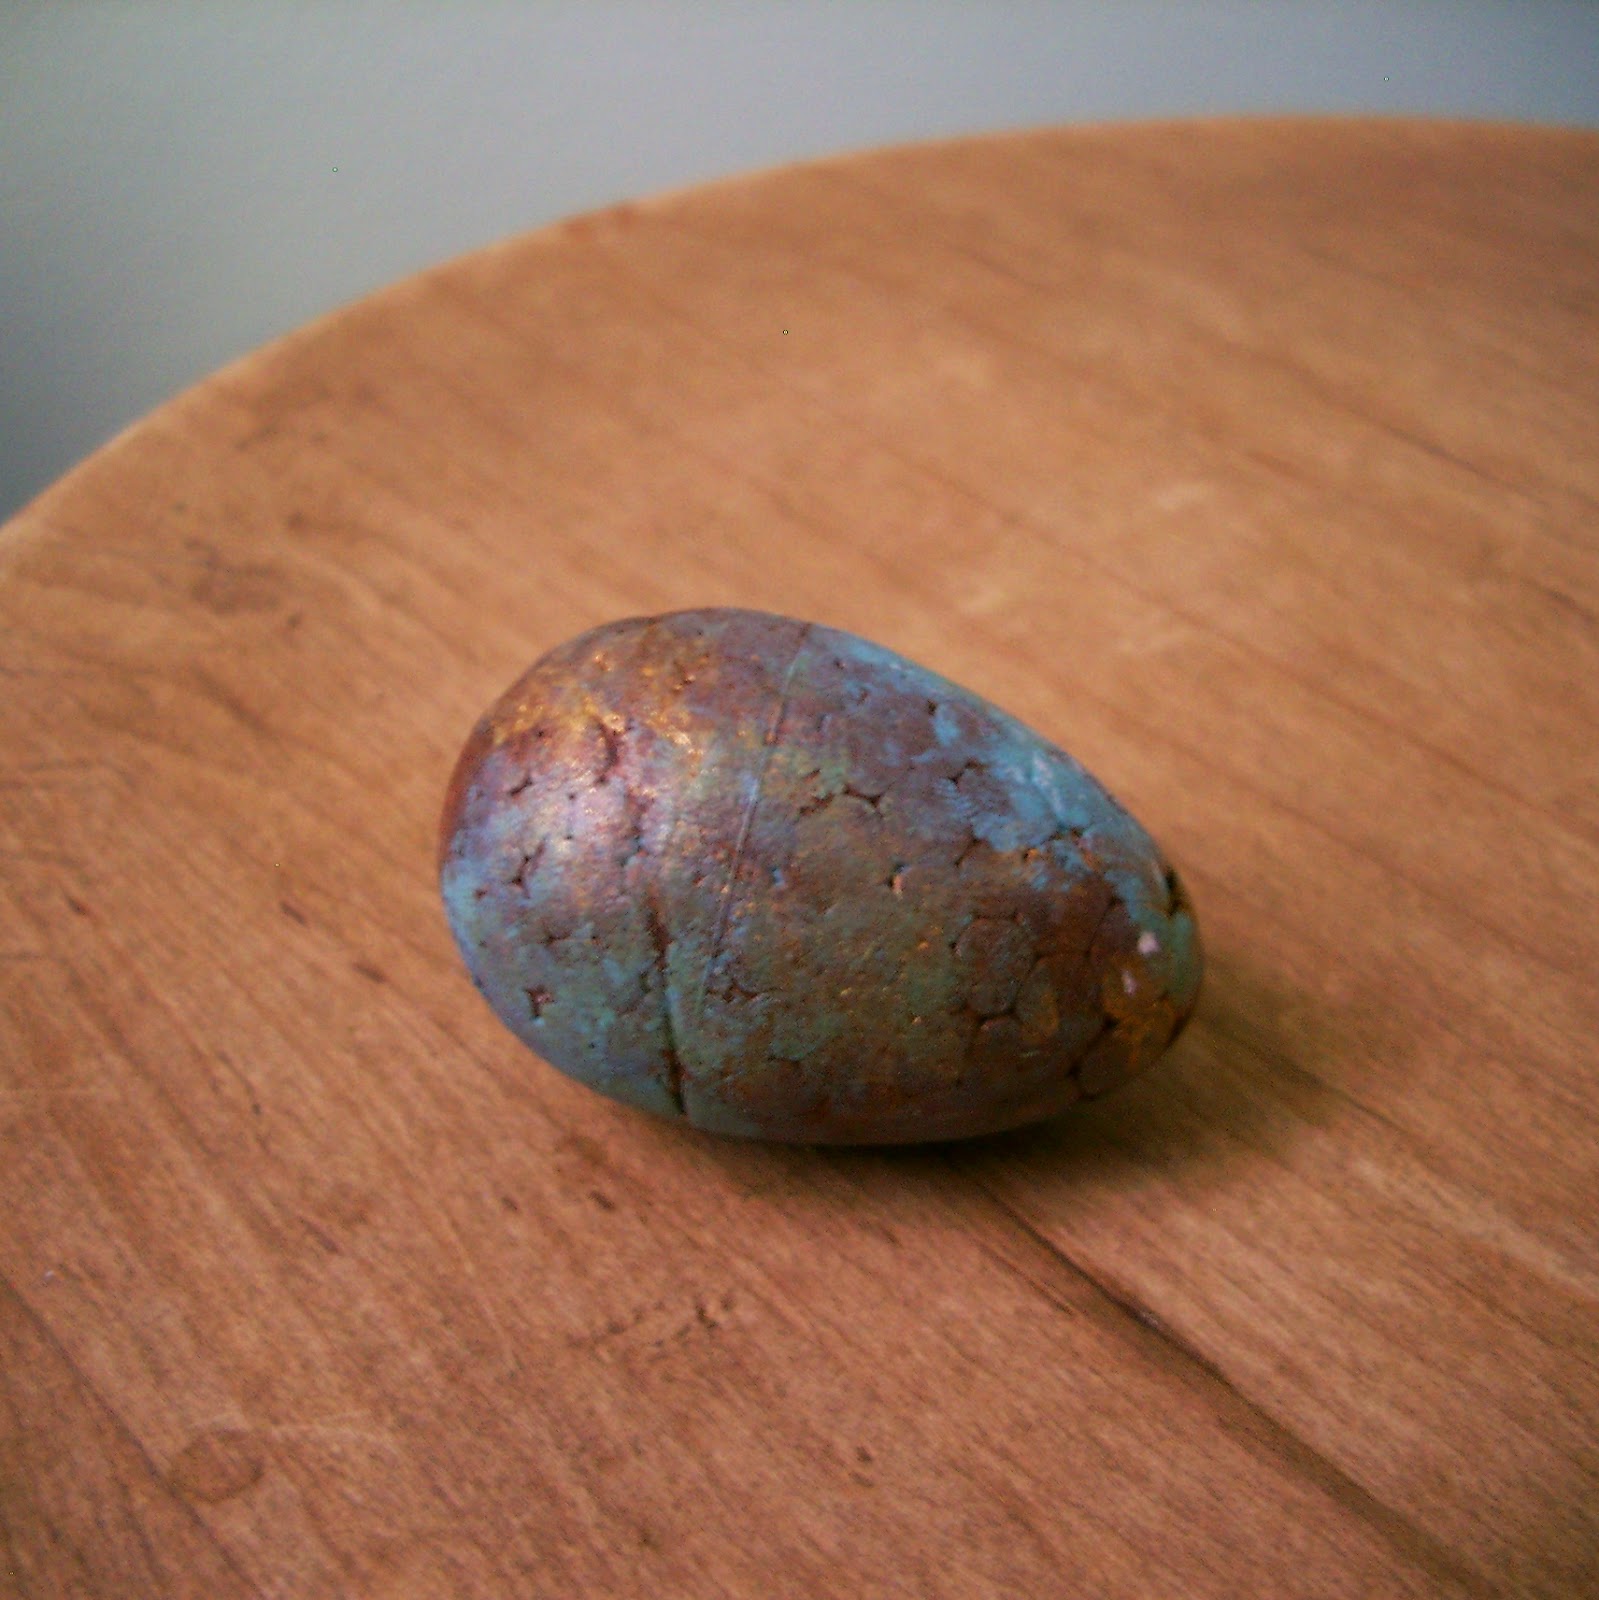
Would you like to make a patinated copper egg? Slap a coat of dull brown paint onto the egg. Pat on some antique gold paint with your fingertip or a little sponge. Make sure you pat in random places. Use this same patting technique with some olive green, light teal and dull brown paint. Finish it off with a few select accent streaks or dabs of gold and bright teal paint. That’s it. Done.
 |
| ©Linda Nelson 2015 |
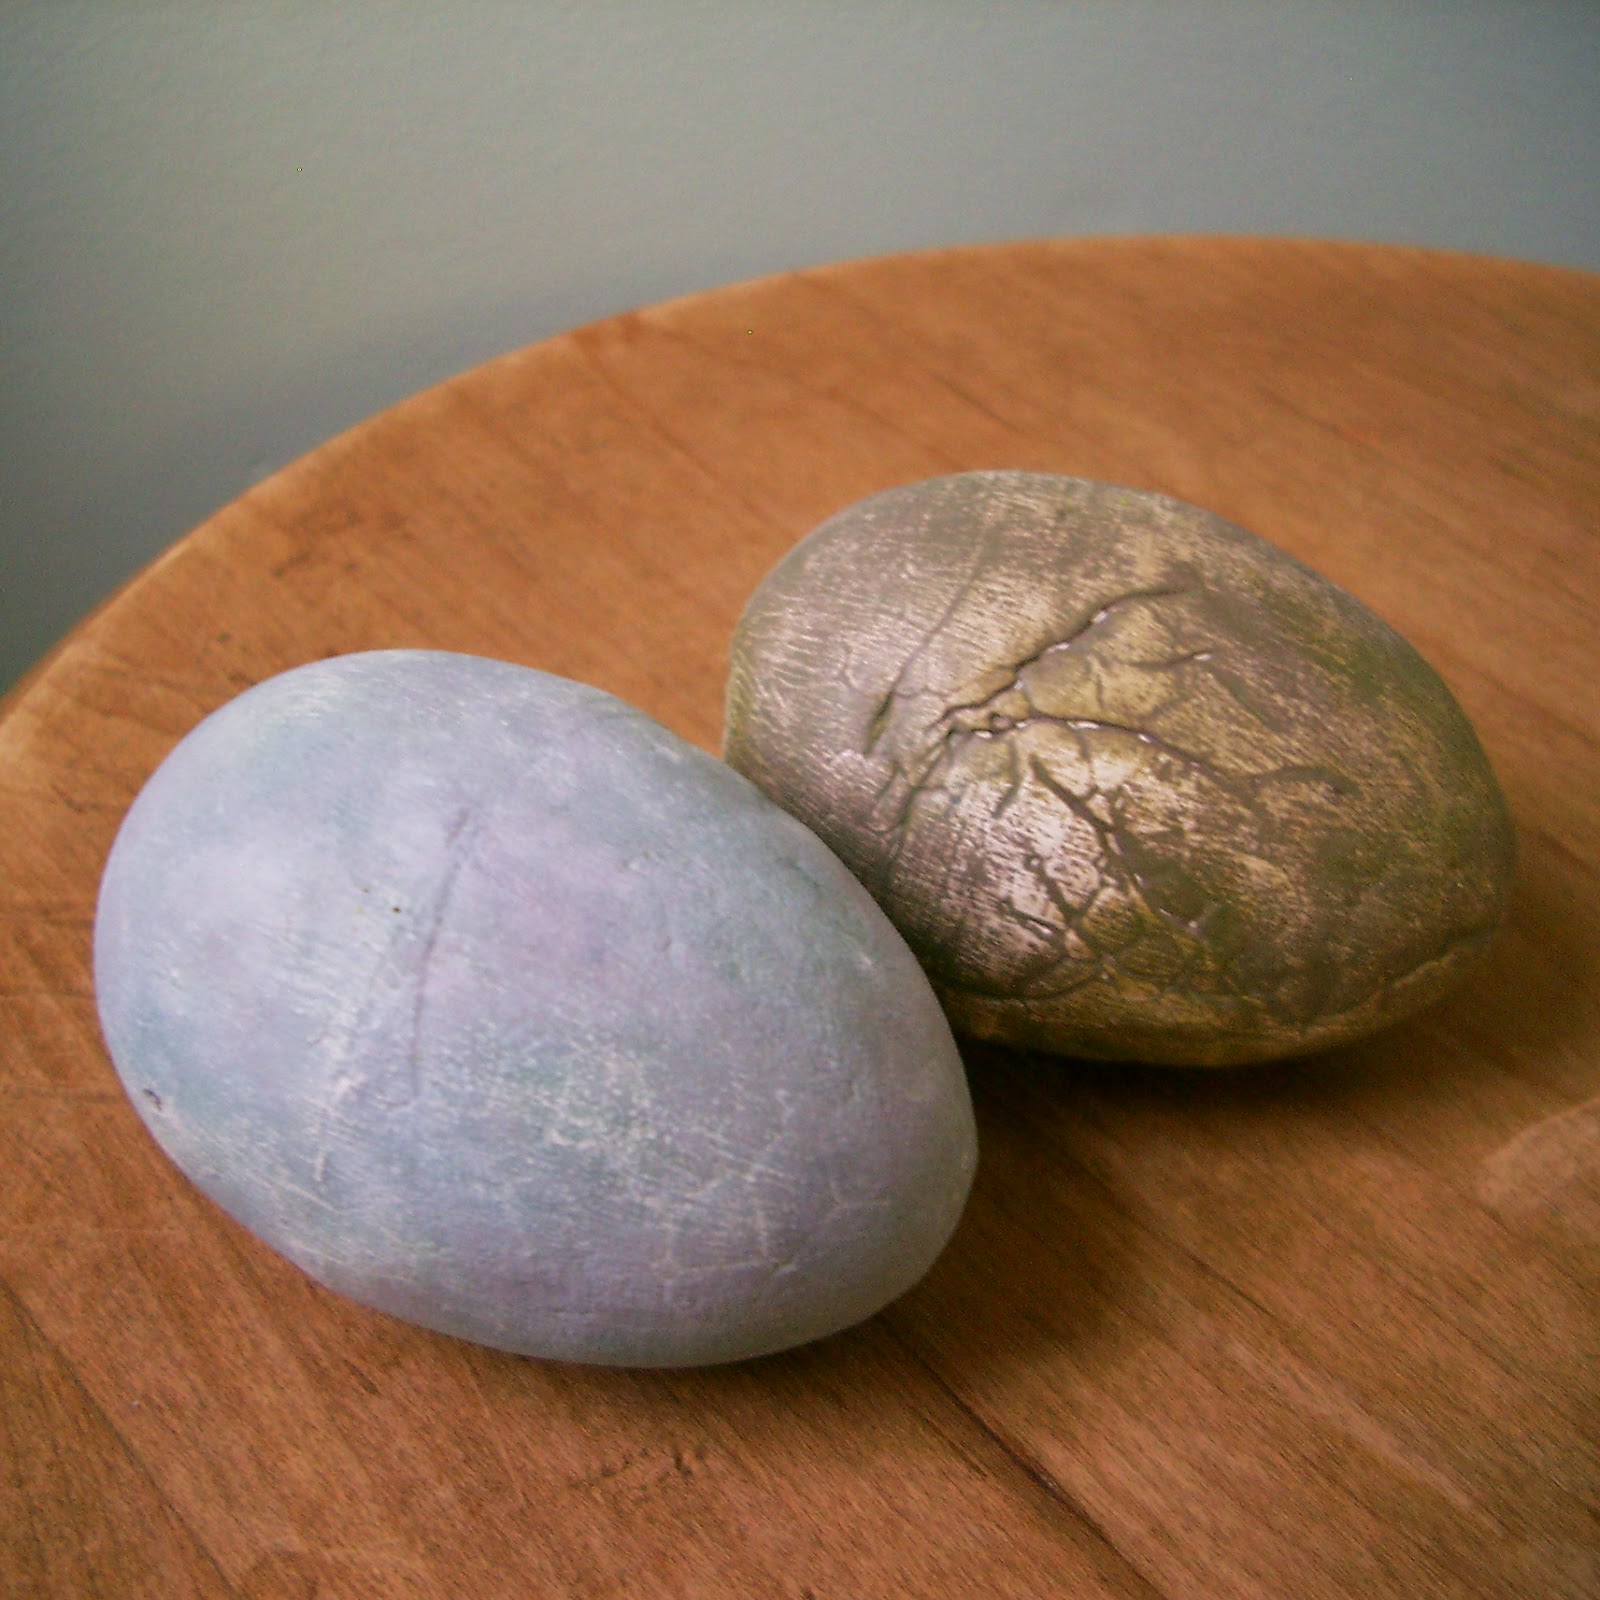
How about some concrete/cement/stone-like eggs? Use your fingernail to first create some grooves and crevices on the egg, if you so choose. Grab some black, white, blue, olive and brown paint and mix them to make a few different cement-like hues to work with. Each mixture should be mostly white, with only a hint of the other colors mixed in. Adding a little drop of water to the paint will help to give it a ‘wash-like’ consistency. Rub the paint onto the egg with your fingers, massaging the color in using an ‘imperfect’ approach. When dry, lightly sand the egg in random places. Rub on another wash of paint, randomly sand down, then ask yourself if your are satisfied with the result. Keep repeating all the steps until you achieve the look you want. And then you will be done.
 |
| ©Linda Nelson 2015 |
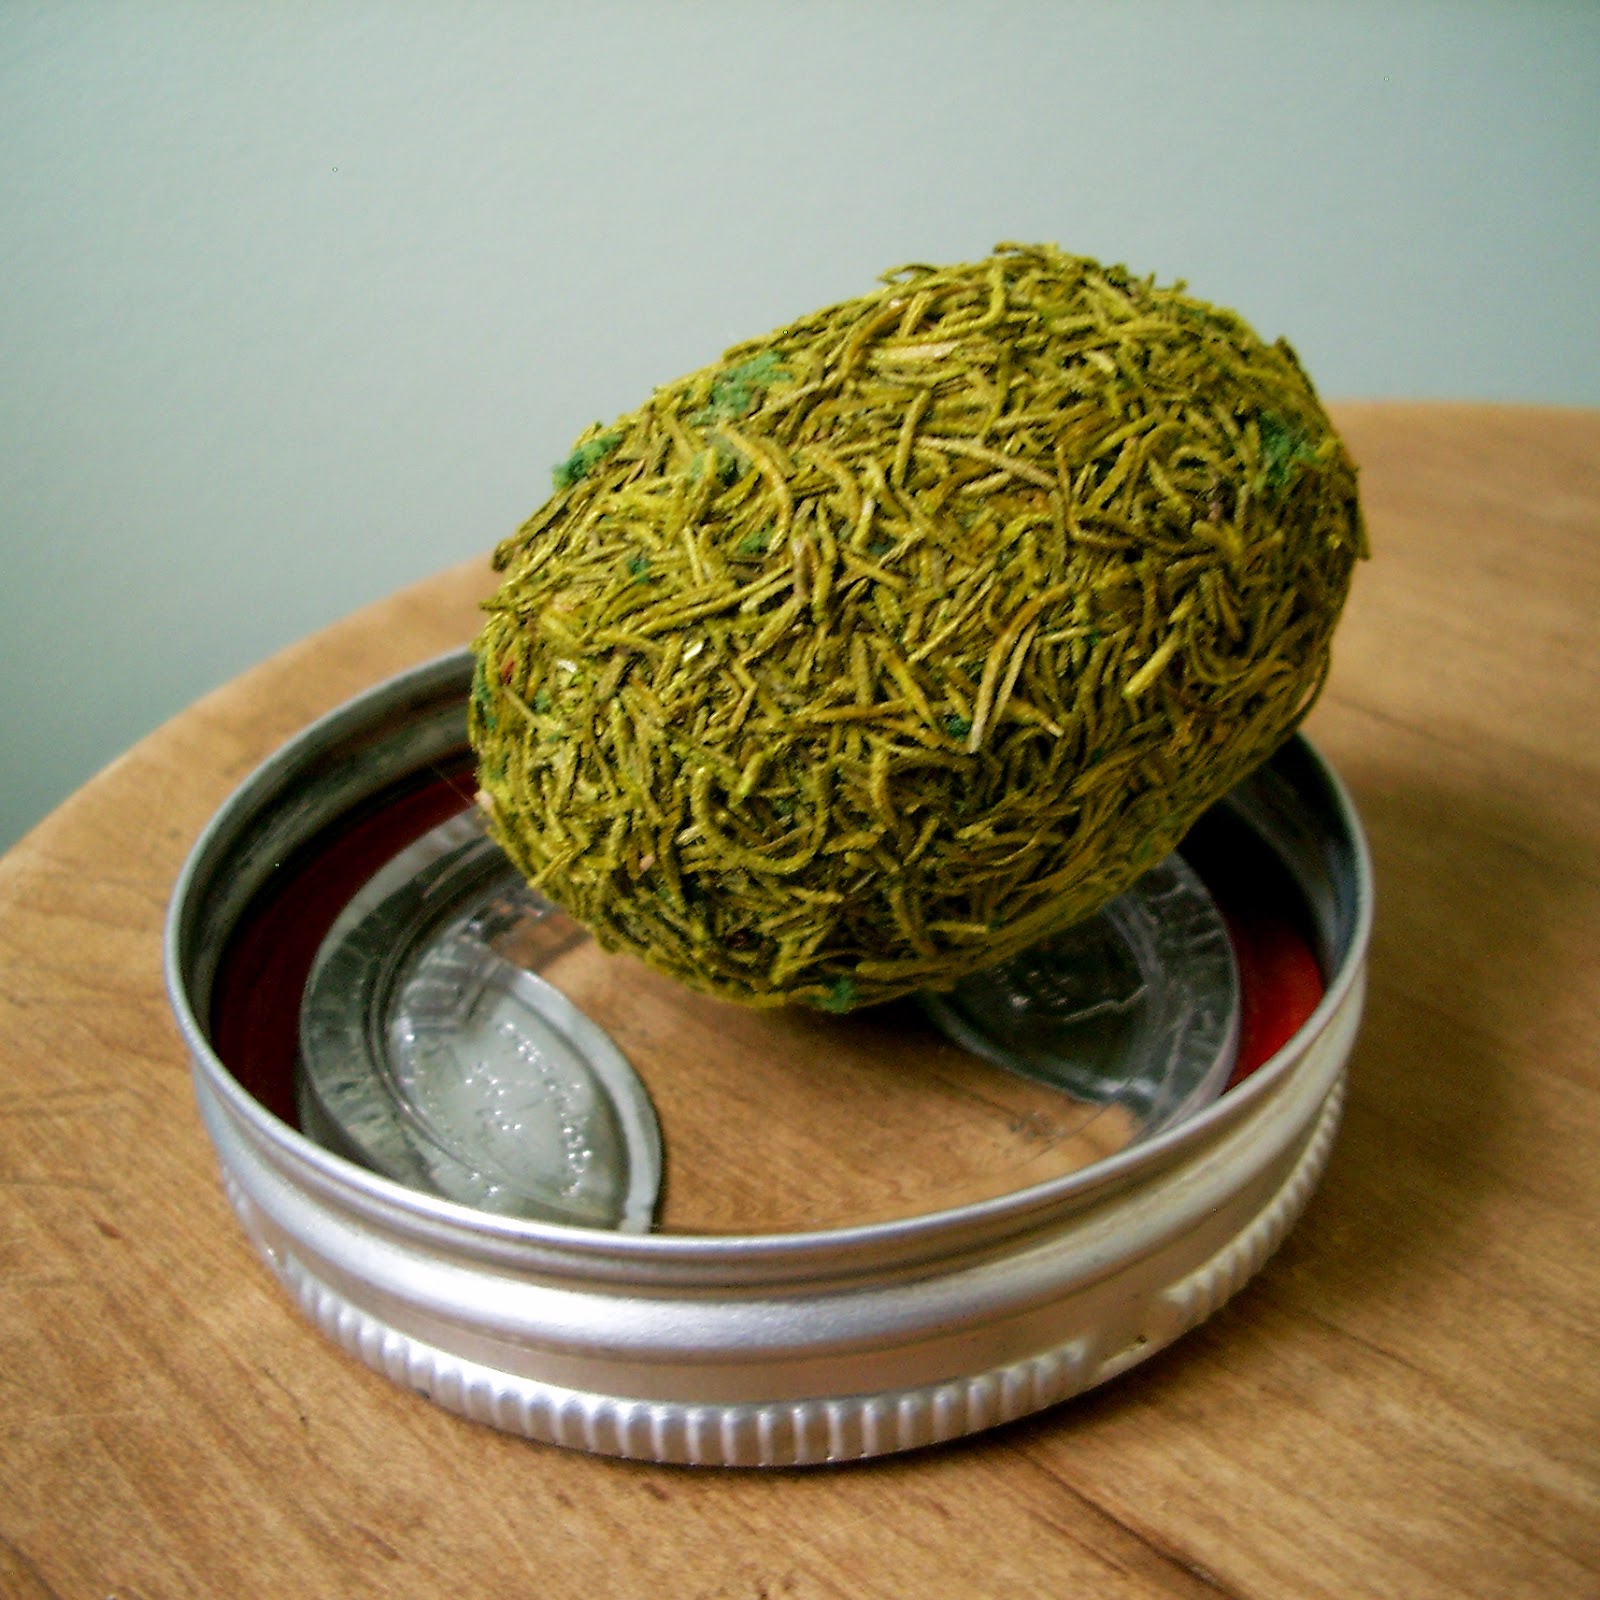
I’ve never met a hen that lays mossy eggs (nor stucco, sandy or cement eggs for that matter), but I think mossy eggs can make for very nice decorative objects. Slap a coat of mossy green colored paint onto the egg. Initially, you could tint your gesso and just skip the extra layer of paint. Lift the nice, fresh stringy moss out of its bag, then reach in and collect the fine, dusty remnant-like pieces at the bottom of the bag. Coat the egg with a generous layer of craft glue and cover it with the moss. Cup the egg in your hand and gently squish, holding your squish for a minute or two, or just until you feel that the moss has really clung to the glue. When dry, brush off the loose, residual moss particles. If the egg appears to look a little “hairy”, clip the wayward strands with a pair of scissors.
My goodness, this was a lengthy post. Are we done yet? By golly, we are!
There you have it.
Now, go lay some eggs.

magnifica idea e grazie per il tutorial! ho pensato che se non trovo le uova potrei usare delle sfere. che ne dici?
lori
Oh , sì. Le sfere dovrebbero funzionare così . Se qualcuno dei miei sensi non si traducono bene , si prega di contattare me e cercherò di spiegarlo in modo diverso .
Love these… And I will admit…they look a lot more complex than they are apparently. Just gorgeous!
Thanks, Brooke. Yup, they're quite easy to make, especially the stucco one, which I came up with the idea on the fly. I hope you make some.
These are beautiful! I love them all, but I especially love the stucco one. Pinning! I'm going to give these a try.
Thank you, Beverly. I'm about to publish a post that may be of interest to you; be on the lookout. It's something fun.
They are so loving and so original … I love them!
^-^
These are simply beautiful. Can't wait to duplicate! Pinning/Sharing.
http://www.onblissstreet.blogspot.com
Thanks for the ispiration Linda. I hope to make them in a few weeks.
The are perfect and make me think of spring! Thank you for linking up at the Be~YOU~tiful link party! We're featuring your adorable and creative eggs this week!
That's great! Thank you so much, Melody. I hope many will give laying these eggs a try.
These are fabulous Linda – so pretty! Definitely pinning this idea and will have some fun with eggs closer to Easter for my Spring mantlescape. Thanks for the inspiration!
Marie@The Interior Frugalista
magnifica idea e tutorial molto chiaro, grazie! ho pensato che se non trovo le uova potrei usare delle sfere: che ne dici?
lori