GOING BACK IN TIME

In my home, curiosity may not kill the cat, but it may possibly bring down the Christmas tree.  And, this is why I feel like I’m going back in time – the yesteryears of un-breakables.

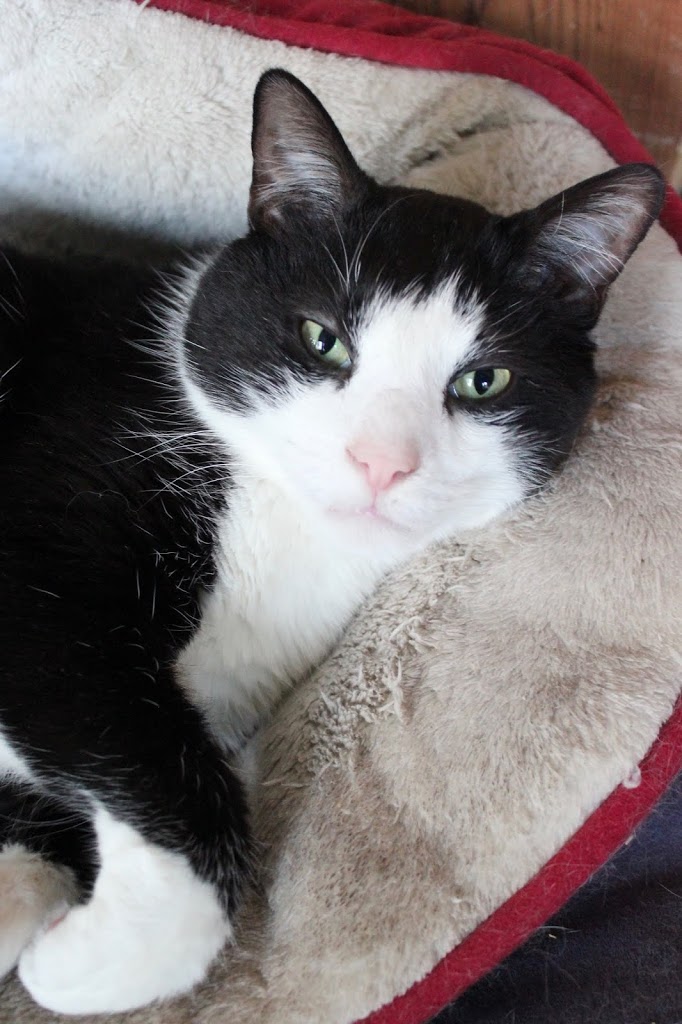
Remember when your kids(for those of you who have them) were little, when the delicate ornaments were hung toward the top of the tree and the unbreakable ones within the reach of chubby little hands?  Well, my cat, Kovacs, though not a chubby handed little tot, sure is curious.  So….. back in time I go.   This is his first Christmas here in my home; I adopted him earlier this year.  So far, so good; he hasn’t tried to scale the tree.

linda nelson at the createaerie
©Linda Nelson 2018

However, after some holiday shopping last night, I came home to this.

linda nelson at the createaerie
©Linda Nelson 2018

It’s supposed to look like this.

linda nelson at the createaerie
©Linda Nelson 2018

If I ever have grandchildren, they won’t be allowed in my house until they’re past “that stage”.  Just kidding.  I’m not that cruel…. but close.

Anyway, here’s a few of the un-breakables I hung on the tree.

linda nelson at the createaerie
©Linda Nelson 2018

I made the cowboy boots close to thirty years go!  The birdhouse was a recent purchase from a holiday bazaar.

linda nelson at the createaerie
©Linda Nelson 2018

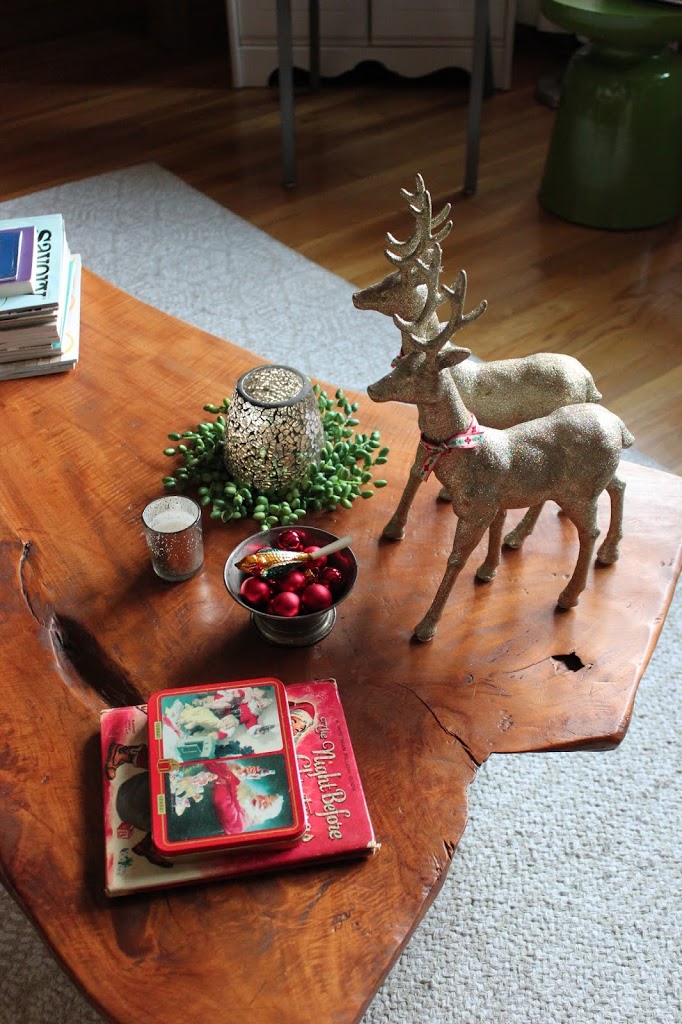
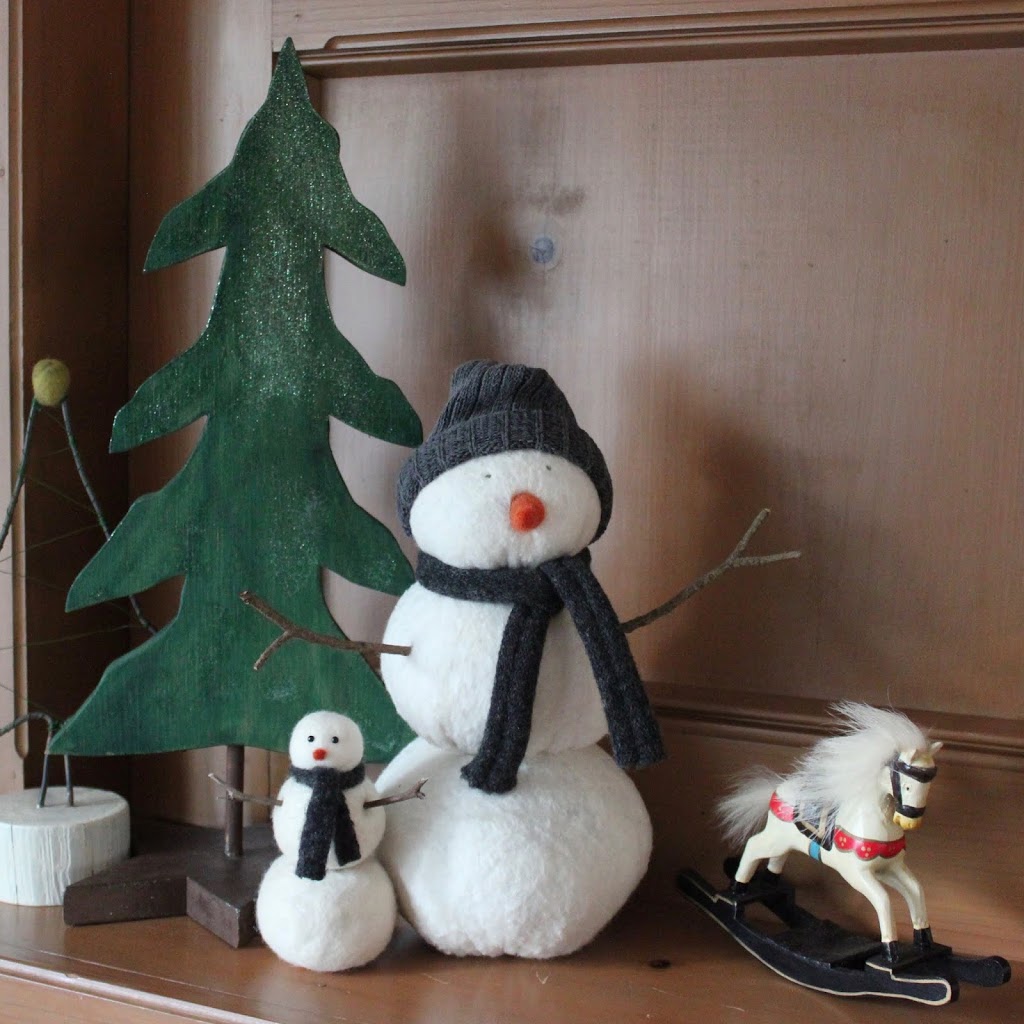
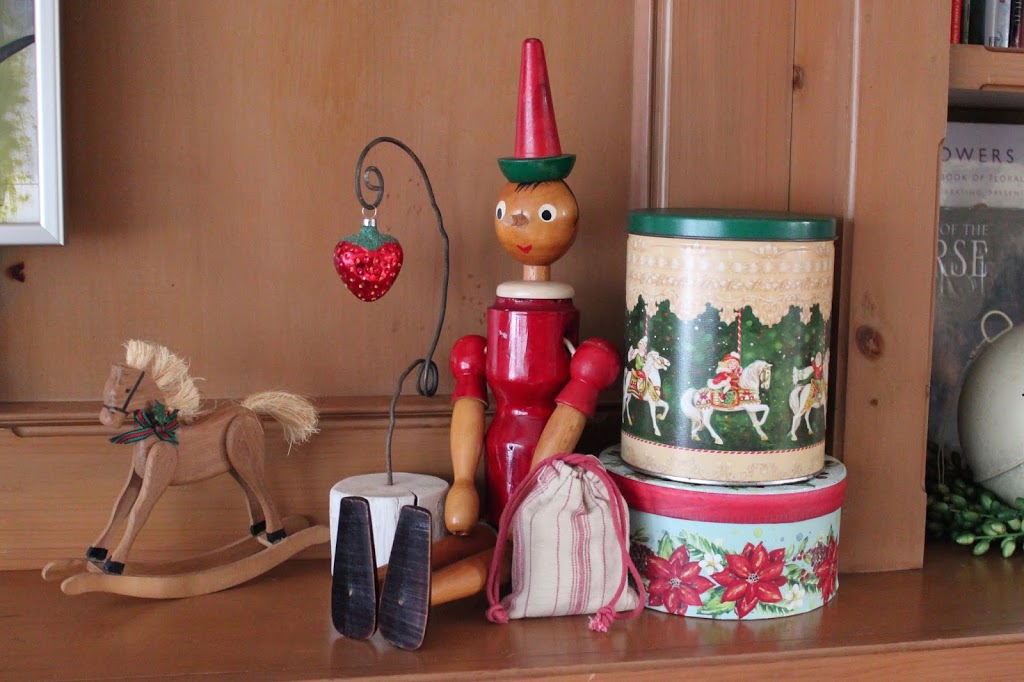
And, here’s some other holiday baubles placed about.

linda nelson at the createaerie
©Linda Nelson 2018
linda nelson at the createaerie
©Linda Nelson 2018
linda nelson at the createaerie
©Linda Nelson 2018
linda nelson at the createaerie
©Linda Nelson 2018
linda nelson at the createaerie
©Linda Nelson 2018
linda nelson at the createaerie
©Linda Nelson 2018
linda nelson at the createaerie
©Linda Nelson 2018
linda nelson at the createaerie
©Linda Nelson 2018


I sure do hope your decorations are staying put!

GOING BACK IN TIME Read More »

SAVE THE PONY EXPRESS!

Christmas is coming…
the goose is on the run.

Make a few Christmas cards…
for some crafty fun.

If there’s no time for that…
store bought ones will do.

If you don’t send Christmas cards…
then God bless you. 


I’m not sure which is worse, no cards, or e-cards.  I delight in receiving beautiful Christmas cards and displaying them among my decorations.  Yes, folks, sending a Christmas card is sending your recipient a little ephemeral decoration.  Sweet.

Here’s an example of a super easy handmade card.  A blank card/envelope, a tall skinny triangle cut from Christmas print card stock, the bottom half of a tiny triangle, a Sharpie marker and some double-sided tape are all that’s needed to make one.  Better yet, enlist your kids to make a bunch of them(this way you can go bake in peace)!  And, hey, last year’s Christmas cards are ideal card stock to work with.

linda nelson at the createaerie

So, please, please, please….. brush up on your “penmanship”, grab your coffee, tea or whatever, and get those cards signed, sealed and delivered!

SAVE THE PONY EXPRESS! Read More »

HOW BAZAAR

 Well, Thanksgiving came and went, as did Black Friday, Small Business Saturday and Cyber Monday.   But, what was up with Sunday?  Oh let me guess – Take A Breather Sunday?  I doubt it.  Air Travel Sunday, perhaps.

Seriously, though, I do hope you all had a beautiful Thanksgiving spent in the company of your loved ones.  I made this apple pie for my family, my first time making an all-butter crust.  It was yummy, but next year I’ll just stick to my usual shortening crust; it’s much flakier and preferred by my “critics”.  I’ve yet to make a butter/shortening combo crust.  Perhaps I should give that a try.

linda nelson at the createaerie

Anyway, the next few weekends are sure to be filled with holiday bazaars in every town, and I do hope you’ll take the time to attend a few.  They’re fun, child friendly and often help support local organizations.  Be sure to visit the local art galleries and museums too!  They’re a fabulous pick for finding beautiful gifts.  And, while you’re there, take some time to view the current exhibit.  Seriously.  Stare at some art even if you don’t get what da heck the artist was alluding to.  If for nothing, you’ll be gifted a few moments of calm and an opportunity to entertain your inner Picasso.

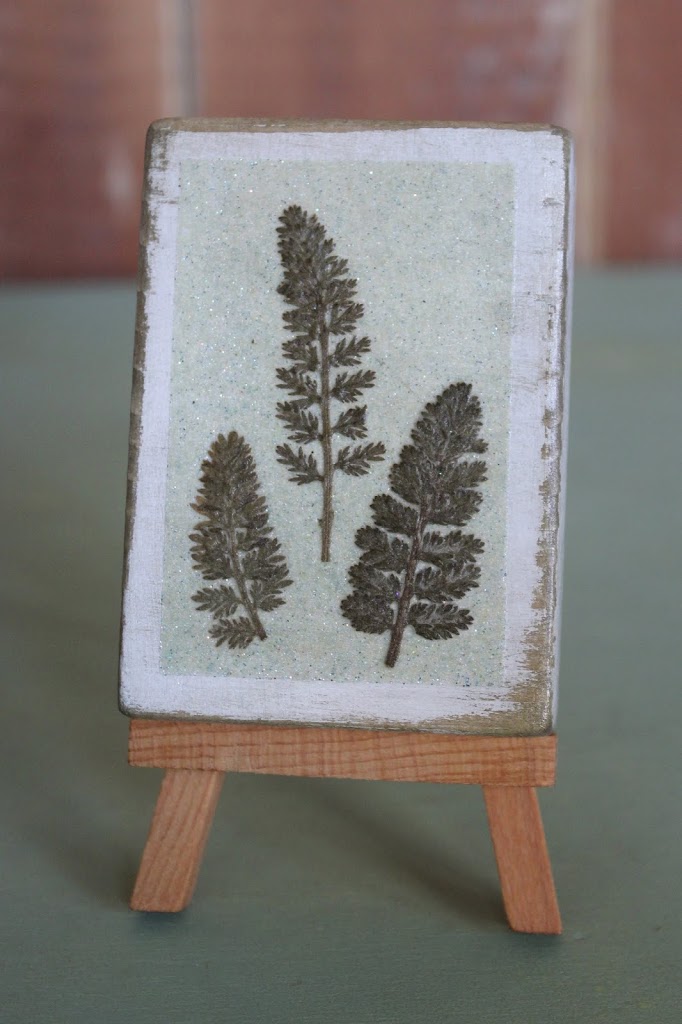
I’ll be setting up shop at local fairs for the following two Saturdays and plan to attend a few as a browser/shopper this Sunday.  Here’s a peak at what I’ve been making in preparation for the two events I’ll be participating in –
linda nelson at the createaerie

And, yes, I agree – the photo quality is less than stellar.   Sorry about that. 🙁

Now, go browse, support and shop creative… in your home town, of course.

HOW BAZAAR Read More »

SANDY SPARKLY ORNAMENTS

It may not be the season for sandy toes, however…… sandy ornaments are a different story.  Today I’m sharing this simple tutorial with you.  It just might, after all, get you on the beach!

Gather your materials and supplies –

  • some scoopfuls of beach sand (Woe is you who do not live near the shore; however, packaged sand will work just fine.)
  • fine mesh strainer
  • fairy dust glitter (white or pearlescent)
  • tacky craft glue
  • scrap wood trim cut to ornament-sized pieces
  • your favorite go-to paints
  • sandpaper
  • embellishments to complete your design
Drop a handful of beach sand into a strainer and sieve the finer particles into a small bowl.  Perhaps you can omit this step if you purchased packaged sand from the craft store; that kind is generally already a fine grit.  Add enough glitter to suit your sparkly taste and mix thoroughly.
Sand and paint your trim piece.  If you prefer, sand it again to expose some of the raw wood.

Draw your subject on to the wood with a pencil – simple designs work best.  Apply a thick line of glue to the outline and fill the shape in with more glue.  Spoon your sand/glitter mix onto the glue, then shake off the excess.  Let the glue partially dry (about 45 minutes) then repeat the glue and sand step again.  Yes, distribute the glue right over the design, and sprinkle more sand/glitter onto the glue. Set aside to dry overnight, or at least until the glue has dried completely.

Embellish as your crafty little heart desires.  Attach some twine to the top and……..

Voila!  You’ve just made a sandy sparkly ornament.

Now, go make some more.

SANDY SPARKLY ORNAMENTS Read More »

Scroll to Top