DANCING WITH CARDBOARD: THE SEQUEL

©linda nelson 2015

I couldn’t help it; I just had to amuse myself by making this cackling little hen….,

©linda nelson 2015

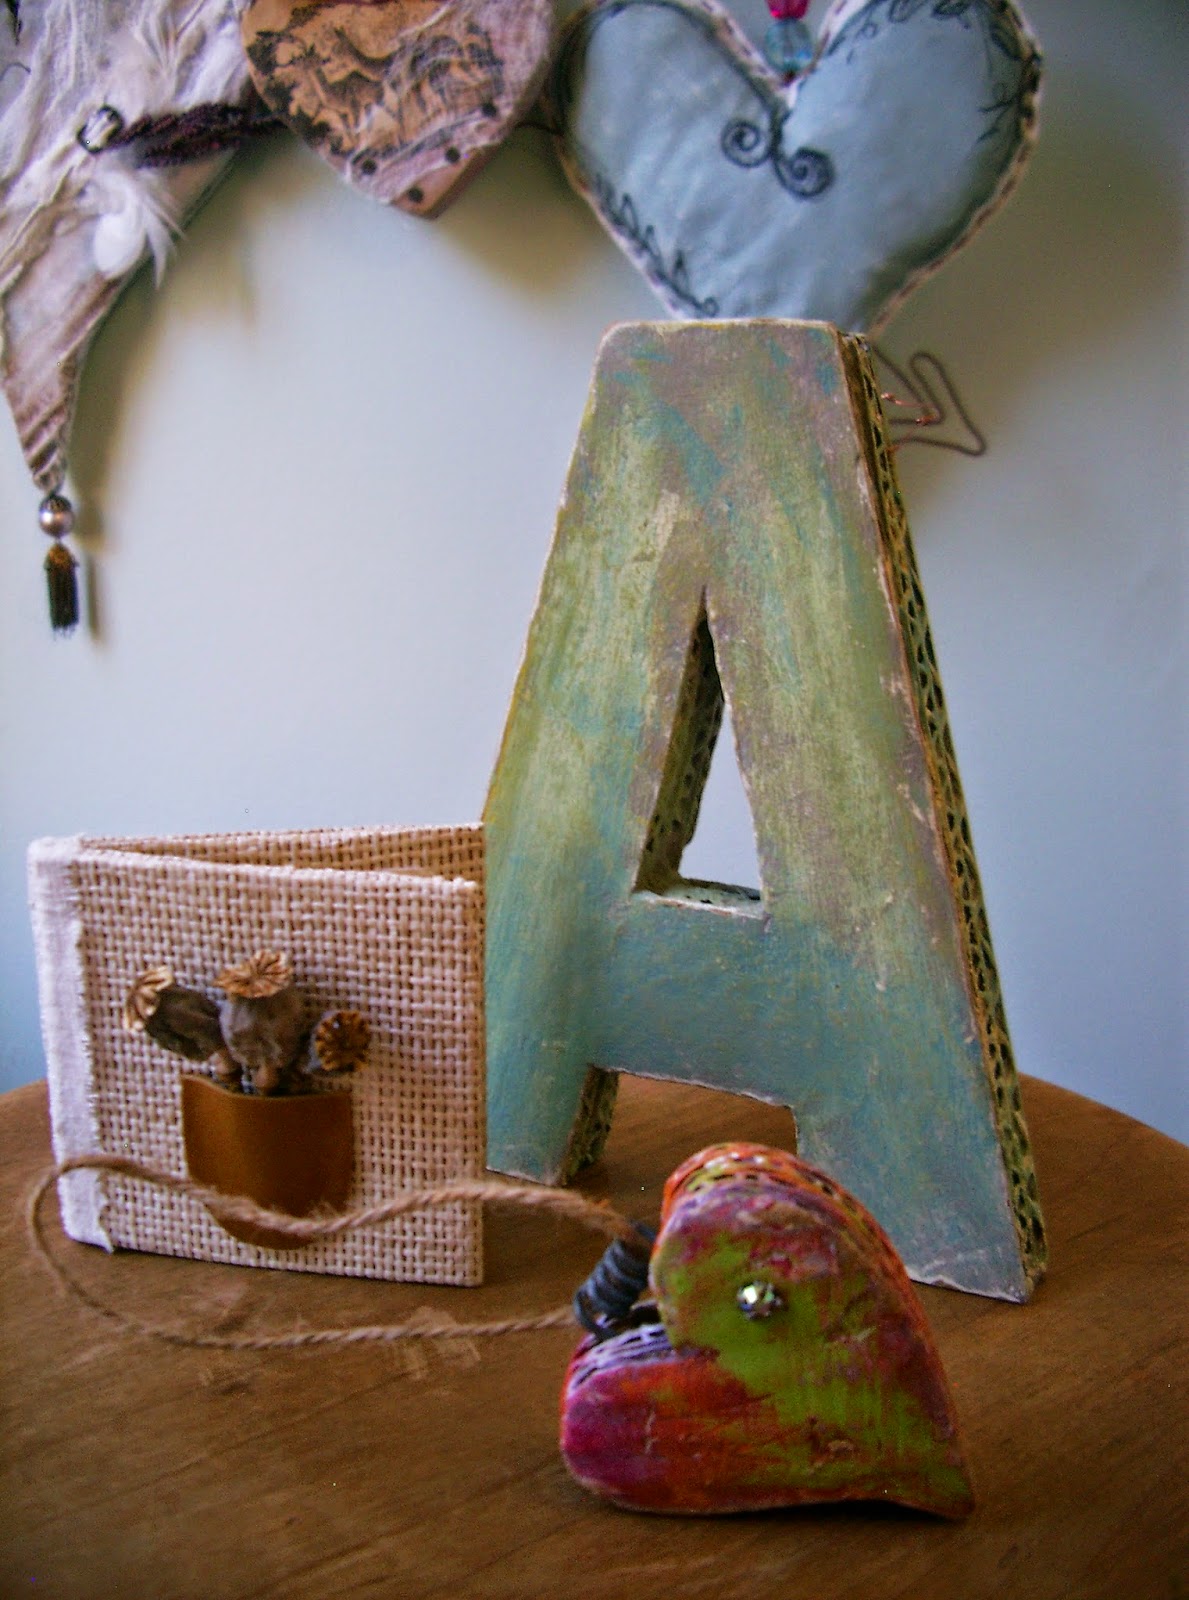
the letter A (for a friend)……. and the heart charm.

©linda nelson 2015
©linda nelson 2015

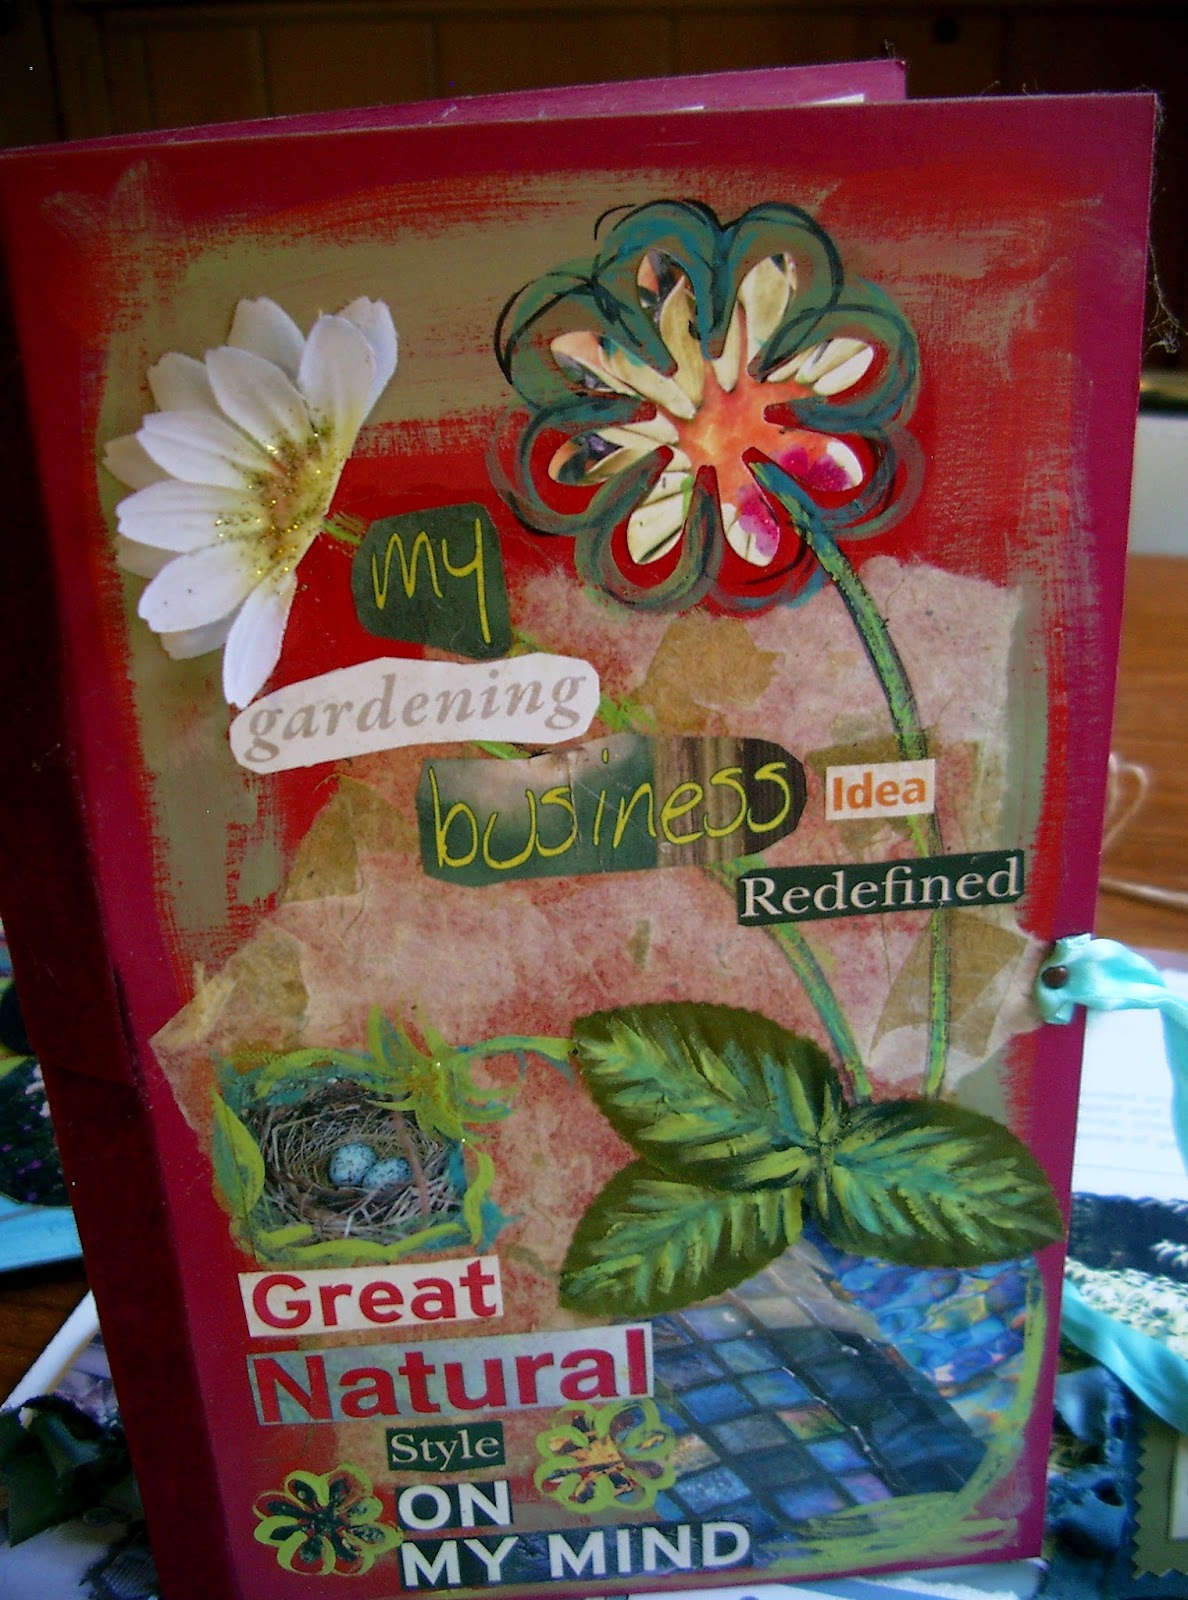
The little book-style greeting card is for my friend, too.  Its little leather pocket holds petite poppy seed pods that I dried just this past year.  She can plants the seeds in her garden come spring.

Check out my previous post to learn how I dance with cardboard, then get dancing yourself.

DANCING WITH CARDBOARD: THE SEQUEL Read More »

DANCING WITH LEFTOVER LINEN AND CARDBOARD

In my previous post , I was doing the dance of deconstruction with an old linen tablecloth.  Well, I had enough fabric leftover which allowed me to dance a little bit more.

©linda nelson 2015

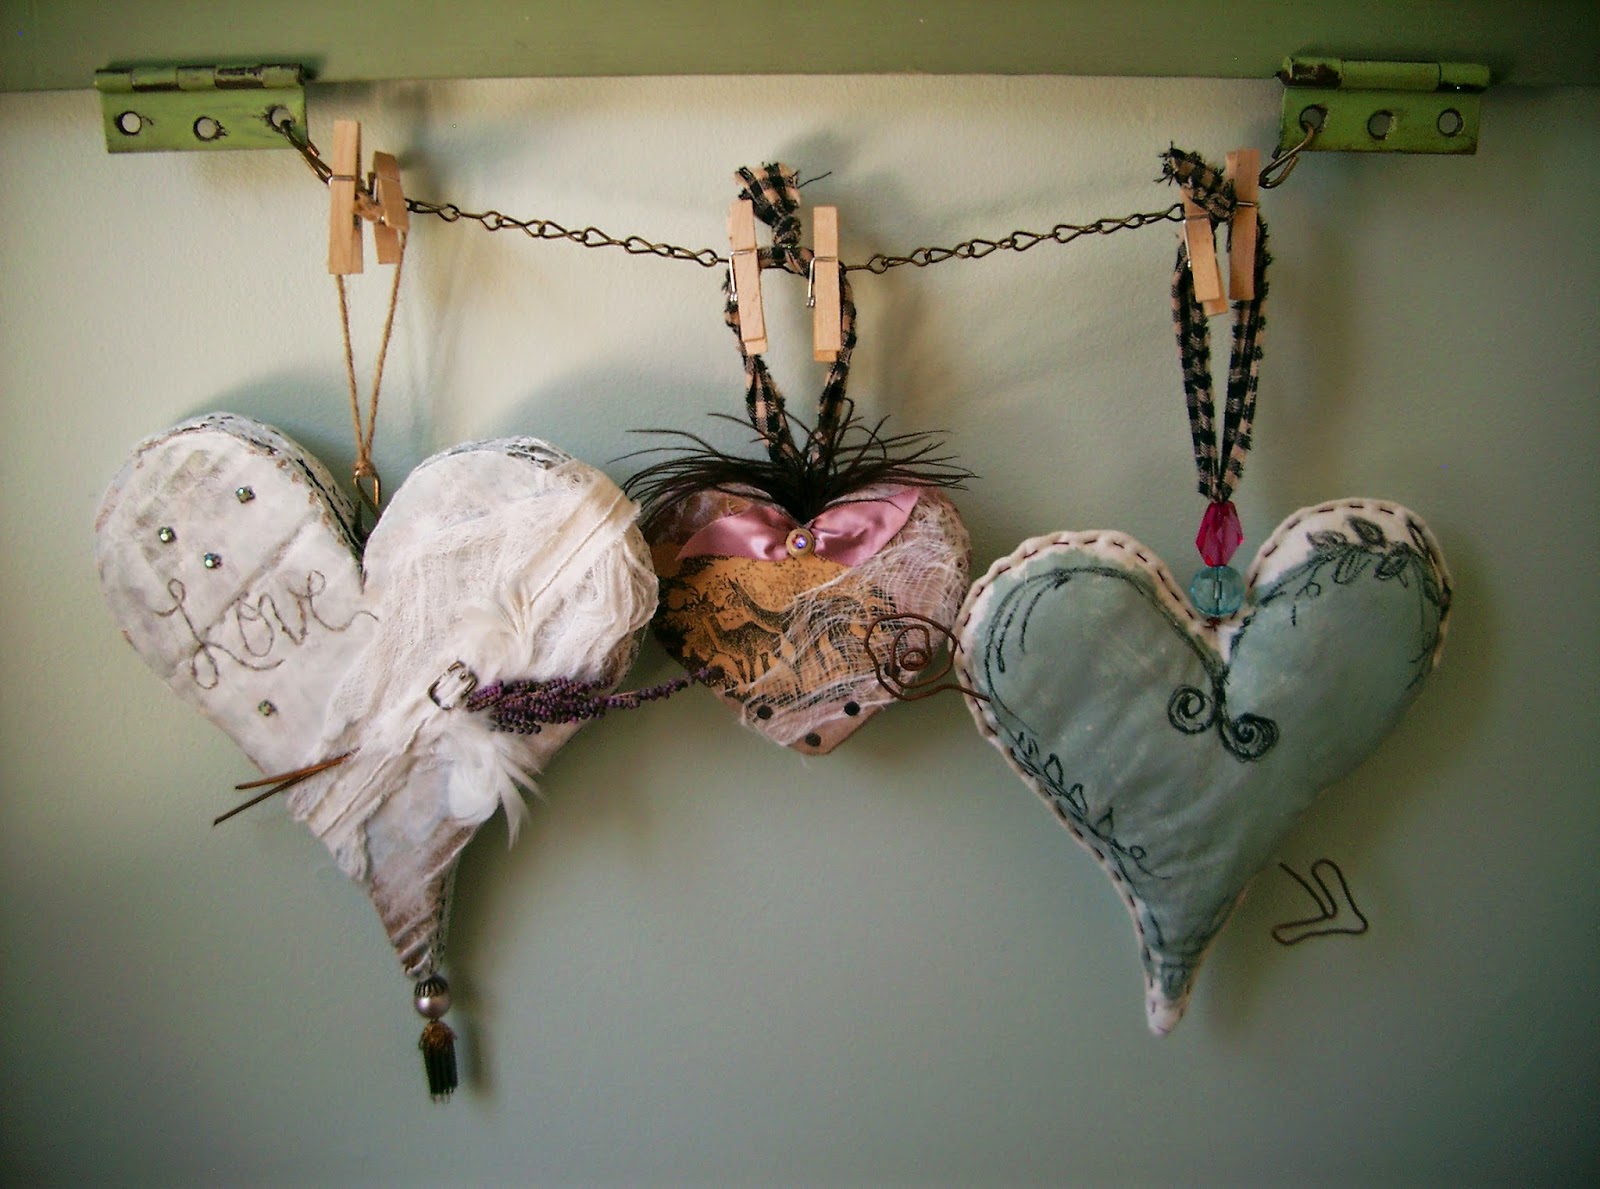
Then I danced again, only this time with some corrugated cardboard, and made these.

©linda nelson 2015
©linda nelson 2015

You can dance, too.  Just get some thick corrugated cardboard and create a shape template(I love drawing hearts).  Cut out four pieces of the same shape, then glue them together.

©linda nelson 2015

Lightly sand around the edges(or not)to smooth them out.  Slap on a couple coats of gesso; it serves as an ideal primer and makes the piece strong and sturdy.  After that, it’s up to you how you’d like to further embellish your piece.

©linda nelson 2015
©linda nelson 2015

I really like the exposed texture of the corrugated edge; it adds a rustic richness(if that ain’t an oxymoron!).  The layers of gesso make the piece tough as nails.  Don’t omit that step.

©linda nelson 2015

©linda nelson 2015

There you have it.

Now, start dancing and get creative.

DANCING WITH LEFTOVER LINEN AND CARDBOARD Read More »

RIP-DIP-N-ROLL

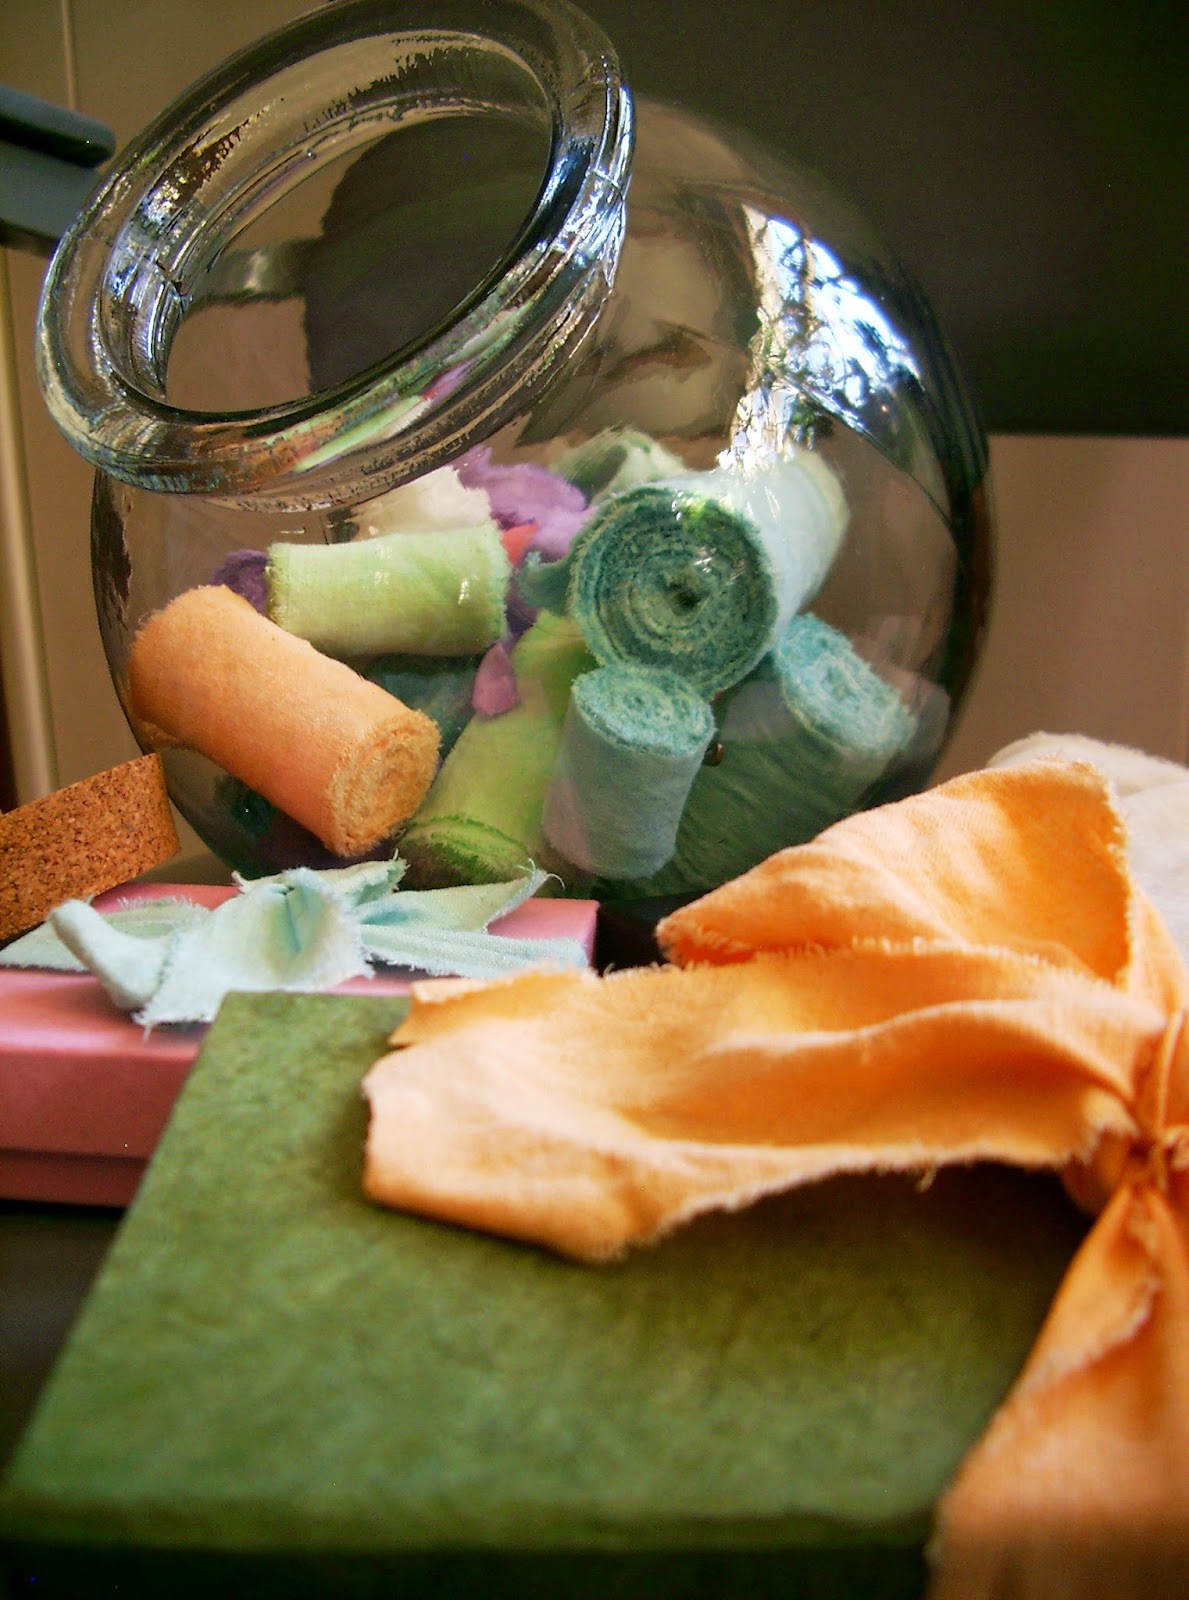
Yesterday I defrocked an old linen tablecloth, then repurposed it into shabby, vintagesque fabric gift wrap ribbon.  Paired with a color coordinating box, this simple ensemble is presentation worthy.

If you have an old(white) linen tablecloth that’s seen its day perhaps you’d like to make some ribbon yourself.

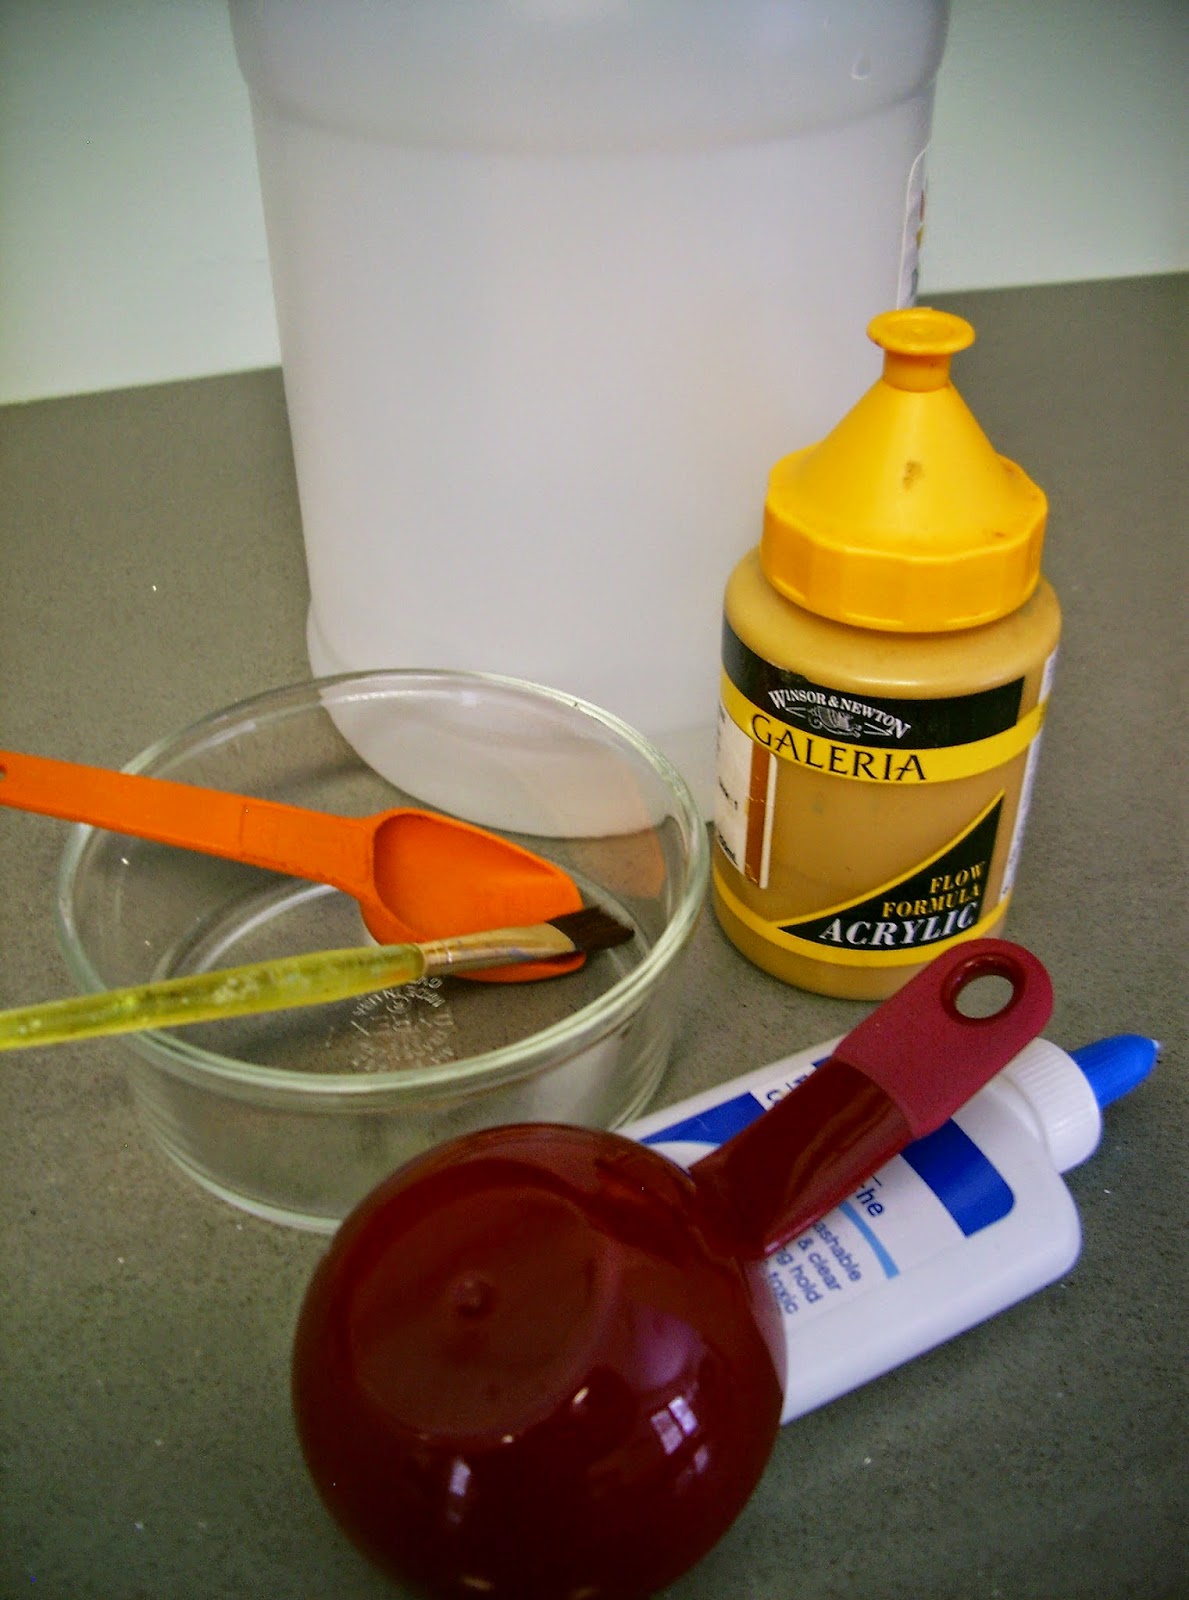
Here’s what you’ll need (besides the tablecloth) – 
  • 2 small bowls
  • small paint brush
  • measuring tablespoon
  • 1/2 cup water
  • white school glue
  • various colors of acrylic paint with a viscosity thicker than cheap craft paint
  • mesh sieve or coffee filter (not pictured)

Begin by snipping one end of the cloth with scissors, then rip/tear cut the rest of the length.  Continue snipping and ripping various widths of “ribbon” until you have the amount of pieces you’d like to color.

Next, remove the warp/weft threads created by the ripping step.  Remove only as many necessary to create a tiny, shabby fringe.

Combine one tablespoon of paint, one tablespoon of glue and one tablespoon of vinegar with 1/2 cup water in a small bowl; stir/blend thoroughly with the paintbrush.  Pour paint mixture through sieve and into another small bowl.  This procedure captures any globs of paint or glue that didn’t dissolve completely.

Dip your fabric strip into the paint mixture, then squeeze out the excess.  Wait a minute or two, then rinse under COLD water.  Squeeze out excess water, hang to damp-dry, then toss them in the dryer on high heat for a few minutes until completely dry.  Remove additional warp/weft strands made during the drying process.
A half cup of paint solution will color about ten feet of fabric.
Roll up your ribbon and secure with a safety pin to prevent unraveling.
The rolled repurposements are so pretty; they can be stored in plain sight.

There you have it.

Now start ripping, dipping and rolling, and get creative!

RIP-DIP-N-ROLL Read More »

A NEW YEAR’S COLLAGE EXERCISE

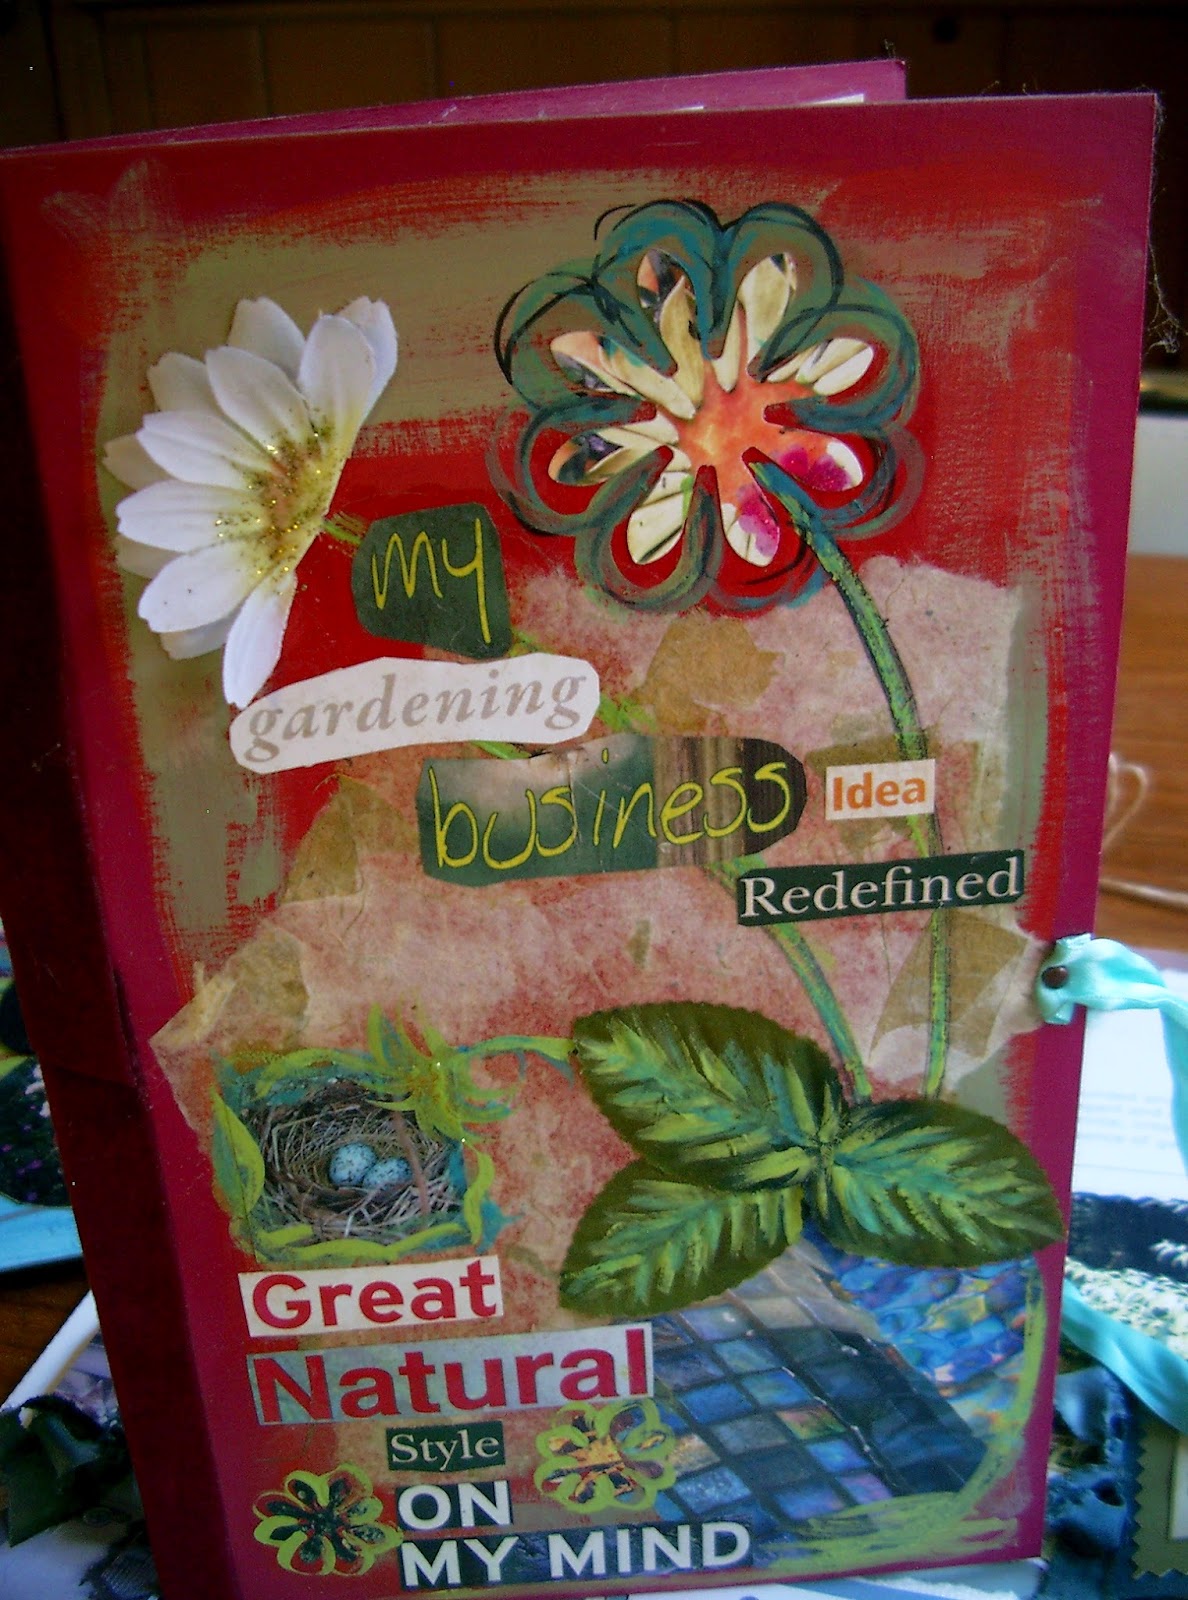
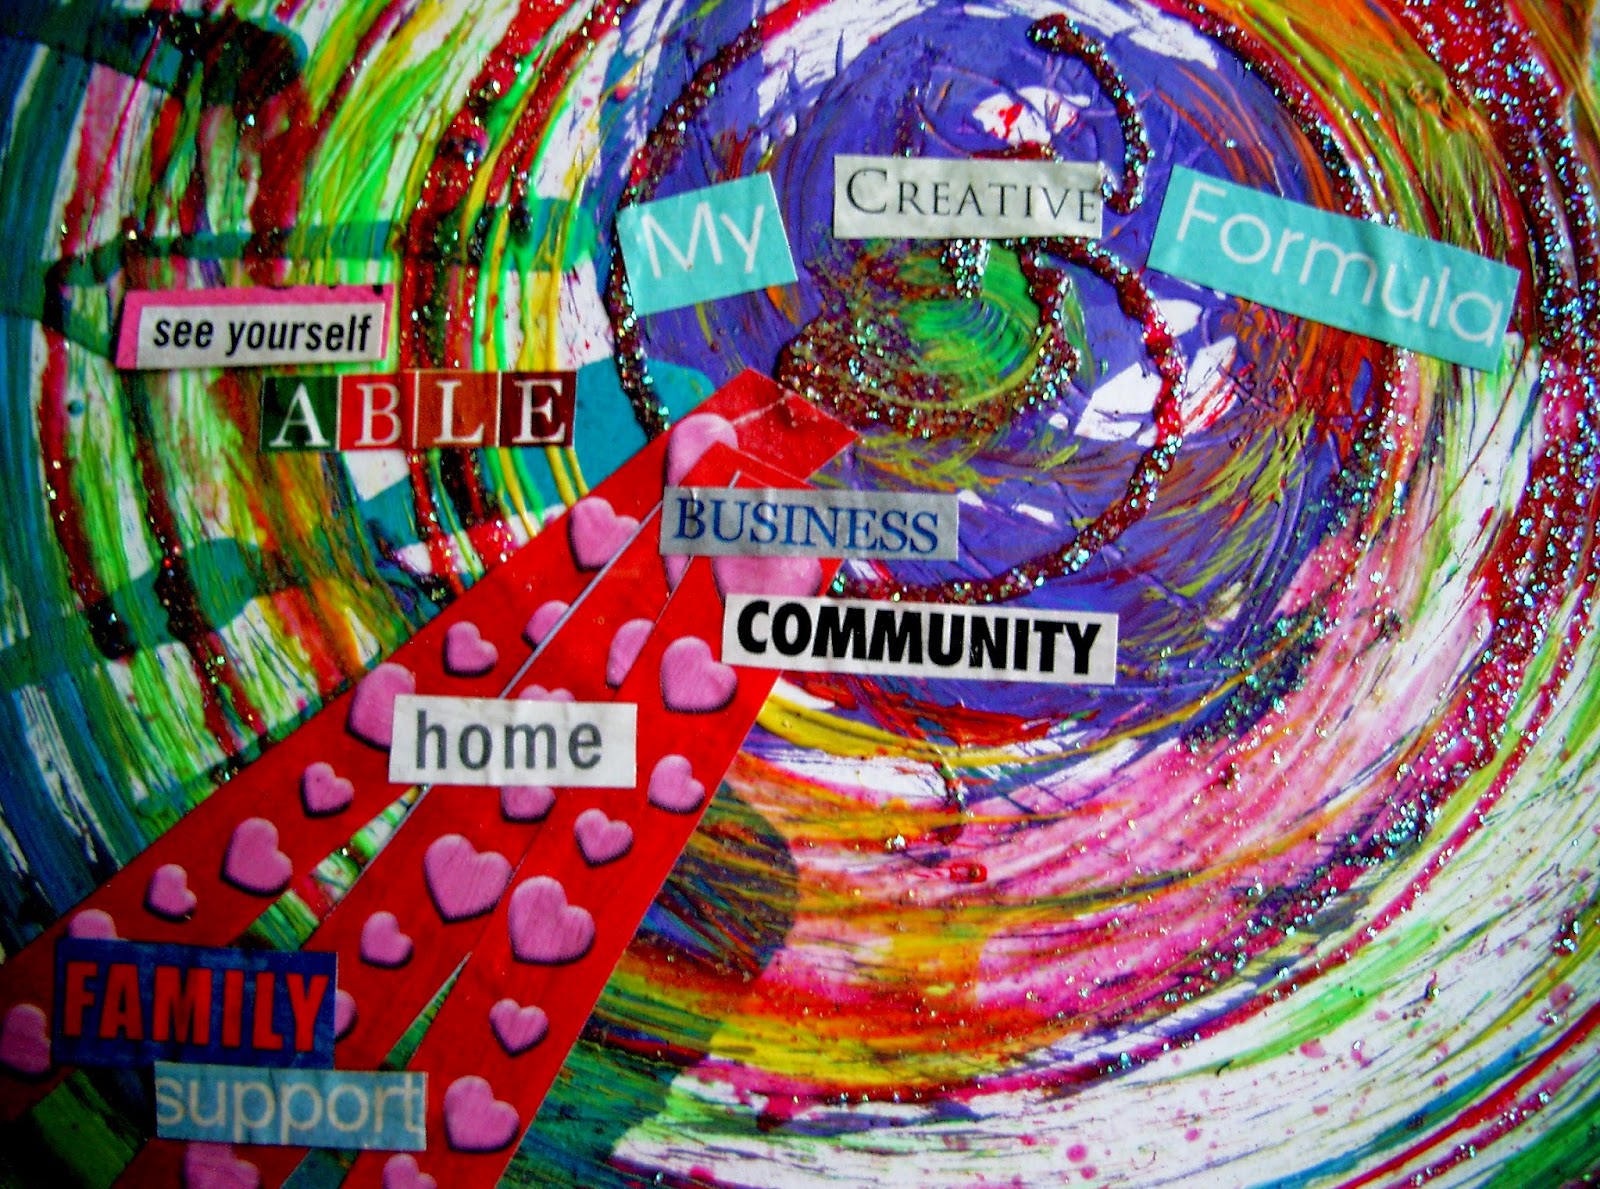
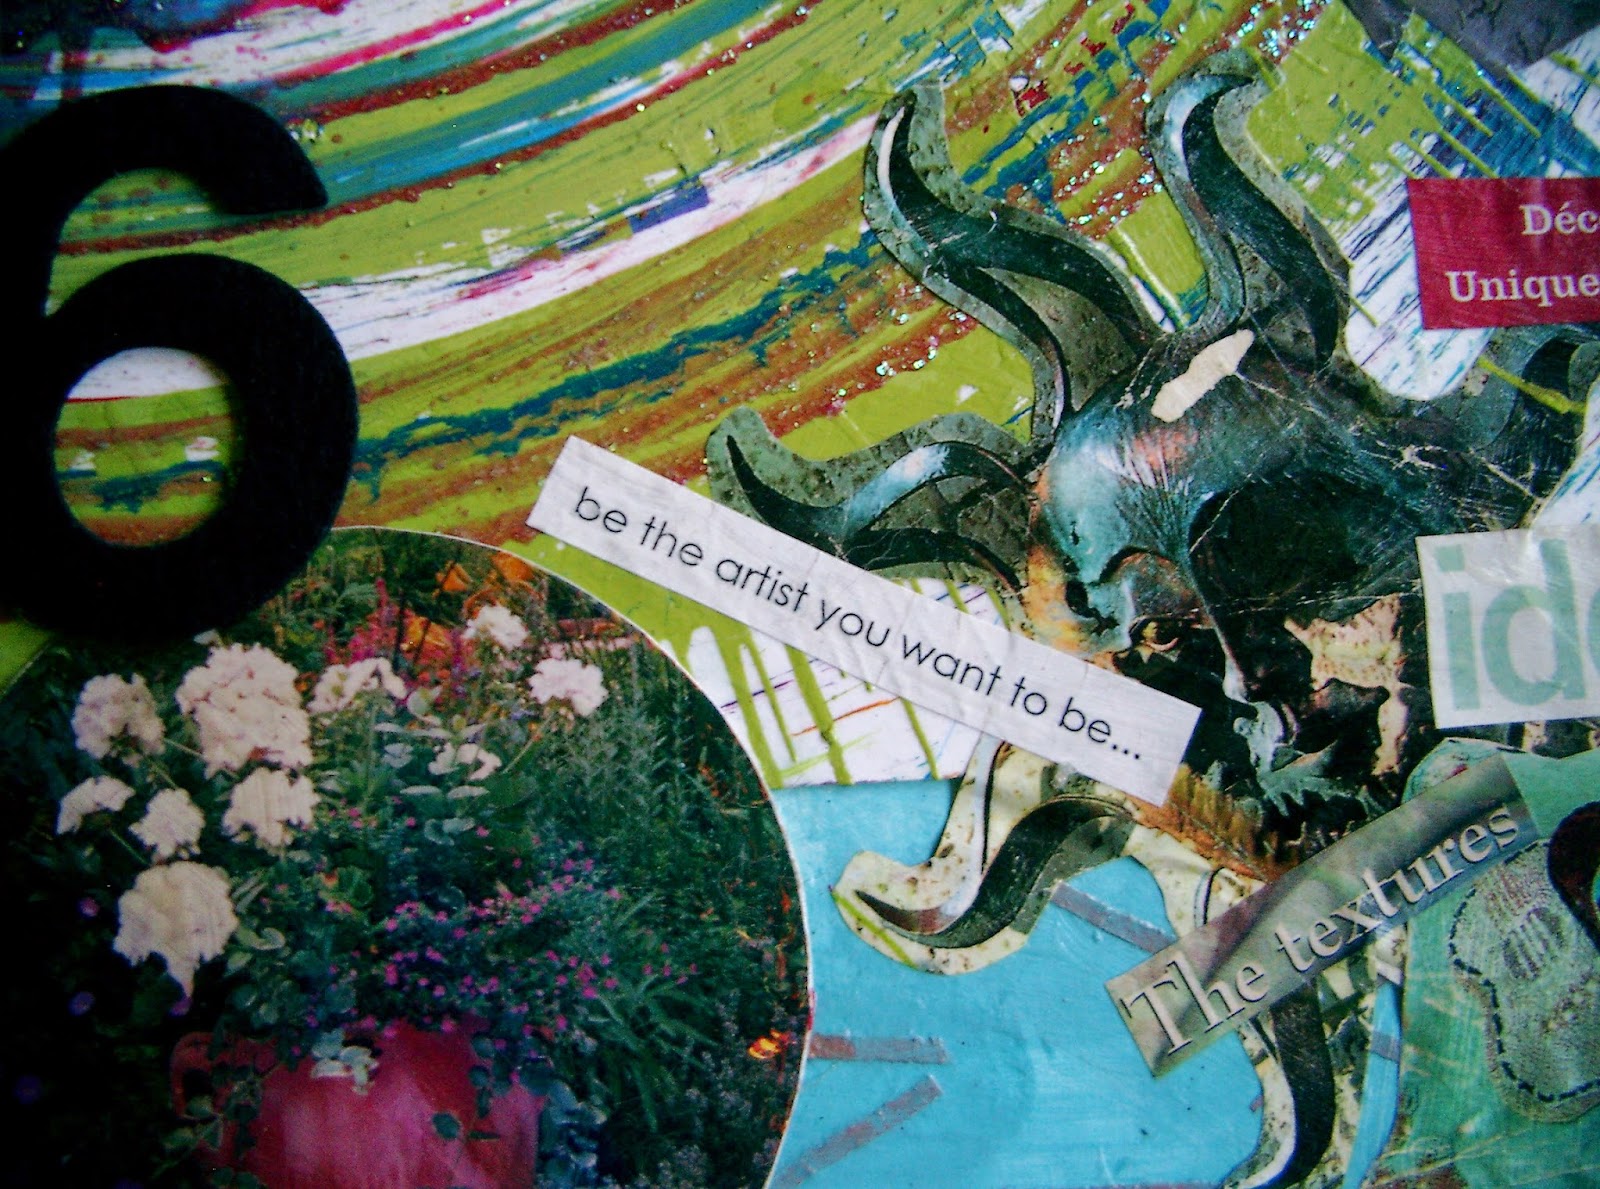
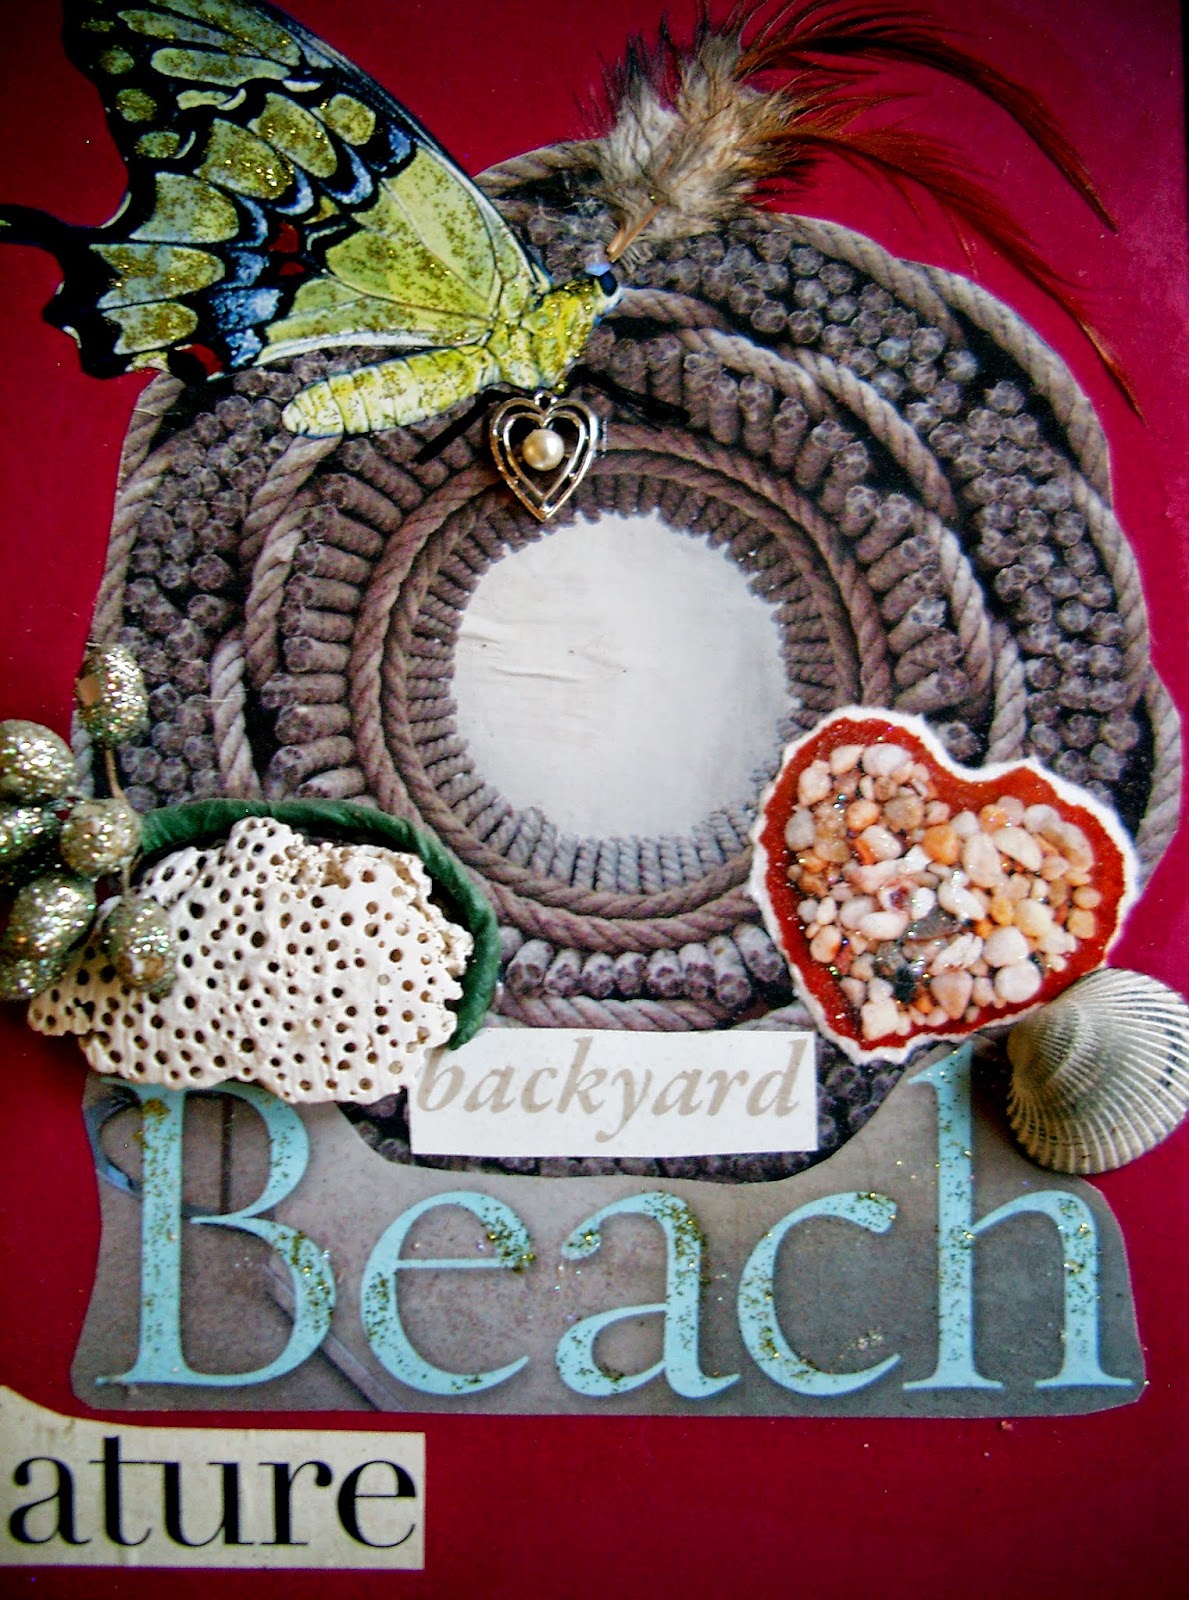
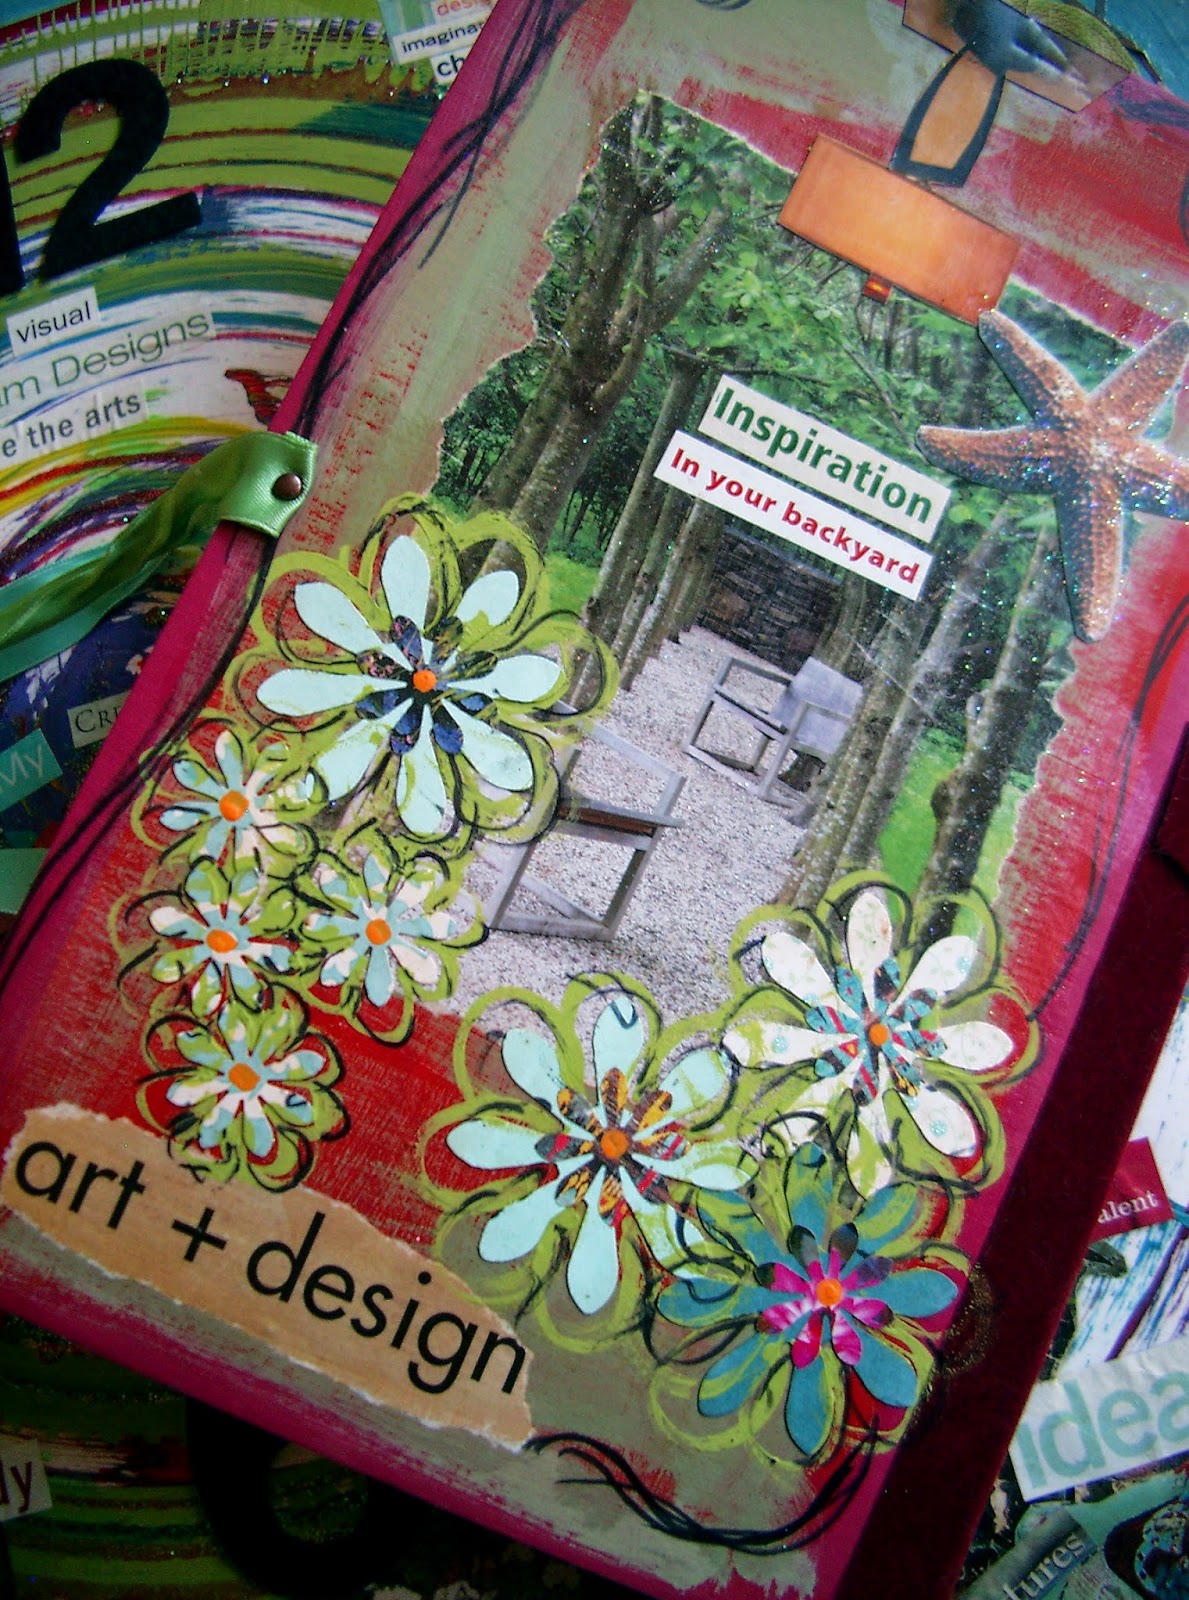
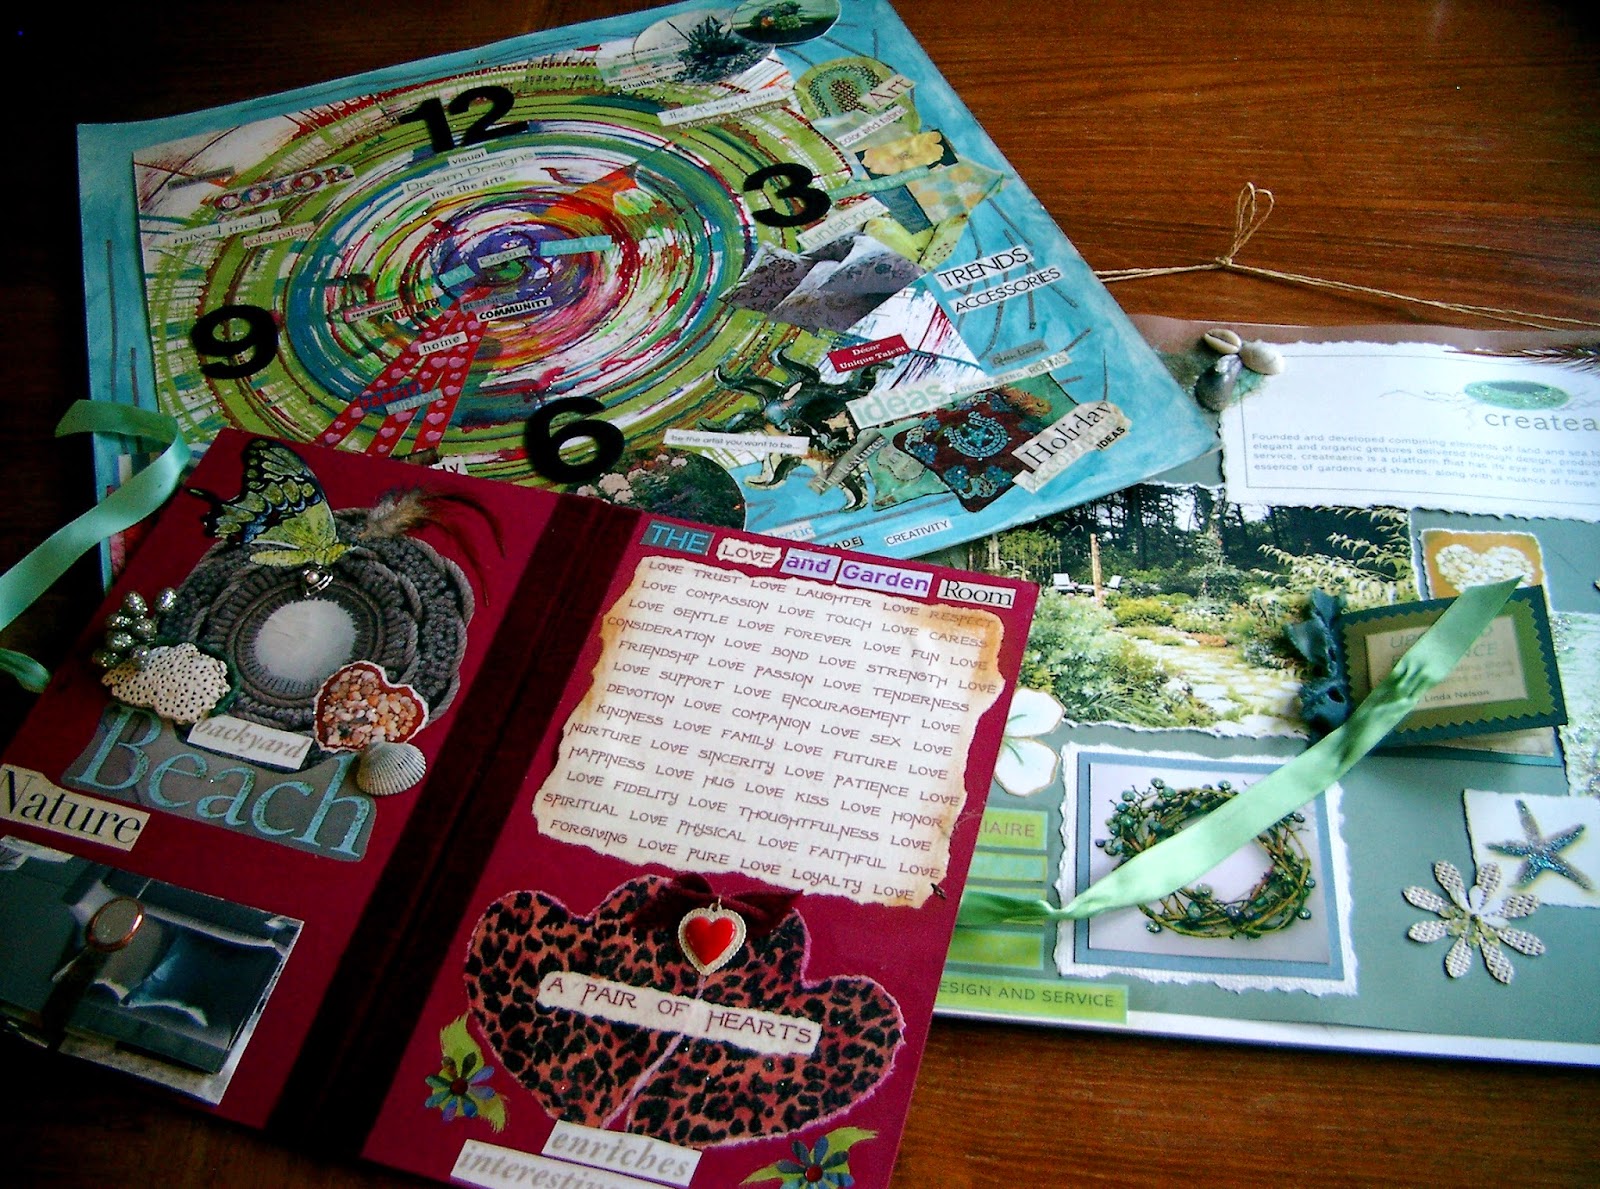
Many years ago I took a business enrichment workshop led by designer, artist and author, Gail Toma.  One required exercise was to create a visualization collage that best represented the life of my dreams.  I found this activity both pleasurable and helpful with goals I sought to achieve.  Below are a few I’ve made in years past.  They each mark a period of time when I was either exploring the idea of a new direction in my life, or fine tuning a journey I was already on.
©linda nelson 2015
©linda nelson 2015
©linda nelson 2015
©linda nelson 2015
©linda nelson 2015
©linda nelson 2015

I think an activity like this is a wonderful way to commence the new year; however, this time I’m tweaking it slightly.  No goals.  No future thoughts.  Pure, raw, in the moment expression.  I could not have gotten where I am today without the past, and my goals for the future never cease to exist anyway.  I’m celebrating the beginning of 2015 with creating a collage that visually reflects what I delight in, who I am and where I am at today.  I invite you to do the same.

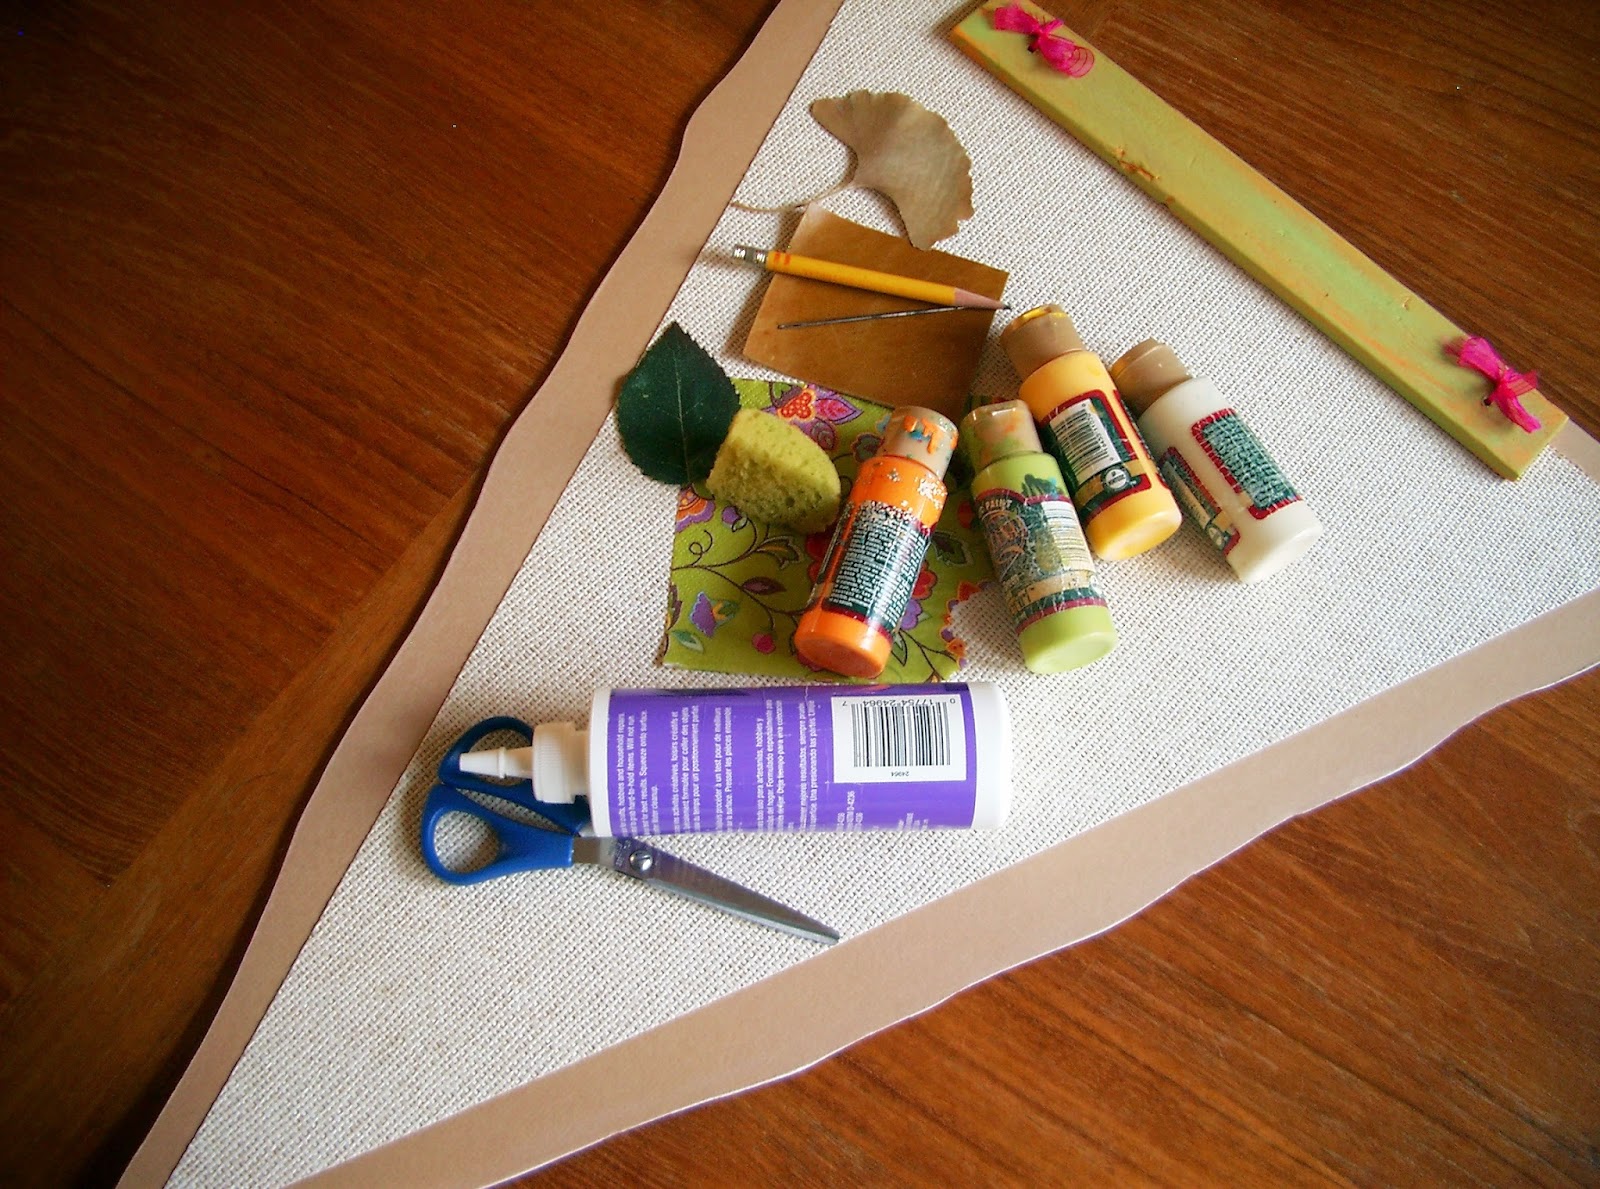
Grab some supplies and materials, and start cutting and pasting away.  I’m fashioning mine bunting pennant style, a style I haven’t done before.  After all, now is the time.
©linda nelson 2015

This exercise needn’t be completed in one sitting.  Approach it, if you so choose, as if you were working on a 1000 piece jigsaw puzzle, chipping away at it in spurts.   The most important aspect is to have fun visually expressing your current existence.

HAPPY NEW YEAR TO YOU! 

A NEW YEAR’S COLLAGE EXERCISE Read More »

Scroll to Top