Linda Nelson

DO YOU REMEMBER MARION?

Marion Cunningham(Marion Ross), affectionately known as “Mrs. C”, played mom to Richie(Ron Howard) and Joanie(Erin Moran) on Happy Days, an American television sitcom that aired from 1974 to 1984.

Well, today’s post is not about her, but it is about a Marion and a happy day.  Her name is East Marion, and she resides on the eastern upper fork tip of Long Island, NY.  She is a quaint and sleepy little village sandwiched between the Long Island Sound, Great Peconic Bay, and the Atlantic Ocean. She’s a must to visit place, whether driving out to, or ferrying over to from Connecticut.  It’s a lazy days of summer sweet spot.

I had the pleasure of driving out there a few days ago to enjoy a very special birthday gift I received from my sister earlier in the year.  I scheduled this blissful day at the very tail end of my winter slumber.  My hectic gardening season has arrived, and I won’t be stealing any pampering moments for quite some time.

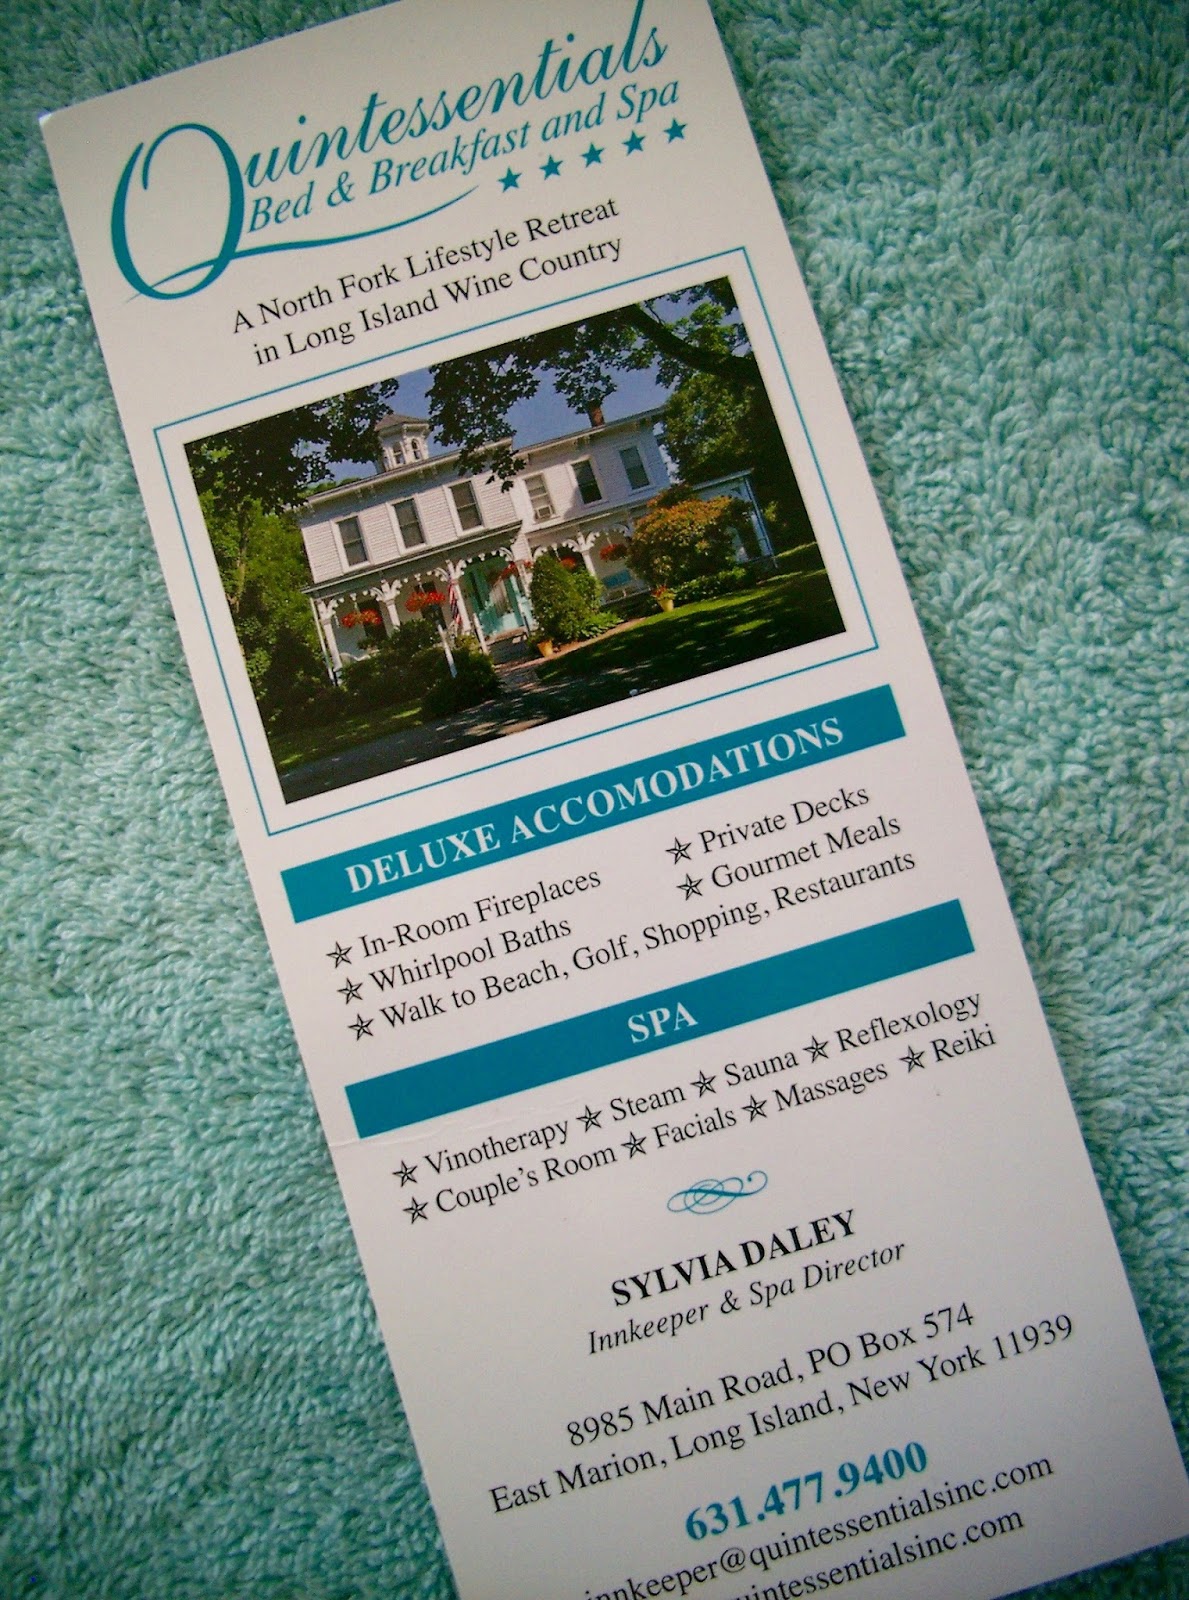
I had a delightful, spoiling spa treatment at Quintessentials Bed & Breakfast and Spa.  Innkeeper Sylvia Daley is a real sweetie.  When I arrived, awaiting me on the coffee table in the front parlor was a place setting, lemon water, strawberries and some chocolates.  Sylvia then served me hot tea and her home cooked dish of sliced chicken over a bed of lettuce topped with mango salsa and roasted curry potatoes.  After I finished my lunch, she escorted me to a little room and got to work on my facial – a one hour steam, massage, “mummyâ€� mask and facial potion treatment.  After that, I had a one hour massage, followed by an exfoliating body scrub.  I was then wrapped up into a cellophane cocoon and left to snooze while the treatment did its magic.  She unwrapped me, and lo and behold, I had butterfly wings.  Just kidding.  I showered off, got dressed and felt like a million bucks.

This Inn is “quaintessential” as well.  Sylvia gave me a sneak peak at the grounds, though at this time of year they have not yet awaken from winter hibernation.  I can’t imagine how lovely the garden beds must look in the summer – a perfect wedding day setting, perhaps?

So, if you happen to be traveling in this direction one day, or if you local folks need a little “staycation”, be sure to say “hello” to East Marion.  And, Sylvia, too.

DO YOU REMEMBER MARION? Read More »

A WEST COAST LABOR OF LOVE

I spent some time on the west coast recently, and though I’ve physically returned, I mentally have not.  The city of Pacific Palisades, California, epitomizes a picture perfect climate this time of year; it’s addictive.  Don’t get me wrong, I love winter on the east coast and the icebox temperatures it delivers, but there’s just something about the west coast……

like super-sized pinecones………

picking Meyer lemons right from a backyard tree…….

and plucking offshoots from an overgrown aloe shrub.

These were the little treasures I stuffed inside my luggage for the flight back home.

This year’s trip was not like any other; no botanical garden visits, no poking around in hip thrift shops, no national parks, nor sightseeing of any kind.  No, this visit was a total landscaping labor of love.  My daughter and her husband recently moved into a sweet, but long neglected little cottage abode.  The extent of our excursions were to local hardware stores and garden centers, and a few trips to Home Depot.  My days commenced around 5:30 AM, and after some garden plan contemplation and a few cups of coffee, I was digging, planting, pruning and grooming until dark.  Though three thousand miles away from home, I was completely in my element.  The cottage’s previous occupant left behind an assortment of potted plants which I instinctively reincorporated into the revamping project.

There’s still quite the punch list of exterior structural tasks to accomplish.  But for now, this little diamond in the rough is a place my daughter and her husband can call home, complete with potted vegetables and herbs this duo can make use of with all of their fabulous home cooking skills.

The project manager in residence was satisfied with all the laborious efforts that took place.

Photo Courtesy of My Daughter

On another note, I was the winner of one of Debbie Bosworth’s recent giveaways, and received this fabulous book just the other day.  Yay!  Be sure to check out her lovely site; it’s packed with garden loving inspiration of the finest kind.  And, this book is all the buzz!

Happy Spring!

A WEST COAST LABOR OF LOVE Read More »

I’M STEPPING AWAY FROM MY COMPUTER…….

……temporarily, that is.  One of those moments has arrived in that my upcoming schedule will not include blogging nor enjoying the fabulous posts that all of you share.  But, I look forward to being up and running again in a few weeks.  I’m certain this blogging hiatus will make my coming back to it feel all the more sweeter.

I thought I’d show you where I’ve been stashing some of the things I’ve made over the past few weeks……. I’ve been enjoying doing the dishes lately.  I can’t take credit for the coffee and friends sign; that one’s a gift that I received.

Also, I finally typed out a list of the retail stores that currently sell, or have sold in the past, my handmade greeting cards.  My cards travel to more places than I do!  I’m under contract with a representing showroom; therefore, I am unable to post images of my designs.  But, my bio is inserted within the packaging sleeve of each and every one of my cards.  That’s how you can tell it’s mine. And, yes, they are handmade, one-by-one.  I am perplexed by artists who label their artwork printed up as cards to be handmade originals.  No, they are not.

Perhaps you live near one of these stores.  If so, I’d love for you to stop by and take a look at my work.  The most recent orders have been shipped to Malibu Colony Company, CO-OP 28 and Nuvo.

I look forward to rejoining you all very soon.

Enjoy the gorgeous spring weather.

And, most of all………. stay creative 🙂

I’M STEPPING AWAY FROM MY COMPUTER……. Read More »

HOW TO LAY CHIPPY EGGS!

I know how much you all love chippy finish furniture and decorative accessories, so I thought you you might enjoy my tutorial for laying chippy eggs.  But, before I do that, I’m going to let you in on a little secret – I really don’t like chippy stuff in my home.  There….. I said it.  You see, I delight in looking at all the pictures of lovely chippy furniture, chippy home accessories and artfully photographed chippy vignettes.  But, I just don’t want it in my home.  Why?  Well, when you move, bump into or handle authentic chippy objects, chips flake off and fall onto the floor, and that would bug the heck out of me.  I would be destined to traipsing around the house with my vacuum in tow all day long.  I don’t do crumby either.  Crumbs are not allowed to linger on my counters for more than a few seconds before I absolutely must clean them up.  Immediately afterward, I drag my hand across the entire countertop to make sure that I didn’t miss a crumb.  I periodically vacuum out my toaster, too.  Really! I kid you not.

Anyway, I sure hope this instructional satisfies the chippy egg layer in you.  Please note that this exercise is for the experimentally inclined.  Or, let’s put it this way – it’s not a paint by number approach; results will, indeed, vary.

Grab your materials –

  • a Styrofoam or wooden egg
  • Plaster of Paris
  • white gesso
  • powdered tempera pigment (ground up colored chalk is a good substitute)
  • acrylic craft paints
  • paint brush
  • small paint sponge
  • skewer or metal screw eye

Begin by inserting a skewer into the rounded end of the styrofoam egg; use a screw eye and wire hanging loop if you have a wooden egg.  This step is for making your egg easier to handle during the painting process.  Apply a base coat of gesso to your egg, then let it dry.

  • The paint mixing ratios are per one egg, and are rough measurements not to be taken so literally.  It’s simply a guideline to assist you in using close to exact needed amounts.  I do not have every color under the sun of pigment powder; I just have the basics(red, yellow, blue, black and white), and custom mix my own hues.  Also, DO NOT rinse the leftover Plaster of Paris down the drain.  Instead, wipe brushes and paint mixing bowls out with paper towels to remove as much residual solid matter as possible before washing your tools.

Now, for the experimental, messy and fun part –

Mix together 1/2 teaspoon gesso, 1/4 teaspoon of powdered pigment and 1/4 teaspoon of Plaster of Paris to make a pasty consistency, and slather it onto your egg.  When the paint becomes sticky to the touch, cup the egg in your hands and use a “squeeze and release” action to suction lift off various patches of paint from the egg’s surface.  If done correctly, you should now have messy hands and a sloppy looking egg.

©Linda Nelson 2016

Set your egg aside to dry, then repeat this step with a different paint color, only this time, mix a one half batch of paste and apply to select areas of your egg.  Follow up with the “squeeze and release” action, then set aside to dry.

With your sponge, lightly dab some white gesso onto the surface of the egg to create a whitewash effect.  Put a tiny drop of acrylic craft paint onto your fingertip and gently dab irregular shaped splotches on random areas of the egg.  Mix another one half batch of gesso/pigment/Plaster of Paris, and slather it onto various spots on your egg.  Follow up with the “squeeze and release” step.  Observe your egg to determine if you are satisfied with the look, or whether you’d like to create more paint layers.  At this point, you can decide which painting step you’d like to repeat – the thick slather, gesso whitewash, or random dabs of patchy color.
Here are some chippy eggs that I laid.  I’ll probably lay a few more because they’re so much fun to make.

For this egg, I finished it off with a rubdown using a dab of FolkArt “Espresso” antiquing medium.

Happy chippy egg laying, my friends!

    HOW TO LAY CHIPPY EGGS! Read More »

    Scroll to Top