Today I’m sharing with you a simple technique for making tear-proof tissue paper. Sounds kind of neat, right? You can write or paint on it, make stationery with it and even stitch through it. And, it’s so easy to make. Just look at this tiny list of materials needed.
- dress pattern tissue paper, decorative tissue paper and/or paper napkin(single ply)
- double-sided adhesive sheet
- straightedge/ruler or bone folder
Cut to size two pieces of tissue or napkin slightly larger all around than the finished size you’d like your paper to be. Do the same for one double sided adhesive sheet; however, cut it slightly smaller all around than the two sheets of tissue. For example, if you’d like your finished piece to be 8″x8″, then you’ll want your two pieces of tissue paper to be 8 1/2 “x8 1/2” and your one piece of double sided adhesive to be 8 1/4“x8 1/4“. Adhere one tissue piece to one side of the adhesive sheet; peel away a small portion of the adhesive backing and carefully line it up and adhere it to one edge of the tissue. Continue pulling away the adhesive backing a little at a time, evenly pressing the tissue as you go along. Now do the same on the other side of the adhesive with your second piece of tissue. A bone folder or straight edge is helpful with keeping even pressure on the paper. Trim your finished piece to size, and you’re done! It’s that simple.
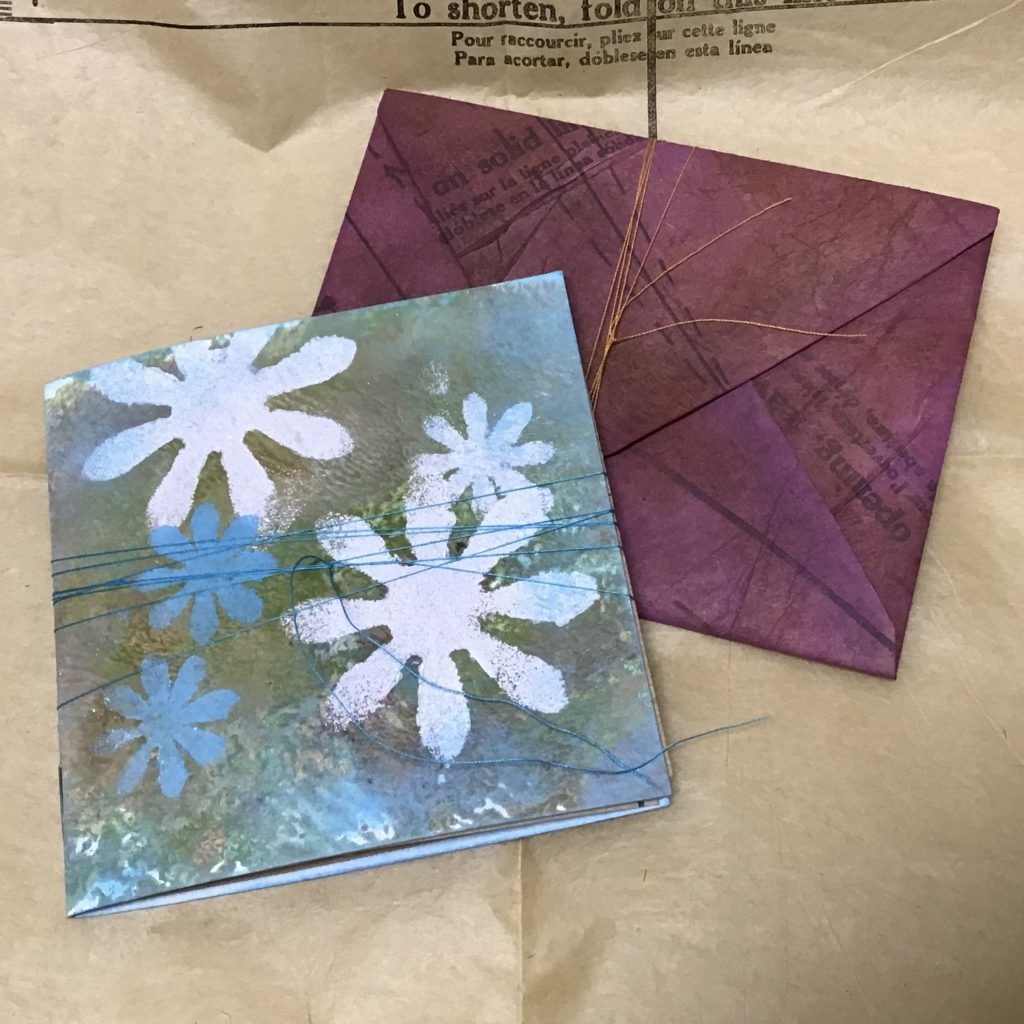
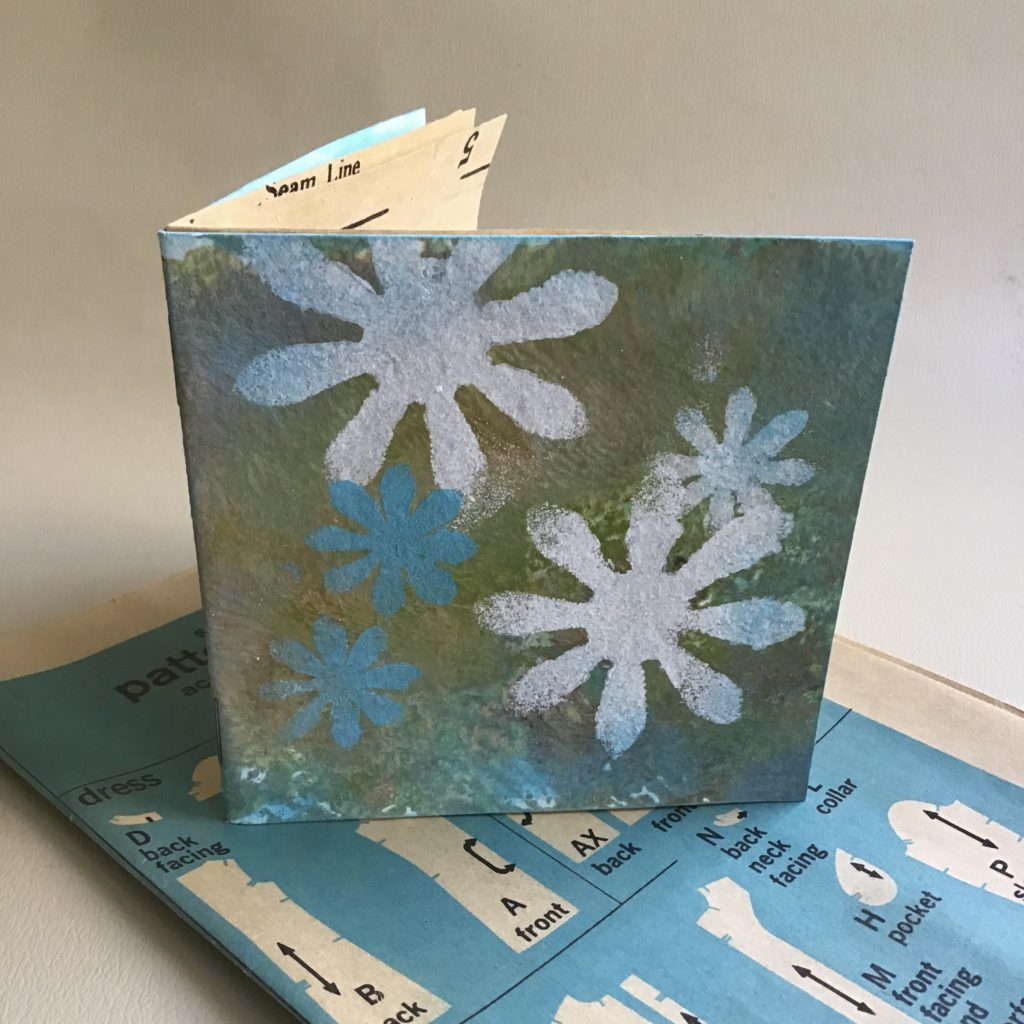
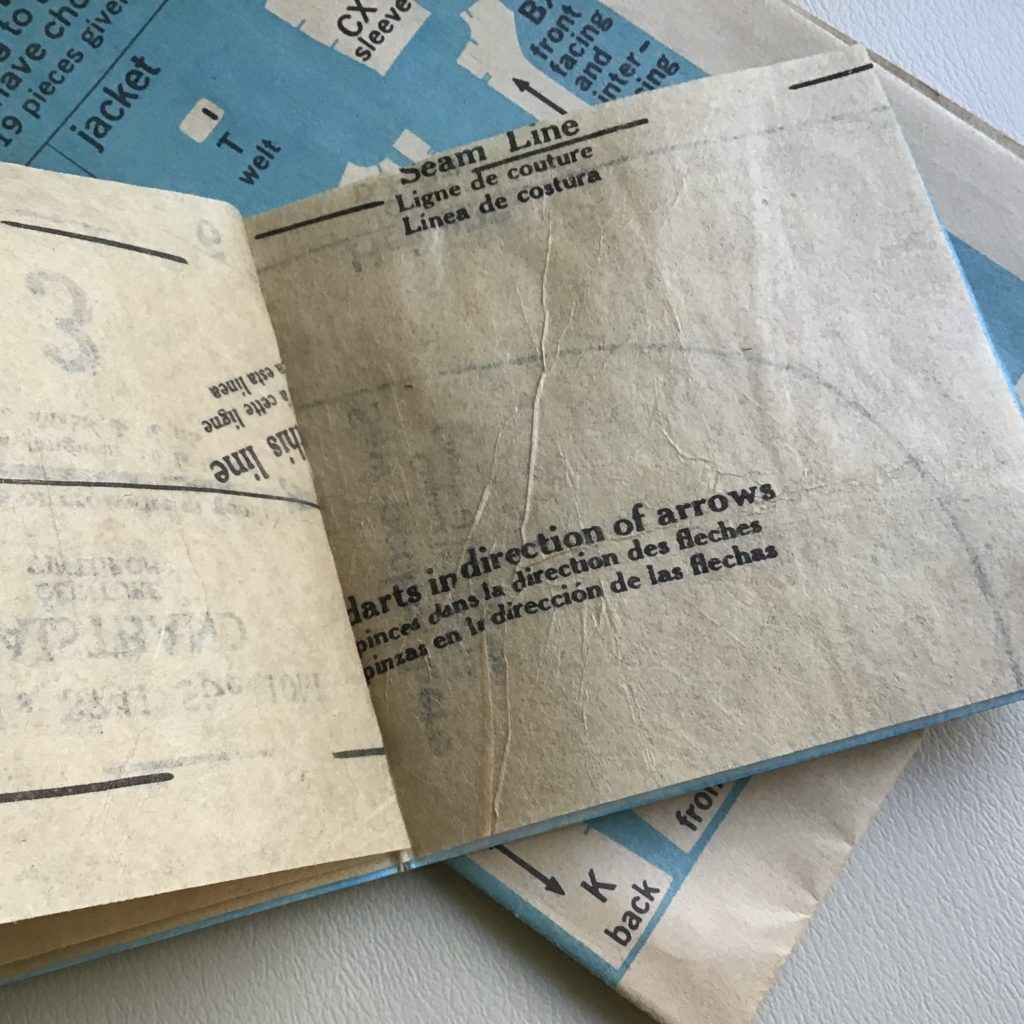
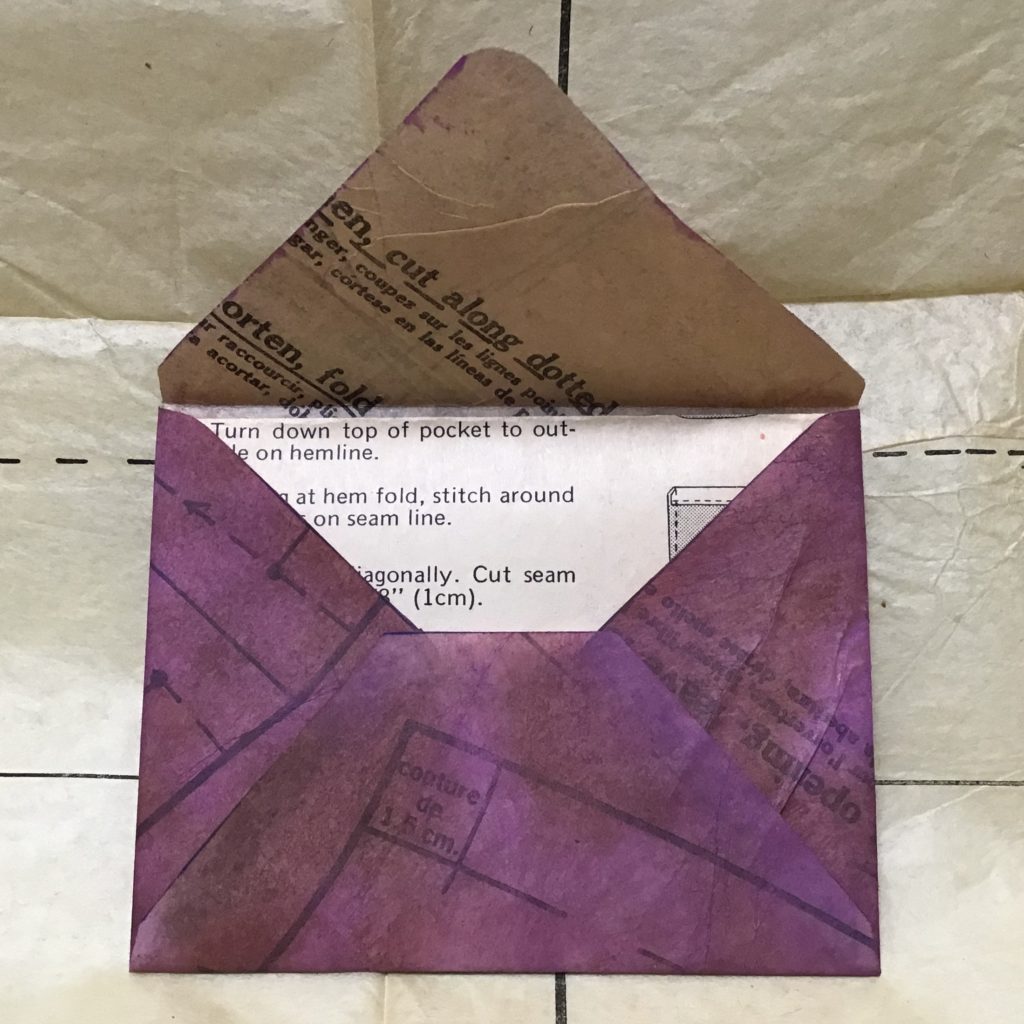
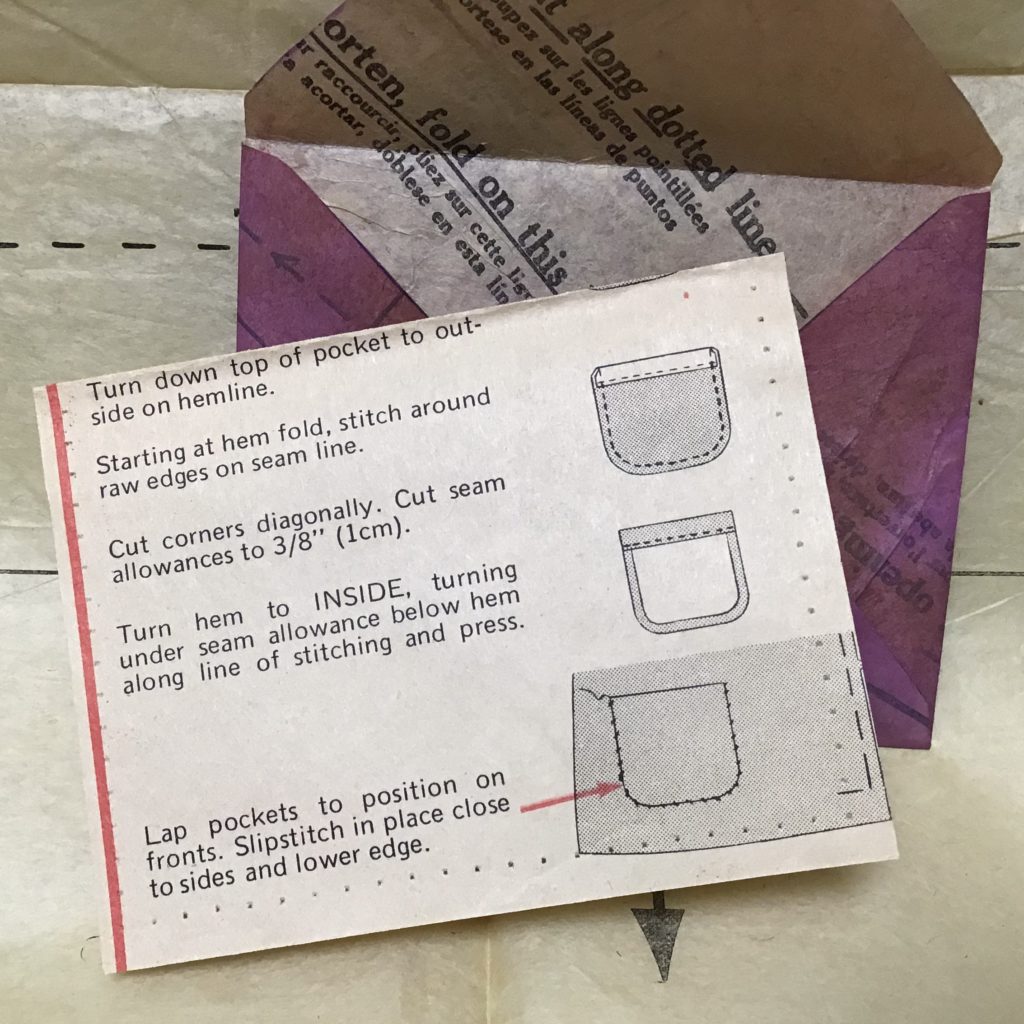
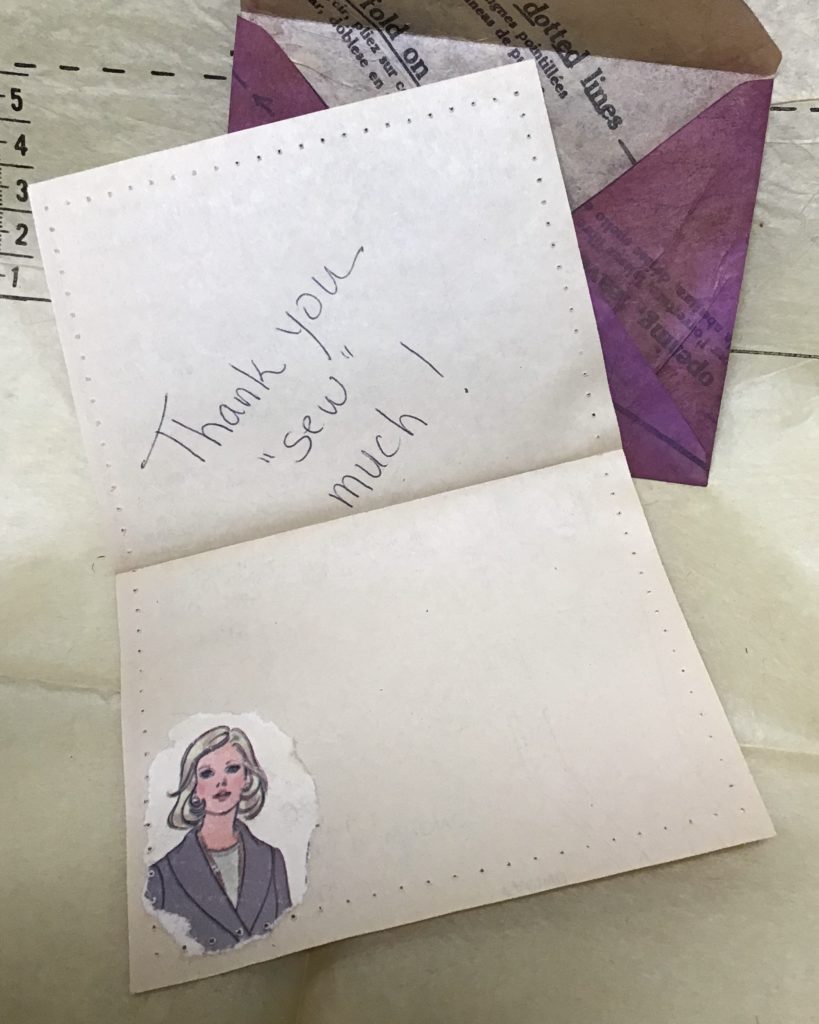
Here are two examples of what I made.
This little booklet has a hand painted watercolor paper cover and dress pattern tissue pages.
Using a template, I created this little hand painted envelope and used the pattern directions paper to make a note card.
Well, I hope this post has inspired you to make some indestructible tissue paper. Have some crafty fun with it and let me know in the comments section what you think.

