tutorial

DECORATIVE PINE CONE TUTORIAL

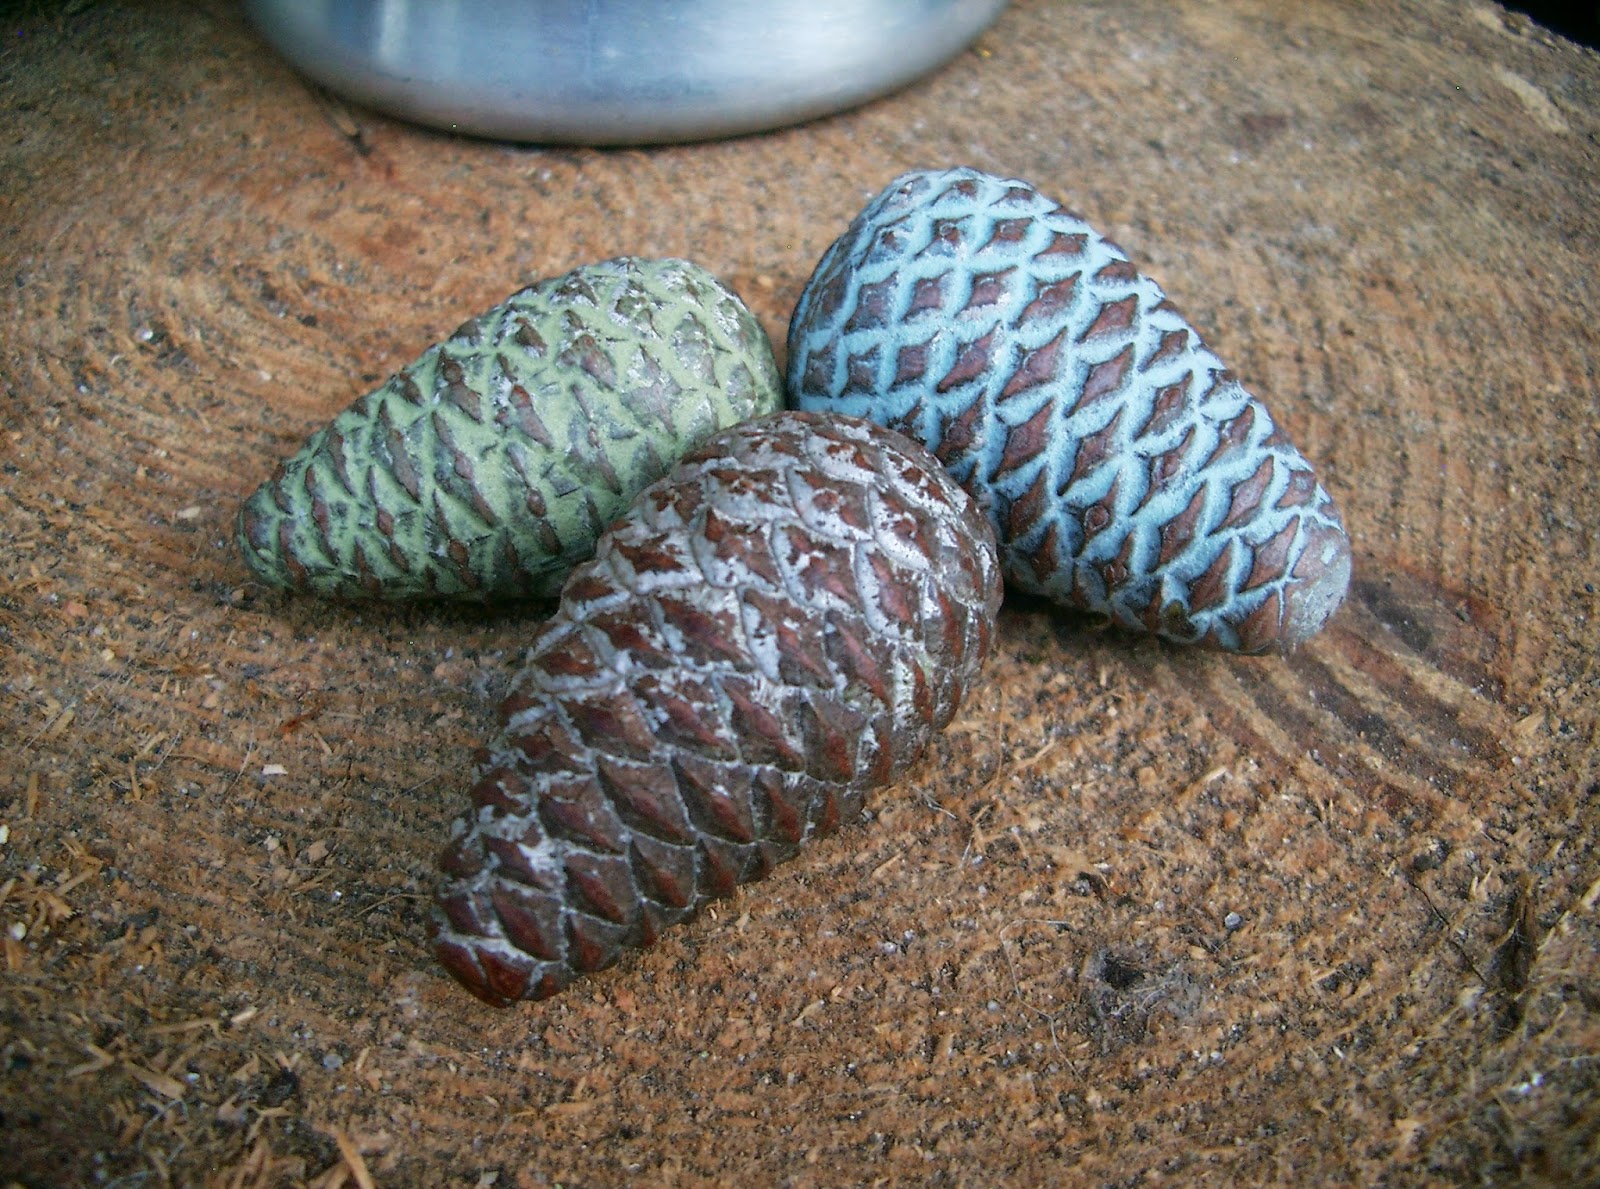
Remember these?  One of my more recent posts from the past provided a sneak peak for today’s tutorial.

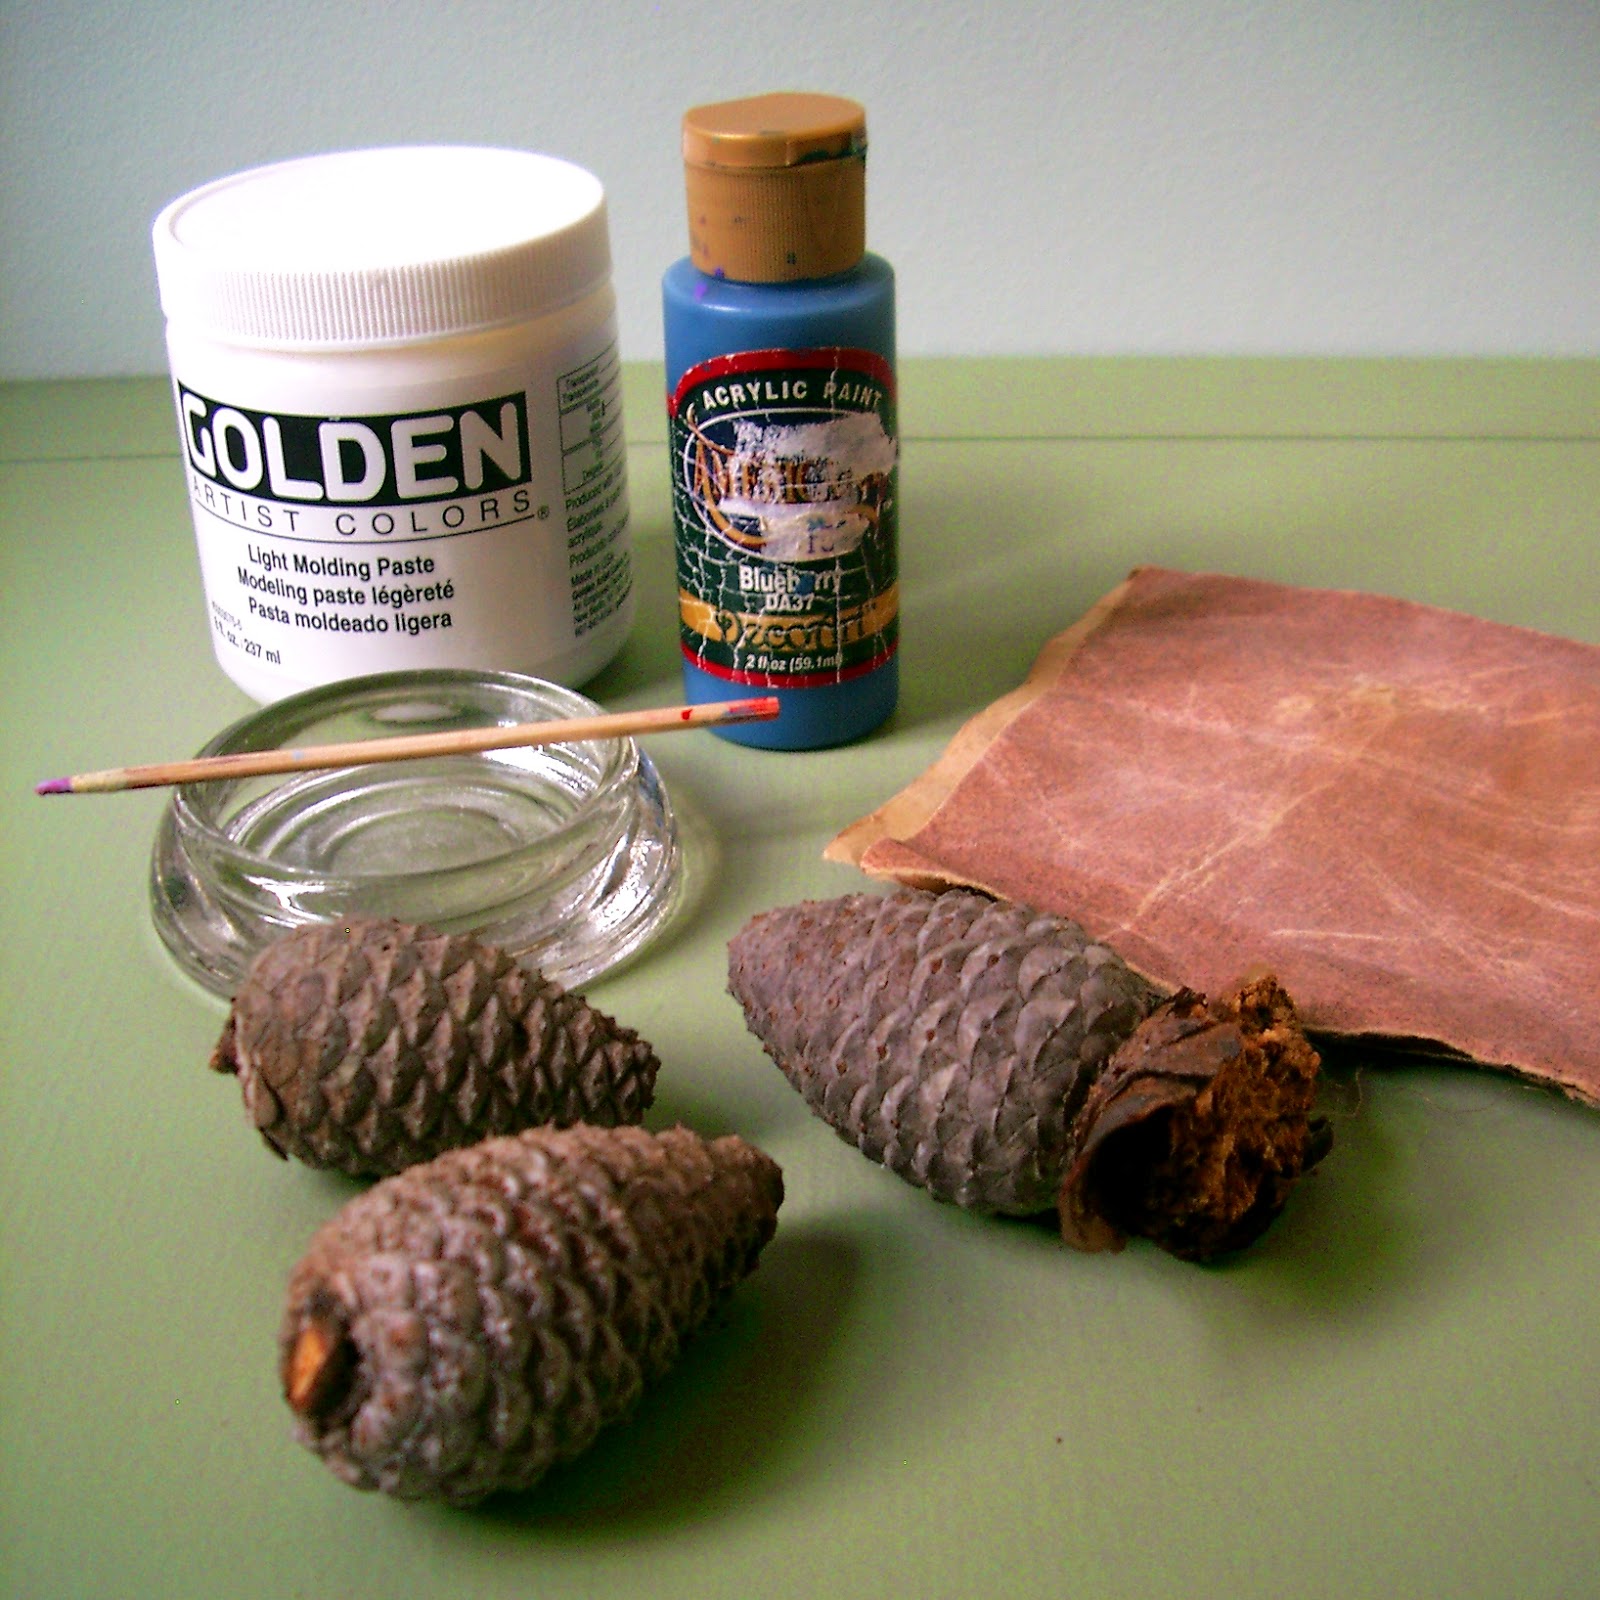
To make these little natural decorative treasures, first gather some unopened spiny pine cones.  Yes, I do mean the ones that you would normally not choose.  The ones that pinch if you grasp them too hard in your hand.  In addition, you will need some acrylic craft paint, fine sandpaper, molding paste (I had Golden Artist Colors’ light molding paste on hand, but any brand will do), a small dish and a stirring stick.

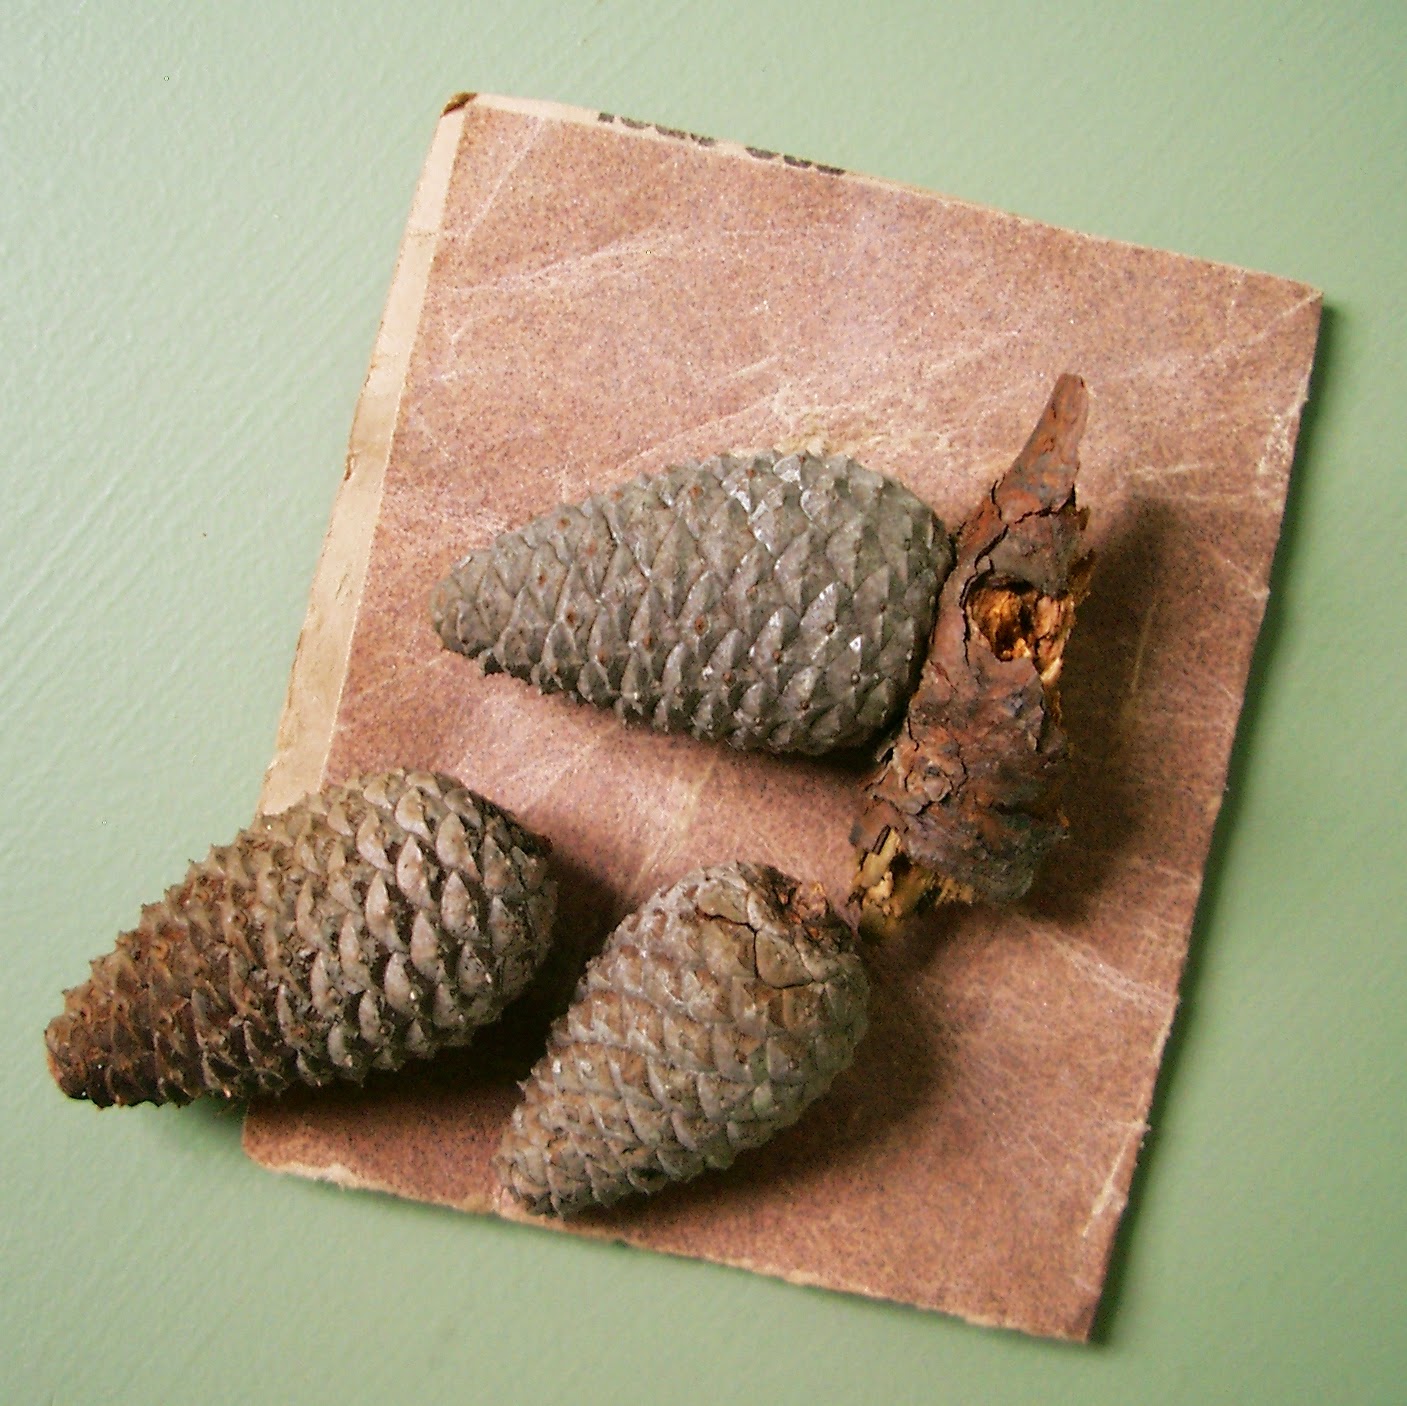
Begin by pruning off any branch remains from the pine cone.  I also like to gently snip off the pointed end of the cone to give it a more blunt shape, though you don’t have to.

Gently sand the entire surface of the pine cone until it feels smooth, yet ripply.  It is important to not sand it to completely even out the surface; you just want it to feel rather comfortable and pleasing to the touch when grasping it.

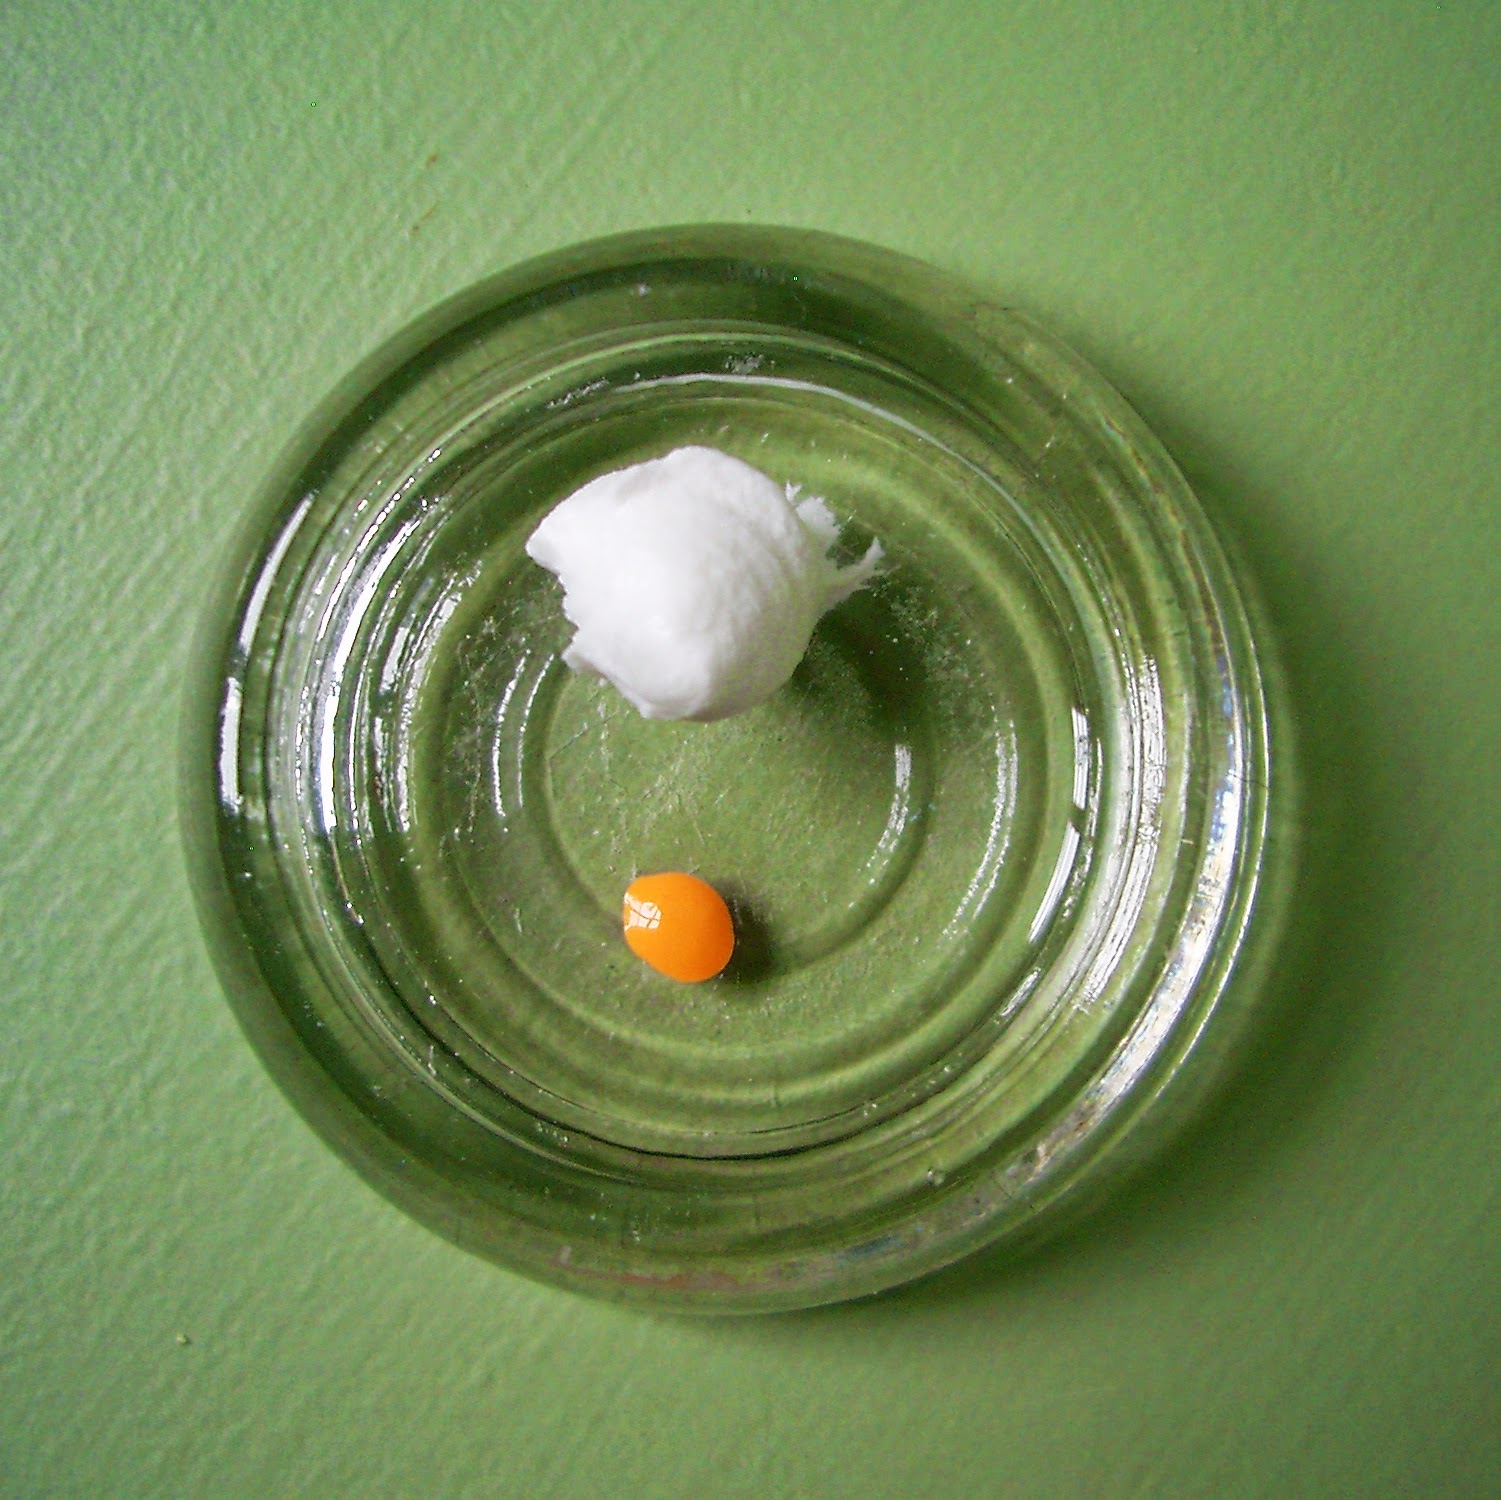
Next, place about one half teaspoon of molding paste onto a dish, add a tiny drop of paint, then mix them together.  (I really do mean tiny; otherwise, the color will be too saturated and your pine cone will look “painted”.  That’s what six year olds do.  This process is meant to give you a more rustic, yet sophisticated look).  Smear this mixture onto the cone with your fingers, working it into all the crevices.  Wait about one minute, then buff off all the residual paint/paste with a paper towel or cloth.  Buff it thoroughly so that the outer most surface of the pine cone is visible again.

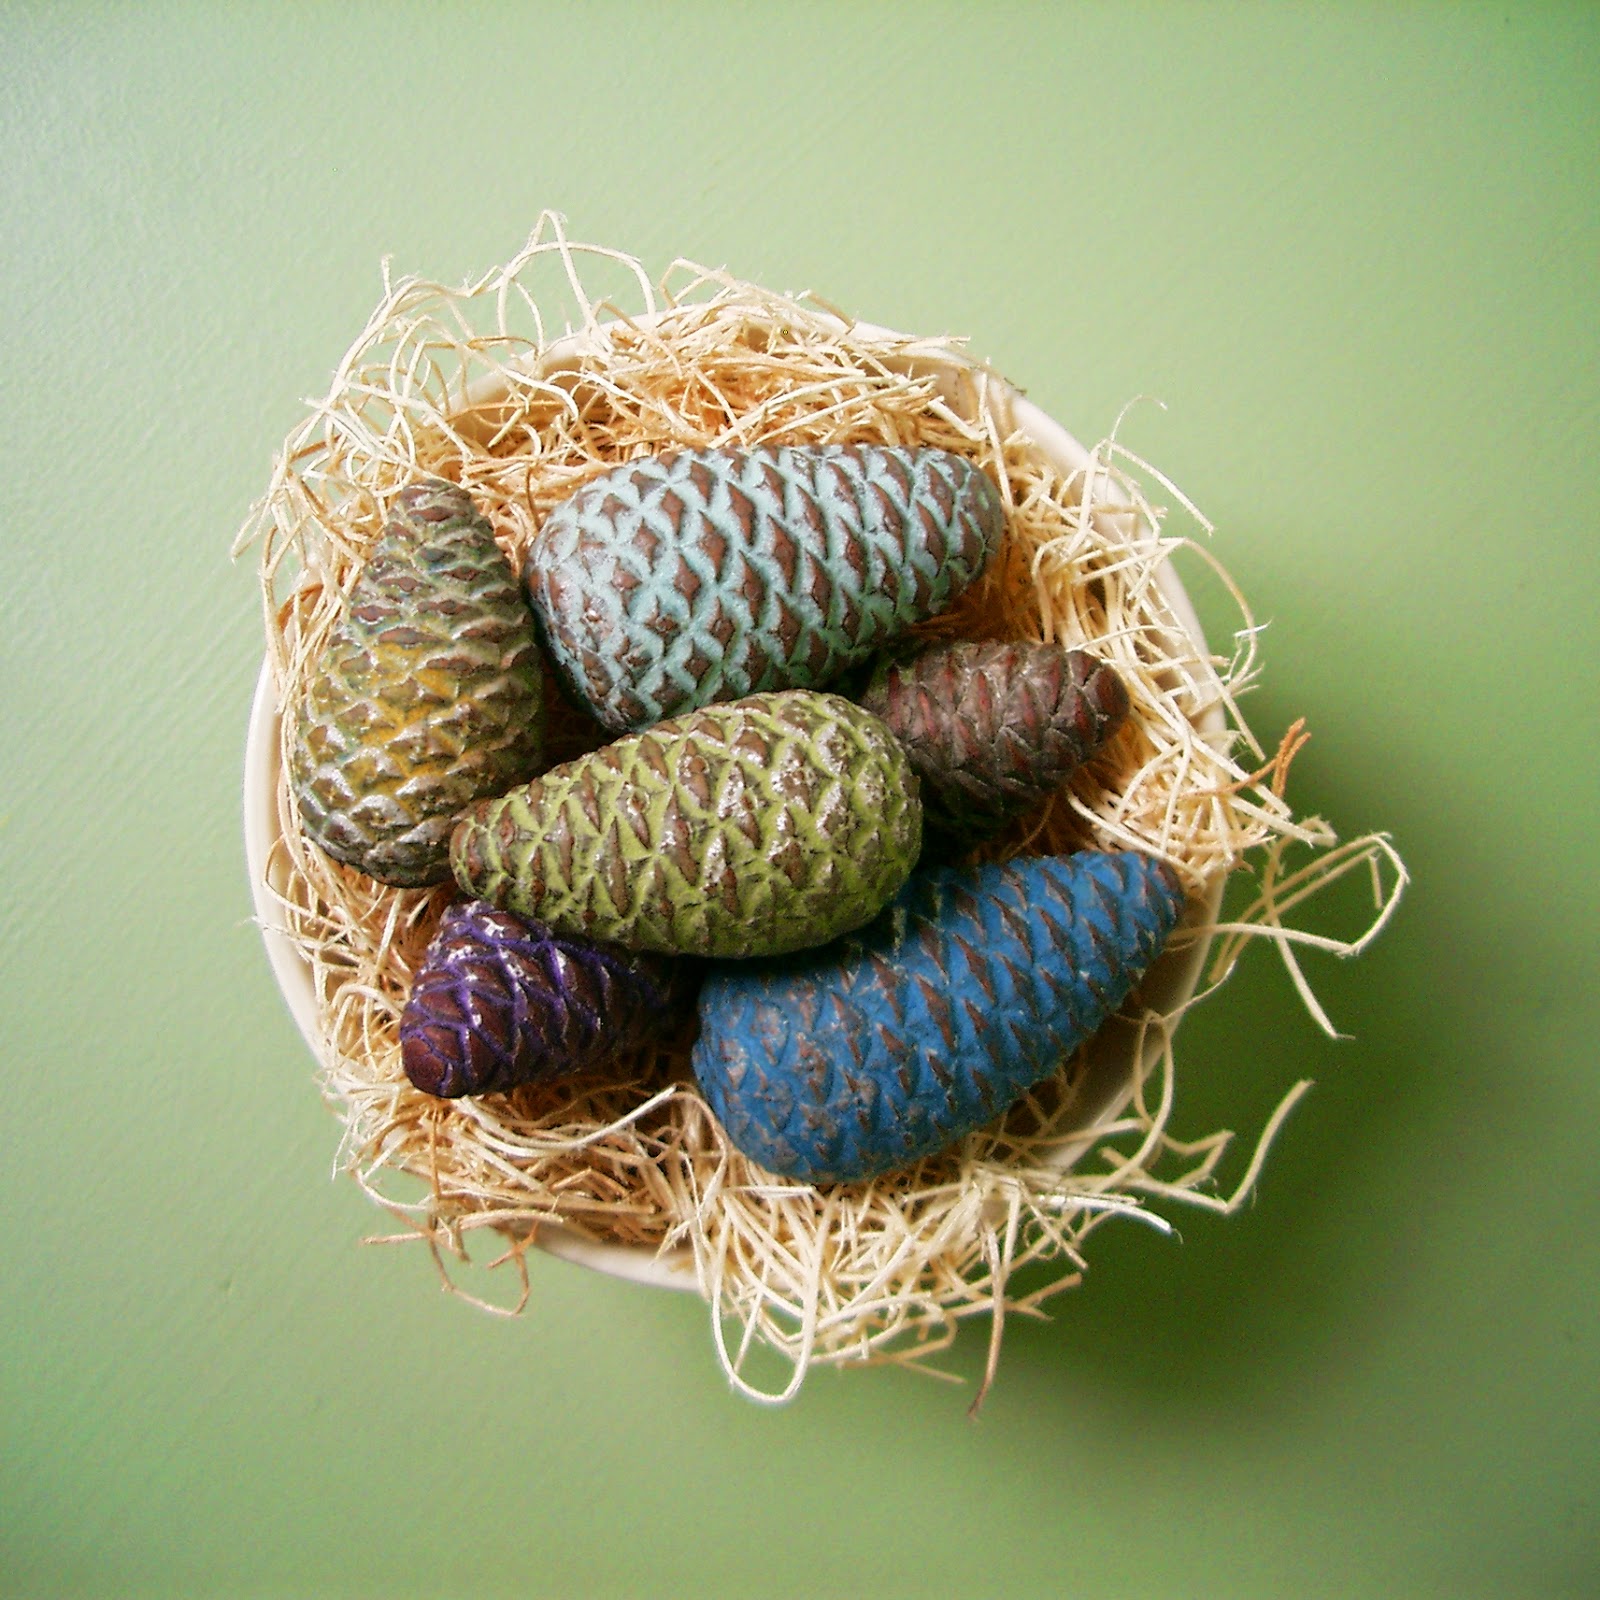
And, here is the finished result.  A little clutch of rustic, yet sophisticated pine cones.  You may elect to further buff them with some paste wax, but that’s up to you.  I did that for some, yet it did not make a difference visually.  I think they look best simply displayed in a bowl, mason jar, nest or some sort of “nesting” object.

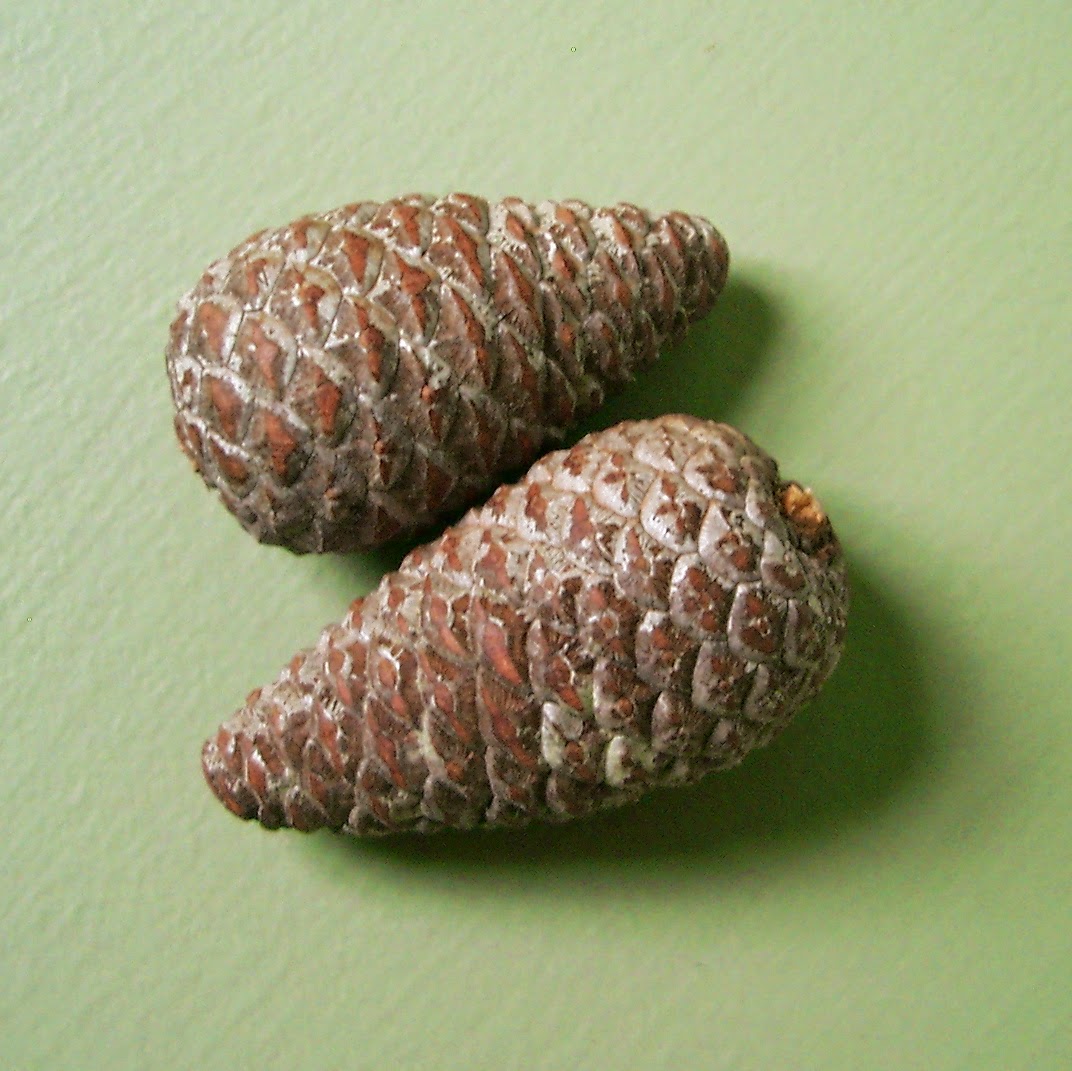
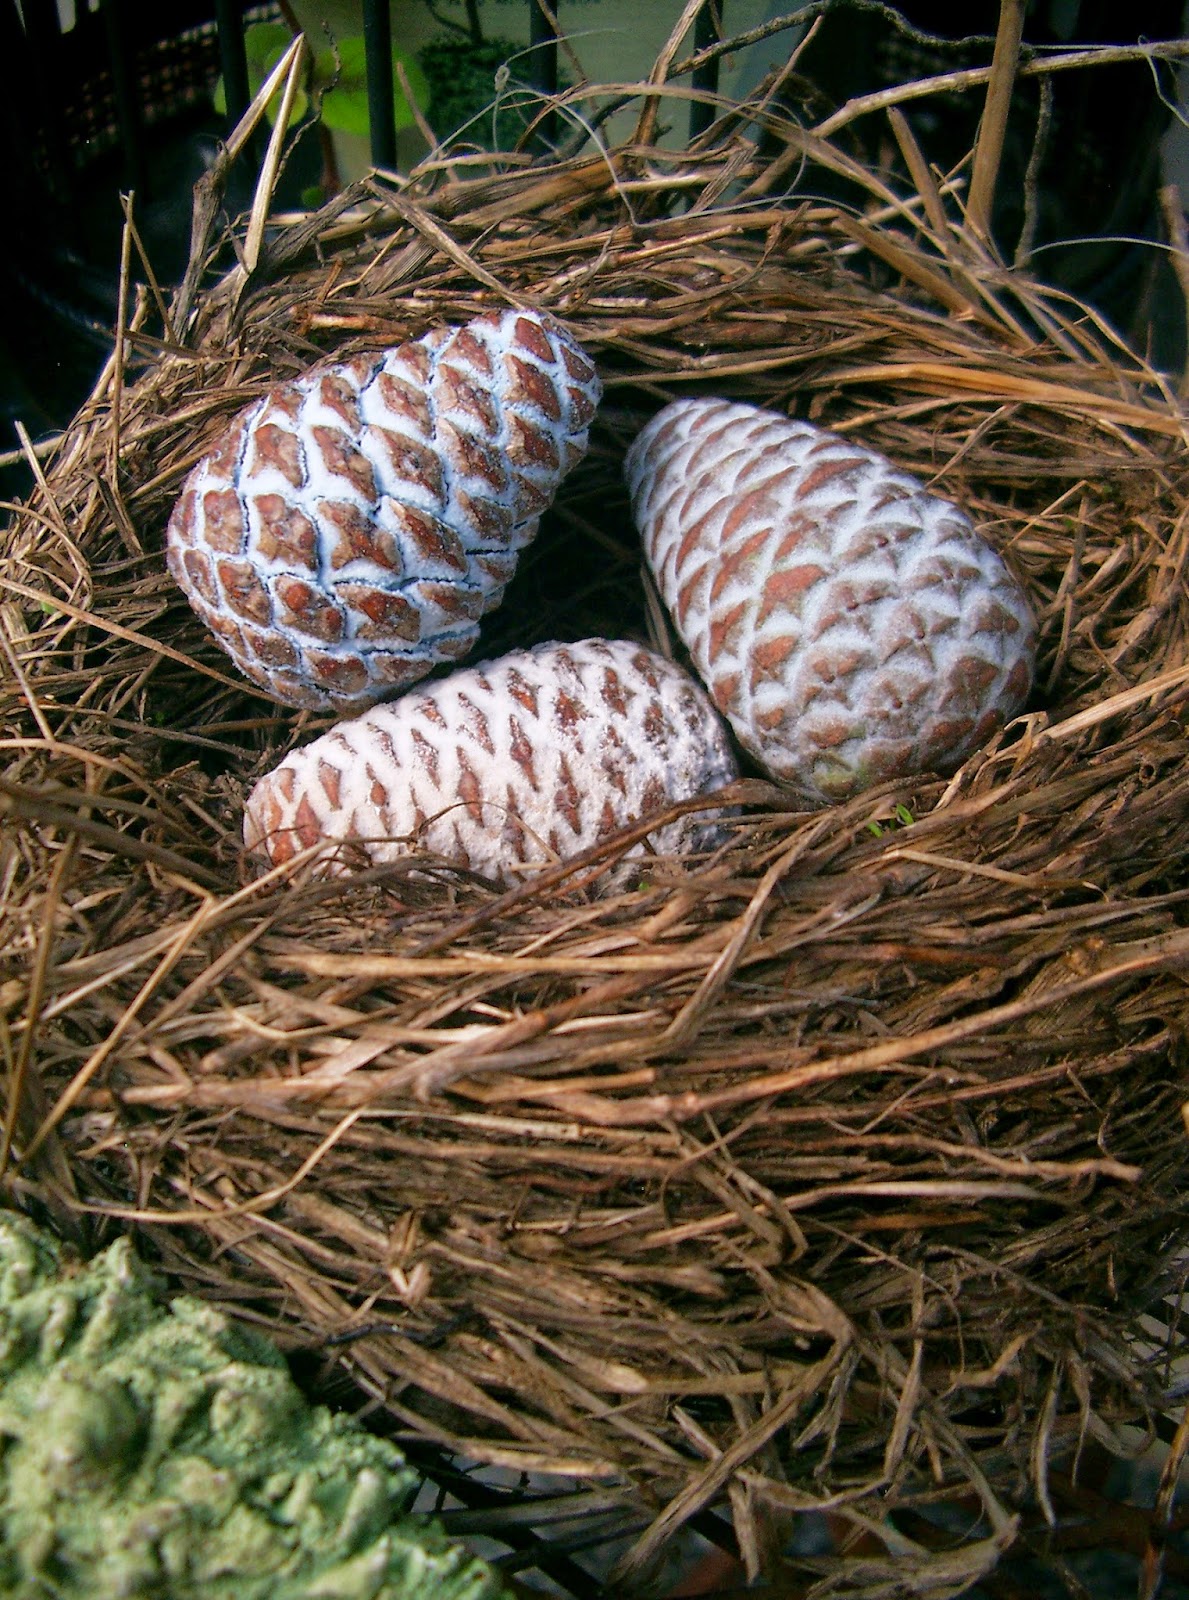
I made the ones below using the molding paste and white paint.  Very rustic and “beachy”, don’t you think?

There you have it.  Now, gather those pine cones and get creative.

DECORATIVE PINE CONE TUTORIAL Read More »

HYDRANGEA PANICULATA UPDATE

My post from the past, published back in April, was a simple tutorial on spring pruning Hydrangea paniculata.  These are the same hydrangeas today, the flower buds soon to become jumbo sized, white floral cones.

©linda nelson 2014

In the lower right corner of the photo you will notice that this plant has no flower buds, a result of my accidentally forgetting to spray deer repellant on time at some point during the summer.  It’s all good, though.  There are enough buds on the plant to compensate for that.

I look forward to sharing a photo of these gorgeous plants in their glory, and that could be very soon!

HYDRANGEA PANICULATA UPDATE Read More »

RUSTIC COUTURE SPRING BONNET: TUTORIAL

You’d like to make a rustic couture spring bonnet, would you?

This is what you’ll need for making a 6″(approx.) diameter bonnet:
  • a piece of window screening cut into an 8″ circle (check your garage/basement for remnants or purchase some by the foot at a hardware store).  Do not use nylon screen; you can’t form/shape it.  I used a lunch plate as a template and a Sharpie pen to trace my circle.
  • floral wire (roughly 14″ long)
  • acrylic paint & a brush or sponge (I like to create a patina effect using “muddy” greens and blues)
  • ribbon, moss, twigs, notions….(whatever your heart desires for embellishing)
  • scissor type tool that cuts through metal mesh (I used an old pair of boning shears)
  • 2 1/8″ diameter herb container (to use as your”hat form”)
Trace your template onto the mesh, then carefully (the edges are sharp) cut it out.  Next, center your circle over the herb container and squeeze the mesh to fit snuggly around the lid.  Bend upward and crease what would be the brim part of the hat.

©linda nelson 2014

Remove your hat from the form, then use your floral wire (no needle necessary) to stitch, up and down fashion, around and along the crease line.  Twist the two ends together to secure.  This step reinforces your bonnet.  The remaining ends of the floral wire provide a means to fasten some embellishments onto it.  The wire tails can also be kinked and twisted, thus becoming part of the design.  Trim the brim to shape and to your liking of it’s width.  I crimp and fray the edge by giving it a little tug and pulling off a few loose strands; that’s what makes it rustic looking. 

©linda nelson 2014

Dab on some paint, if you’d like, though this step is completely optional.  I chose not to paint the one pictured below.  Sew or glue on your embellishments.  You can put your bonnet back on the hat form, if you’d like; it frees up both of your hands while working on it.
©linda nelson 2014

There you have it.  All done.  Now, get creative.

RUSTIC COUTURE SPRING BONNET: TUTORIAL Read More »

Scroll to Top