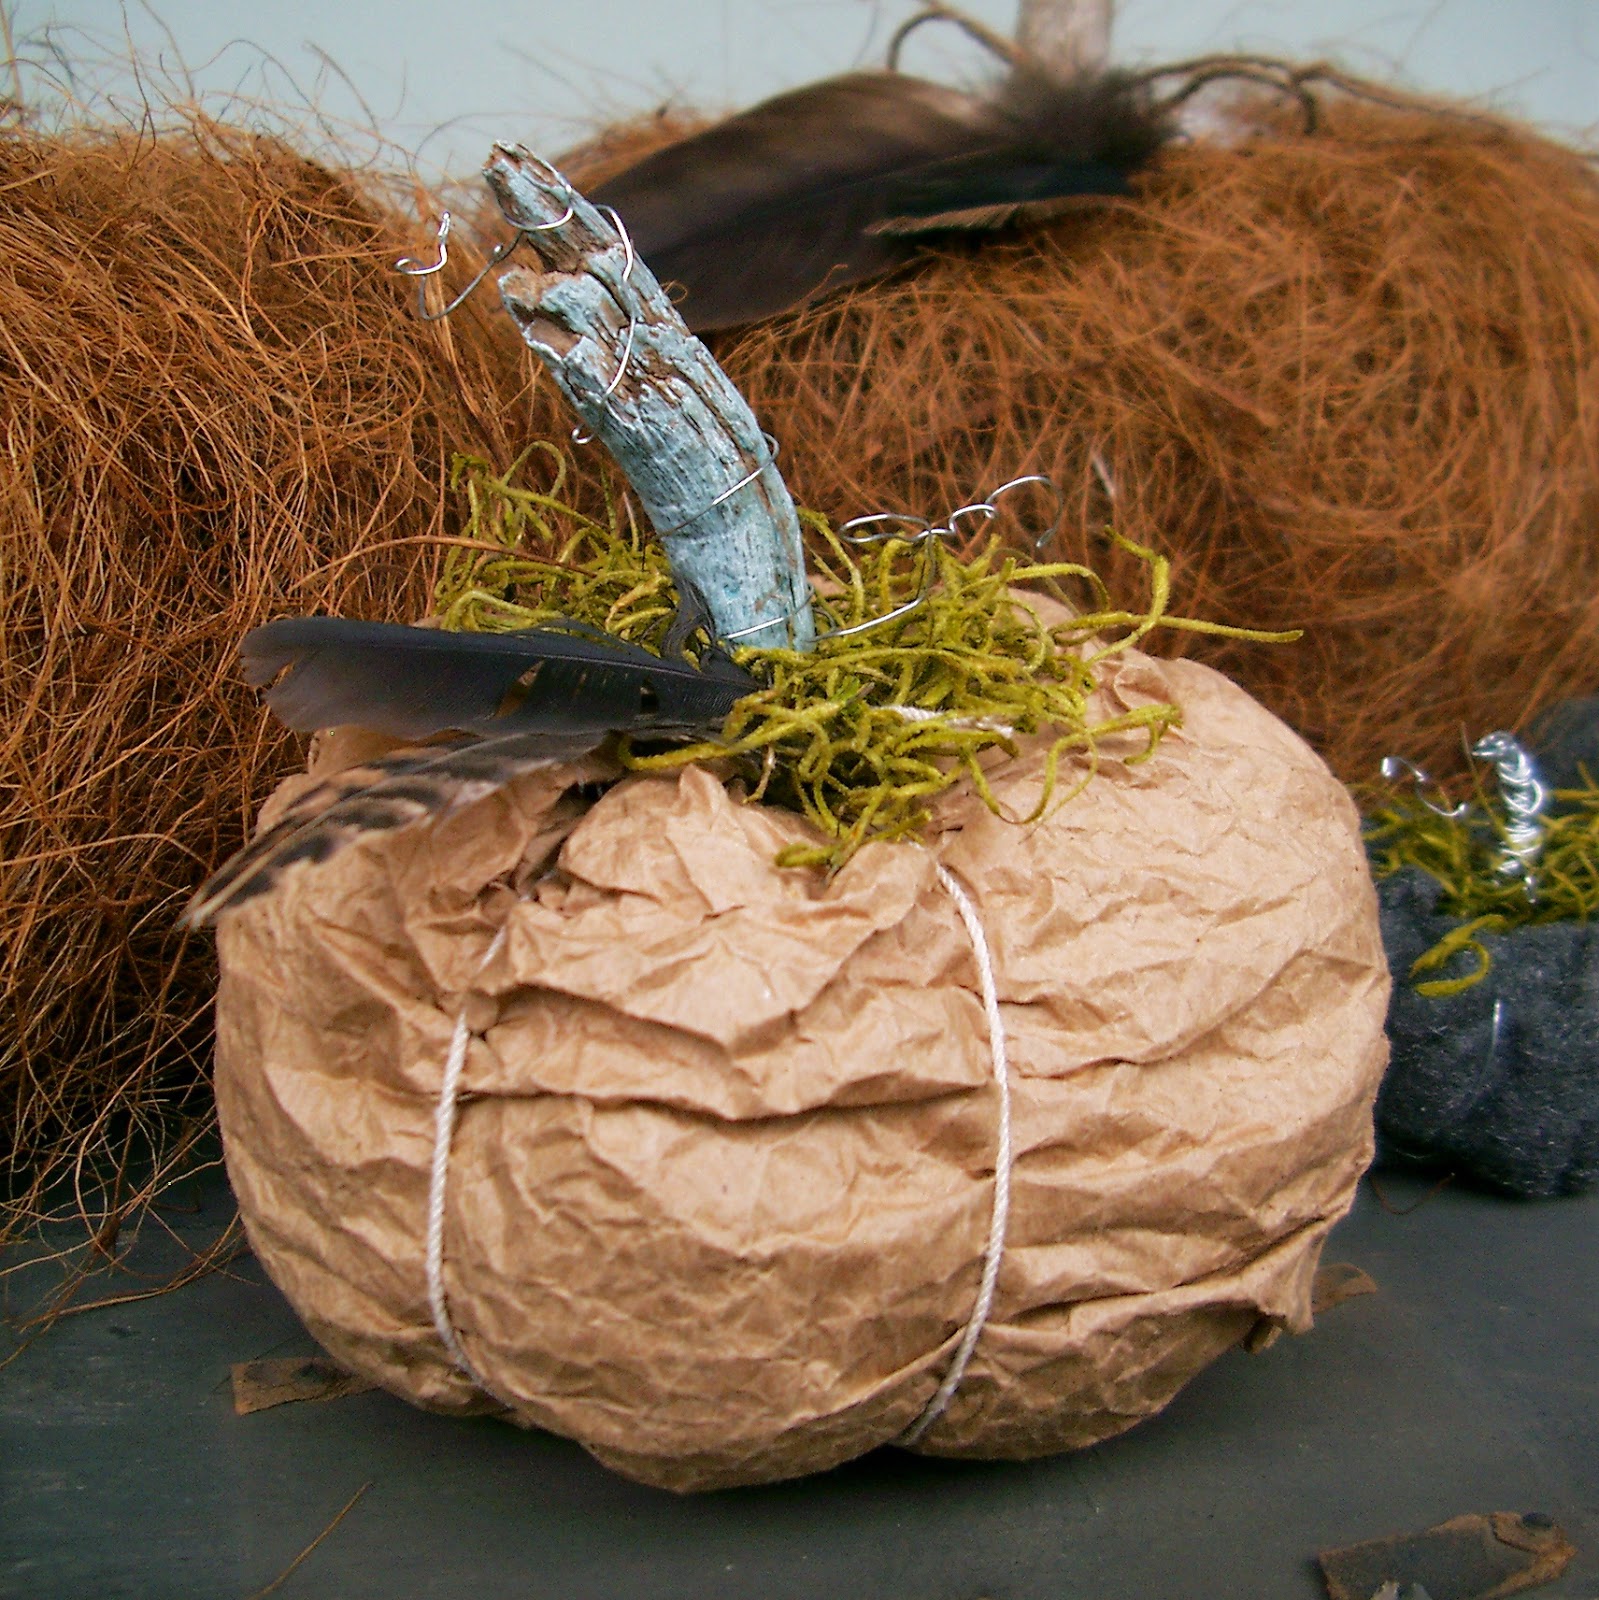
MAKE SCENTED MOSSY EGGS
It’s that time of year again when all of us crafters will be laying and displaying our handcrafted eggs. Dipping, dying, batiking, painting, decoupaging, stenciling and glittering are some of the many techniques that will be used in the creative process. Let’s add “mossing” to the list. The pictured examples are not just any mossy eggs; they’re Linda’s mossy eggs, and I think you will enjoy making some. I certainly did.
Grab your supplies –
- Styrofoam egg(s)
- skewer(s)
- brown and green acrylic paint
- paint/sponge brushes
- Elmer’s glue
- dyed/preserved spanish moss
- soil-less seed starter mix/potting mix (or a handful of peat moss)
- dried lavender buds
- small container
- spoon
You will also need an electric coffee grinder or some sort of food processor, and a sieve.
 |
| ©Linda Nelson 2016 |
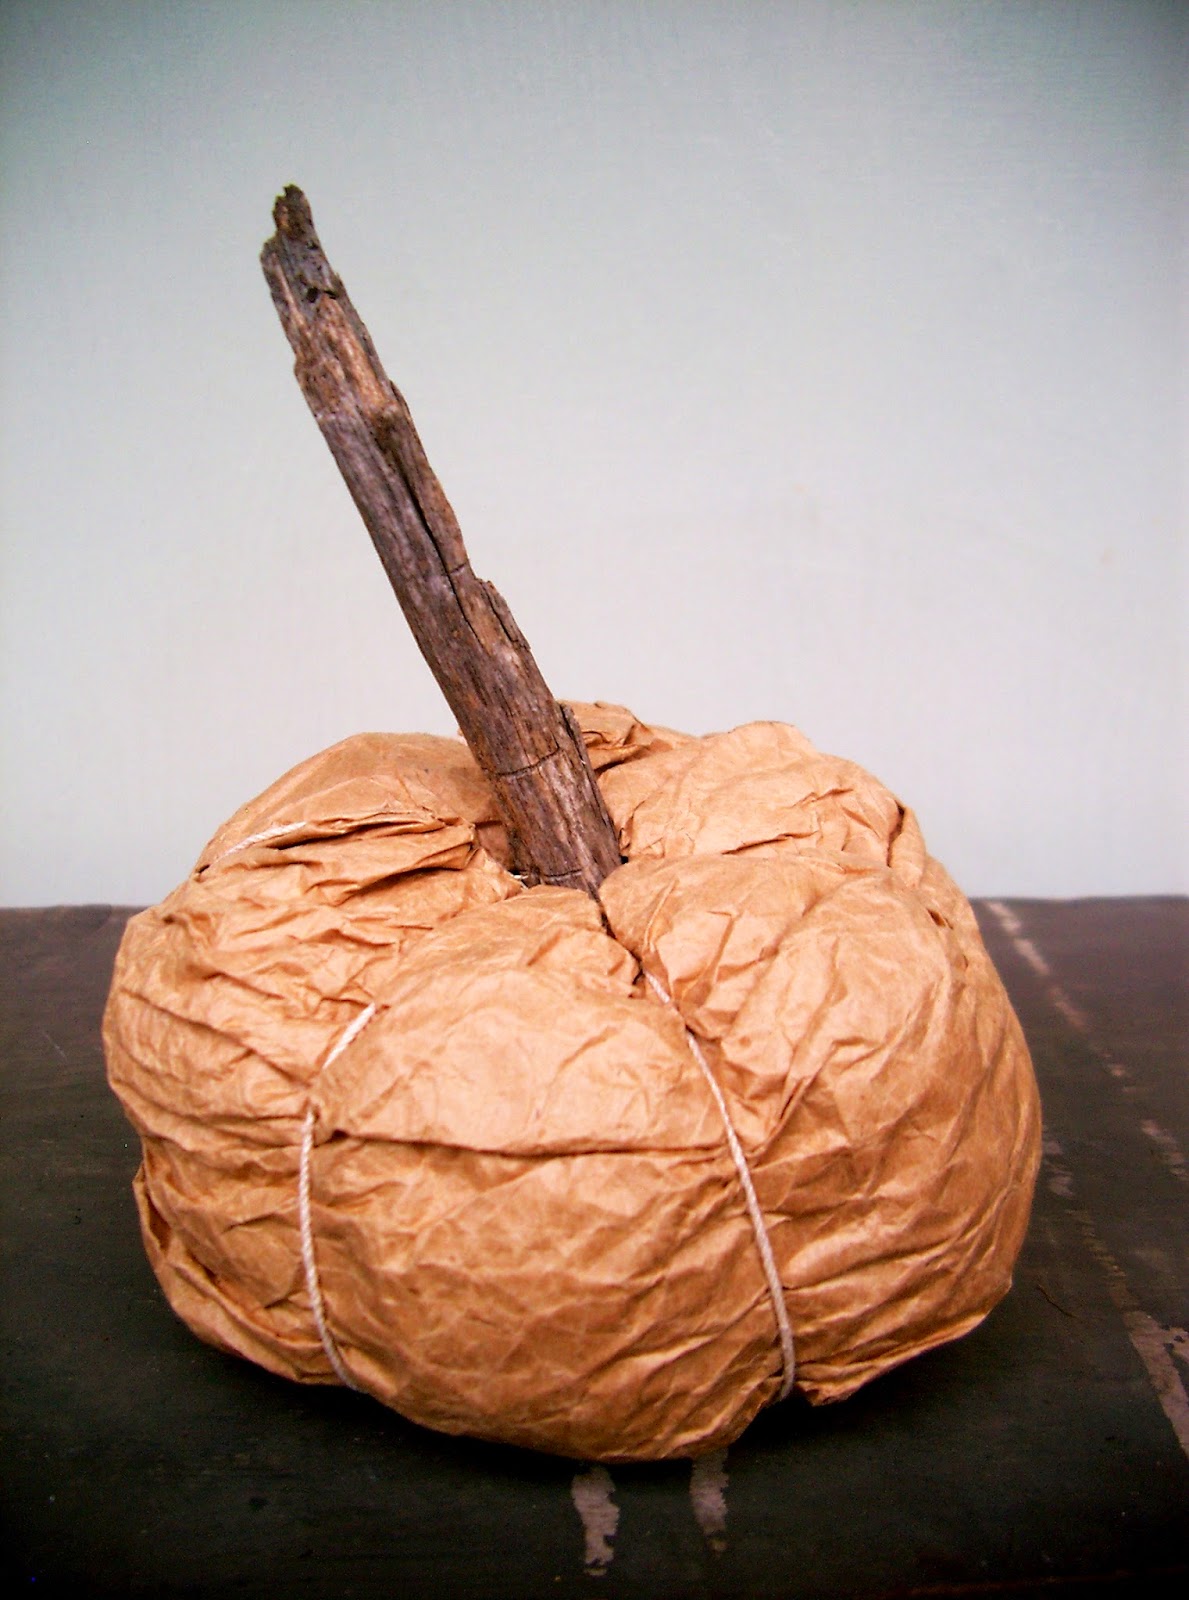
Poke the skewer into the rounded end of the egg. This step is just for practical egg handling purposes. Next, mix some green and brown paint together to create a drab and muddy or mossy hue. Add to it a few drops of glue, mix well, then apply one coat of paint to your egg. Let the painted egg dry.
 |
| ©Linda Nelson 2016 |
Grab a tiny handful of the Spanish moss(torn into little pieces) and a few pinches of lavender buds, and place them in your coffee grinder. Grind/pulse until the mixture is somewhat fine yet still maintains a little bit of texture. Continue making up batches of the lavender moss until you have about one half to one cup’s worth; that will be enough to cover a handful of eggs. A small Chinese takeout soup container is ideal for storing the ground moss.
 |
| ©Linda Nelson 2016 |
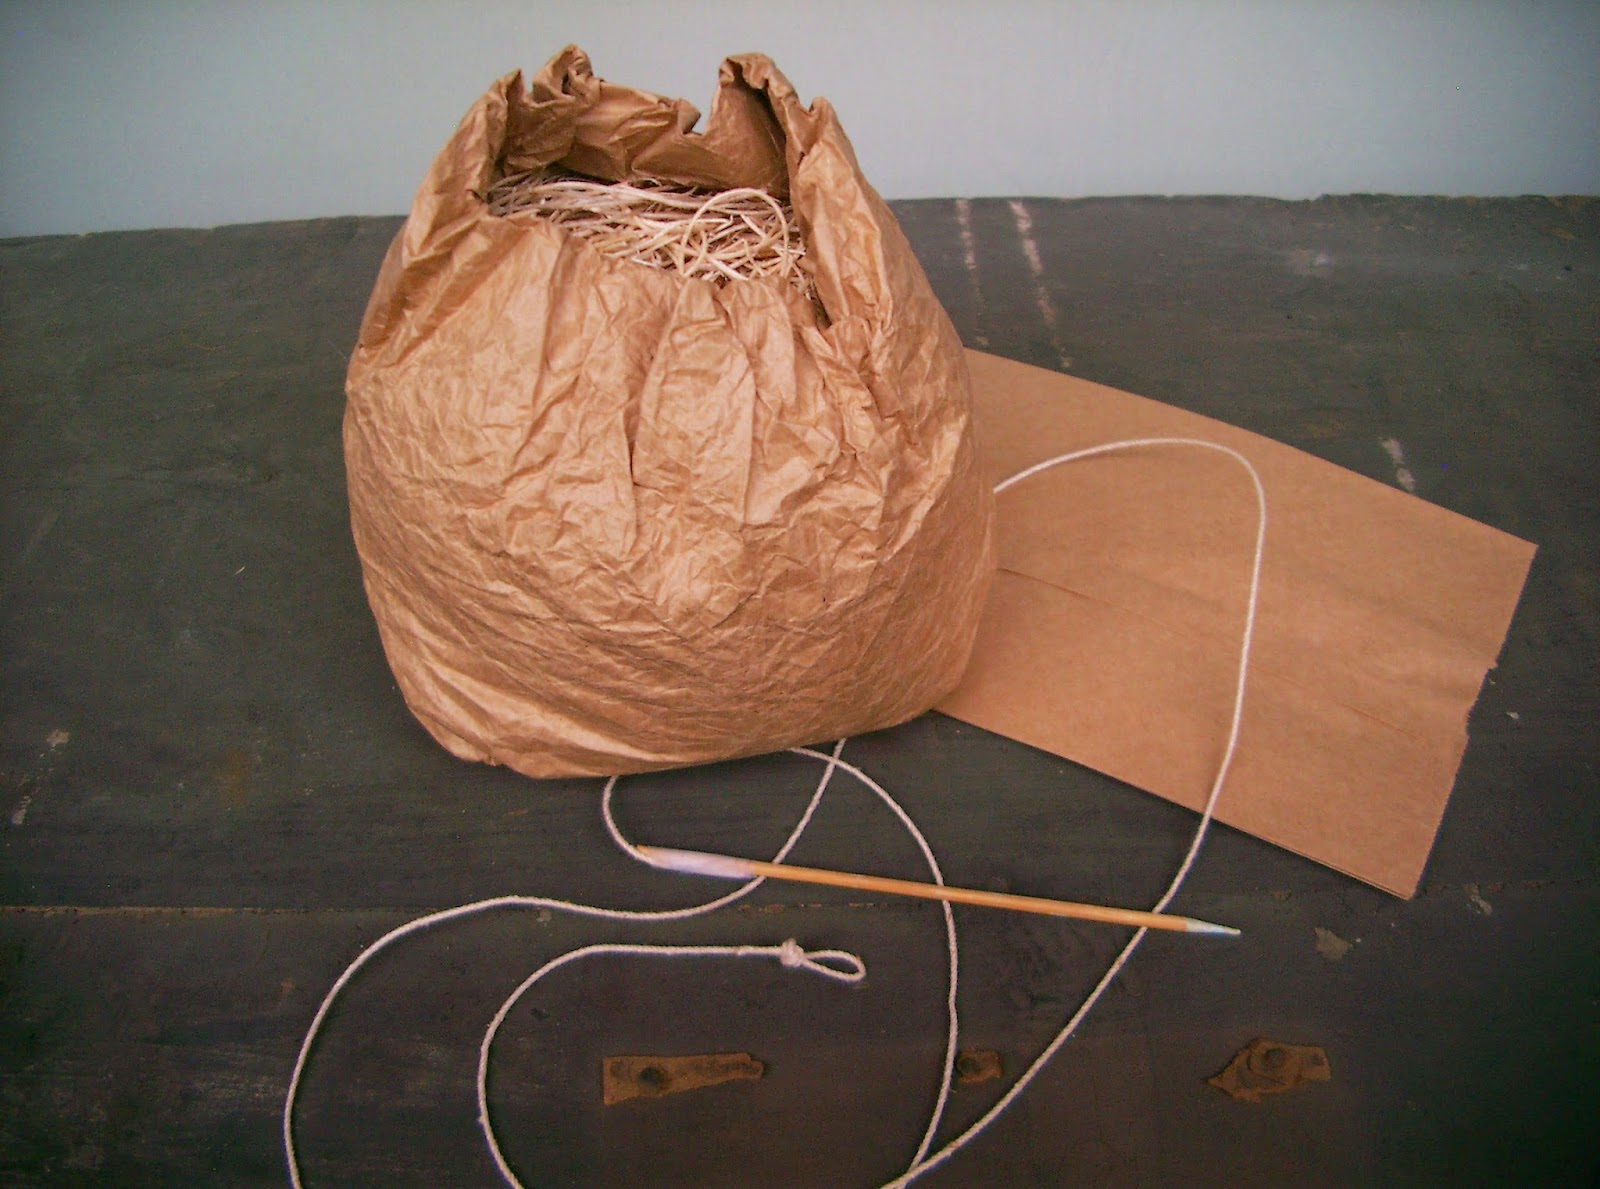
To make the brown egg, simply strain the soil-less/peat based potting mix thru a sieve until you have collected enough of a fine textured amount to work with. I didn’t add the lavender to this one, but you’re more than welcome to do so.
 |
| ©Linda Nelson 2016 |
 |
| ©Linda Nelson 2016 |
I’m not a big fan of providing exacting instructions for creative embellishing; you own that part. I figure that if you don’t have it in you to do it yourself, chances are that you’re not reading this post.
Do you like my Thumbelina-sized envelope? See how I made it?
 |
| ©Linda Nelson 2016 |
Hmmmm…… what else have I been up to? Oh, I made a “chippy” egg. Just mention in a comment if you’d like me to share my technique for that one.
 |
| ©Linda Nelson 2016 |
MAKE SCENTED MOSSY EGGS Read More »