ribbon

CUPID WAS HERE.

In my last post, I shared with you some sweet, handmade musings inspired by Cupid.  Well, he continues to hang around aiming his crafty bow right at my heart.  I don’t mind at all.  Draw it in my direction all you want, little guy!

linda nelson at the createaerie

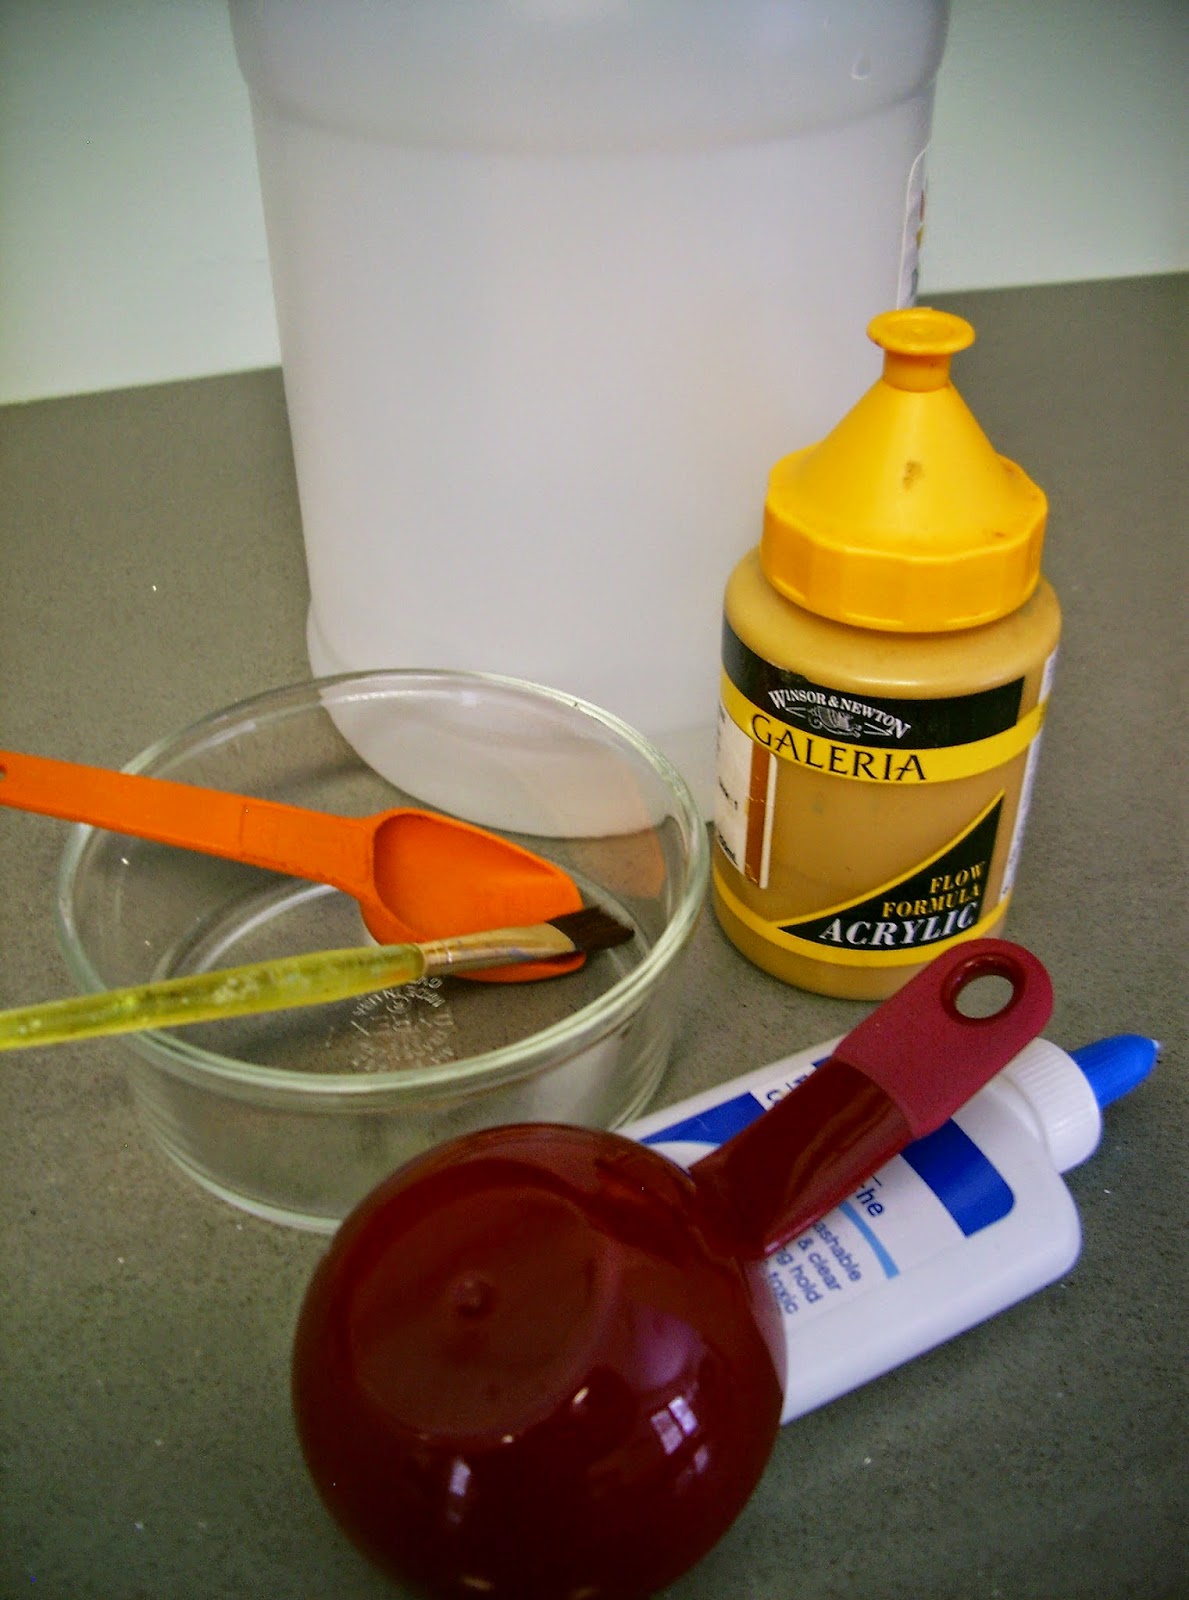
The fabric, trim and wire fixation kept me amused for one afternoon, but another afternoon followed……. with more fixations.  I’ve been busy.

linda nelson at the createaerie

 Full disclosure – this vignette was set up in my guest room, as it’s the only room in my house that gets bathed in the “flat” natural light that I prefer for photographing things.  The common rooms (where I would actually intend to display these adornments)really stink with regard to suitable lighting.

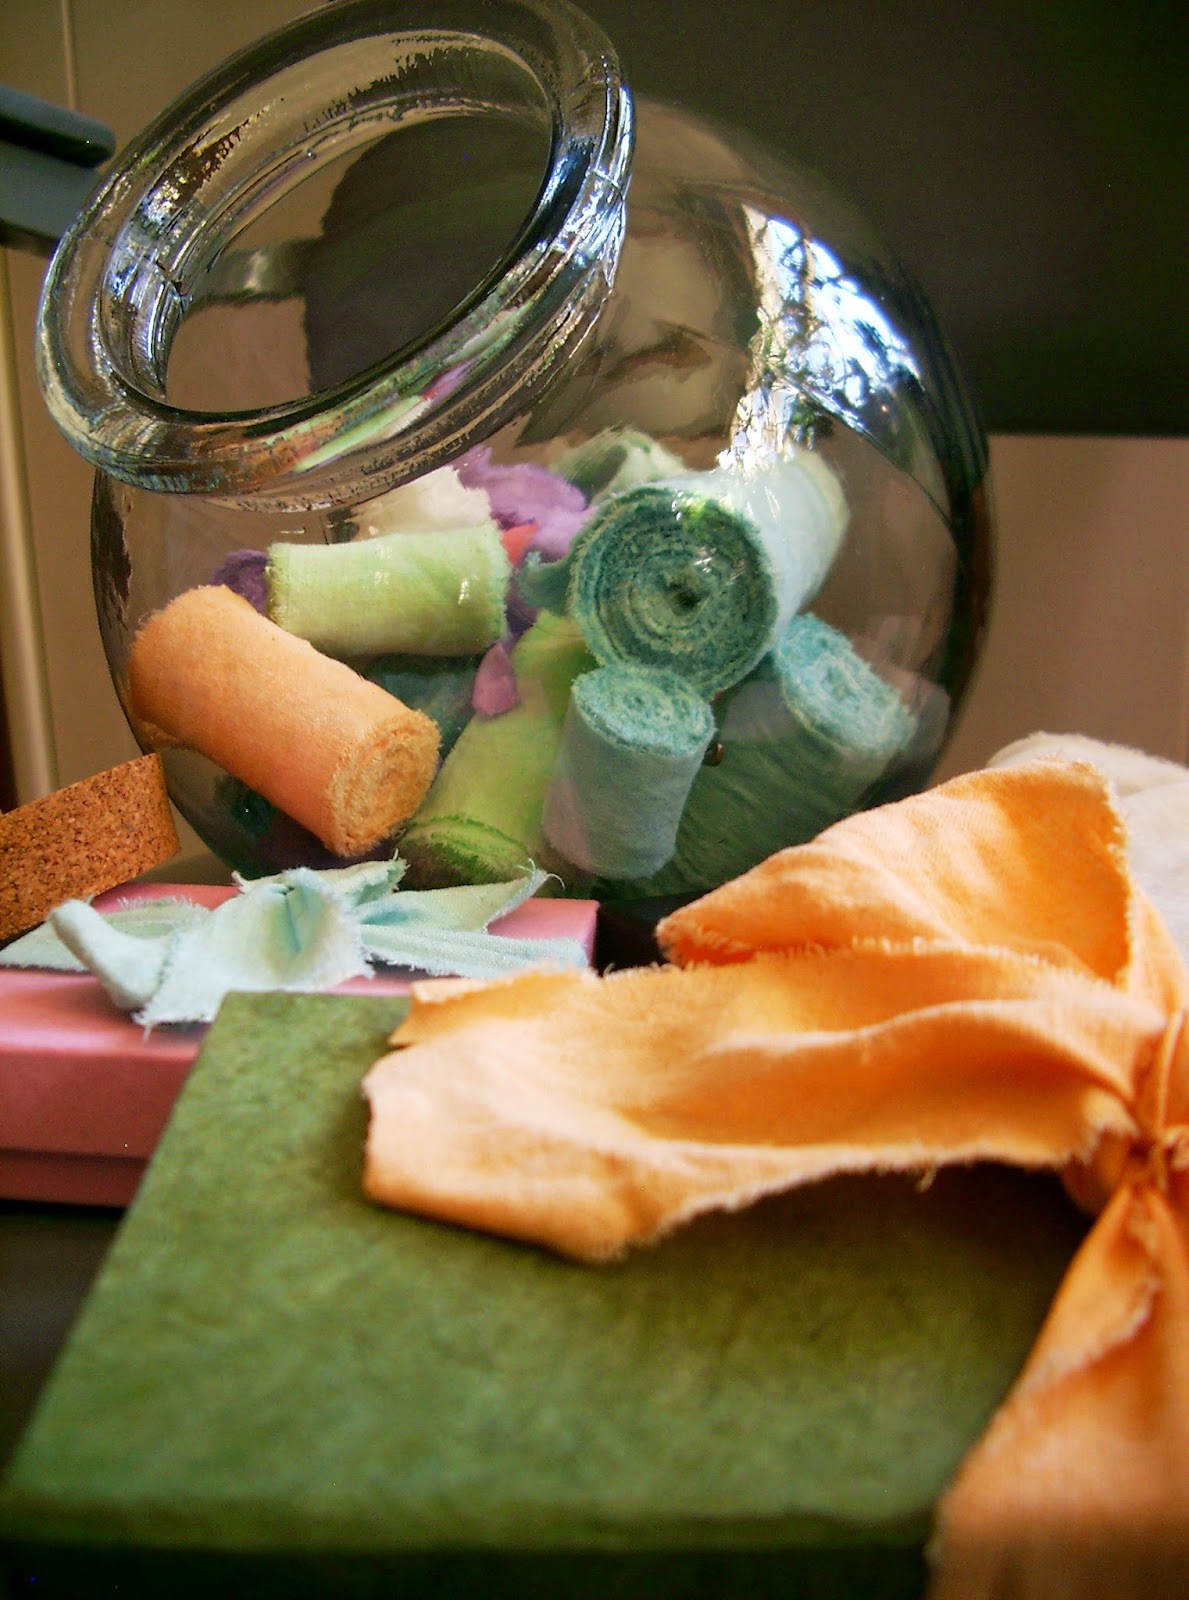
I had made a bunch of wire ornaments to sell at my local garden center during the Christmas holiday.  I updated the few I kept for myself by simply swapping out the original jute twine and green ribbon for pink ribbon.  And, the cache of scrap ribbon leftover from the hearts I made is proof that you can pretty much turn anything into decor!

linda nelson at the createaerie

Oh, those popularly available reproduction game tiles are so overrated.  Hand stamping real tiles is so much more fun ;D

linda nelson at the createaerie

Yes, I put on this siren hued, goopy lipstick and kissed the mirror just for you.

linda nelson at the createaerie

Printing vintage graphics…simple, fun and super thrifty.

linda nelson at the createaerie

The piece pictured below was a fun little project, and didn’t take much time at all to make.  I bet you could come up with your own version of it.  Go ahead, give it a try.

linda nelson at the createaerie

And, this little mushroom I made last year fits right in with all the other sweet companions.

linda nelson at the createaerie

Well, this post wraps up my collection of Cupid inspired creations.  And, full disclosure – this is what my dining table has looked like for the past few weeks.  Really.

linda nelson at the createaerie

CUPID WAS HERE. Read More »

RIP-DIP-N-ROLL

Yesterday I defrocked an old linen tablecloth, then repurposed it into shabby, vintagesque fabric gift wrap ribbon.  Paired with a color coordinating box, this simple ensemble is presentation worthy.

If you have an old(white) linen tablecloth that’s seen its day perhaps you’d like to make some ribbon yourself.

Here’s what you’ll need (besides the tablecloth) – 
  • 2 small bowls
  • small paint brush
  • measuring tablespoon
  • 1/2 cup water
  • white school glue
  • various colors of acrylic paint with a viscosity thicker than cheap craft paint
  • mesh sieve or coffee filter (not pictured)

Begin by snipping one end of the cloth with scissors, then rip/tear cut the rest of the length.  Continue snipping and ripping various widths of “ribbon” until you have the amount of pieces you’d like to color.

Next, remove the warp/weft threads created by the ripping step.  Remove only as many necessary to create a tiny, shabby fringe.

Combine one tablespoon of paint, one tablespoon of glue and one tablespoon of vinegar with 1/2 cup water in a small bowl; stir/blend thoroughly with the paintbrush.  Pour paint mixture through sieve and into another small bowl.  This procedure captures any globs of paint or glue that didn’t dissolve completely.

Dip your fabric strip into the paint mixture, then squeeze out the excess.  Wait a minute or two, then rinse under COLD water.  Squeeze out excess water, hang to damp-dry, then toss them in the dryer on high heat for a few minutes until completely dry.  Remove additional warp/weft strands made during the drying process.
A half cup of paint solution will color about ten feet of fabric.
Roll up your ribbon and secure with a safety pin to prevent unraveling.
The rolled repurposements are so pretty; they can be stored in plain sight.

There you have it.

Now start ripping, dipping and rolling, and get creative!

RIP-DIP-N-ROLL Read More »

Scroll to Top