pumpkin

OH, MY HACKING HEART

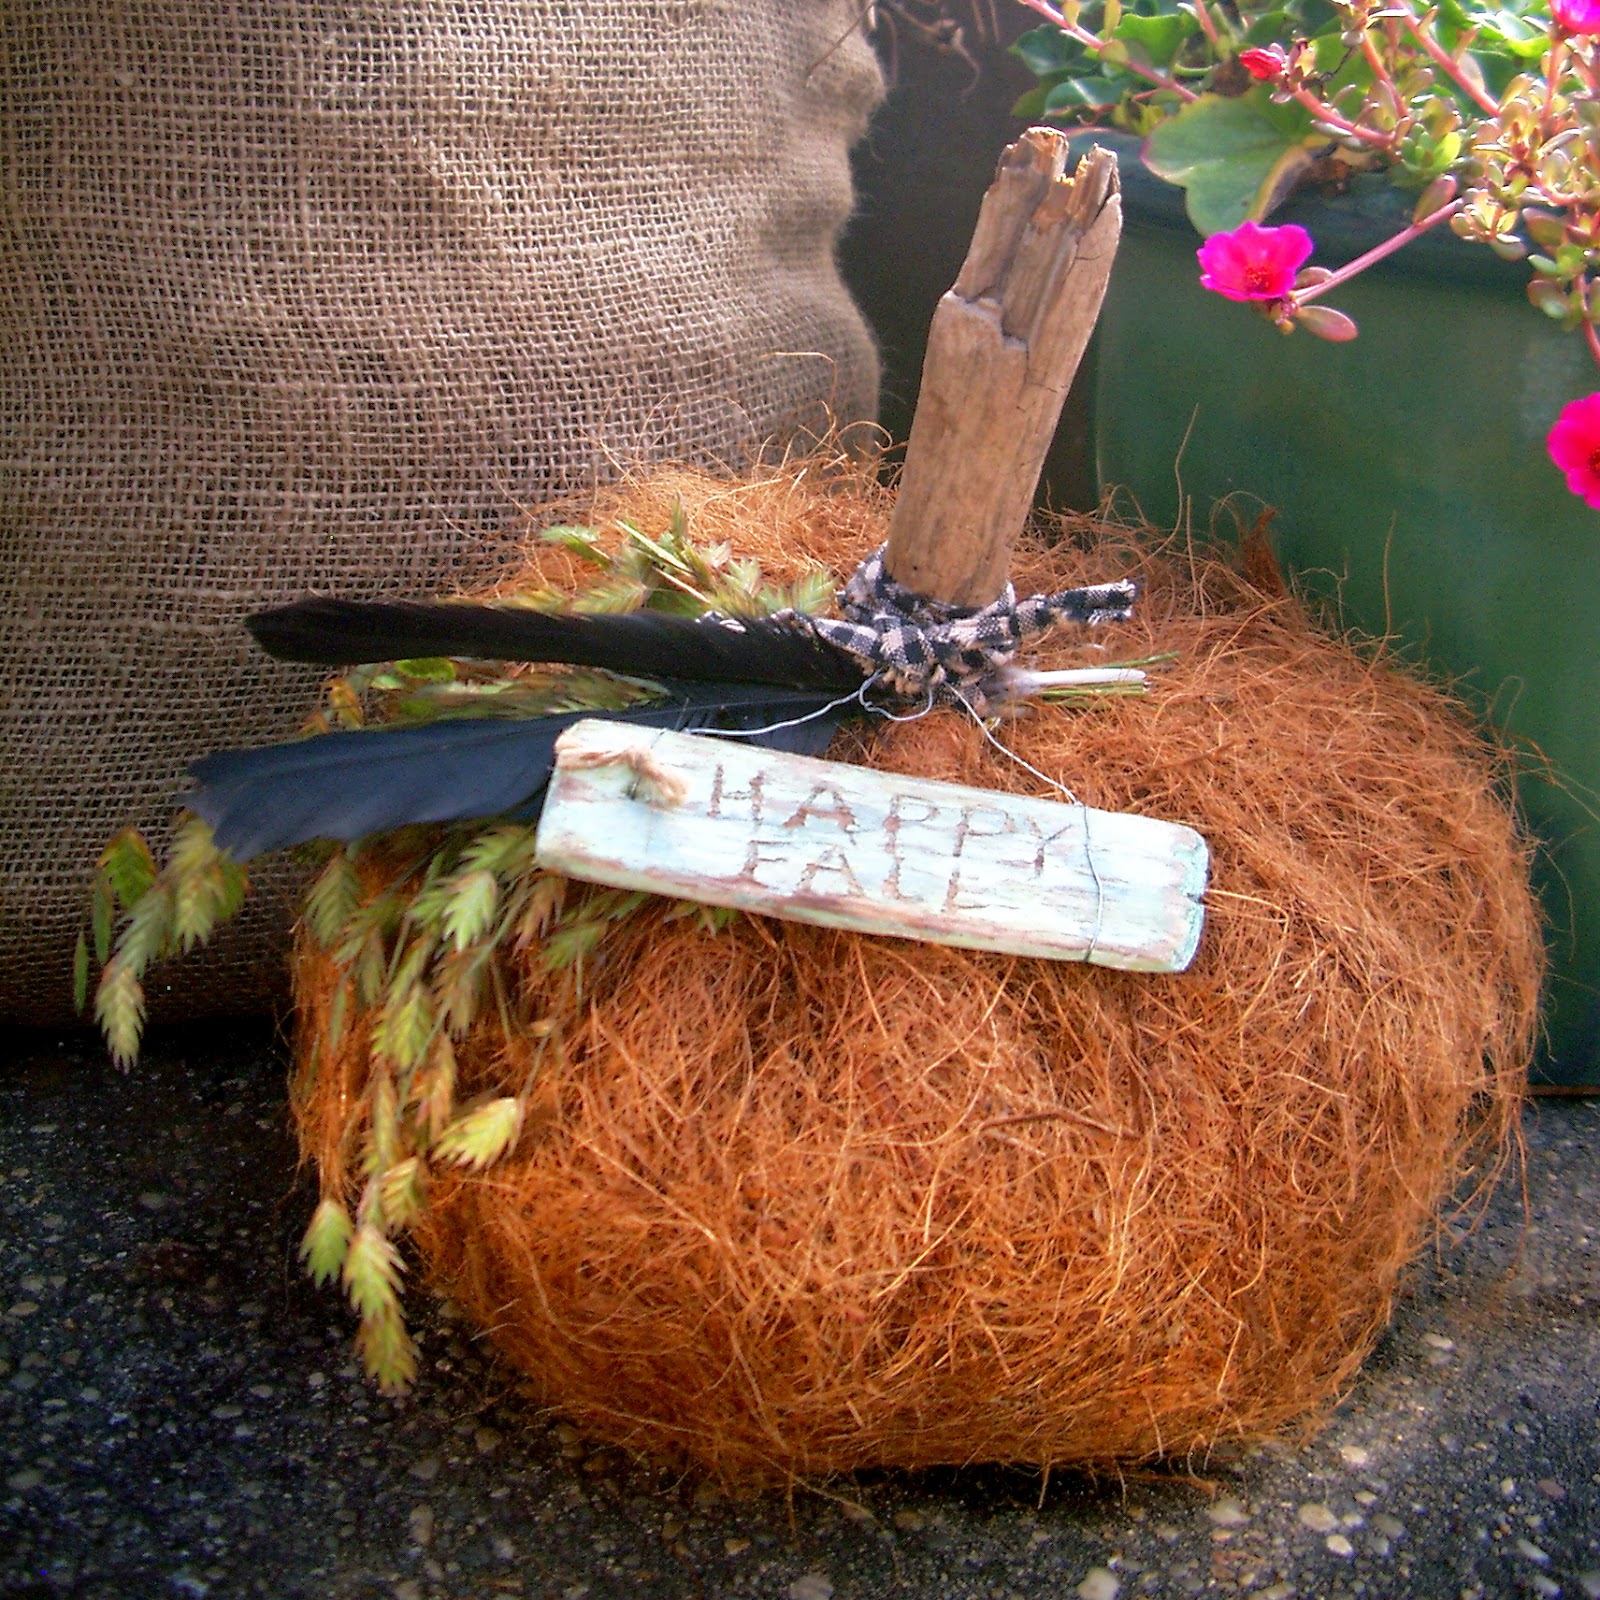
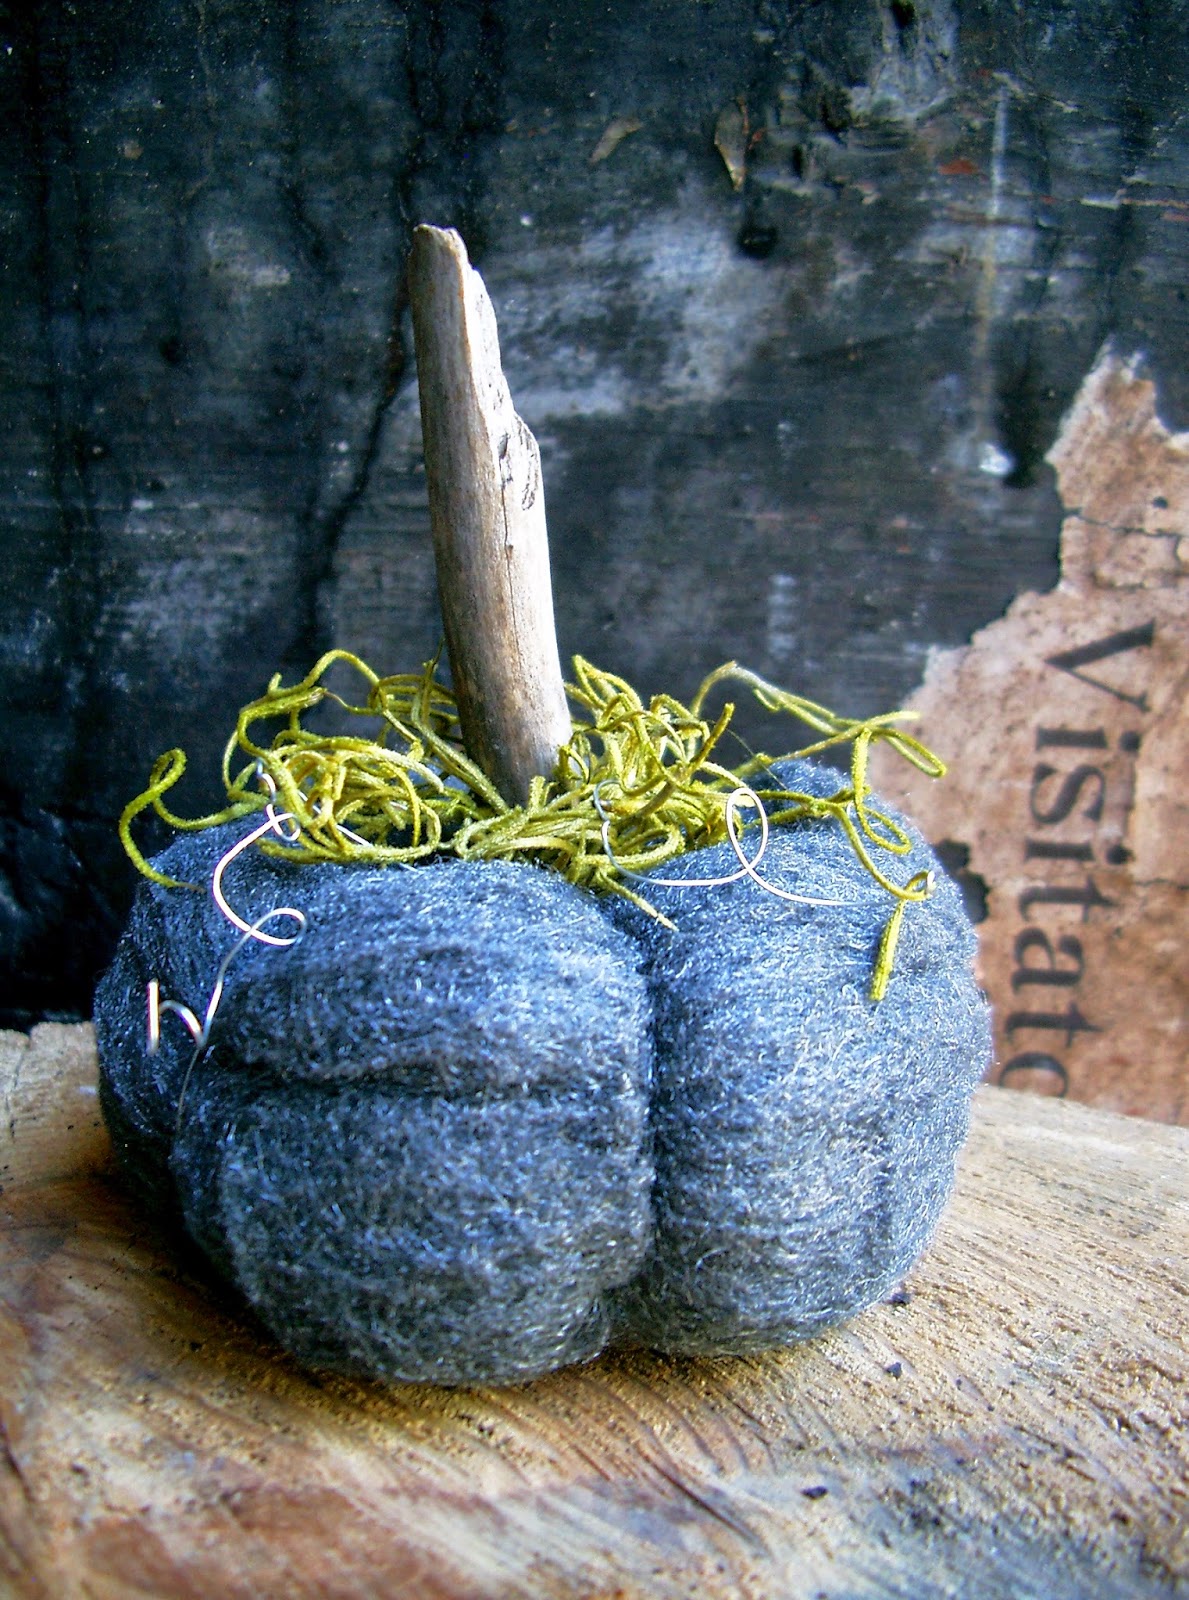
Hey there!  I bet you’re aware that those gorgeous and very popular velvet pumpkins on display in autumn have a cousin – the velvet heart.  Making one of those pumpkins is quite easy to do, and the internet is full of video and instructional tutorials to guide you along.  However, the heart… not so much.  Seriously, there are no videos or tutorials on how to make these little lovelies.  But, guess what?  They’re so stinking easy to make that a tutorial is virtually unnecessary, especially if you’ve had past success making the pumpkins.  After some mental dissection pondering, I came up with a “heartfelt” hack.  I think I’ve cracked the code…… or have come close enough.

What do you think?

linda nelson at the createaerie

So, here’s the “tutorial” –

linda nelson at the createaerie
Linda Nelson 2018

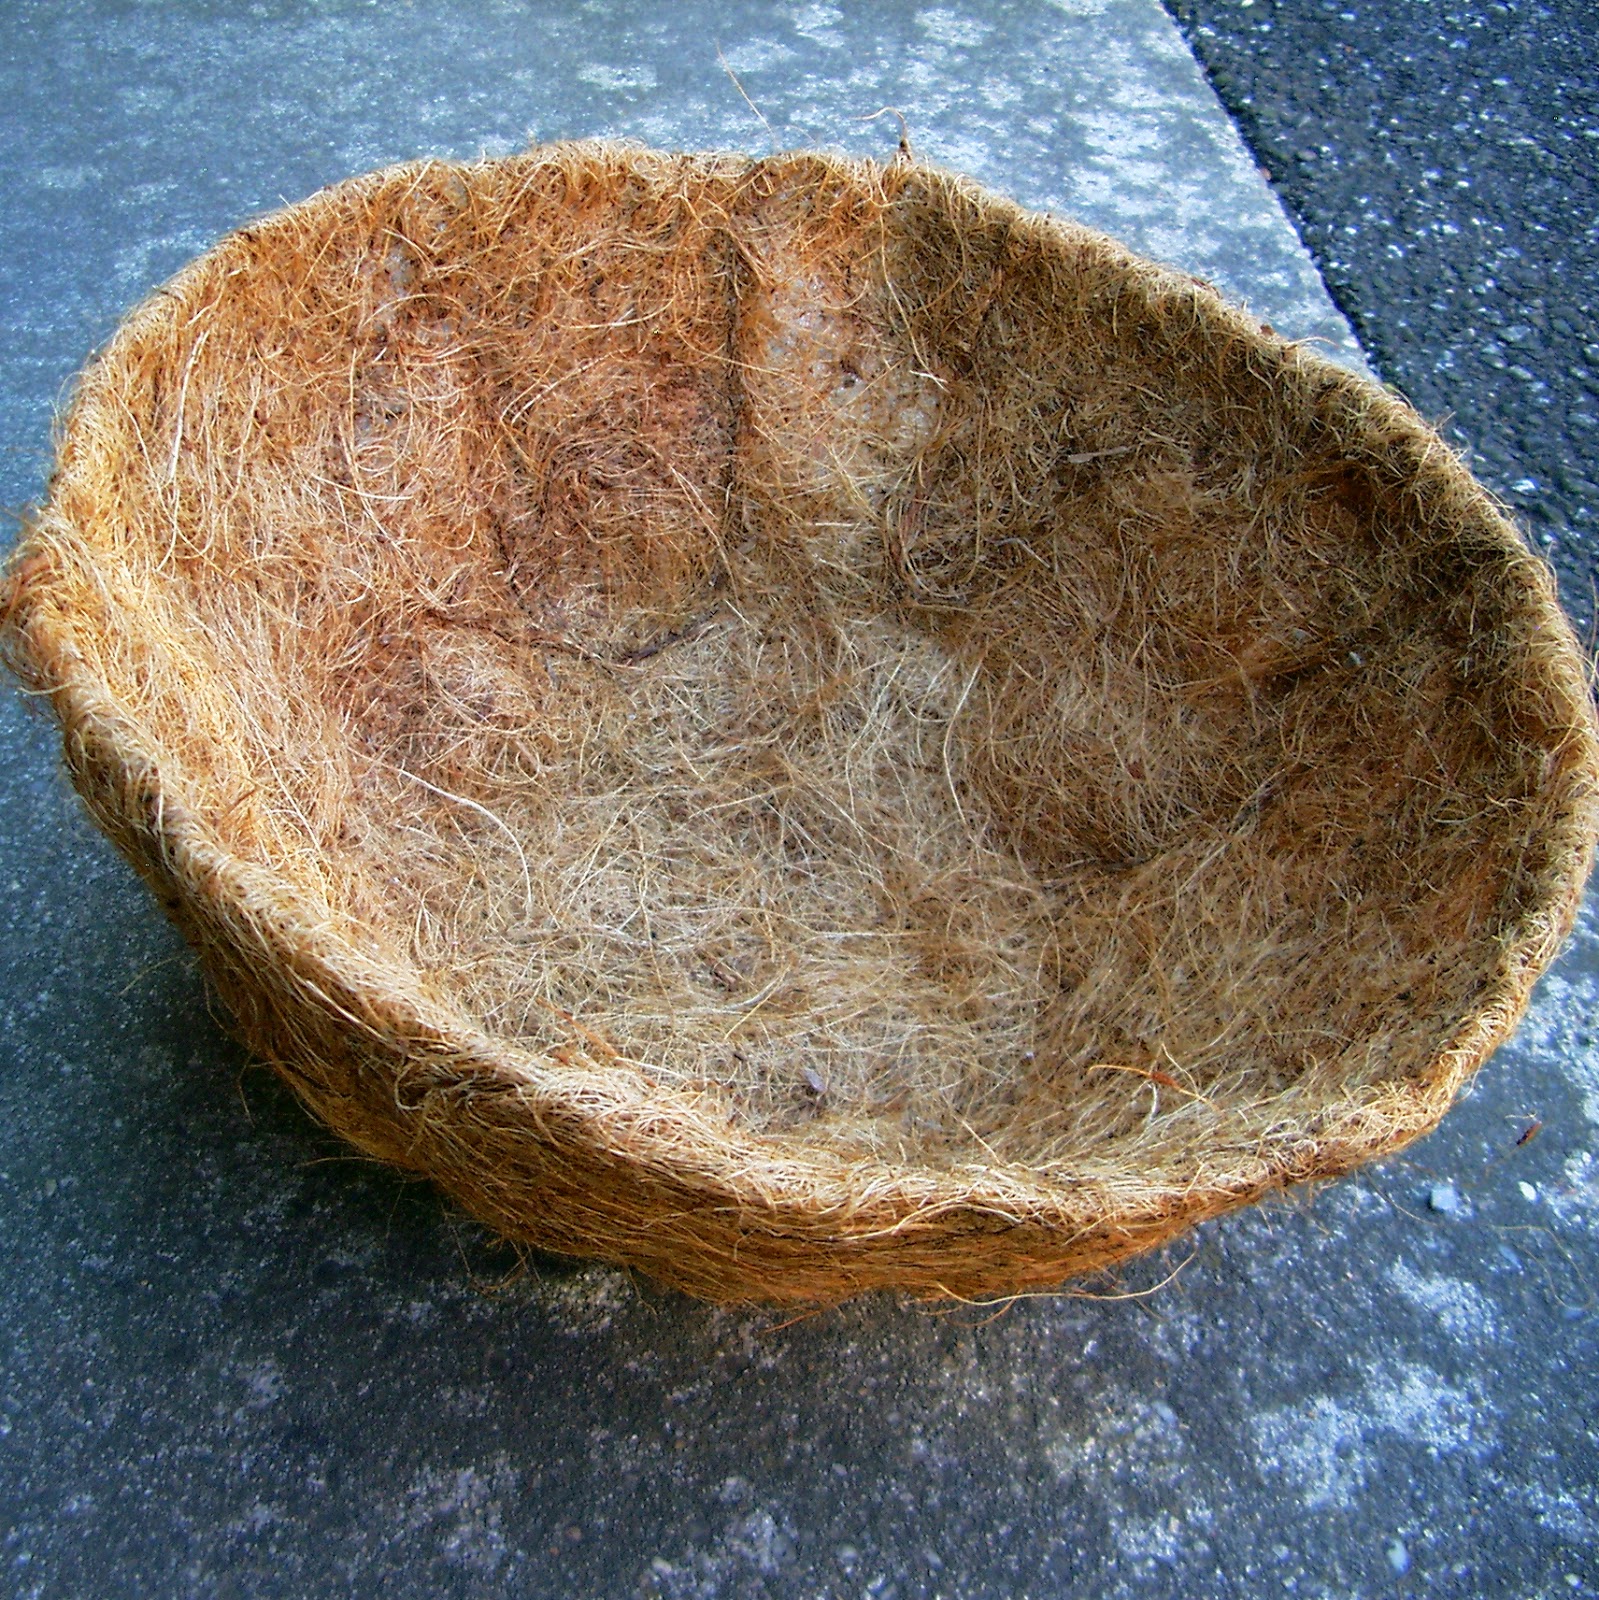
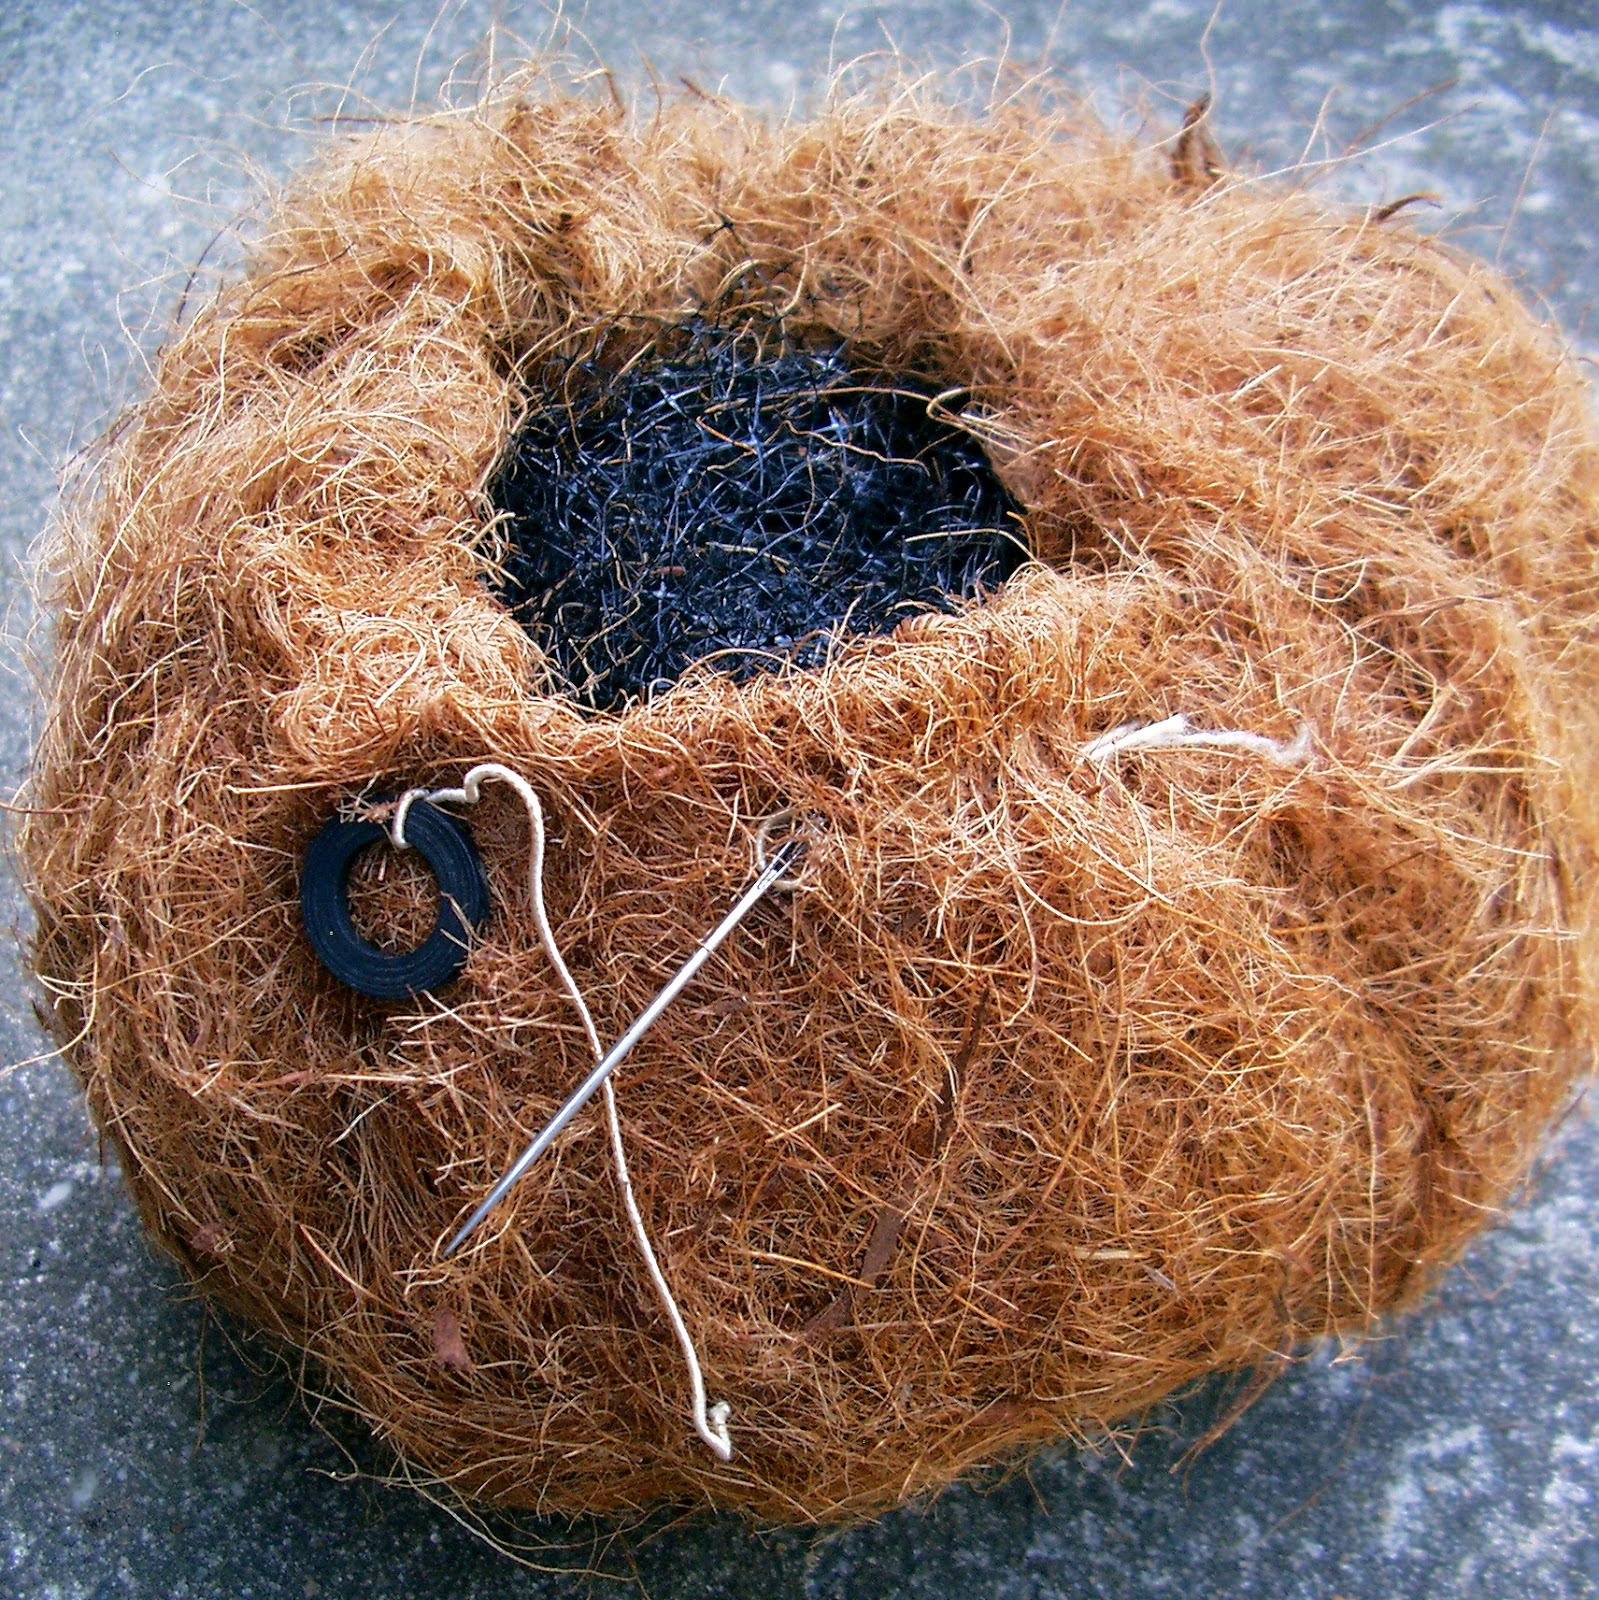
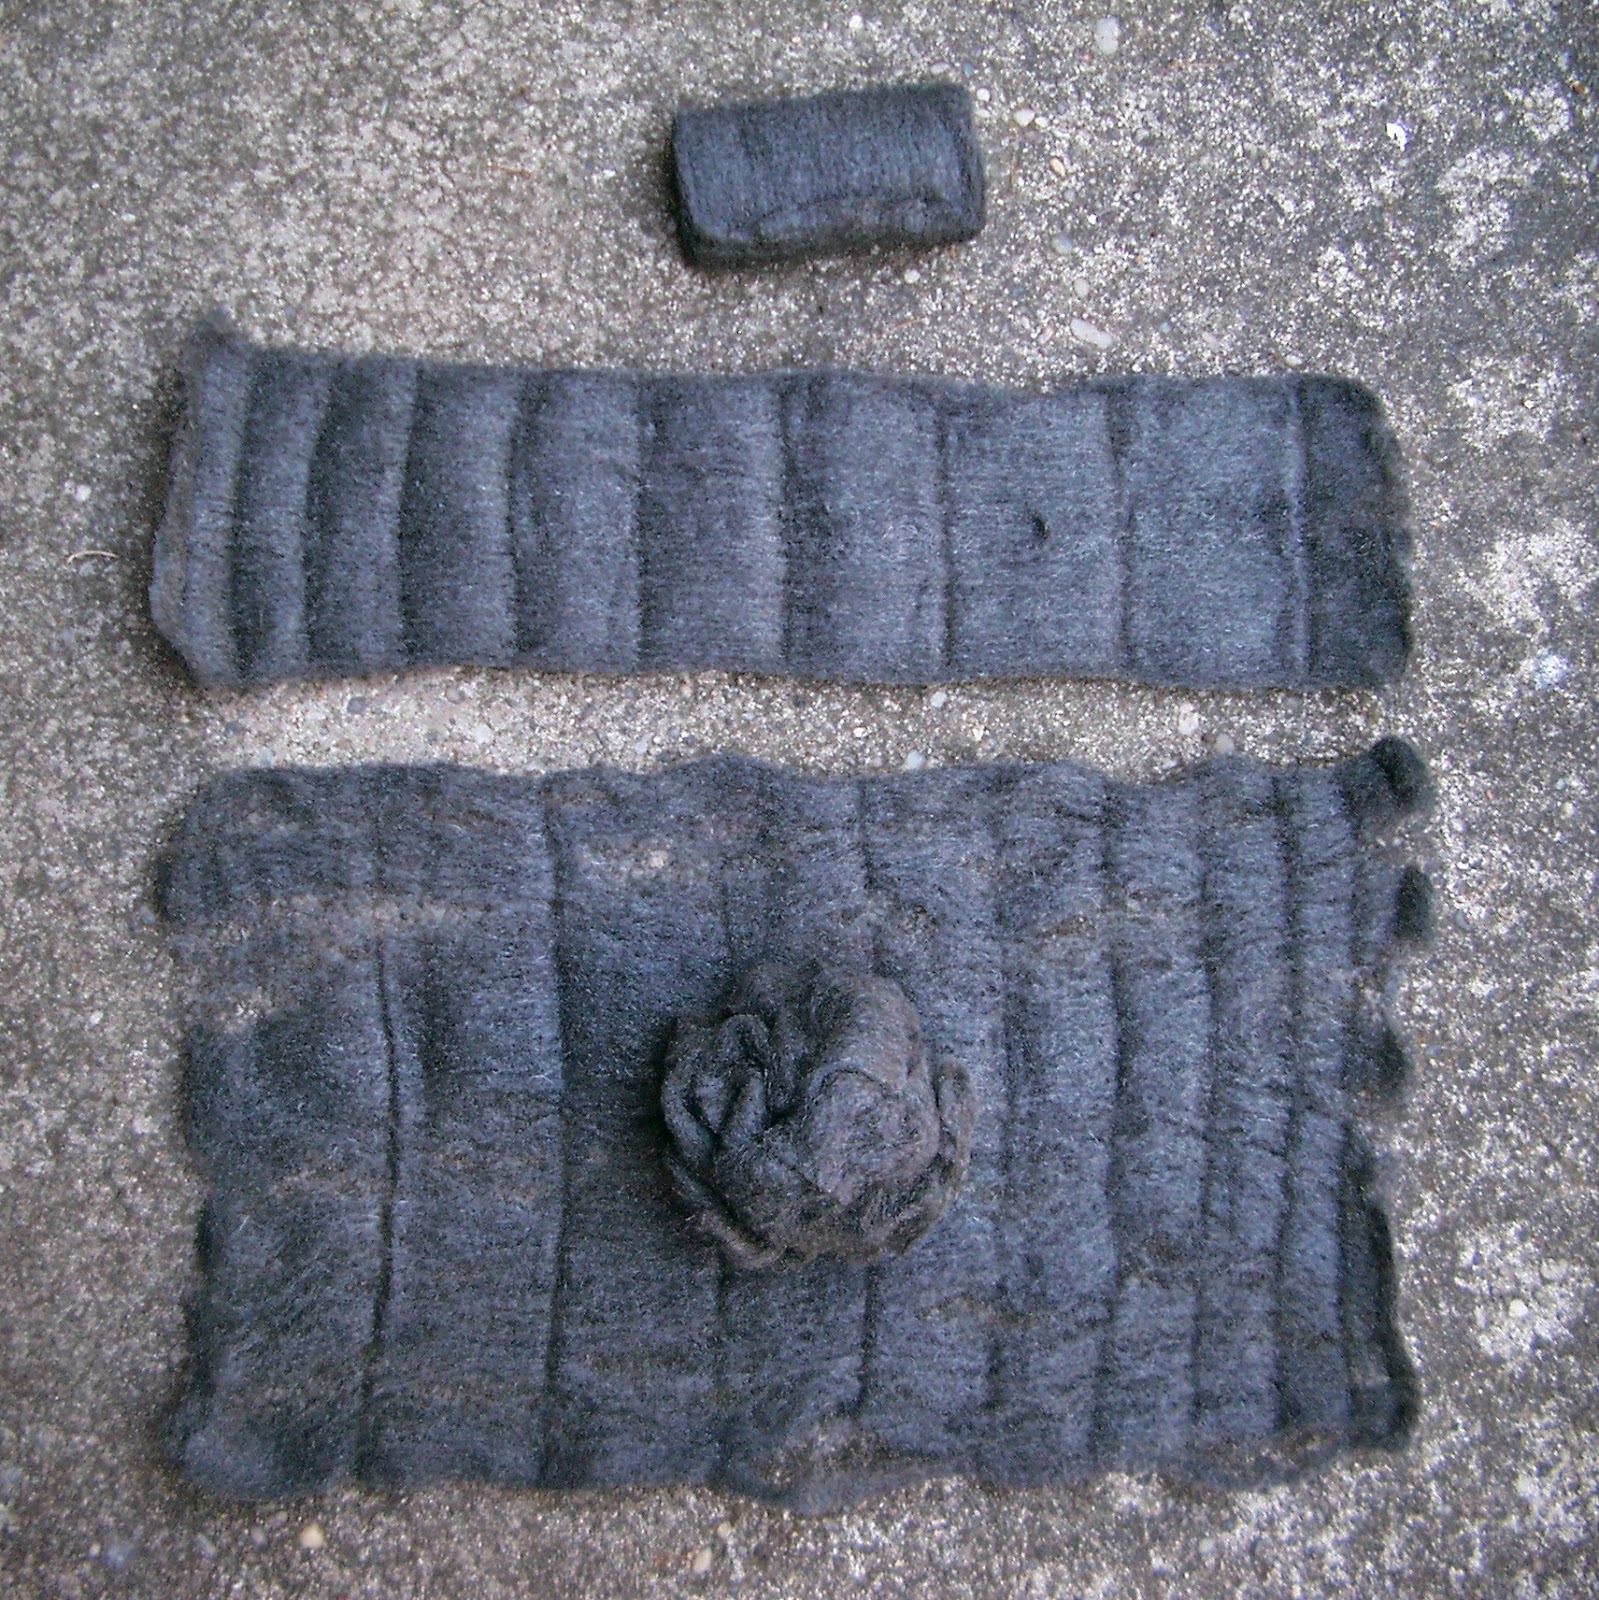
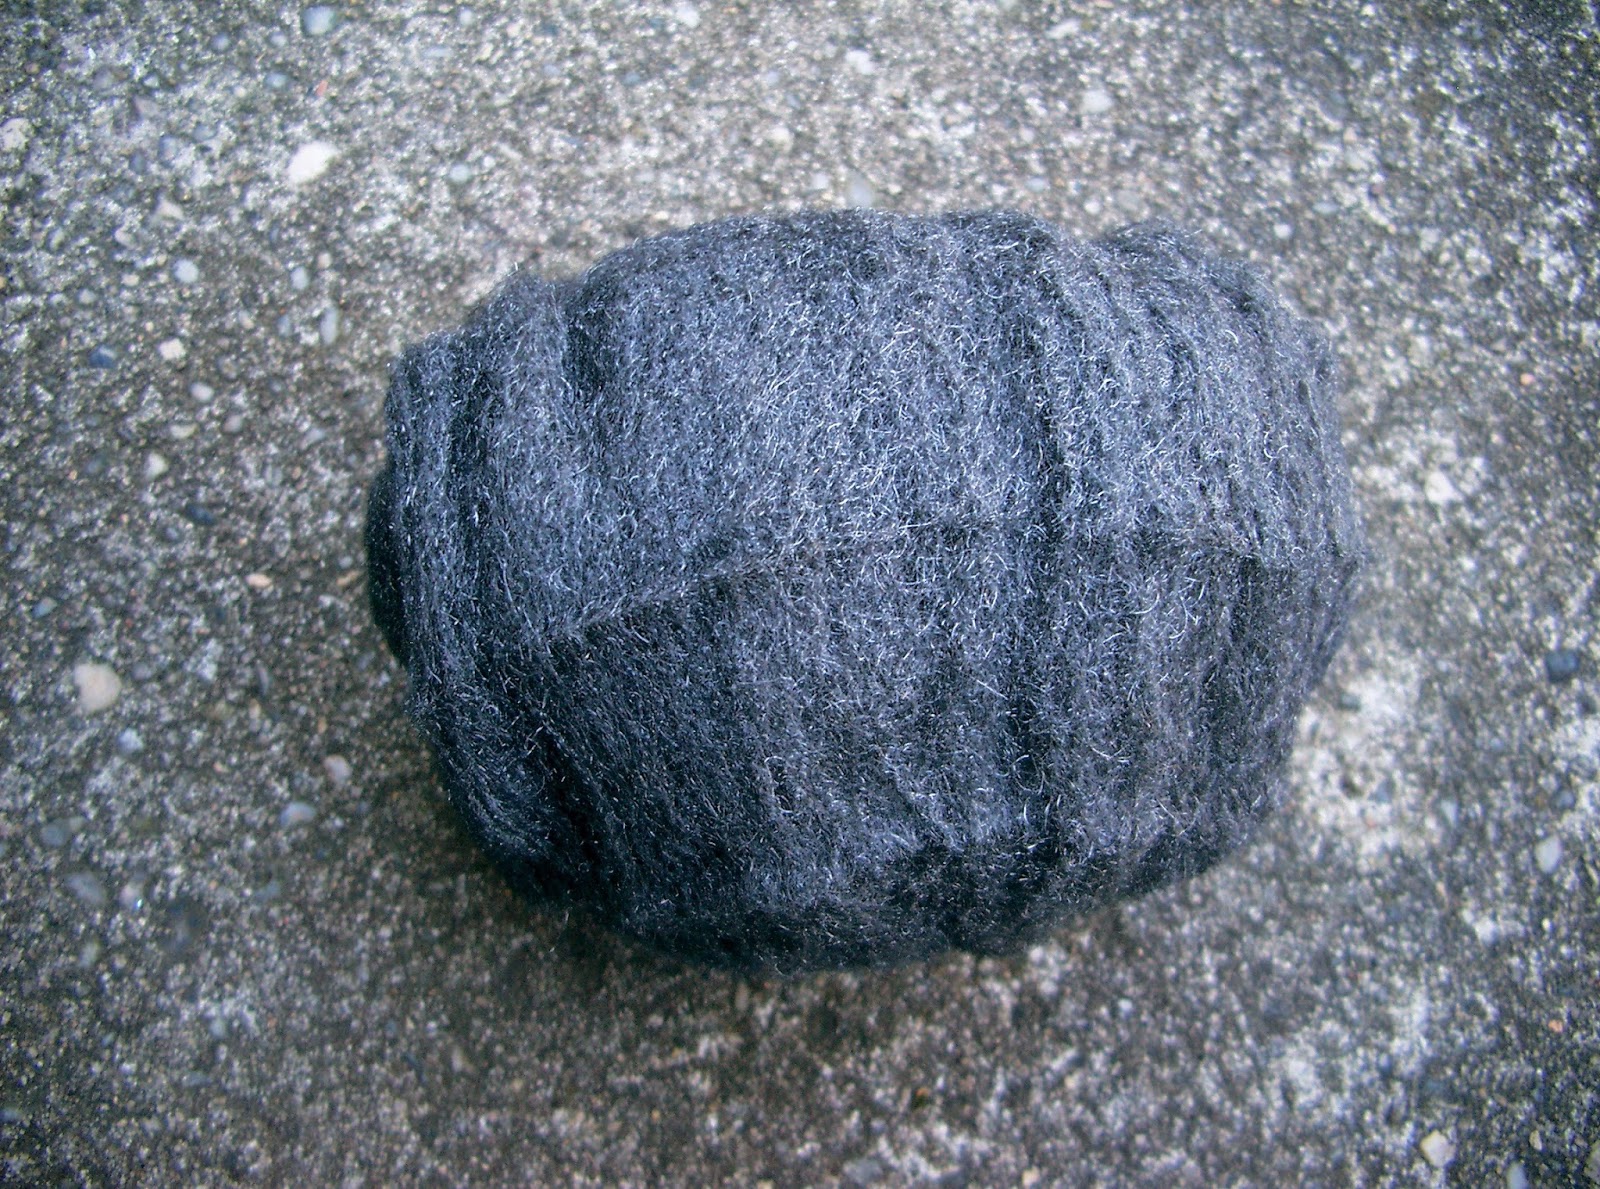
Simply cut a piece of velvet twice the length of its width, “up and down” stitch all the way around the perimeter roughly 3/4″ from the edge, cinch it up, stuff it, cinch it up again as snug as you can get it, tie it secure, then stick a stem in it.  That’s it!  A 10″x20″ piece of velvet will make a (approx.) 5″h x 7″w heart, not including the stem, of course.

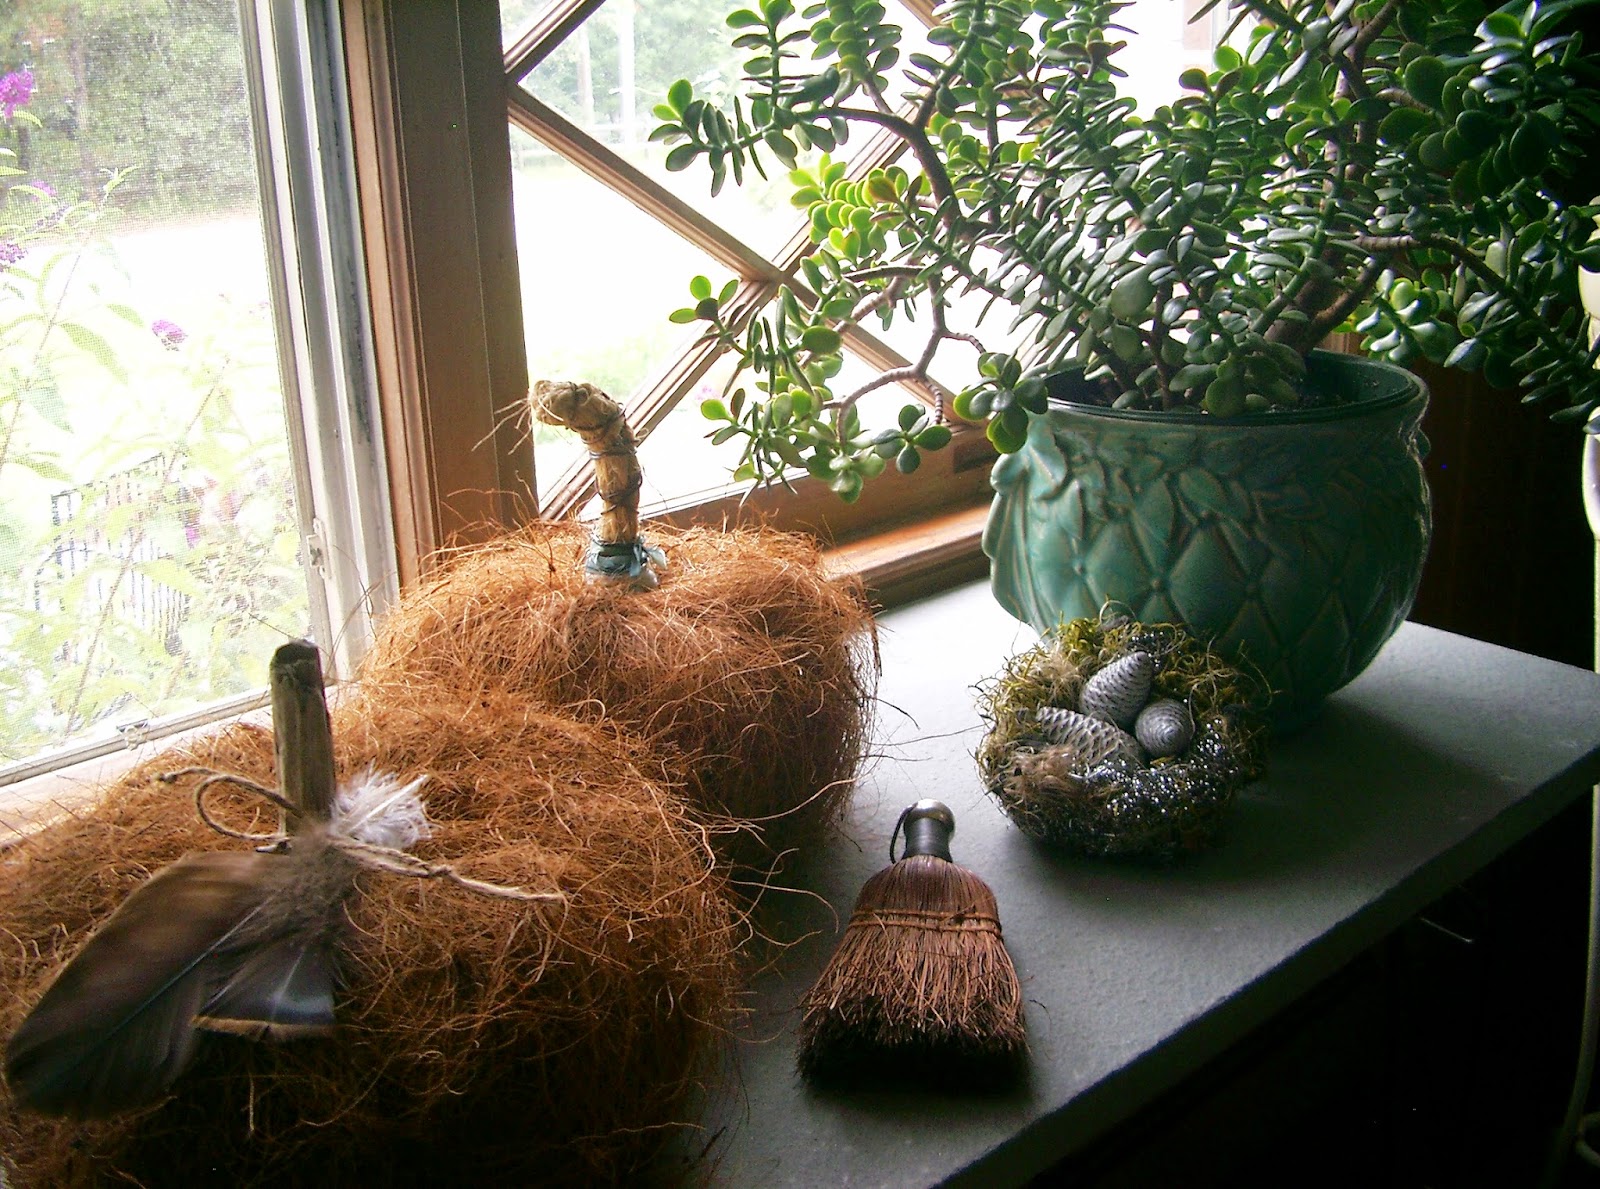
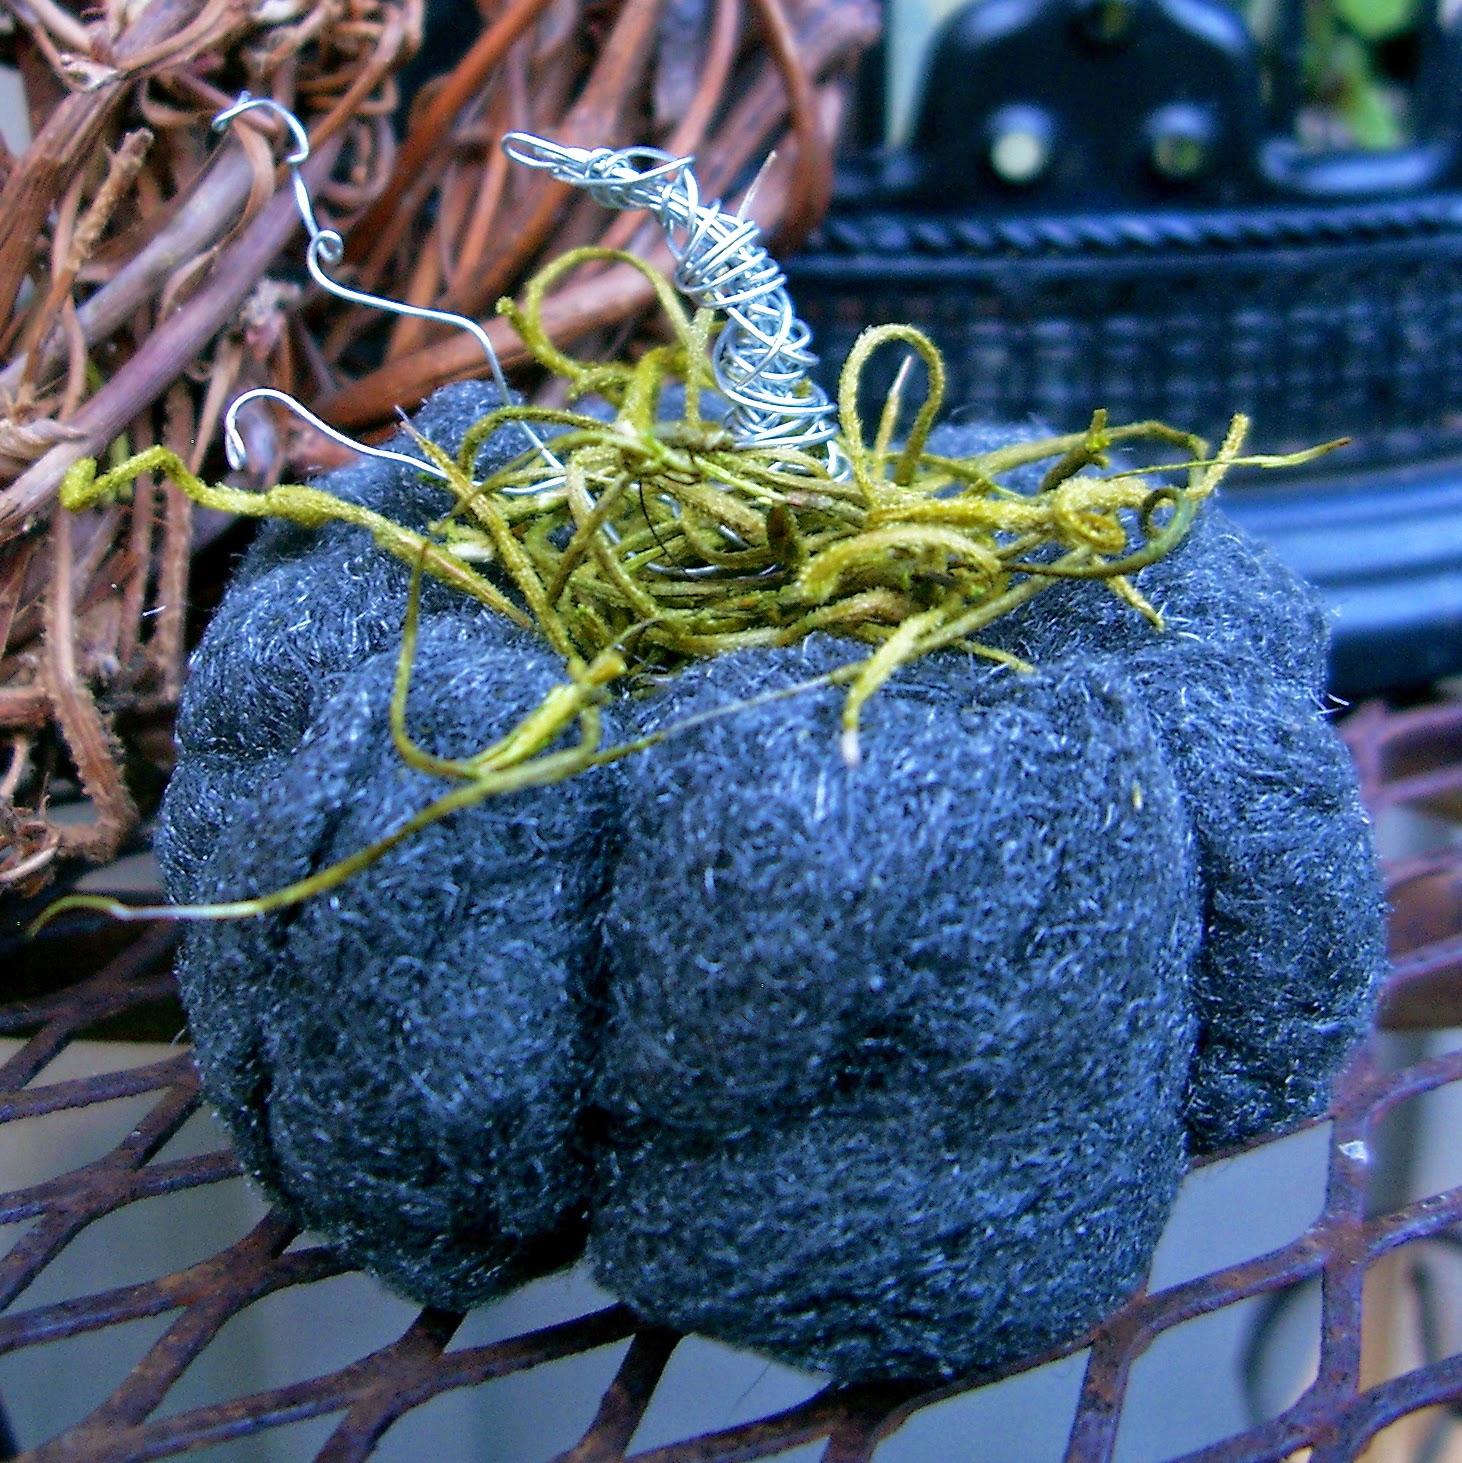
After you’ve completed your little velvety creation, it’s time to move on to some other fabrics.

linda nelson at the createaerie

I also have a variation on these beauties that I will share with you very soon, so stay tuned……….

Now, go get creative!

OH, MY HACKING HEART Read More »

MAKE A “ROPEKIN”

Thought I’d share this quick little crafty idea with you.  It’s a little rope pumpkin, or……… a ropekin!

linda nelson at the createaerie

I grabbed some scrap cushion foam and jute rope, then whipped up my little creation.  I stacked two pieces of foam together and trimmed them with scissors to get an overall rounded form, this one being roughly six inches in diameter and about four inches high.  The tomato mashing dibble was the perfect tool for creating a nice big hole in the center.

linda nelson at the createaerie

I wrapped one end of the rope (I used 36′ of rope for this project) with some duct tape, and fed it thru the “doughnut” hole all the way around.  When I reached the end of my rope (no pun), I simply made a little knot and tucked it up into the hole.

linda nelson at the createaerie

I then thought it would be neat to slap a coat of paint onto my little ropekin and add some embellishments; so that’s what I did.

linda nelson at the createaerie

Okay, now you make one!

MAKE A “ROPEKIN” Read More »

MAKE THIS PUMPKIN!

See what fabulousness arises from a coir planter basket liner?  It’s the perfect shape; therefore, there’s no cutting involved.  Are you sold yet?

You will need a preformed coco liner that is meant to fit inside a 12″ wire basket planter.

Here’s what you do –
Grap a piece of 24″ twine or jute and an upholstery needle (any needle with an eye big enough to thread the twine through).  Tie one end of the twine onto something to prevent it from slipping through the liner while stitching(I grabbed a washer), and leave about a six inch tail.  Make a simple running stitch all around the circumference of the liner, then cinch it together, leaving a fist-sized opening. Fill your pumpkin with pillow stuffing, shredded newspaper, plastic bags or something of that nature.  I used some old garden netting.  Talk about being resourceful!


Now, cinch it up as tight as you can, remove the washer and tie the twine ends together.  Grab your stem, which could be a branch, an actual pumpkin stem, one formed and shaped out of wire….. (basically, whatever floats your boat) and stuff it where it belongs.  You’re done!  Painless.  Absolutely painless.  The decorative part is up to you.  I happen to appreciate a simple, natural and rustic look, but you may want to push your embellishing ways over the edge.


There you have it.

Now, get creative.


MAKE THIS PUMPKIN! Read More »

THE SHOP ROOM PUMPKIN

I present to you, the palm-sized shop room pumpkin – “made for a man, yet still decorative enough for a woman”.

To make one, here’s what you do –

Unroll two wads of #000 extra fine steel wool(sold in packages at any hardware store) and gently stretch their fibers lengthwise and widthwise to make two very thin sheets.  Roll one sheet up into a ball; use the other sheet to cover over it to make it larger.  Gently cup it in your palm and shape it into a nice ball.

©LInda Nelson 2014

Using a 3 1/2 ft. piece of florist’s wire and a tapestry needle, create your pumpkin grooves.  To do this, feed the wire down the center, then come up on the outside, feed the wire down the center again, then come up on the outside a little bit further away from the previous section, and continue until you have created six sections.  Remember to leave about a 6 inch tail of wire; you’ll twist it together with the other end when you’re done with this step.  Maintain an equal tension with all groove sections.  Stick the wire ends into a tiny two-hole button, then twist to secure.  The button step isn’t absolutely necessary; twisting the wire ends together is probably sufficient enough.  Snip off the excess wire ends or leave them intact to use as curlicue tendrils.

The remaining steps for making this pumpkin are open to your imagination.  Glam this pumpkin up, take it down an industrial route or anywhere in between.

To make a smaller pumpkin, use only one sheet and simply roll it up into a ball, then proceed as directed.

There you have it.

Now, get creative.

THE SHOP ROOM PUMPKIN Read More »

Scroll to Top