paper

MAKING A LITTLE PAPER BONNET

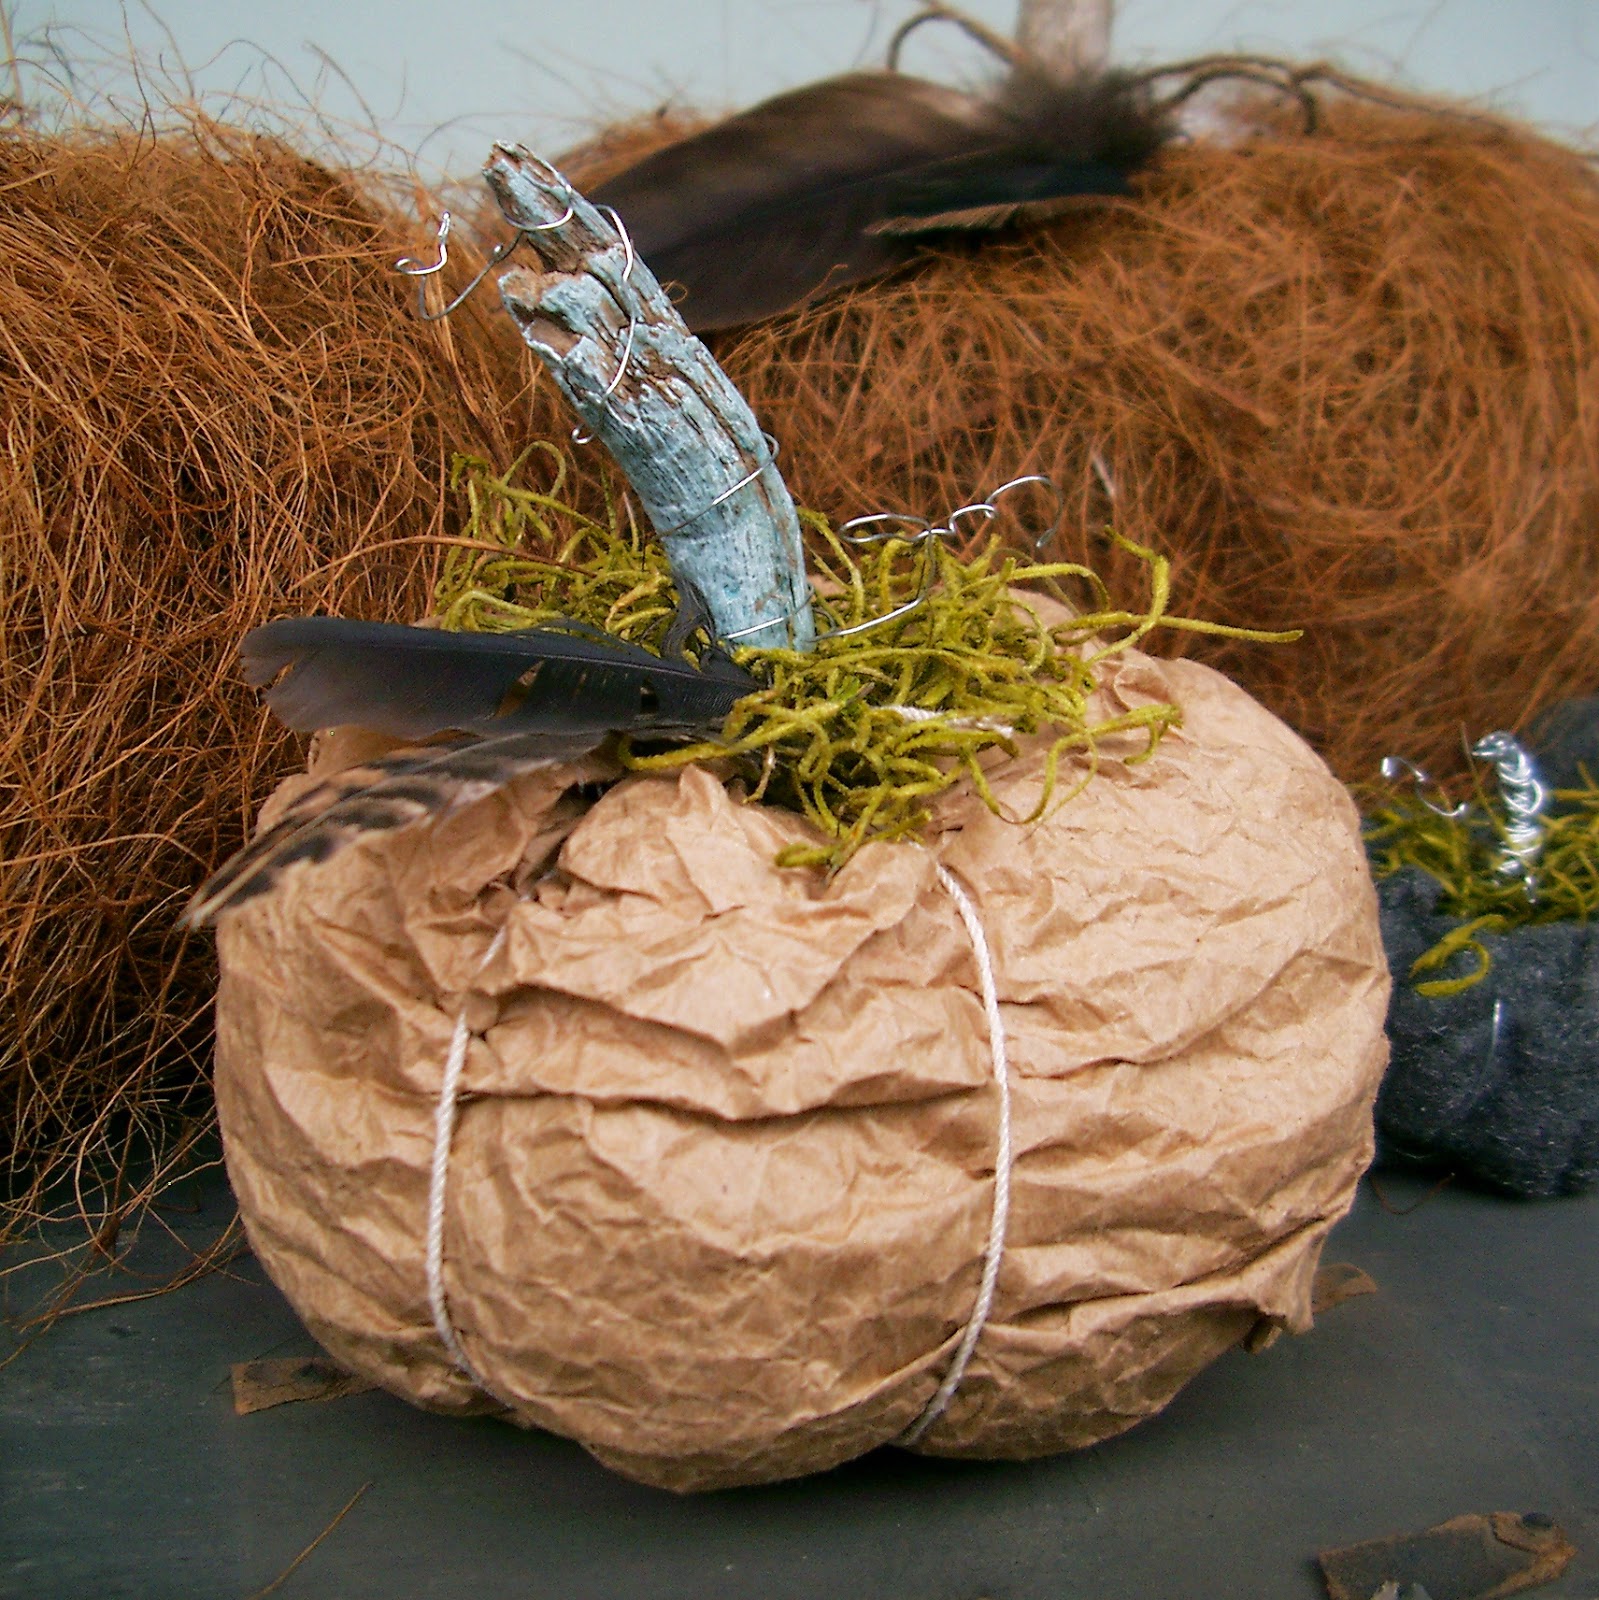
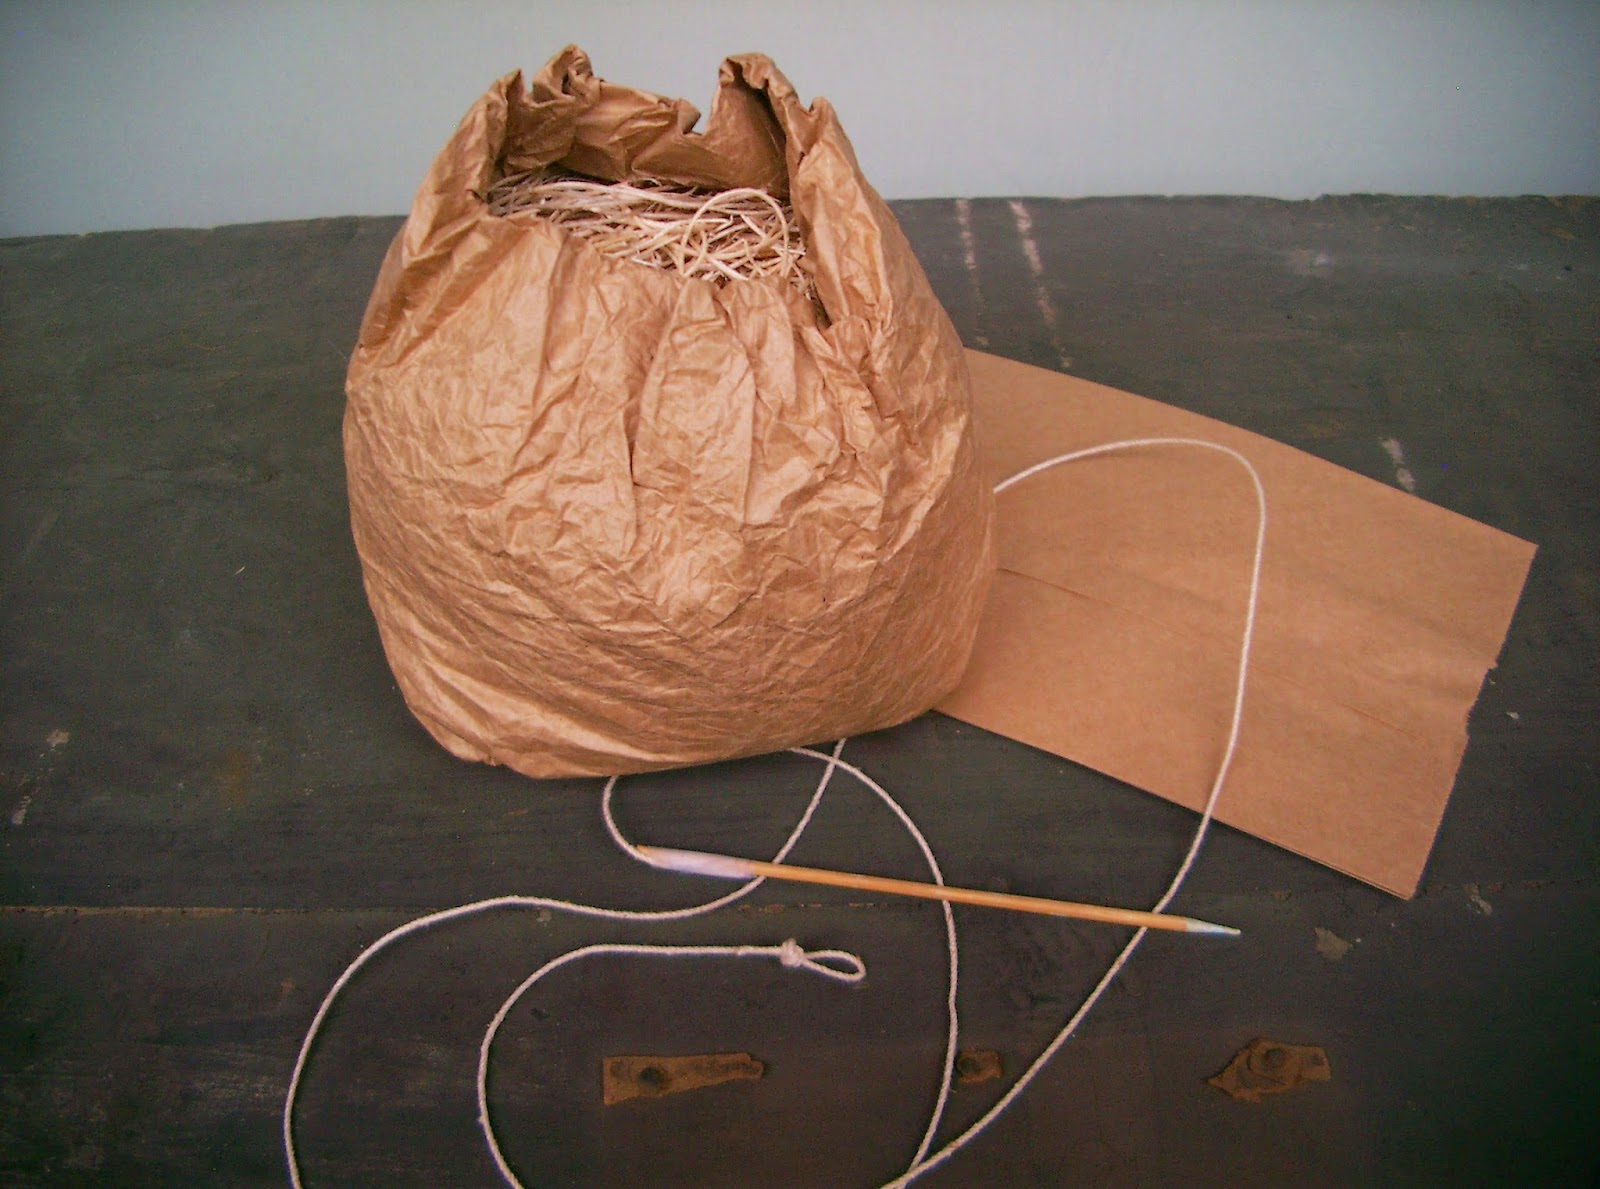
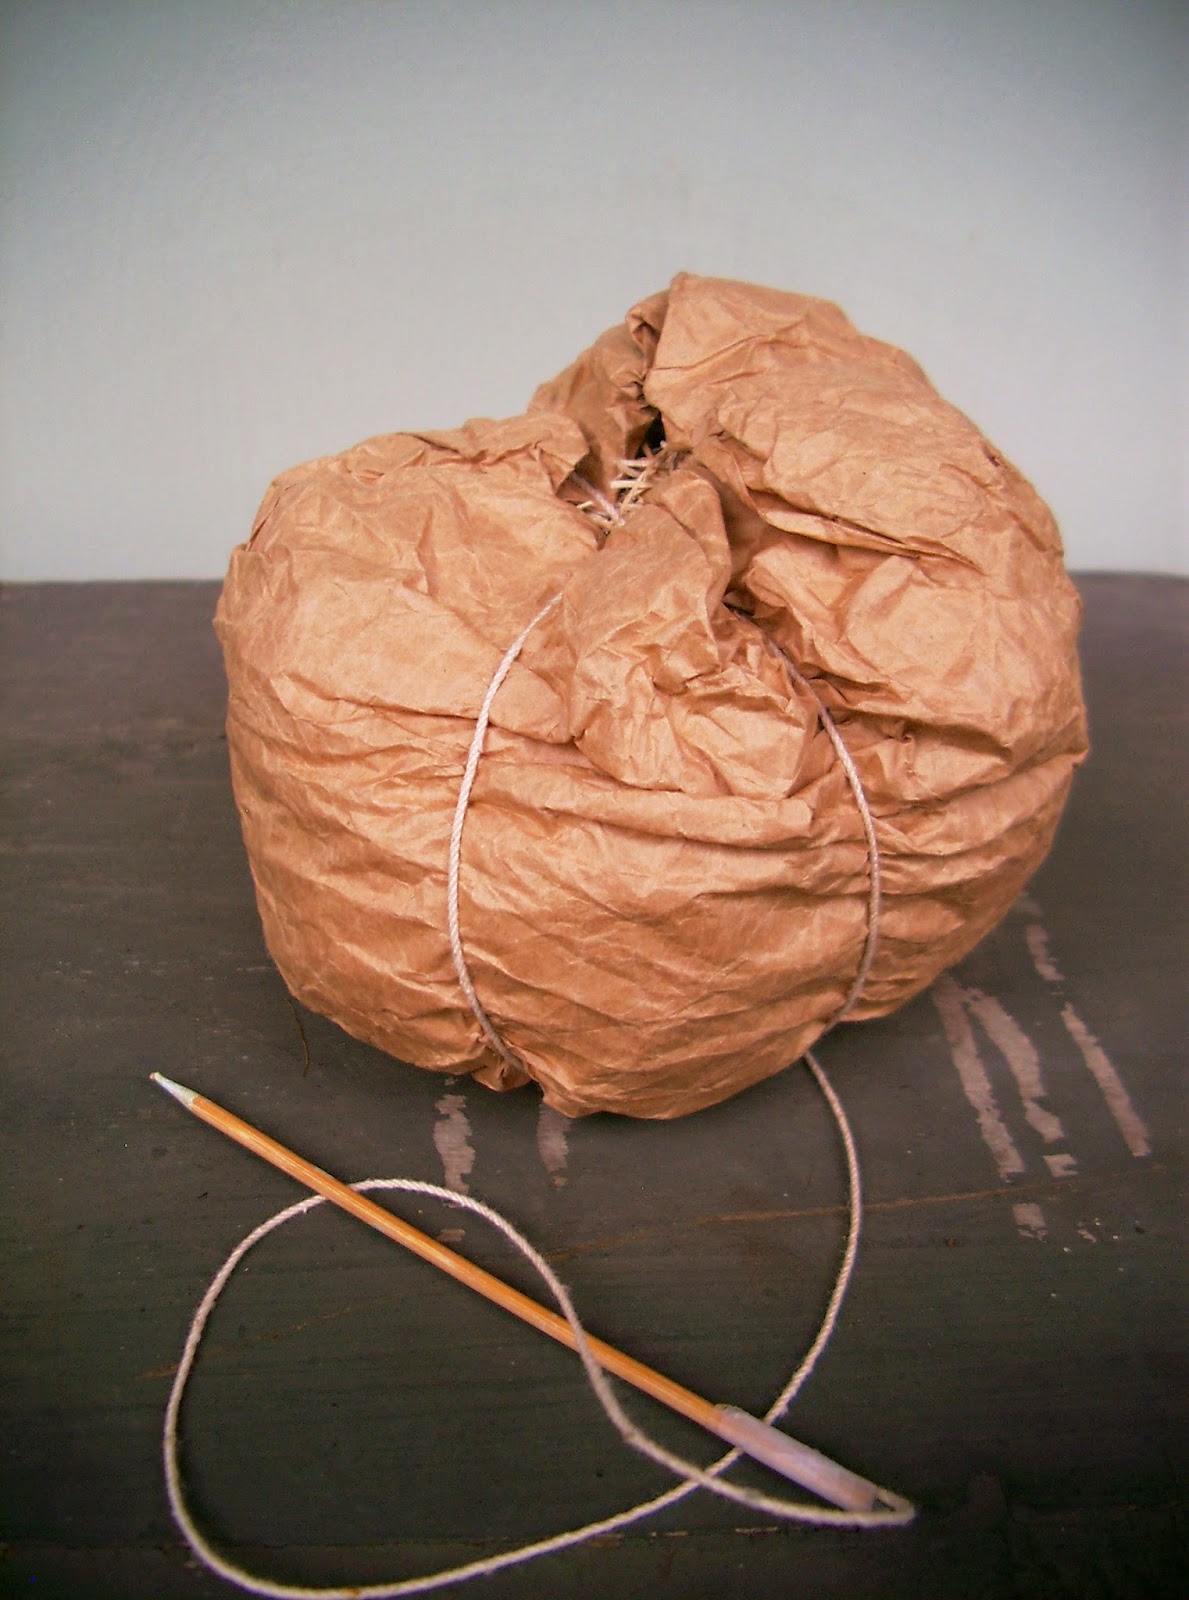
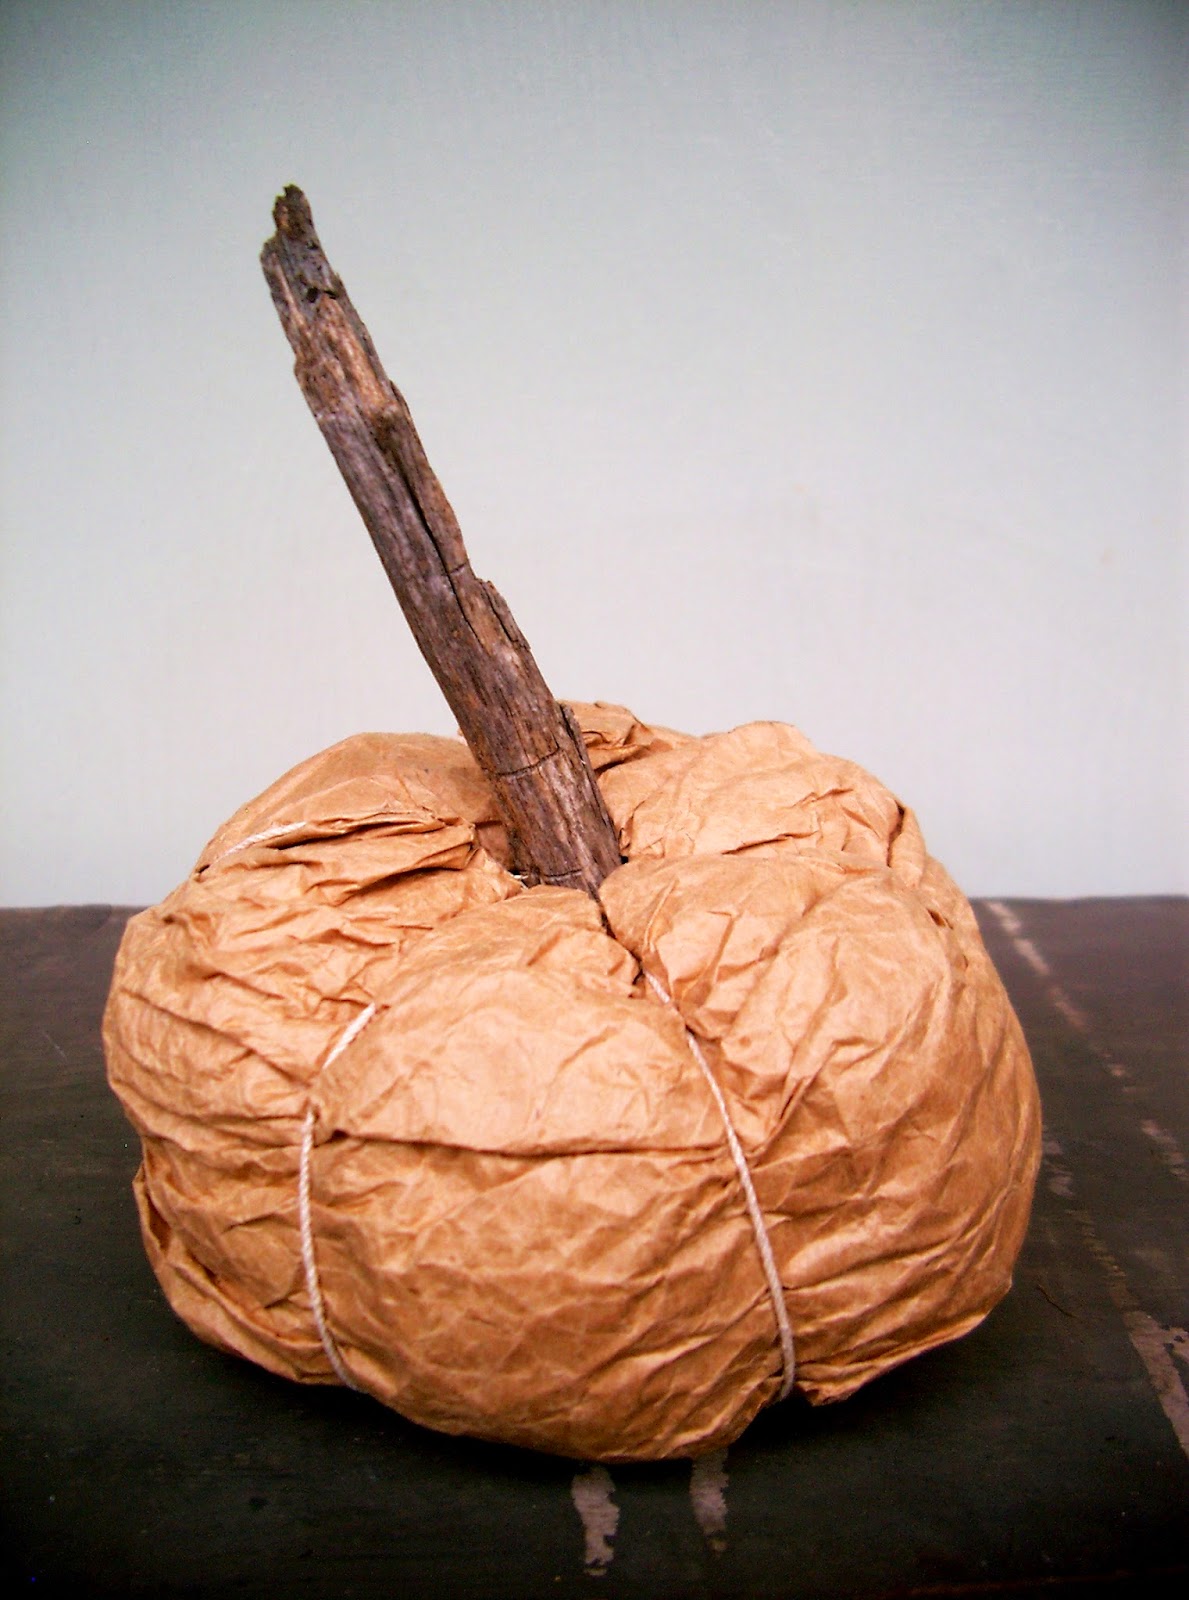
I stumbled across a video, via designer Mark Montano’s blog, on how to make paper.  The recipe is very simple, perfect for doing with children.  The kid in me decided to give it a try, elaborating upon the stimulus with using my own approach, and ending up with this.

©linda nelson 2015

Since I’ve been on the spring bonnet kick lately, I thought a handmade paper one would make for the perfect little addition to my collection.

©linda nelson 2015

And, I thought a salt shaker would make for the perfect little hat stand.  I think she looks a bit like Sunbonnet Sue.  I filled the shaker with lavender from my garden that I dried this past fall, but it could be filled with pretty little nonpareils, too.  A charming tablescape favor, don’t you think?

While I was at it, I whipped up another mesh bonnet, as they are just so easy(and fun)to make.

©linda nelson 2015
©linda nelson 2015
©linda nelson 2015

MAKING A LITTLE PAPER BONNET Read More »

MAKE WATERCOLOR PAPER FLOWERS

Prior to painting on watercolor paper, one needs to first prepare the paper so that it will receive the paint application properly.  This requires briefly dipping the paper (or rag) in water to remove it’s sizing, then laying it out flat on a board to dry.  My knowledge of this from taking painting classes years ago was the catalyst for my curious exploration with wet watercolor paper.  I love to experiment.

If you’d like try my “wet” watercolor paper flower technique yourself, then just keep on reading.  And, it’s super easy to do. You will need:

  • watercolor paper (120# or heavier)
  • circle templates (or you can just eyeball it and freehand draw some circles)
  • circle paper punches in various sizes (completely optional and really unnecessary)
  • small bowl of warm water
  • painting materials (Anything your heart desires; I play with EVERYTHING.)

Begin by cutting or punching out various sized circles (small, medium, large, etc…).  My personal preference is to tear the paper along the pencil line of a traced circle.

©linda nelson 2014

Next, drop your circles into a small bowl of warm water for about thirty seconds, but no longer than one minute.  Now, scrunch each circle up with your fingertips until it is a tight little crumpled ball, and squeeze out the excess water. Open the circles up and gently scrunch each one around your finger tip to create a “fluttery” shape.  Set your pieces aside to dry for a couple of hours.  I placed them on my radiators; they dried in less than a half hour.  When fully dry they will be “stiffened” into their fluttery shape.

©linda nelson 2014
Paint, tint or color each layer however you prefer.  Leaving them ‘au natural’ makes for very pretty bridal favor embellishments.  Fasten the layers together with a paper fastener, glue, or even by sewing a bead or button into the center.  These little beauties can be incorporated into many craft projects.

©linda nelson 2015

I think they make great substitutes for gift bows.

©linda nelson 2015
©linda nelson 2015

They’re ideal for scrap booking projects; or in my case, embellishing my book-style greeting cards.

©linda nelson 2015

You can make a tussie mussie with a large circle template.  Cut the circle in half, then form a cone shape with one of the halves.  The one pictured above would make a sweet little gift for an artist who paints.  Or, how about a tablescape favor holder like the one pictured below?

©linda nelson 2015
©linda nelson 2015

There you have it.  Now, get creative.

MAKE WATERCOLOR PAPER FLOWERS Read More »

NOT YOUR KIDDY’S PAPER PUMPKIN

Have I got a few resourceful, rustic and simple to make little pumpkins for you.  Today’s post features not your little kiddy’s paper bag pumpkin, but a rustic, yet sophisticated lady’s paper pumpkin. The neighboring ones in this photo will be showcased in tutorial posts to follow.

You likey?  Well, here’s what you do –

Crumple and scrunch a lunch paper bag until it’s wrinkly and soft to the touch, taking care not to tear it.  Stuff the bag (pack it somewhat densely) just over half full with shredded paper, pillow stuffing, or something similar.  Create an inward facing rolled cuff with the top half of the bag, rolling until you meet up with the stuffed half.
Take a 5 ft. piece of twine and make a loop knot at one end; tape the other end to a bamboo skewer.  The skewer is your “needle”.  Pass the skewer down the center of the bag, carefully piercing through the center of the bottom of the bag.
Pass the skewer through the loop knot, then tug the twine to create your first pumpkin groove.  Continue around until you have six evenly spaced grooves with just the right amount of tension to give the pumpkin its characteristic shape.
Securely tie the twine off at the bottom of the pumpkin.  Find or make a stem, then glue it into position. You may be able to forego glueing the stem on if it is long enough to be gently twisted and nestled in.
Add your embellishments, then place your newly created pumpkin among the other fabulous, decorative things around your home.
There you have it.
Now, get creative.  And, do stay tuned for some more pumpkin making tutorials!

NOT YOUR KIDDY’S PAPER PUMPKIN Read More »

Scroll to Top