Prior to painting on watercolor paper, one needs to first prepare the paper so that it will receive the paint application properly. This requires briefly dipping the paper (or rag) in water to remove it’s sizing, then laying it out flat on a board to dry. My knowledge of this from taking painting classes years ago was the catalyst for my curious exploration with wet watercolor paper. I love to experiment.
If you’d like try my “wet” watercolor paper flower technique yourself, then just keep on reading. And, it’s super easy to do. You will need:
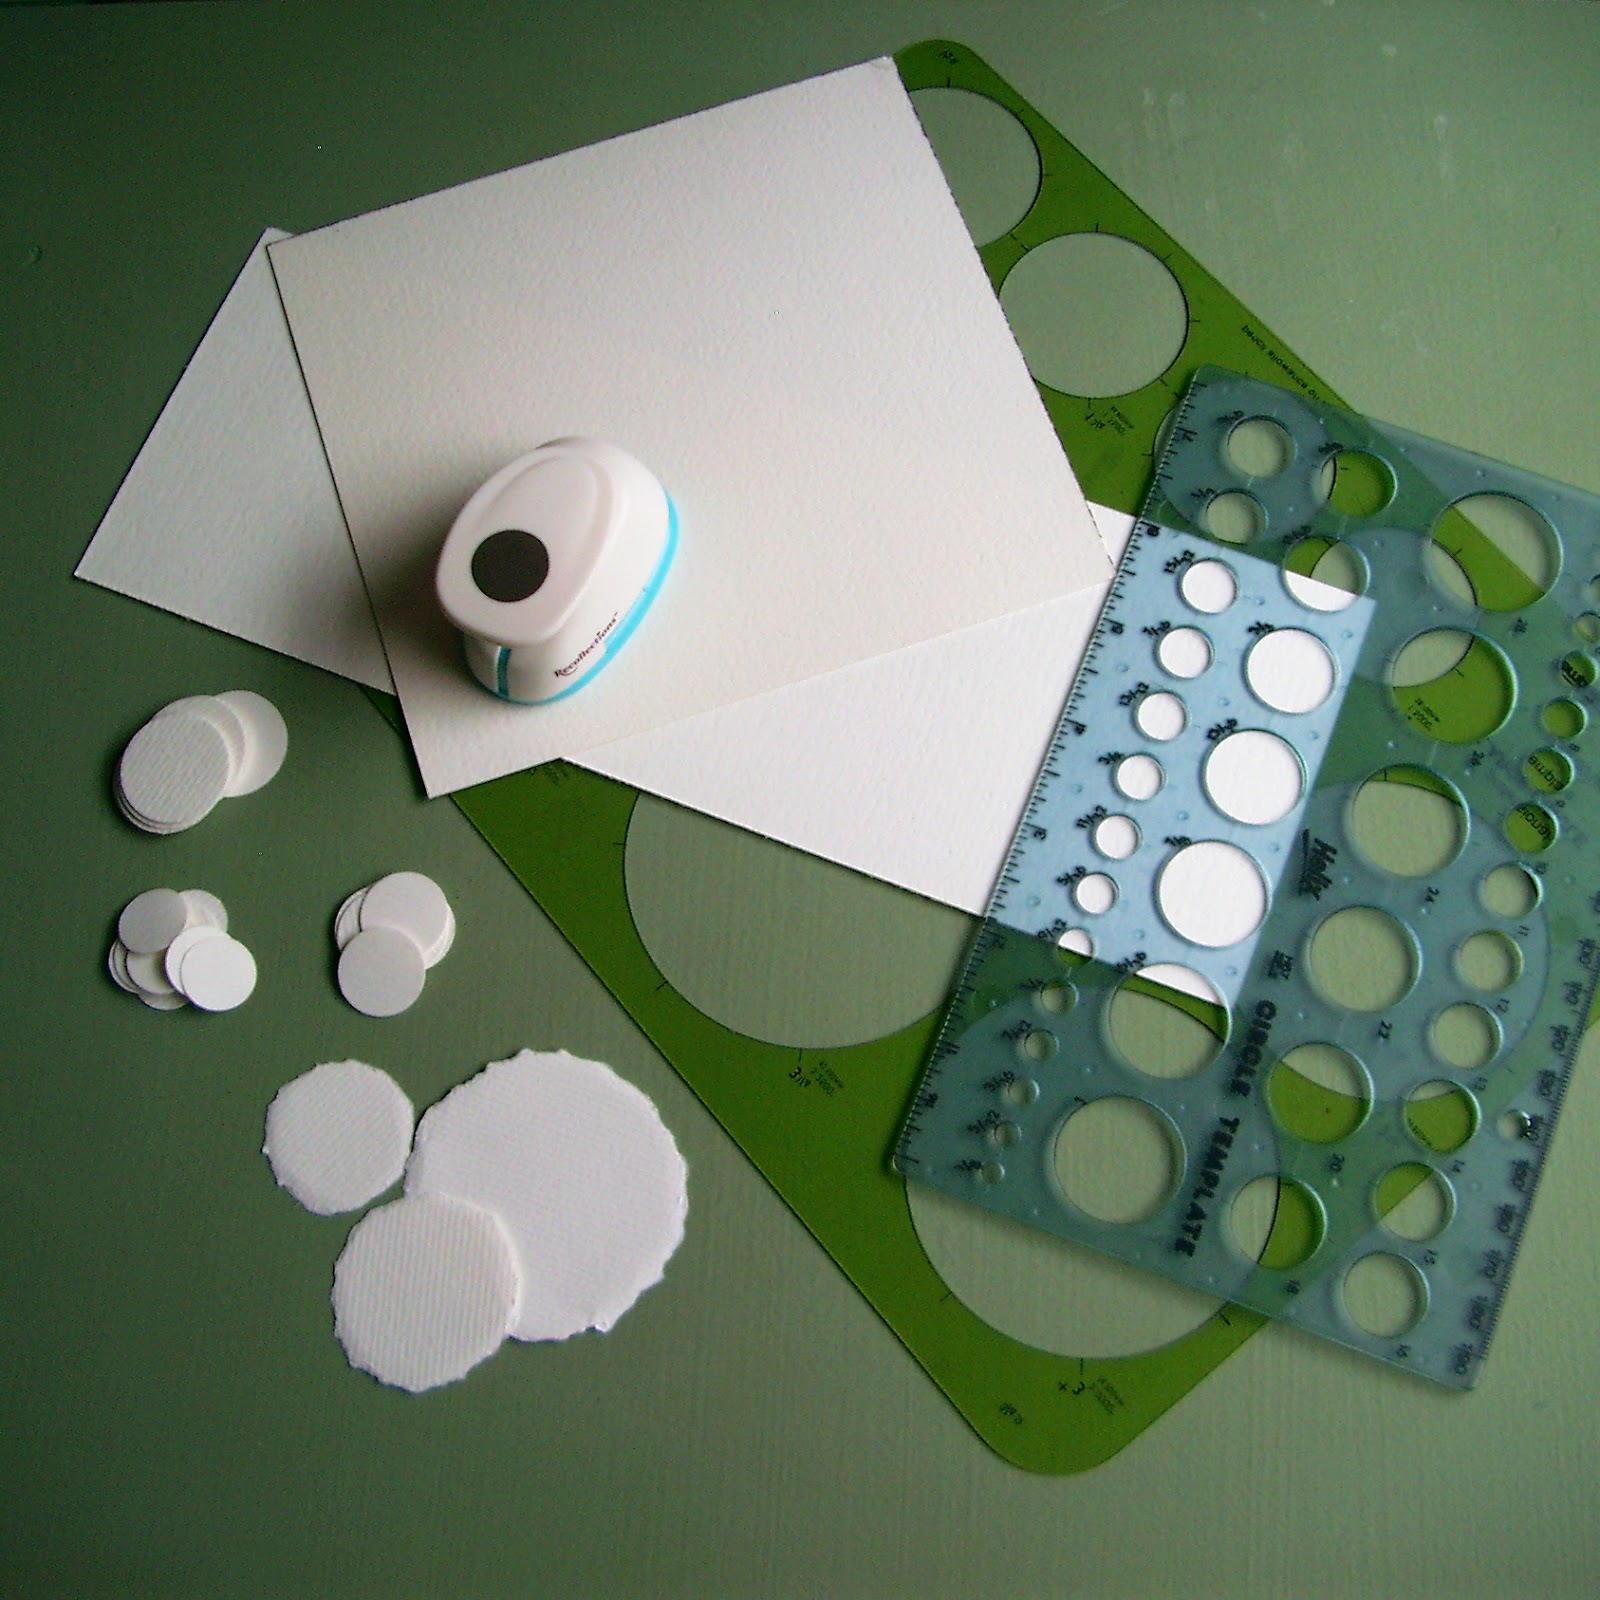
- watercolor paper (120# or heavier)
- circle templates (or you can just eyeball it and freehand draw some circles)
- circle paper punches in various sizes (completely optional and really unnecessary)
- small bowl of warm water
- painting materials (Anything your heart desires; I play with EVERYTHING.)
Begin by cutting or punching out various sized circles (small, medium, large, etc…). My personal preference is to tear the paper along the pencil line of a traced circle.
 |
| ©Linda Nelson 2014 |
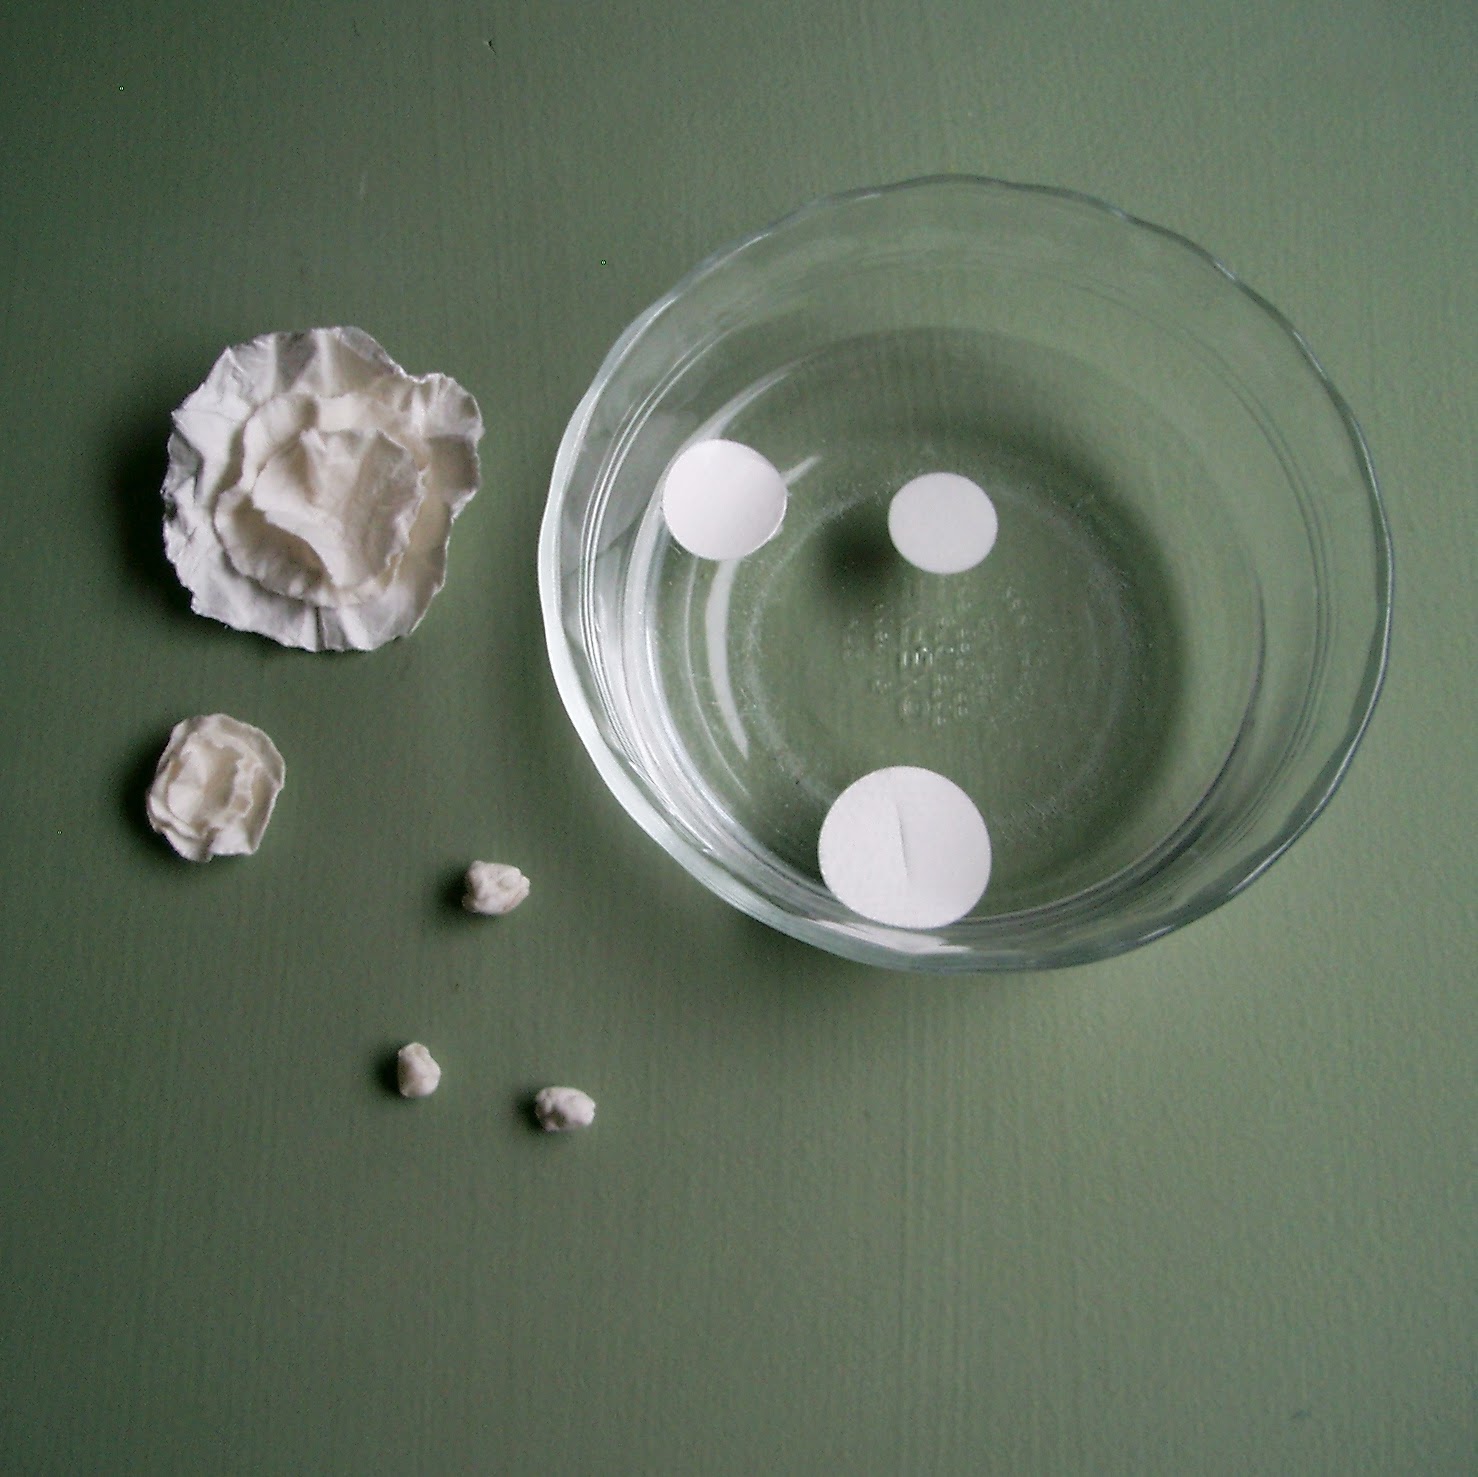
Next, drop your circles into a small bowl of warm water for about thirty seconds, but no longer than one minute. Now, scrunch each circle up with your fingertips until it is a tight little crumpled ball, and squeeze out the excess water. Open the circles up and gently scrunch each one around your finger tip to create a “fluttery” shape. Set your pieces aside to dry for a couple of hours. I placed them on my radiators; they dried in less than a half hour. When fully dry they will be “stiffened” into their fluttery shape.
 |
| ©Linda Nelson 2014 |
 |
| ©Linda Nelson 2015 |
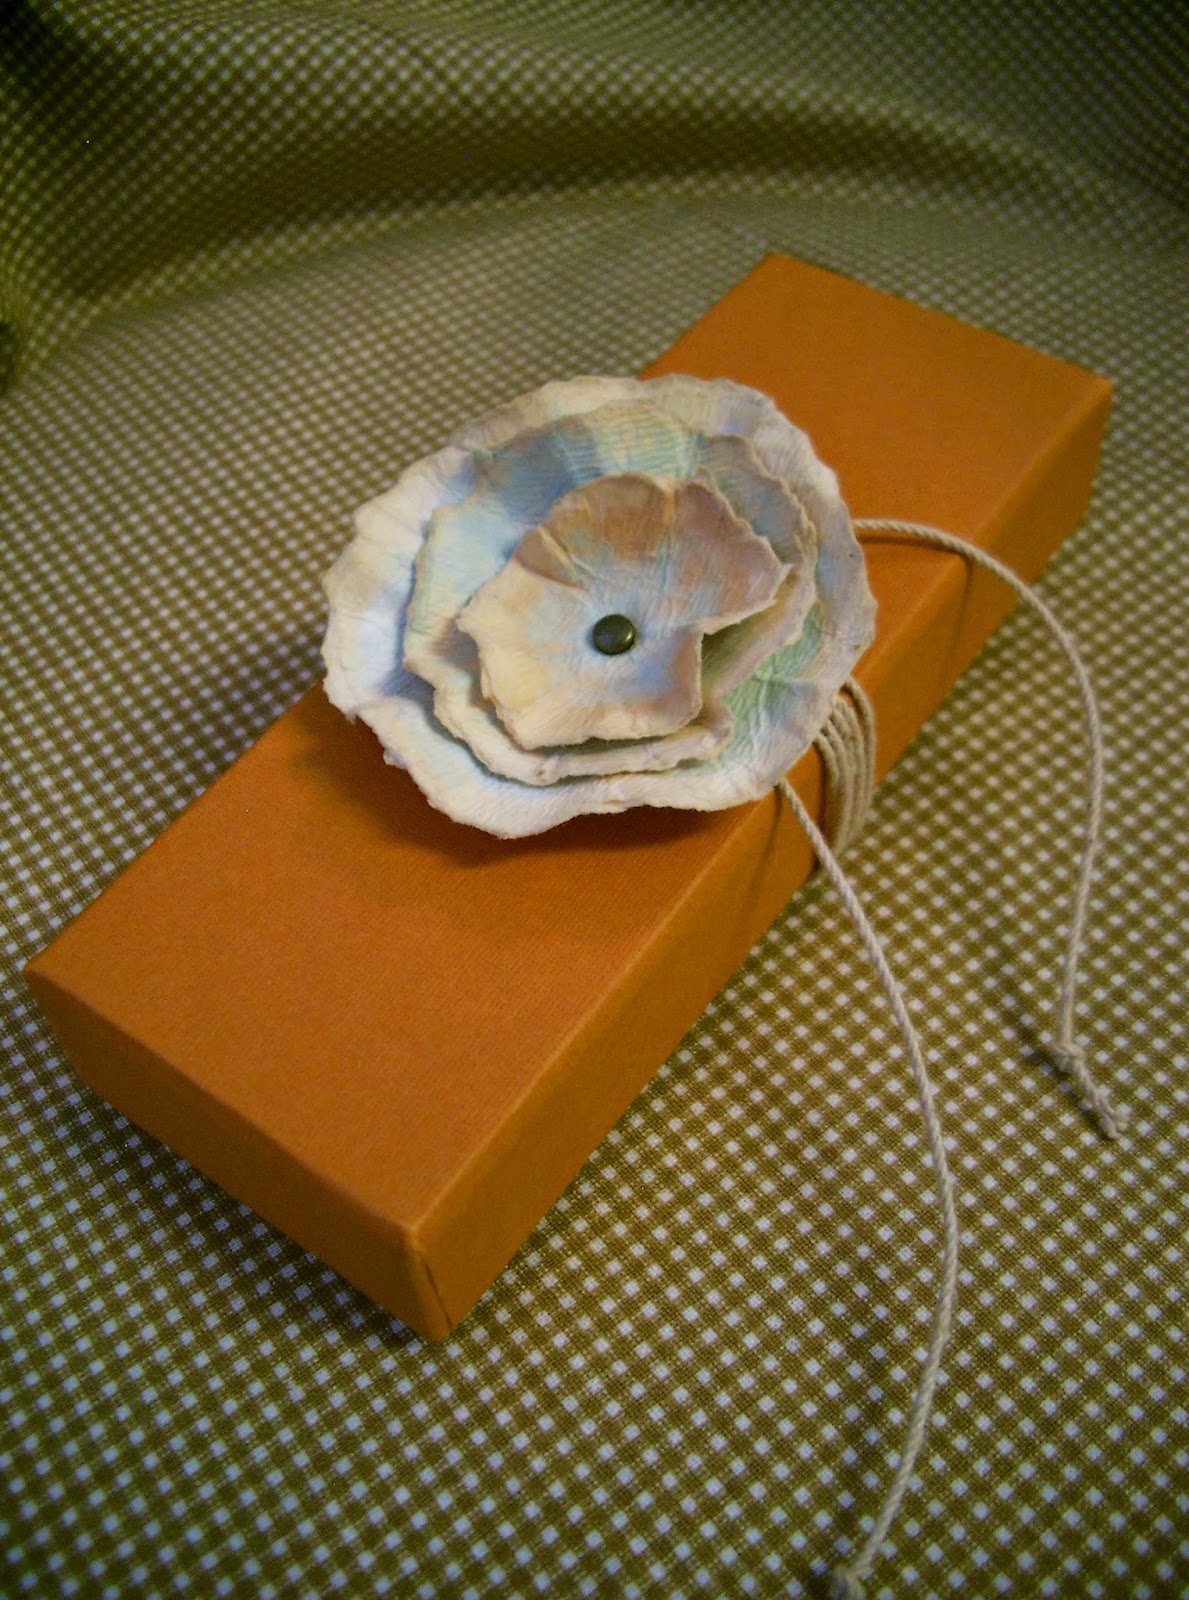
I think they make great substitutes for gift bows.
 |
| ©Linda Nelson 2015 |
 |
| ©Linda Nelson 2015 |
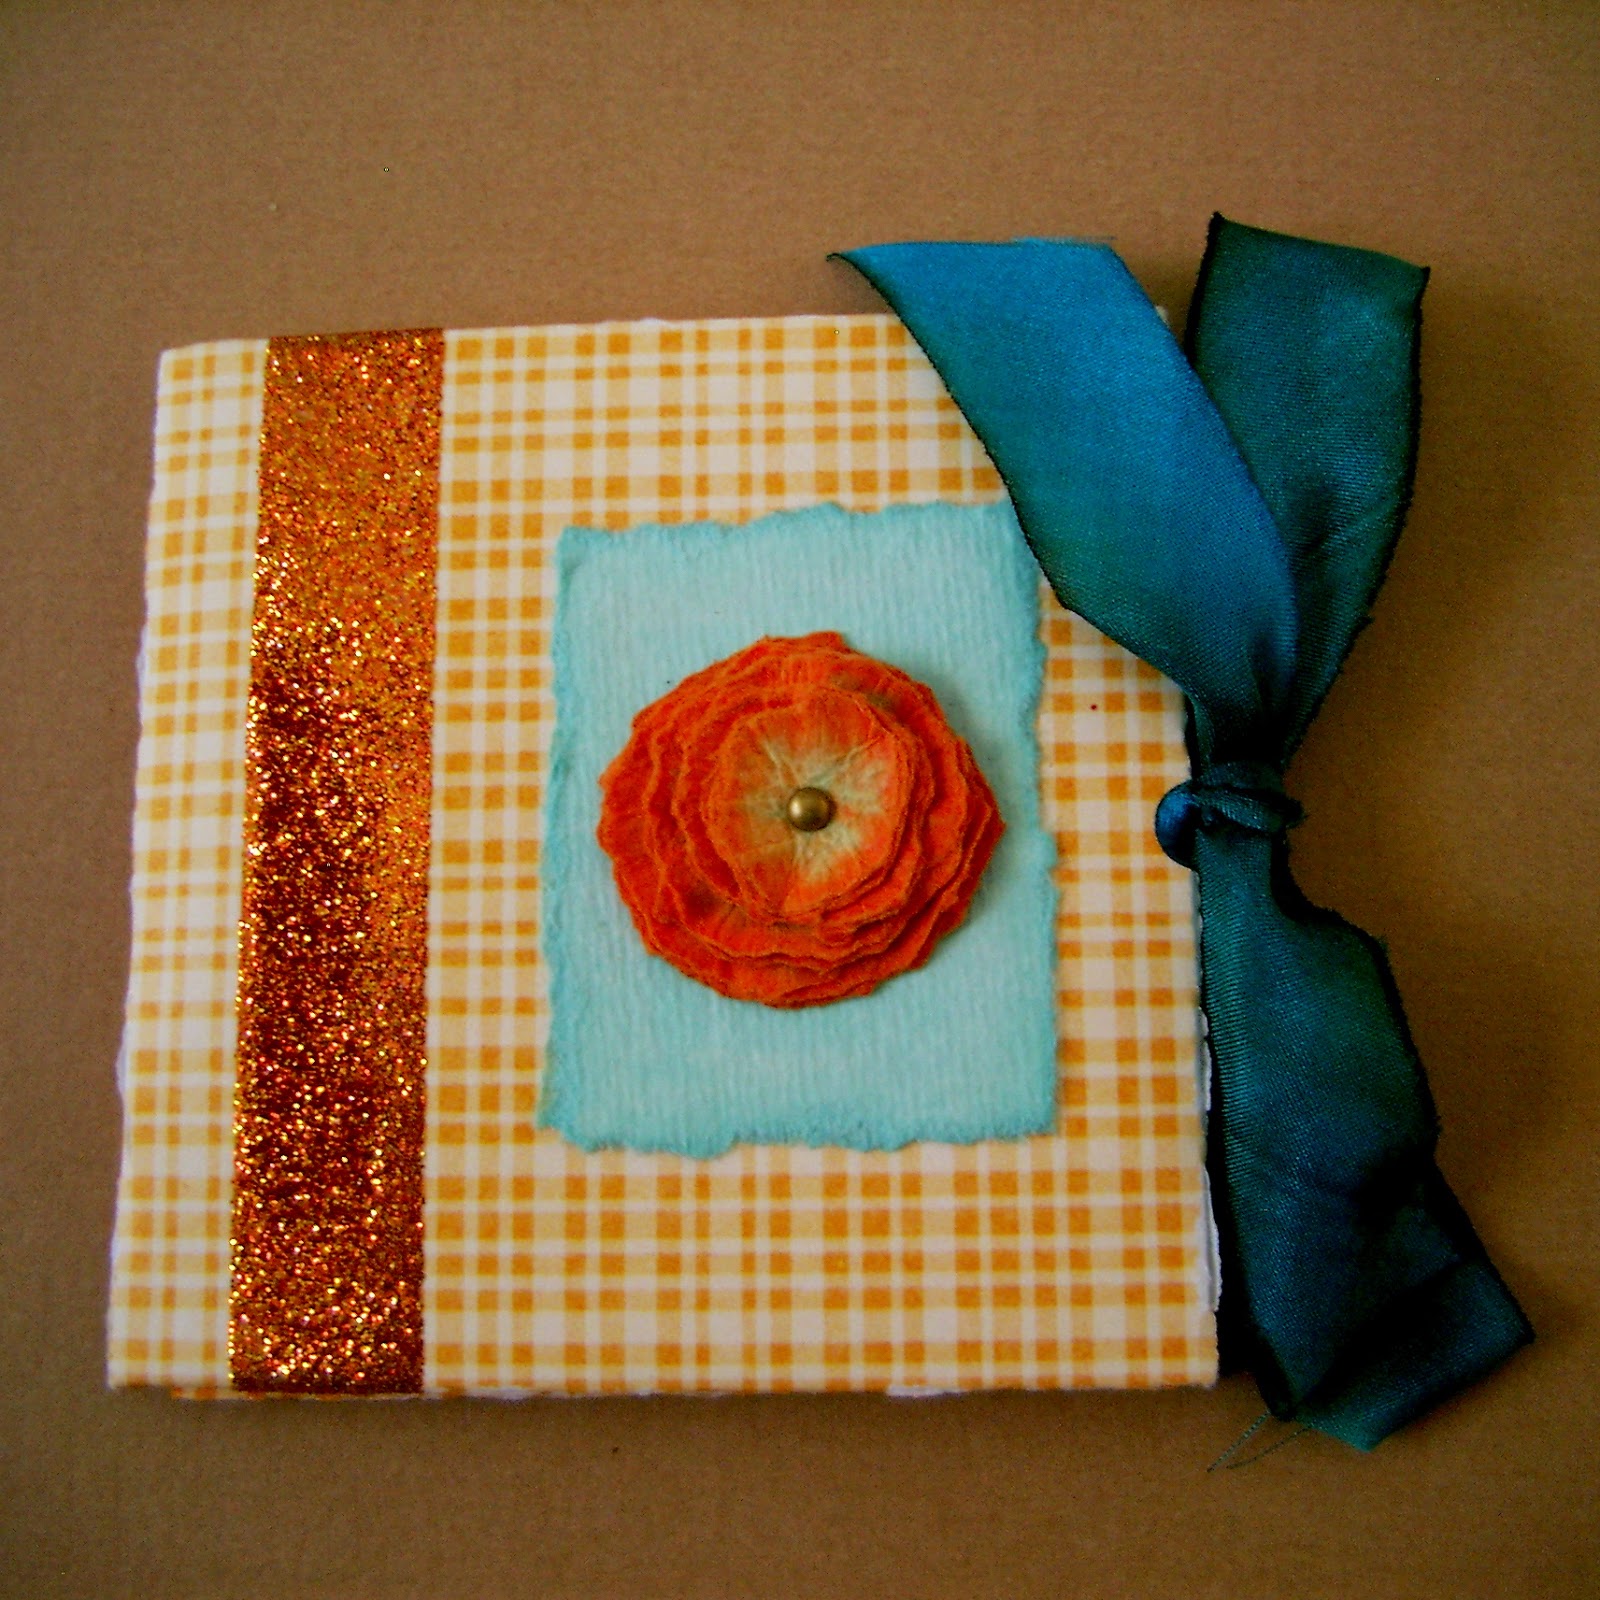
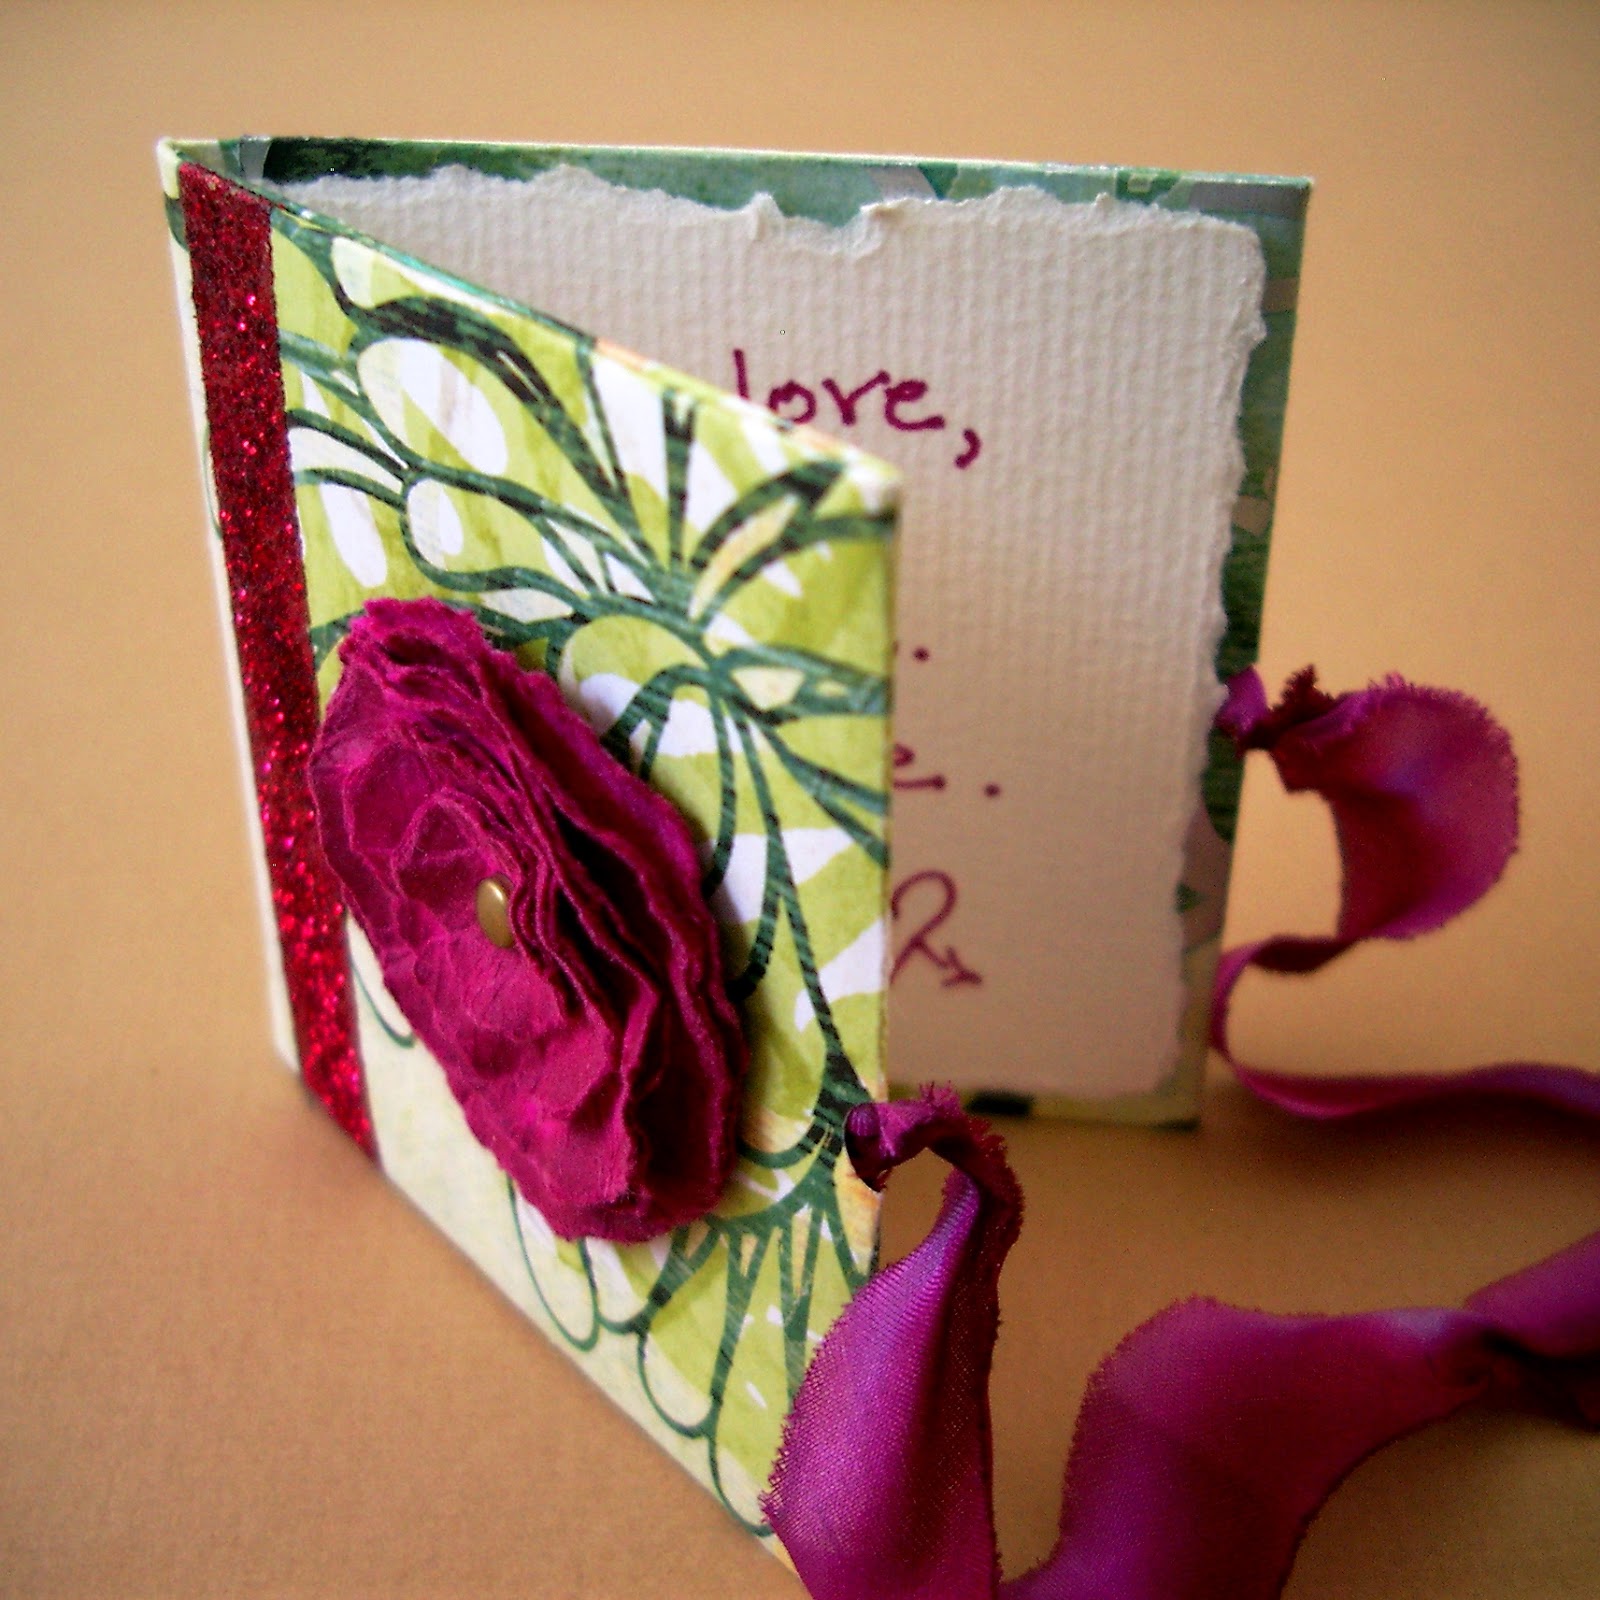
They’re ideal for scrap booking projects; or in my case, embellishing my book-style greeting cards.
 |
| ©Linda Nelson 2015 |
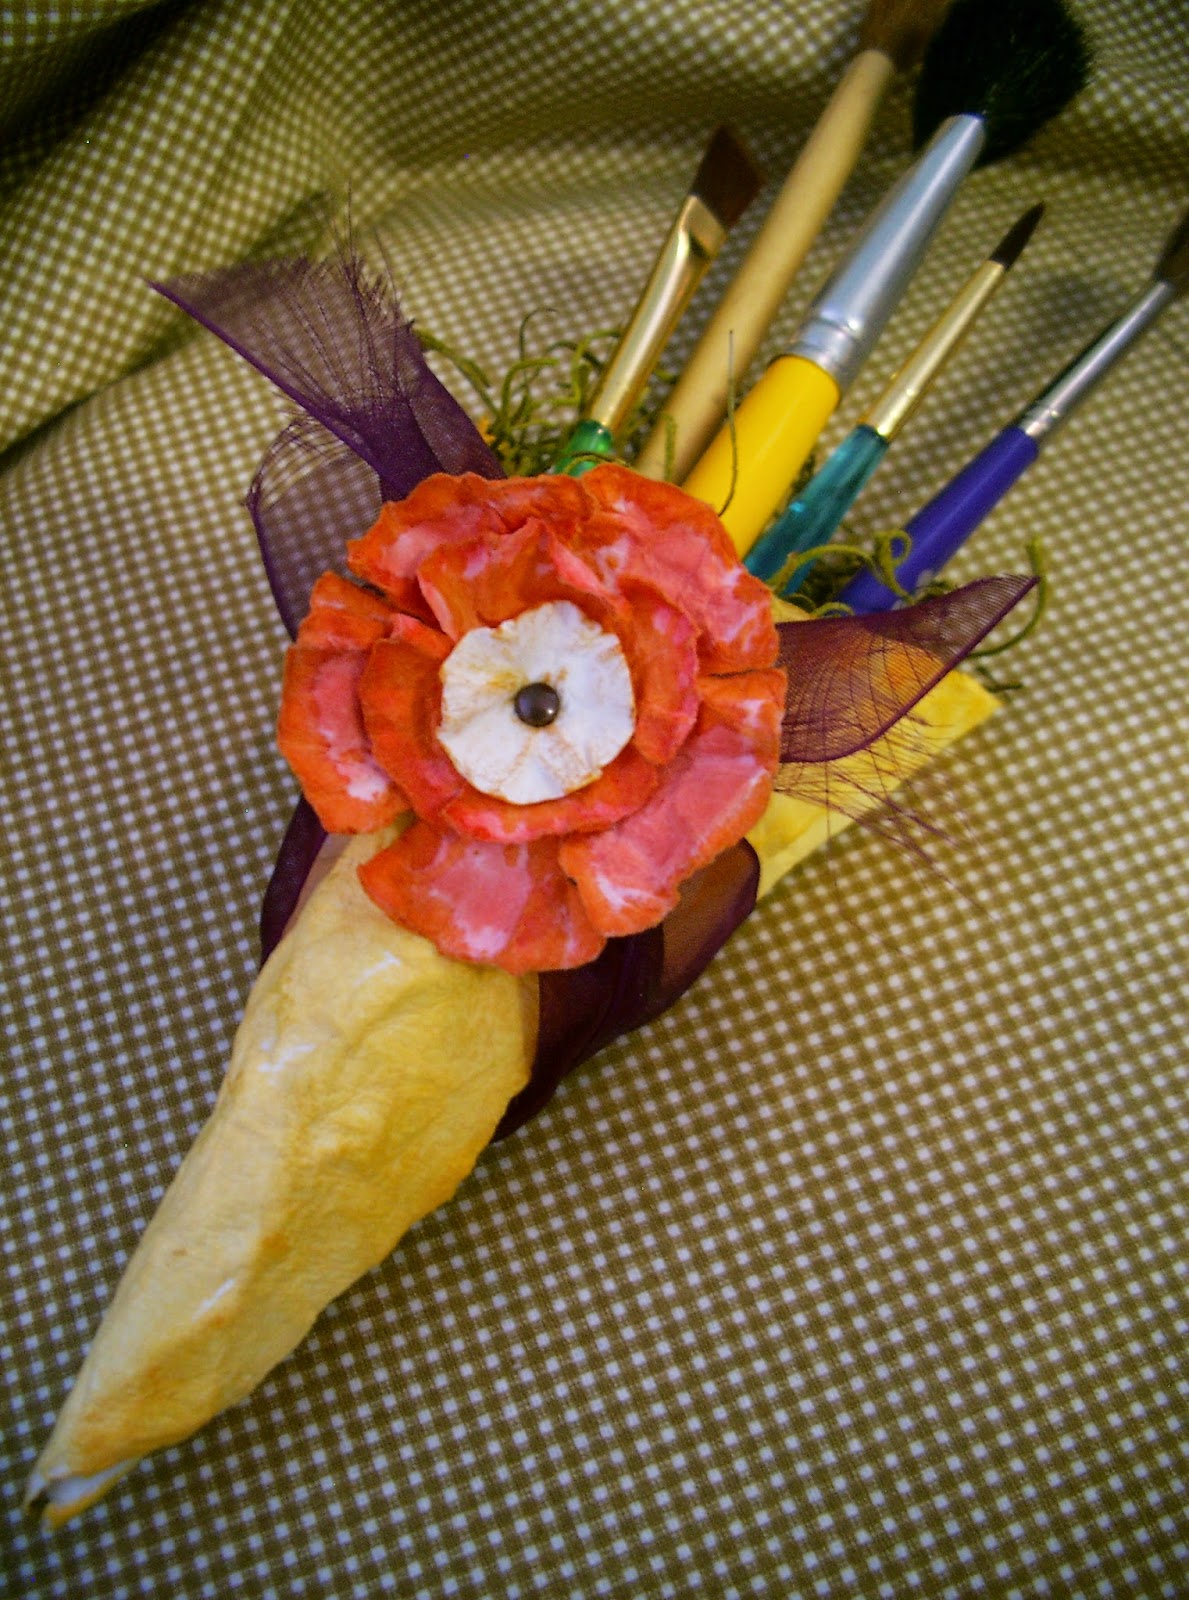
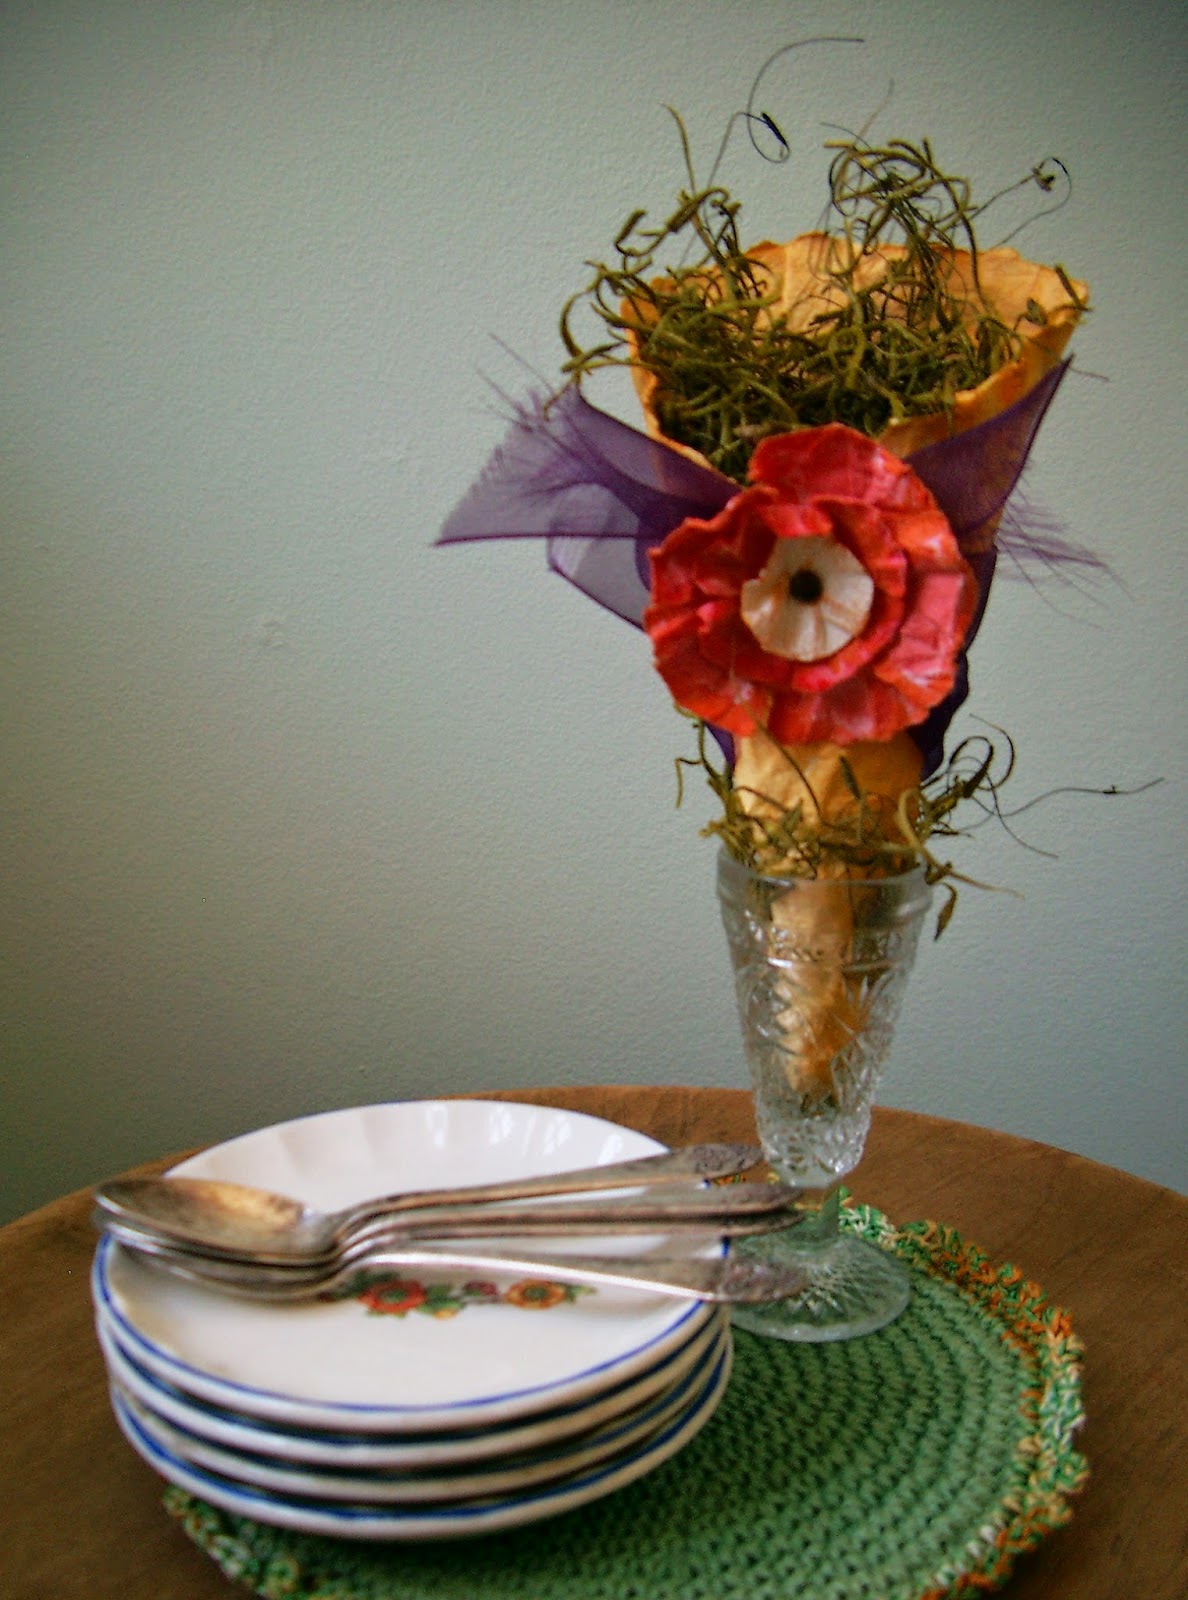
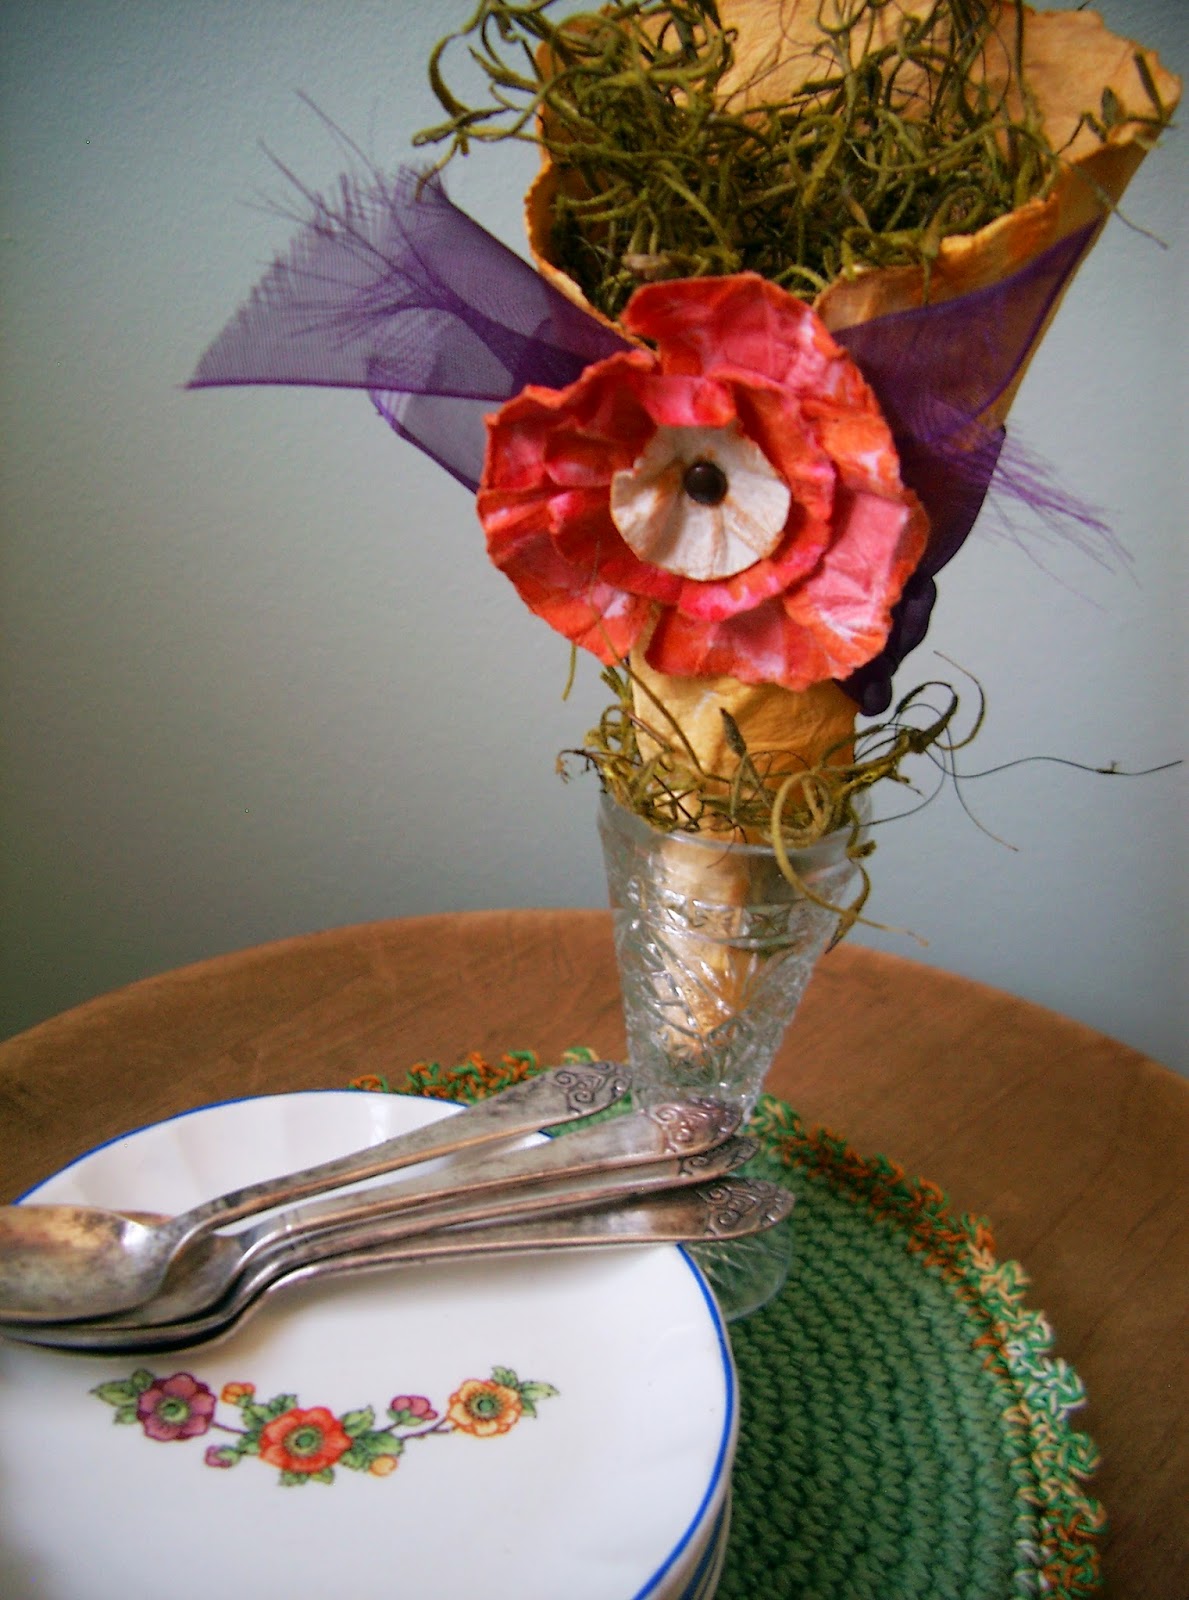
You can make a tussie mussie with a large circle template. Cut the circle in half, then form a cone shape with one of the halves. The one pictured above would make a sweet little gift for an artist who paints. Or, how about a tablescape favor holder like the one pictured below?
 |
| ©Linda Nelson 2015 |
 |
| ©Linda Nelson 2015 |
There you have it. Now, get creative.

Bellissimi questi tuoi lavori …mi piacciono davvero tanto!! Bravissima e grazie per il tutorial del fiore, molto bello l'effetto finale che hai ottenuto!
Buona giornata, a presto.
Annarita
Grazie Annarita, sono contento che ti piaccia . Buon divertimento!
These are just gorgeous! Love the idea to use them on gifts and cards! Thanks for linking up at Creative Spark. We hope you'll join us again this week 🙂
Thank you, Emily. I'm composing some new posts, which I hope to share in the near future. Happy Creating and Beautifying!
very, very beautiful! grazie per il tutorial!
lori
Grazie, Lori.
Grazie, Lori.