paint

MORE THAN JUST A HOME OFFICE

The past three weeks of my life have been centered around giving my home office a facelift.  And, though I repurposed stuff I had on hand to pull this project off, everything seemed to just fall into place without a hitch.

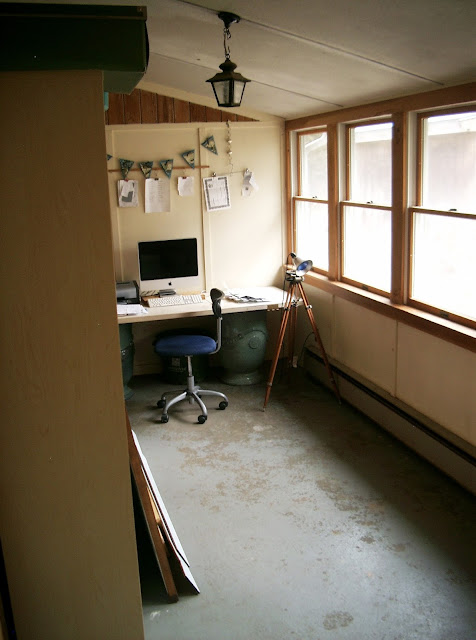
Here’s a before photo, just prior to the prepping/sanding/painting stage.  The room had previously functioned as an office, but it was dingy, tired and not in any way pleasing to the eye.  It was very makeshift.  My “new” office, in a way, is still makeshift, but a pretty makeshift.  And, it’s more than just an office. I’ve gained a mud room AND a breakfast nook, too!
linda nelson at the createaerie

Ta-da!

linda nelson at the createaerie

The concrete floor was restored to a pre-finish condition, a job which I contracted out.  Oh my goodness! I had never seen so much masonry dust in my life.  It took me two days to thoroughly clean every crevice and cranny in that room.  I tackled every other aspect of the project, the exception being the work table base; my friend built that for me.  The window trim still needs a few more brush strokes, but I had to step away from that type of tedious work for a while; it was driving me nuts.  I whipped up the simple cabinet curtains this morning.  I see no purpose in tossing out perfectly functional, but mismatched storage containers; however, I wanted a clean and cohesive look. Curtains solved that conflict.

The little bistro setup underneath the windows….. that’s my breakfast nook, former home of my old work table.  It was nice to look out the window while working on something, but very inconvenient to open the windows.  The room feels so much more airy and spacious with the new layout.  I gave a plywood round “tabletop” I had on hand a chalk-paint-ish treatment and did some humble-style carving into the surface prior to painting it.  Carved are the words ‘sprout’, ‘grow’ and ‘bloom’ .  The cast aluminum patio chairs are still awaiting new cushions and seat bases, which I’ll address in the next week or so.

linda nelson at the createaerie

Isn’t this a neat “squird”seed(short for squirrels and birds) storage container?  My garage is full of repurpose-able crap.

linda nelson at the createaerie

Now, on to my “mudroom”.

My sister gave me this adorable coat hook many years ago; only, I had it mounted directly into the wall, and that was the extent of my mudroom.

linda nelson at the createaerie

Now, it accompanies a curious little collection of hooks mounted onto a board I made last week.

linda nelson at the createaerie
This folding stand is another treasure that previously lived in my garage, perfect for stowing snow boots and such. The (roadside find)drawer underneath stores my garden gear accessories, such as gloves, bandanas and knee pads.
linda nelson at the createaerie

Are you familiar with those vintage looking vinyl floor mats on the market?  The patterns to choose from are so lovely, but their price tags just make me do an about face.  But, I still wanted a waterproof “something” underfoot upon entering my office.  I settled for a remnant of economy vinyl, which I purchased from a local carpet/flooring store, and cut it to fit as a runner.  It does just as good a job as a pricey floor mat.

linda nelson at the createaerie

The pendant lamp is original to the house, but it has seen its day.  I’ve obtained a replacement, a door to door delivery which I will have to hold out for until early April.  Until then, this one will do the job as it has for many, many years.

And finally, a little “spur” of the moment repurpose I threw together last night.

linda nelson at the createaerie

linda nelson at the createaerie

No pun here; just a “bit” of horsing around to “stirrup” and un-“bridle” your imagination 🙂

Thanks for stopping by.  I hope you enjoyed this post about my “new” makeshift-mud room-breakfast nook-home office.

MORE THAN JUST A HOME OFFICE Read More »

CHALK PAINT-ISH: A QUICKIE TUTORIAL

Hey chalk paint lovers, how many DIY recipes of this kind have you tried?  Well, you can chalk this one up to super simple and successful.  This recipe is suitable for small scale work batches and requires only two ingredients – gesso and powdered pigment.  Not only that, the final step of buffing your object for a smooth, touchable finish is achieved with your hands!  Yep, no paste wax – just a vigorous rubdown using the natural oils from your hands.

linda nelson at the createaerie

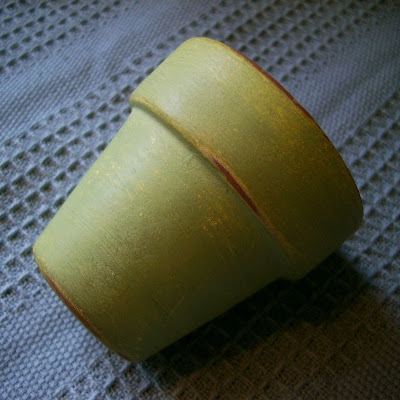
Doesn’t this clay pot’s surface look gorgeous?  It’s ready to join my symphony of spring decor.

To achieve this look simply mix a plop of white gesso with a sprinkling of powdered tempera paint.  I have the basic primary colors on hand (red, blue, yellow) and custom mix my own hues.  I made a lemony hue for the first layer, and a limey one for the second layer.  Apply paint with a brush and let dry before applying your next coat.  Sand the surface smooth with fine grit sandpaper or sanding block, then give it the rubdown.  That’s it!

linda nelson at the createaerie

In my next post I will share with you how to make chippy eggs using a variation of this recipe.  Stay tuned……….

linda nelson at the createaerie

And, get creative!

CHALK PAINT-ISH: A QUICKIE TUTORIAL Read More »

ONCE “UPOD” A NUTTY TIME…..

there were lovely flowers in a garden…….

and they smiled bright the whole summer through.

at the createaerie

When autumn made its debut the flowers faded away………

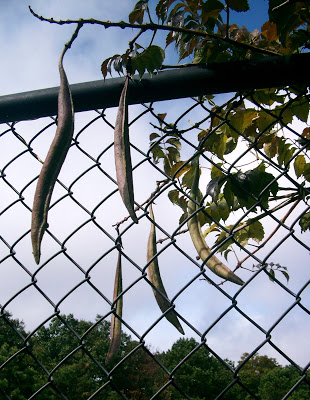
leaving behind not only memories, but pods encapsulating the promise of new life.

at the createaerie

Then along came Linda, who had her own agenda, and rewrote the script.

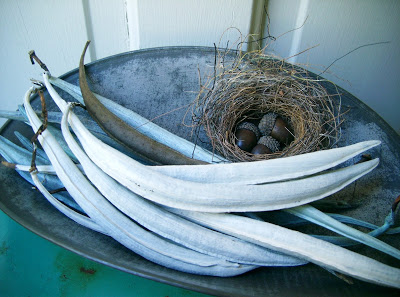
With a gesture of entitlement and pruners in hand, she plucked and robbed them of their dignity……

dressed them in paint……

and cast them in roles as, “…..decorative baubles, delighting my eyes and adorning my home.”

at the createaerie

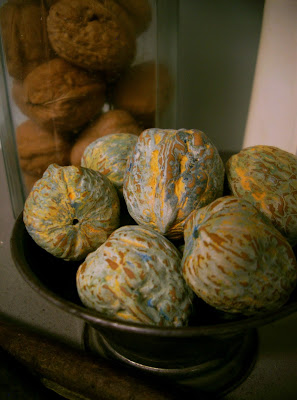
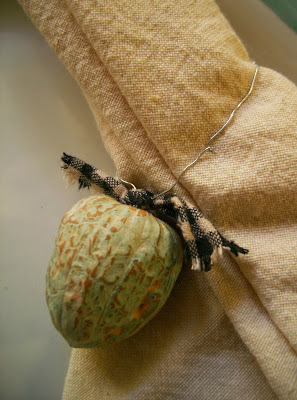
After that, she headed for the pantry to indignify other contenders, like year-old forgotten walnuts stashed as far back in the pantry as could be.  “Silly nuts,” she exclaimed, “you weren’t meant to be eaten, you were meant to be repurposed!”

She slathered the nuts with layers of gesso tinted in various colors.  After the paint dried she lightly sanded them down to reveal the colored layers.

at the createaerie

But, Linda wasn’t yet satisfied.  She felt these nuts had more potential than simply sitting pretty in a bowl.  The “aha” moment surfaced, and she got busy……

at the createaerie

….. busy making little napkin rings, perfect for adorning a Thanksgiving table setting.

What’s the moral of this story?

Never hold back your nutty ideas!

ONCE “UPOD” A NUTTY TIME….. Read More »

HOW THESE EGGS GOT LAID

I assure you this post is naughty-free and as wholesome as an egg could be.

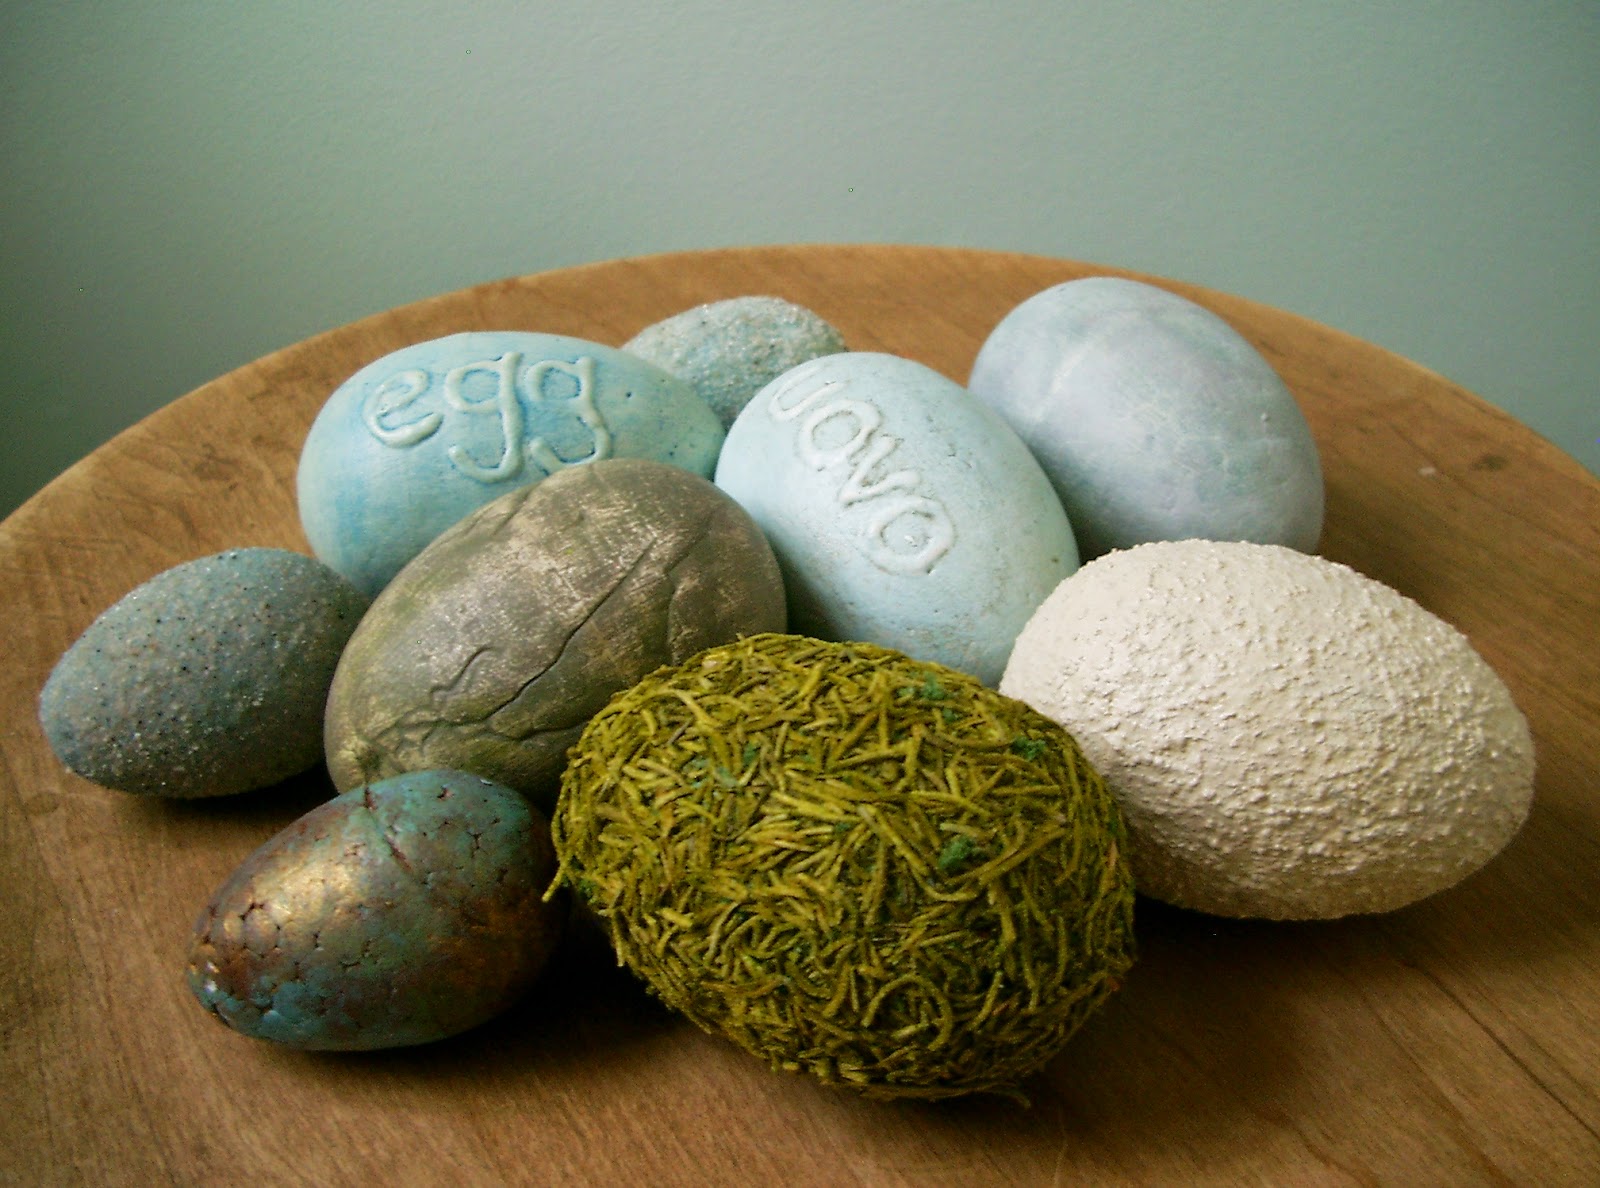
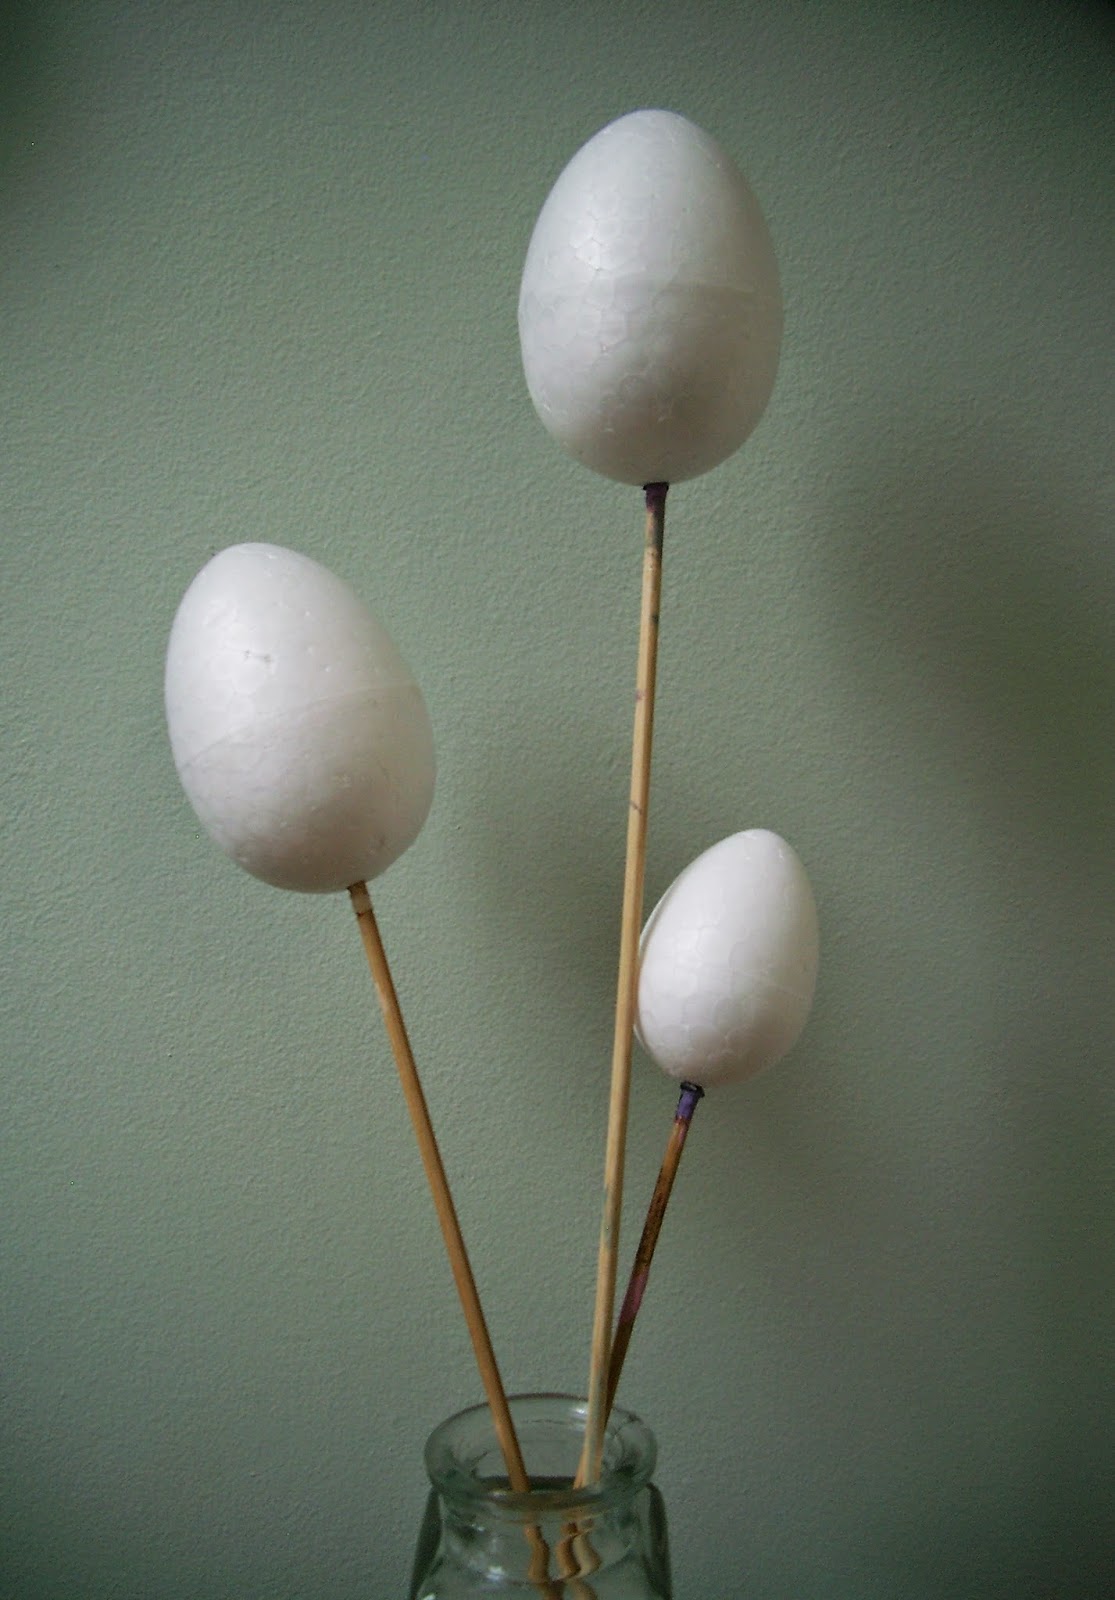
You are staring at styrofoam eggs.  Yup….. cheap, dollar-store styrofoam eggs.  The magical transformation lies in gesso, paint, a little sand, green spanish moss, some craft glue and some school glue.  That’s it.  Oh, and some skewers for handling convenience.

©linda nelson 2015
©linda nelson 2015

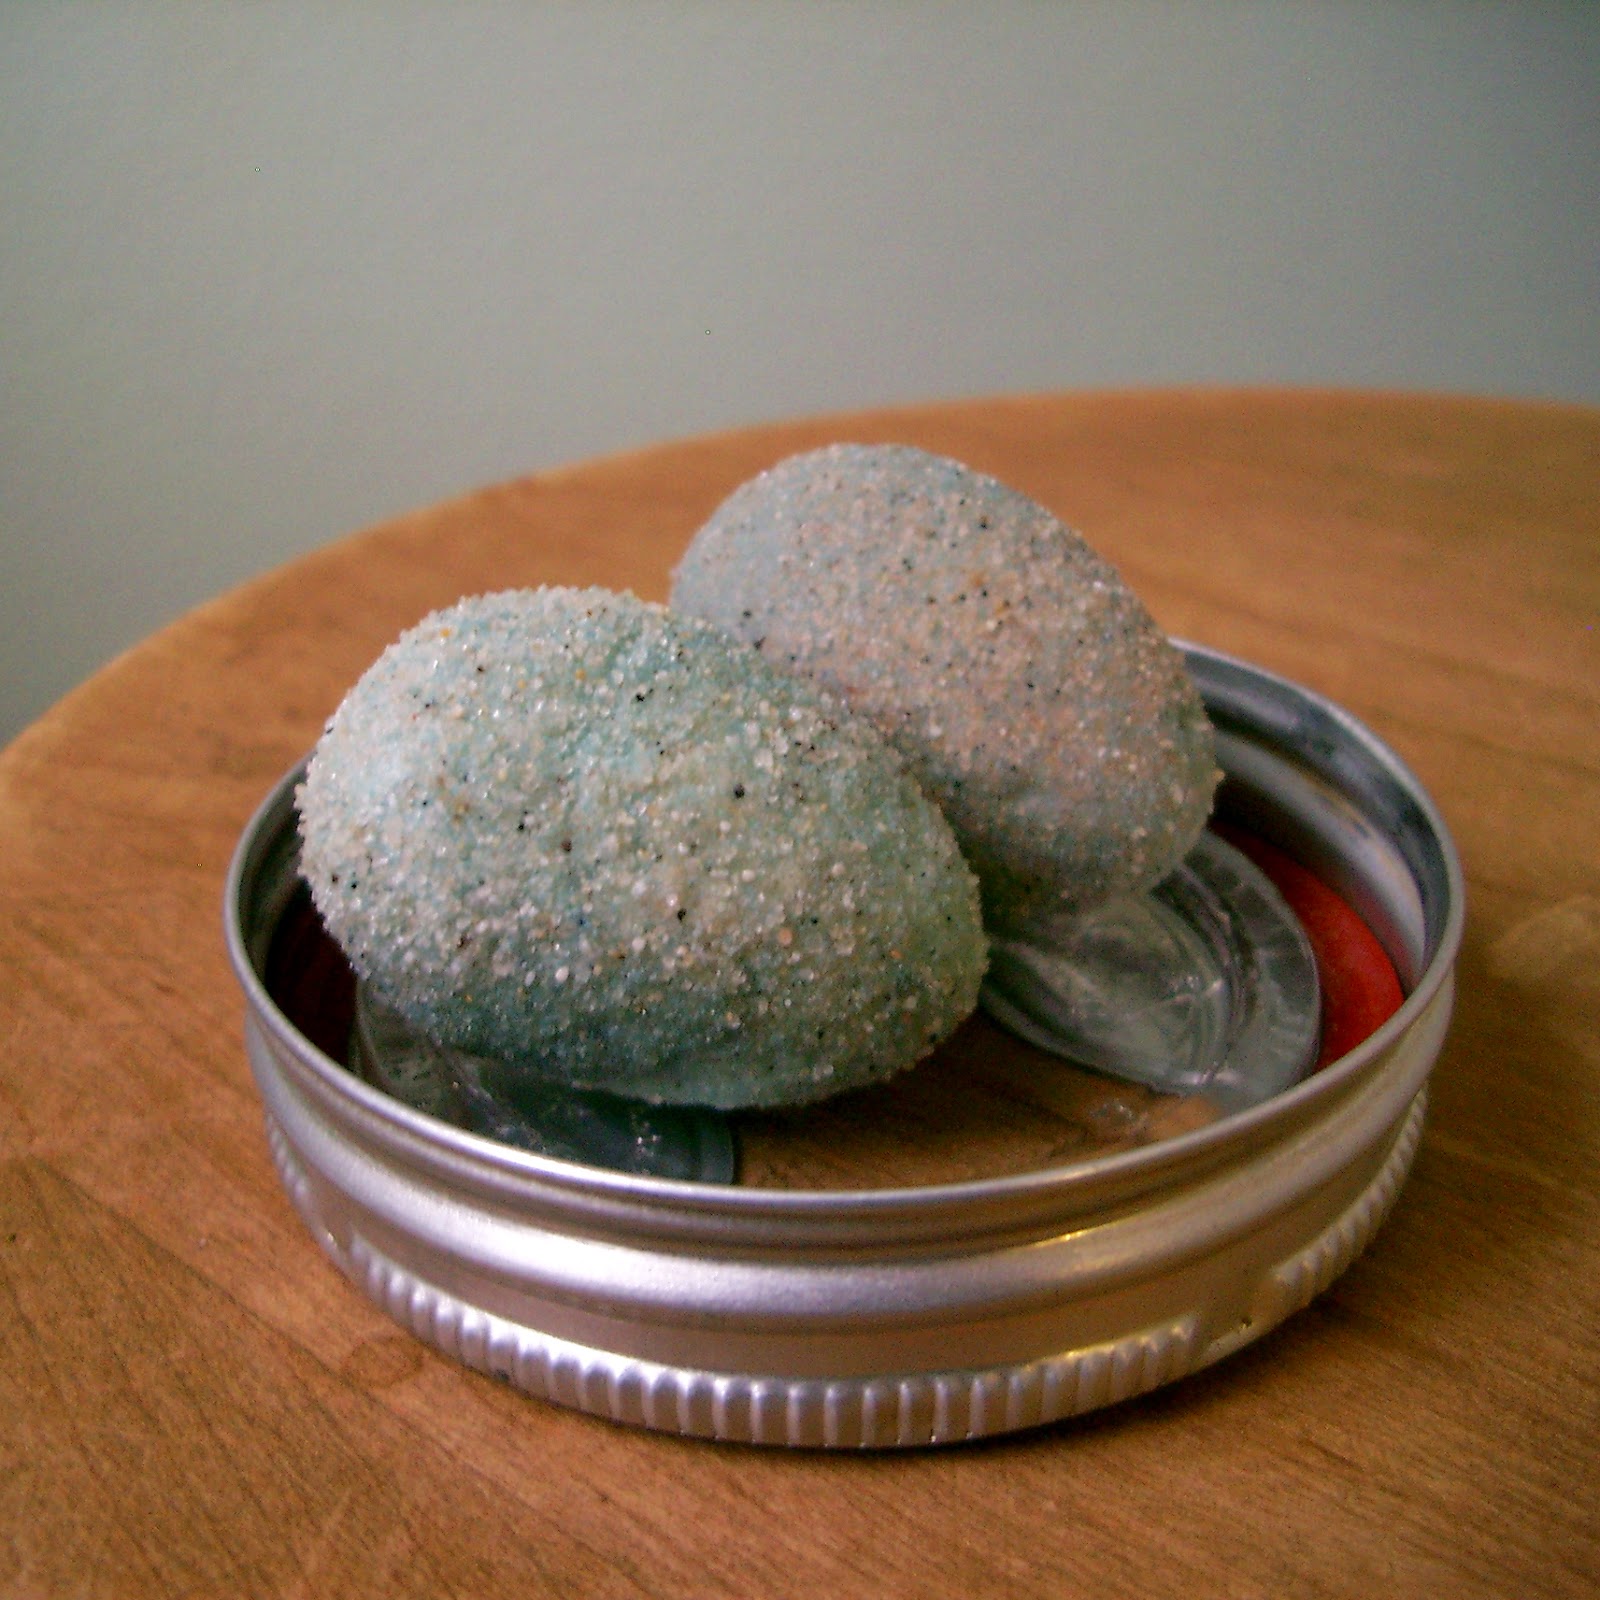
Begin by applying two coats of gesso to your eggs.  For the sandy beach egg you’ll want to use a drop of acrylic paint to tint the gesso roughly the same color as the sand you intend to use.  I mixed some fine grit beach sand with teal blue decor sand; therefore, I tinted the gesso for that egg a light, “muddy” teal color.

©linda nelson 2015

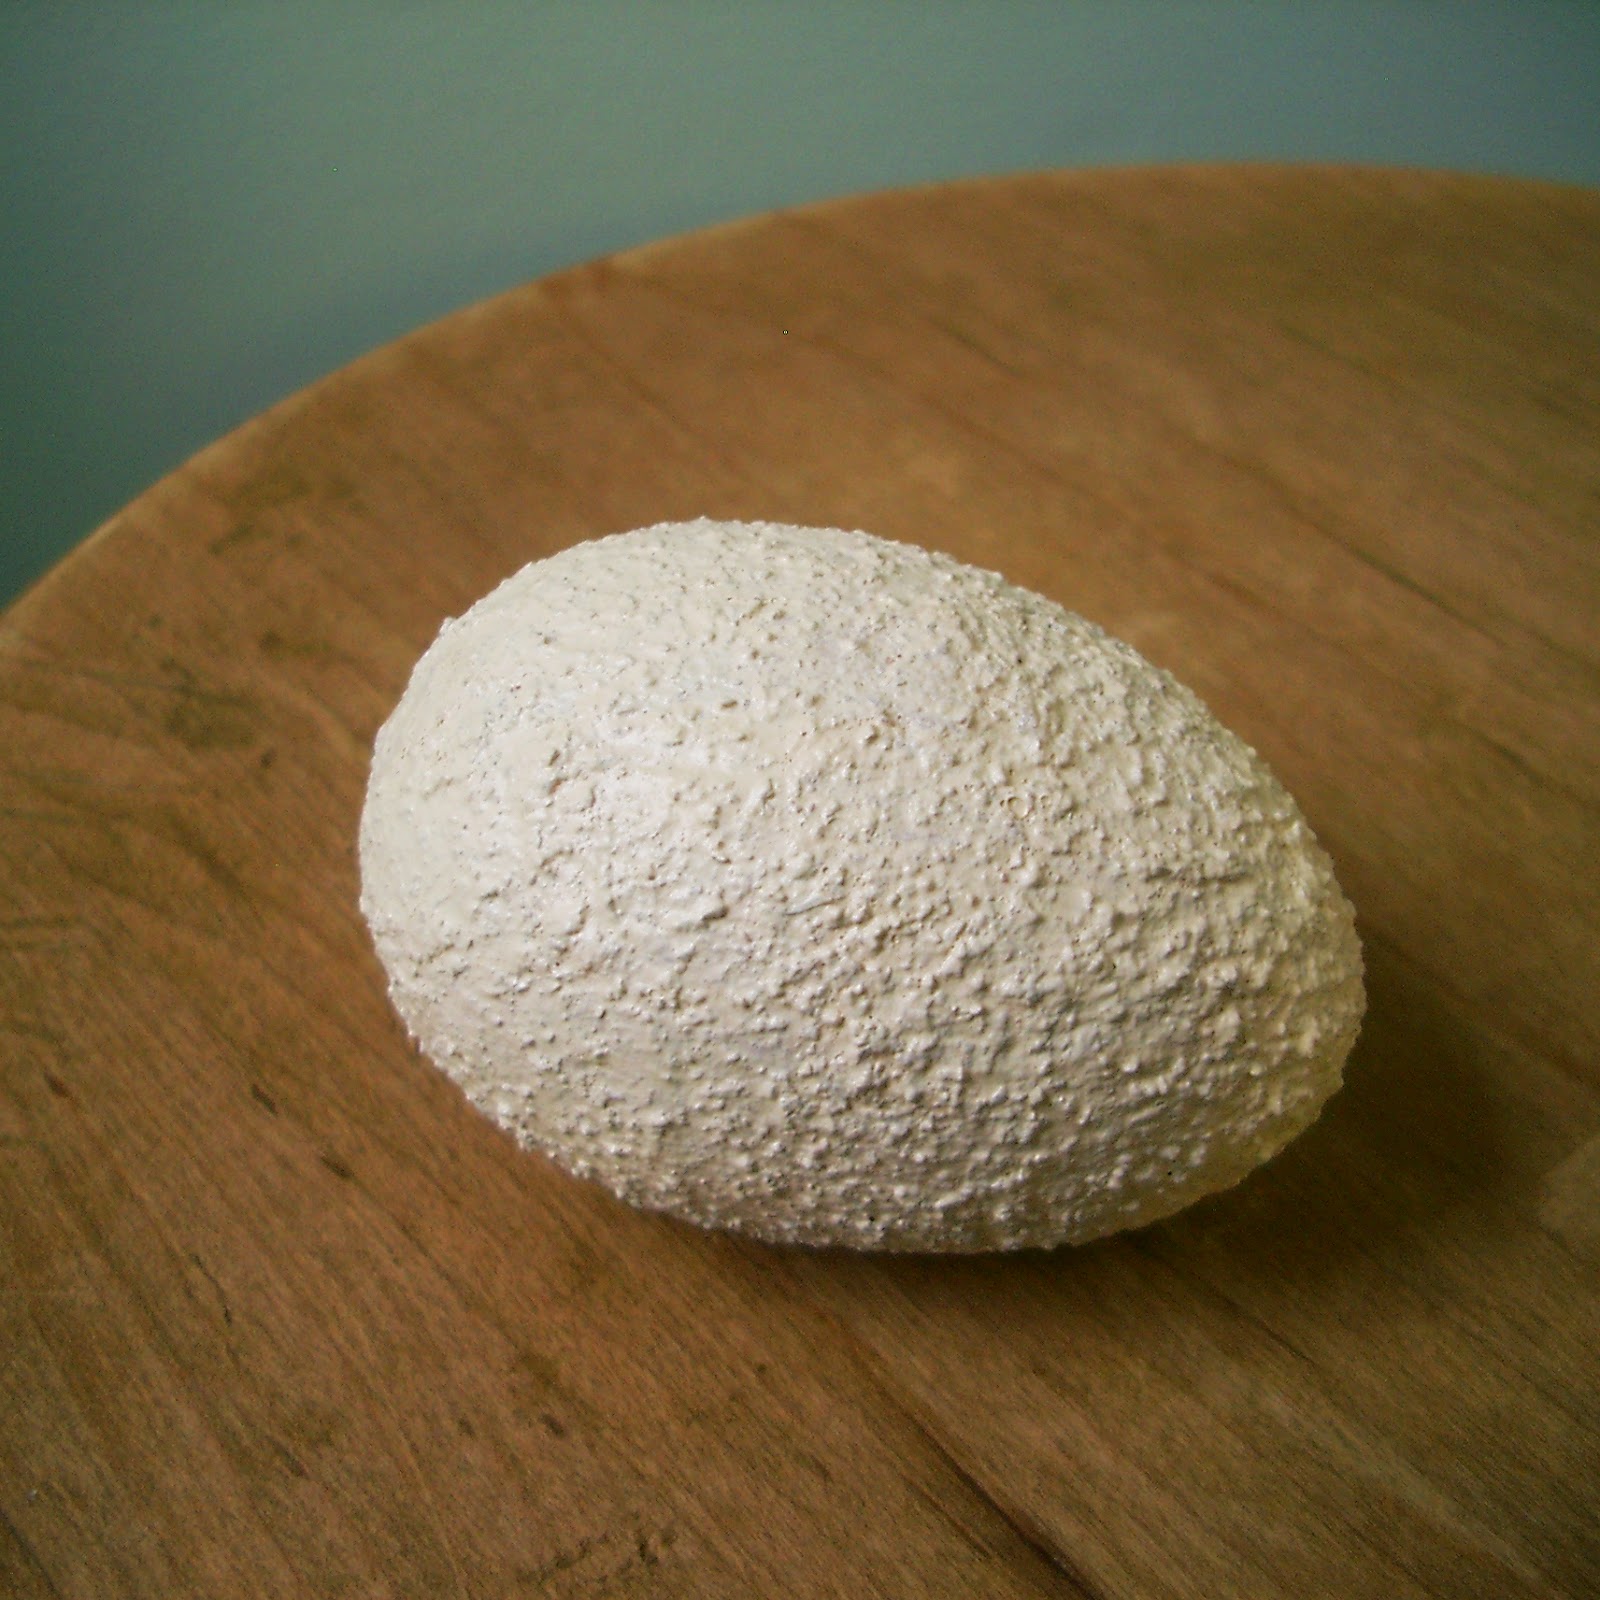
First on display is the stucco egg, created by simply brushing on a generous layer of craft glue, coating the egg in sand, then leaving it to dry.  Brush off the loose, residual sand particles, then slap on a coat of buff colored acrylic paint.  That’s it.  Done.

©linda nelson 2015

Now, let’s make a sandy beach egg.  Apply a generous coat of craft glue onto the gesso tinted egg, coat the egg with sand, then leave it to dry.  Brush off the loose, residual sand particles.  That’s it.  Done.

  • A tip for working with sandy eggs – I put the sand in a little tub, coat and bury the egg right within the tub, and leave it that way to dry.
©linda nelson 2015

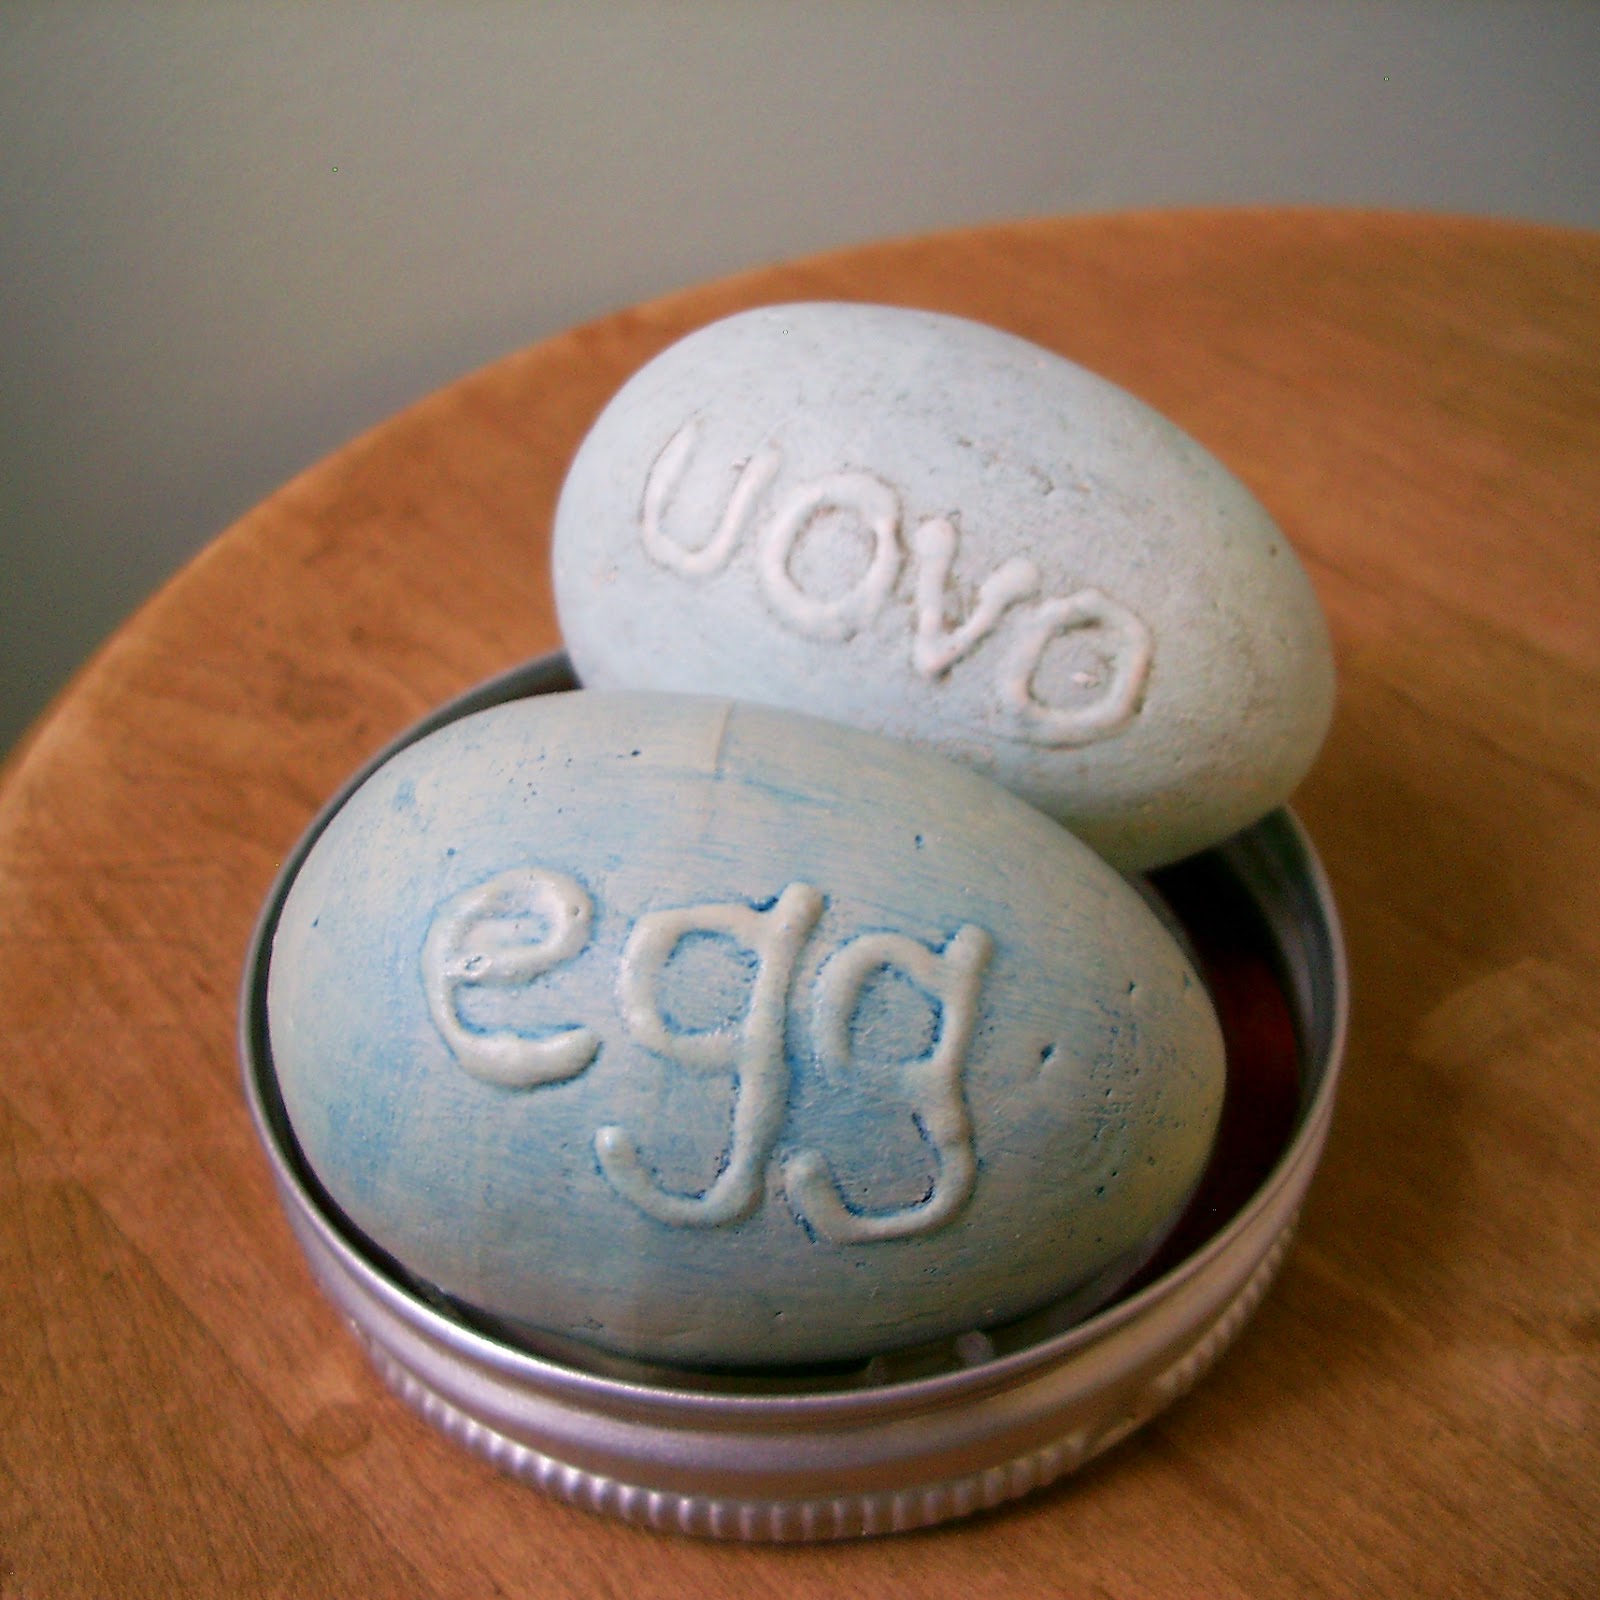
For the embossed words egg grab some school glue and write something on the egg.  I don’t care what you write, just write something.  When the glue is completely dry apply another coat of gesso over the entire egg.  Create an antique-like effect with a top coat of tinted glaze, shoe polish, distress ink or whatever crafty method you prefer.  A rubdown with powdered eyeshadow works well, too.  That’s it.  Done.

©linda nelson 2015

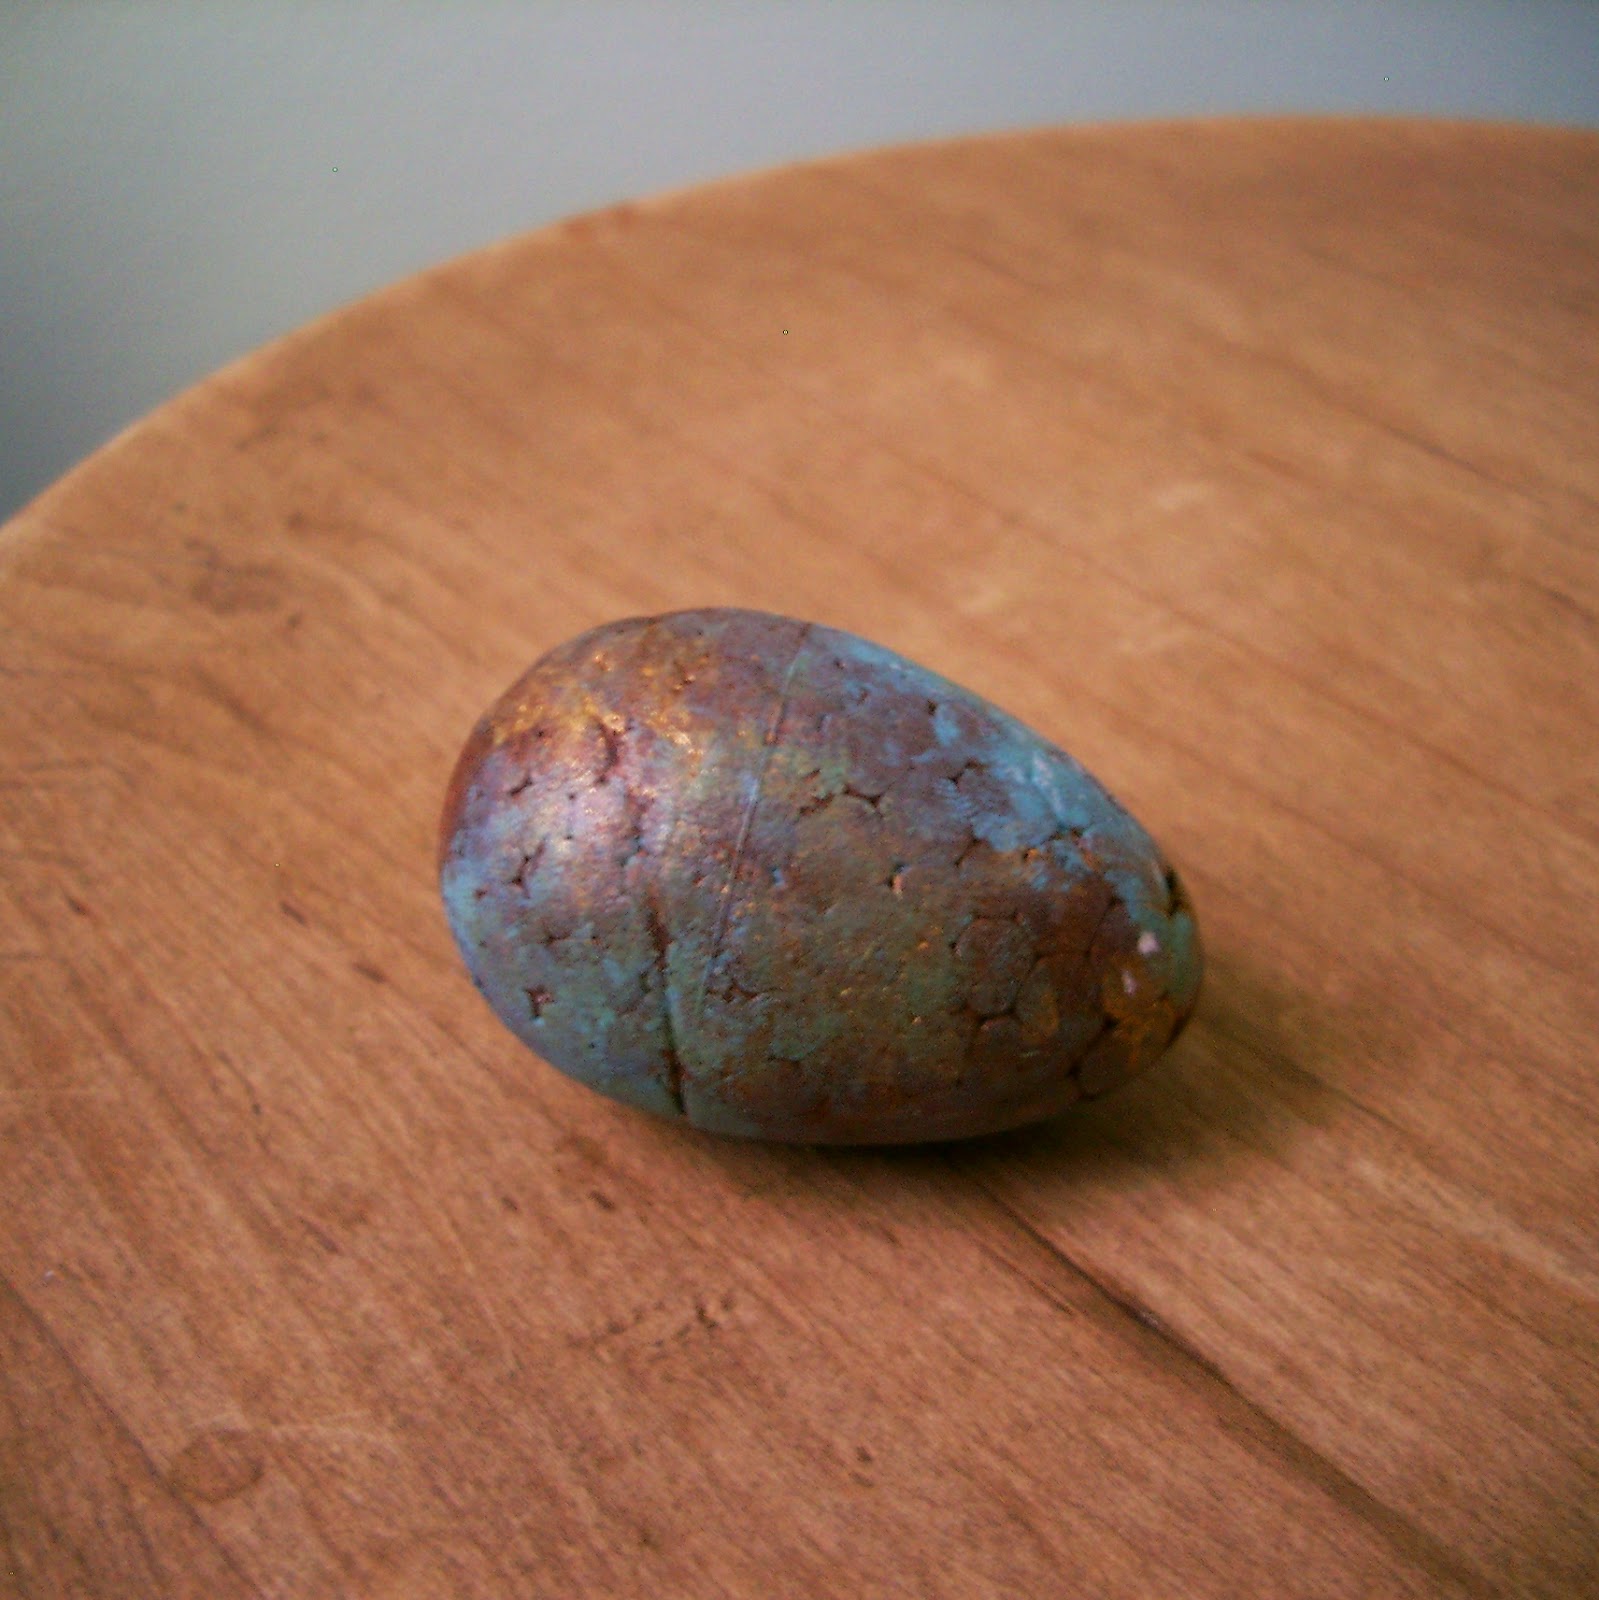
Would you like to make a patinated copper egg?  Slap a coat of dull brown paint onto the egg.  Pat on some antique gold paint with your fingertip or a little sponge.  Make sure you pat in random places.  Use this same patting technique with some olive green, light teal and dull brown paint.  Finish it off with a few select accent streaks or dabs of gold and bright teal paint.  That’s it.  Done.

©linda nelson 2015

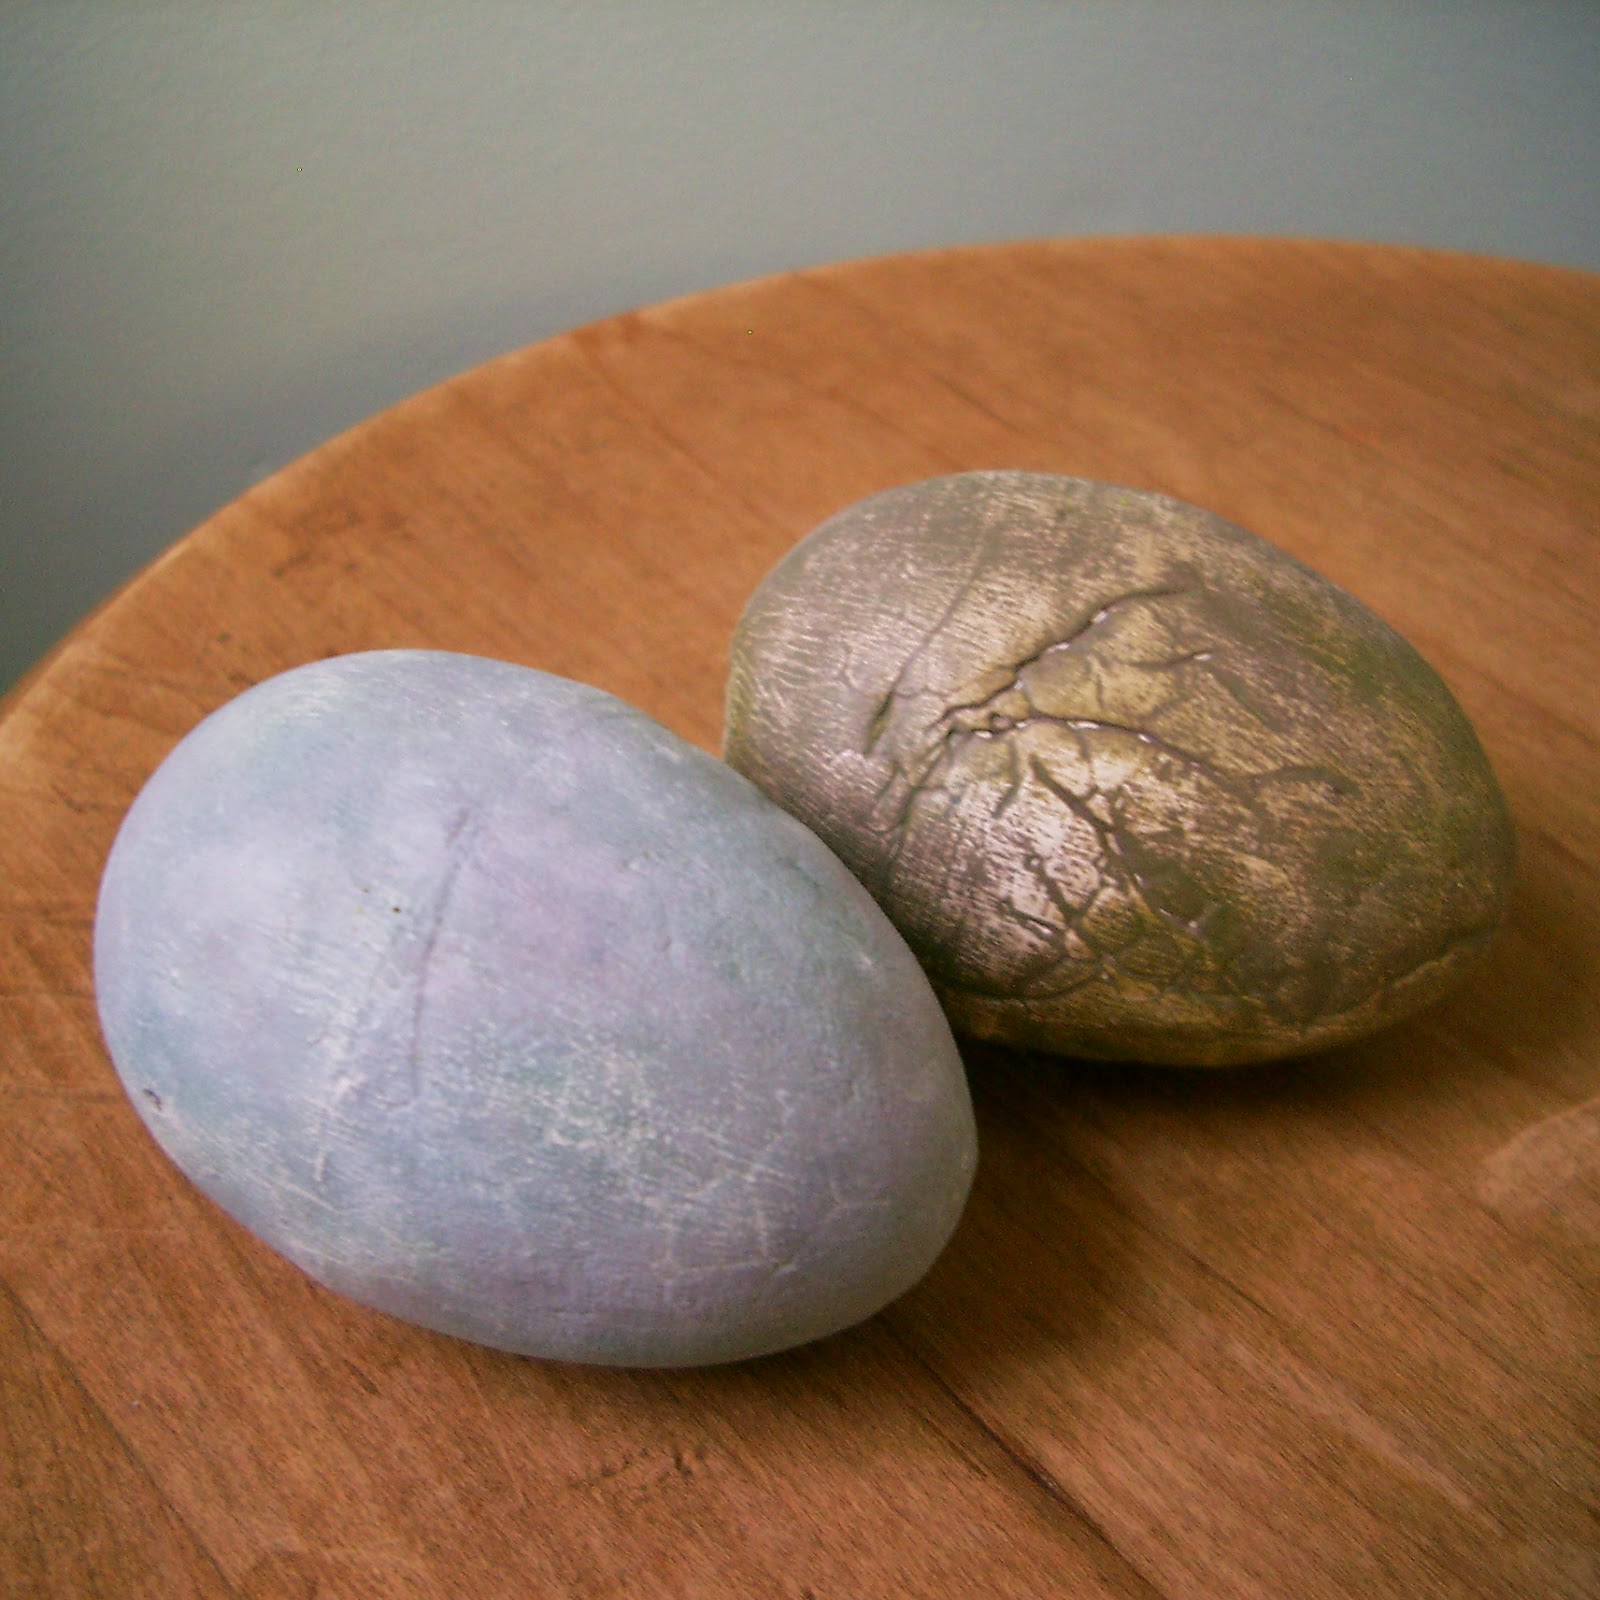
How about some concrete/cement/stone-like eggs?  Use your fingernail to first create some grooves and crevices on the egg, if you so choose.  Grab some black, white, blue, olive and brown paint and mix them to make a few different cement-like hues to work with.  Each mixture should be mostly white, with only a hint of the other colors mixed in.  Adding a little drop of water to the paint will help to give it a ‘wash-like’ consistency.  Rub the paint onto the egg with your fingers, massaging the color in using an ‘imperfect’ approach.  When dry, lightly sand the egg in random places.   Rub on another wash of paint, randomly sand down, then ask yourself if your are satisfied with the result.  Keep repeating all the steps until you achieve the look you want.  And then you will be done.

©linda nelson 2015

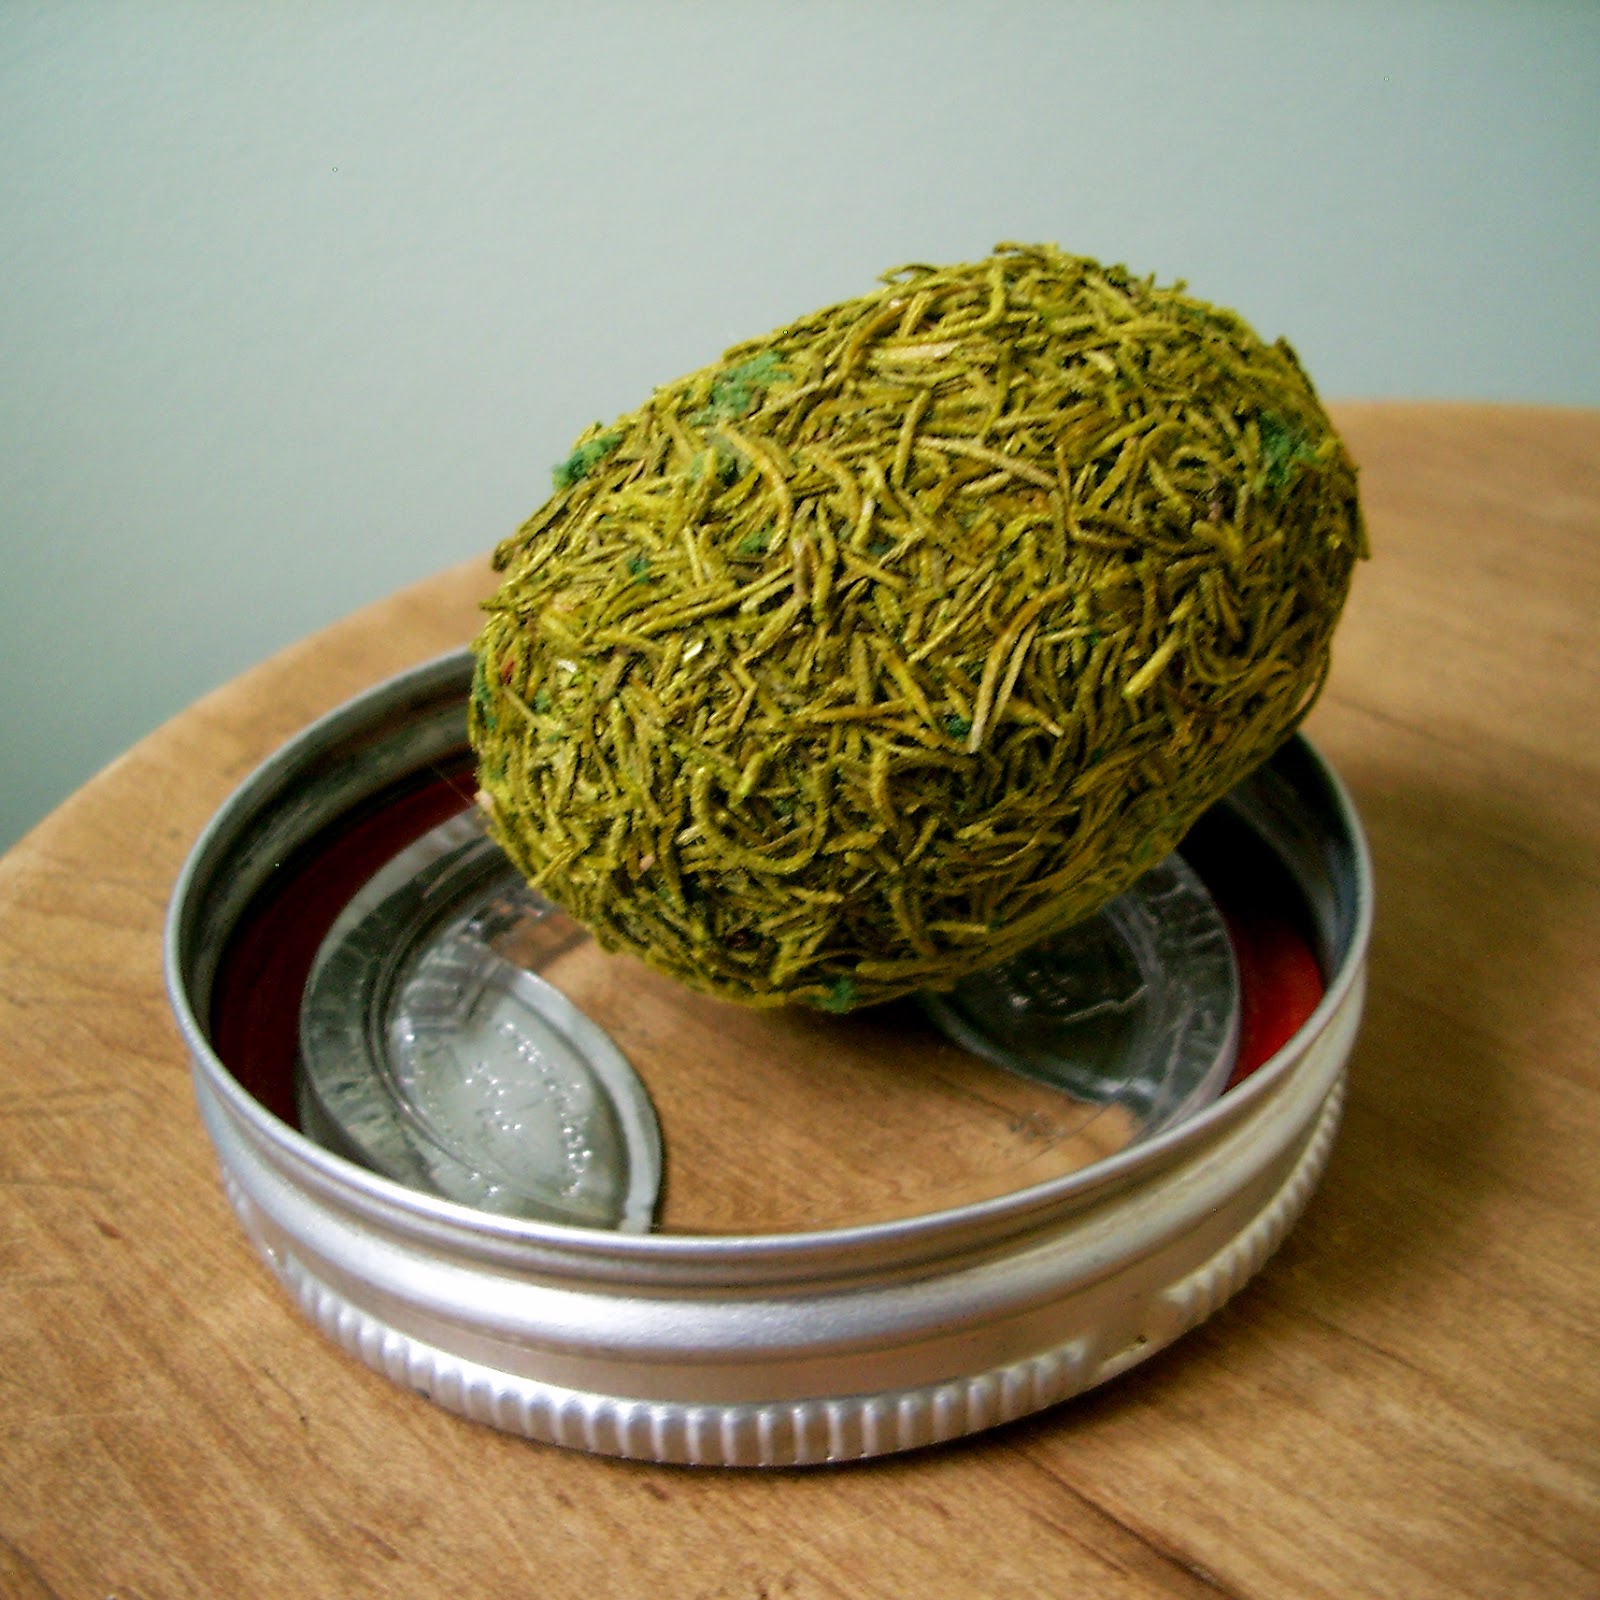
I’ve never met a hen that lays mossy eggs (nor stucco, sandy or cement eggs for that matter), but I think mossy eggs can make for very nice decorative objects.  Slap a coat of mossy green colored paint onto the egg.  Initially, you could tint your gesso and just skip the extra layer of paint.  Lift the nice, fresh stringy moss out of its bag, then reach in and collect the fine, dusty remnant-like pieces at the bottom of the bag.  Coat the egg with a generous layer of craft glue and cover it with the moss.  Cup the egg in your hand and gently squish, holding your squish for a minute or two, or just until you feel that the moss has really clung to the glue.  When dry, brush off the loose, residual moss particles.  If the egg appears to look a little “hairy”, clip the wayward strands with a pair of scissors.

My goodness, this was a lengthy post.  Are we done yet?  By golly, we are!

There you have it.

Now, go lay some eggs.

HOW THESE EGGS GOT LAID Read More »

Scroll to Top