make

EXPLORE THE WORLD OF ATC’S…….INCHIE BY INCHIE!

Are you familiar with the expressive little mixed-media ATC’s, or Artist Trading Cards?  I’ve known about them; however, until recently, I’ve never really taken a good look into the expansiveness of this subculture.  These artists not only make ATC’s, but Inchies, Twinchies and Rinchies, too.  Wait!…….. it doesn’t end there; I’ve also spotted artist trading blocks(ATB’s) and artist trading spoons(ATS’s)!  I won’t attempt to be a source for the endless examples out there; just google it for yourself and be prepared to enter an underground world of artistic Lilliputianism.  It’s quite impressive.  Really.

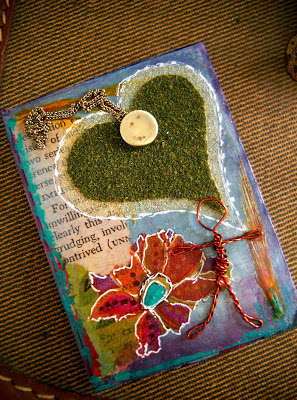
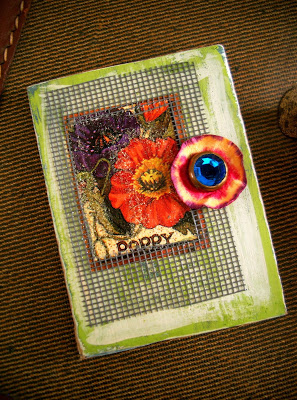
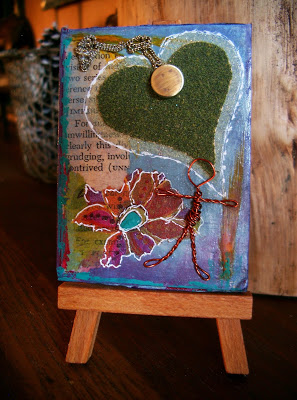
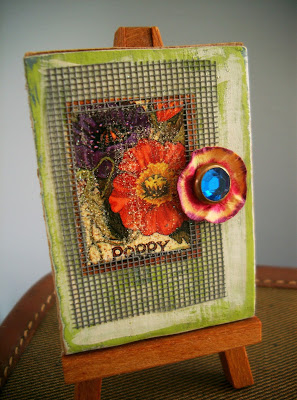
Pictured are a few that I’ve made.  I’ll finish up the Valentine’s Day inspired one this evening.  This weekend’s upcoming snowstorm may force me to be housebound for a day; therefore, I may whip up a few more.  Note that I used acetate and corrugated cardboard instead of the traditionally used card stock or watercolor paper to create my design upon.
linda nelson at the createaerie

linda nelson at the createaerie

linda nelson at the createaerie

Perhaps this genre of artwork is yesterday’s news to you.  If so, I hope this post reawakens your curiosity as a catalyst for your setting aside some time to play.  I find the small-scale nature of this activity ideal for quick, loose exercises which can aid in luring artists out of creative blocks.  If, just like me, you are far from lacking ideas and inspiration, but are unable to take on involved projects at the moment, making ATC’s are perfect for releasing brief spurts of creative energy.  They make for adorable purse-size mood boards for anyone starting a decorating project, too.  Obviously, the conventional, shared pleasure is found in collecting and trading them, hence their name.
linda nelson at the createaerie

The range of materials used for making ATC’s is endless.   I admit that I’m not a big fan of craft supply store chains, nor the the pre-packaged embellishments, decorative papers and accoutrements they sell.  I much prefer gathering and finding notions, making my own paint/glue/seal recipes and using homemade/improvised tools for my creative makings; but, that’s just me.  Whatever your approach, go ahead and give this palm-size activity a try!
linda nelson at the createaerie

Oh, and by the way, I’ll trade ya!

EXPLORE THE WORLD OF ATC’S…….INCHIE BY INCHIE! Read More »

MAKE THIS PUMPKIN!

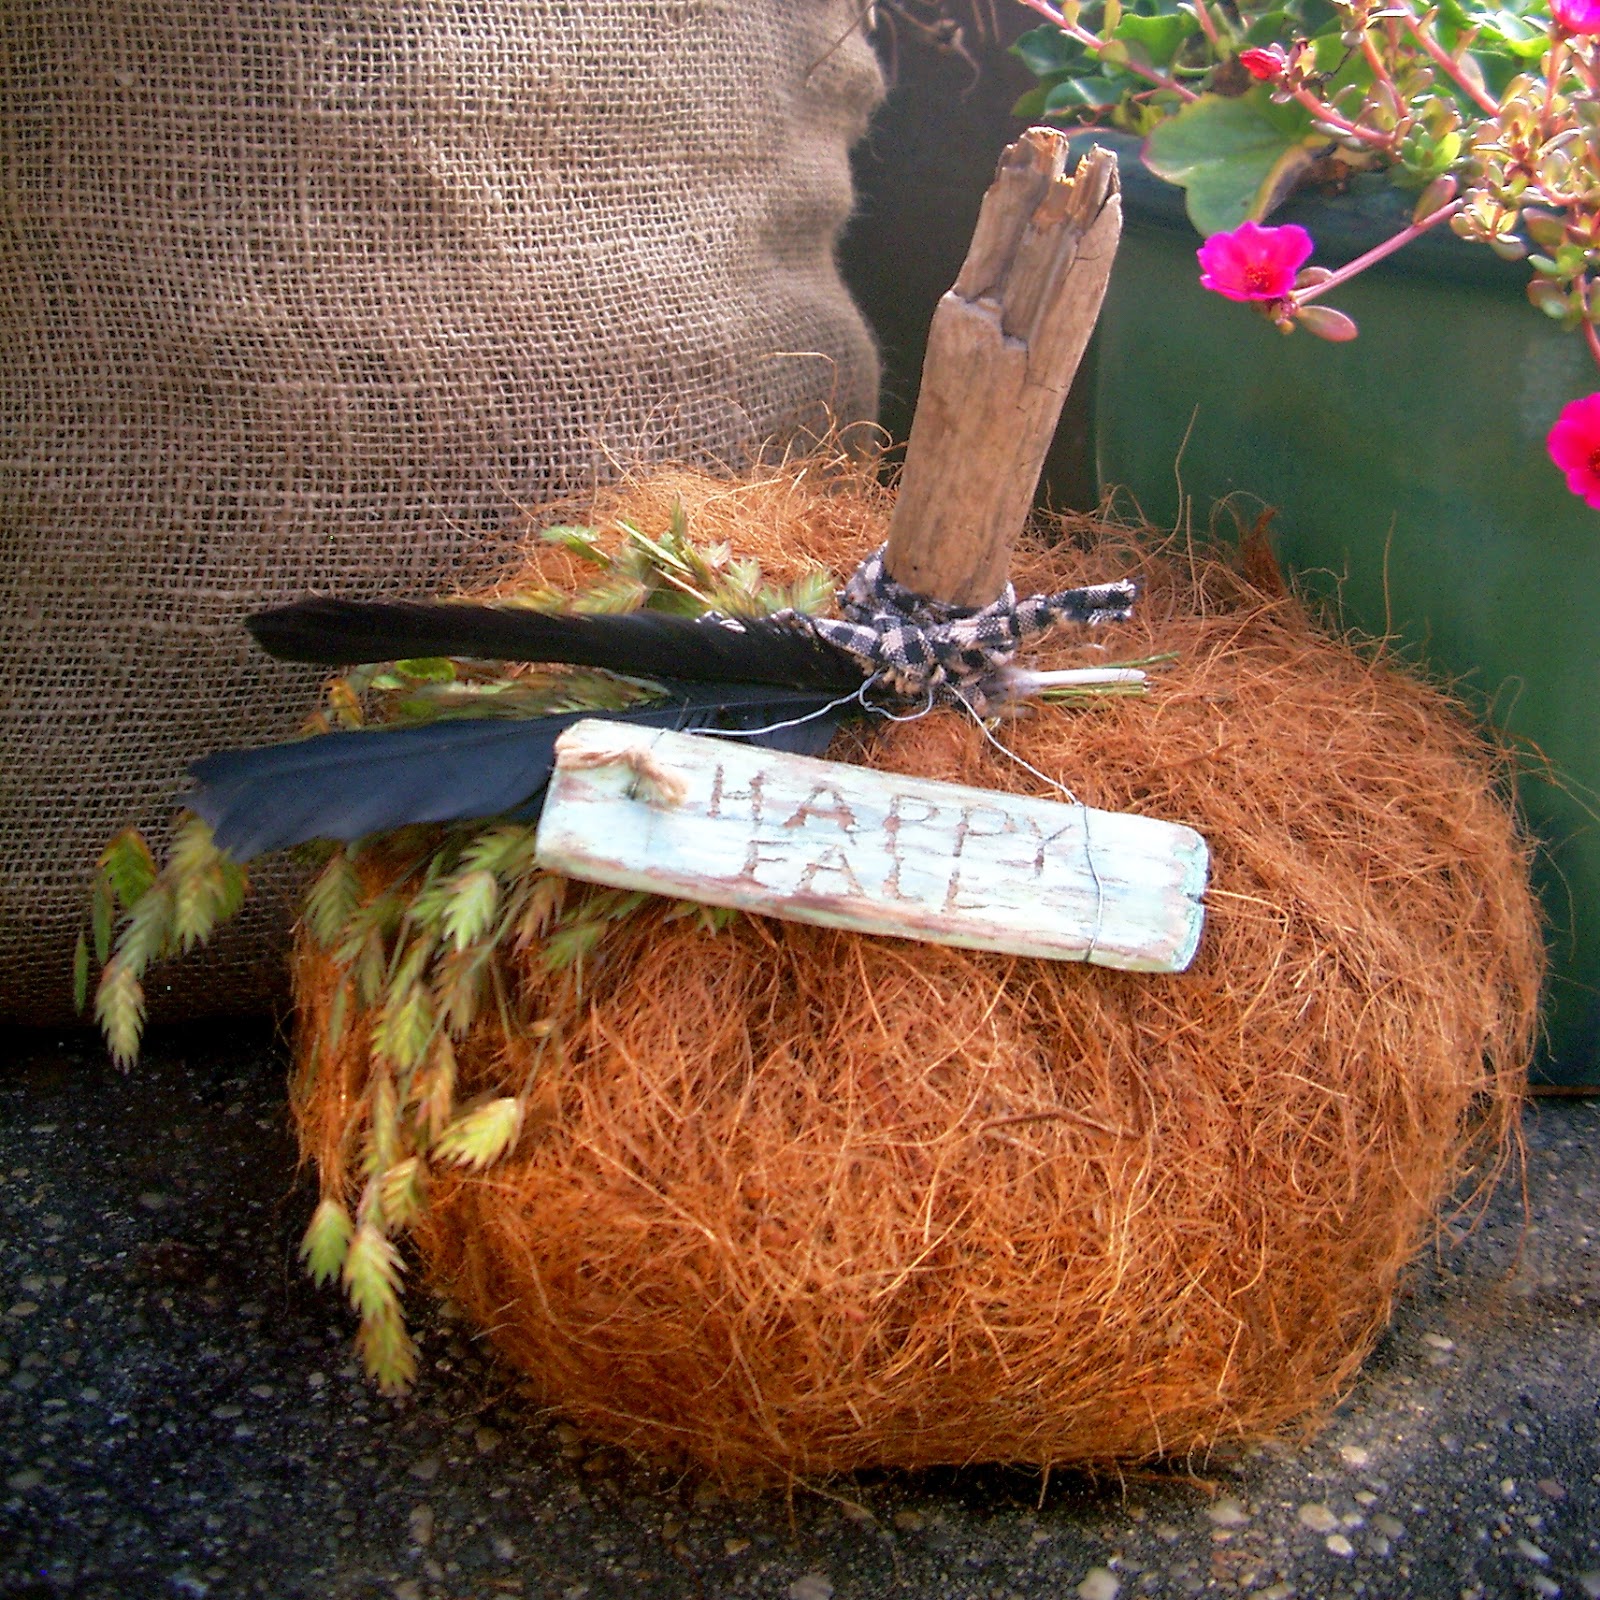
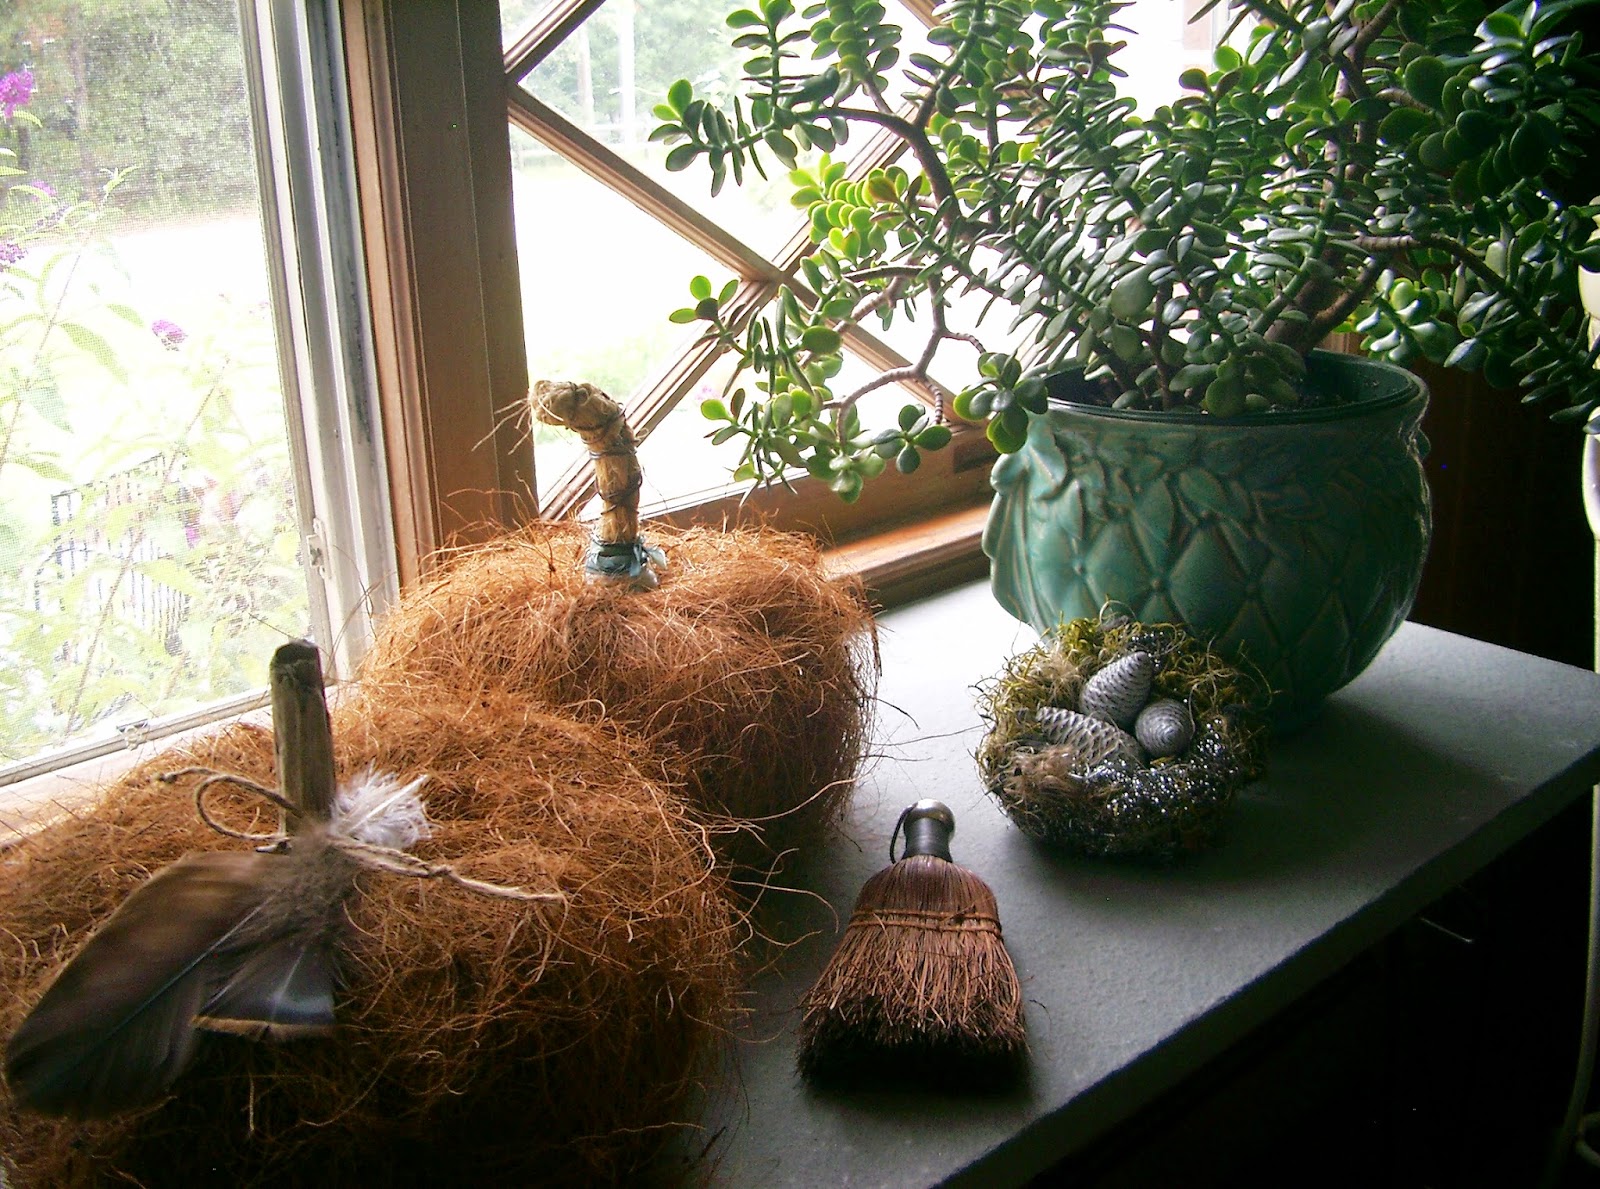
See what fabulousness arises from a coir planter basket liner?  It’s the perfect shape; therefore, there’s no cutting involved.  Are you sold yet?

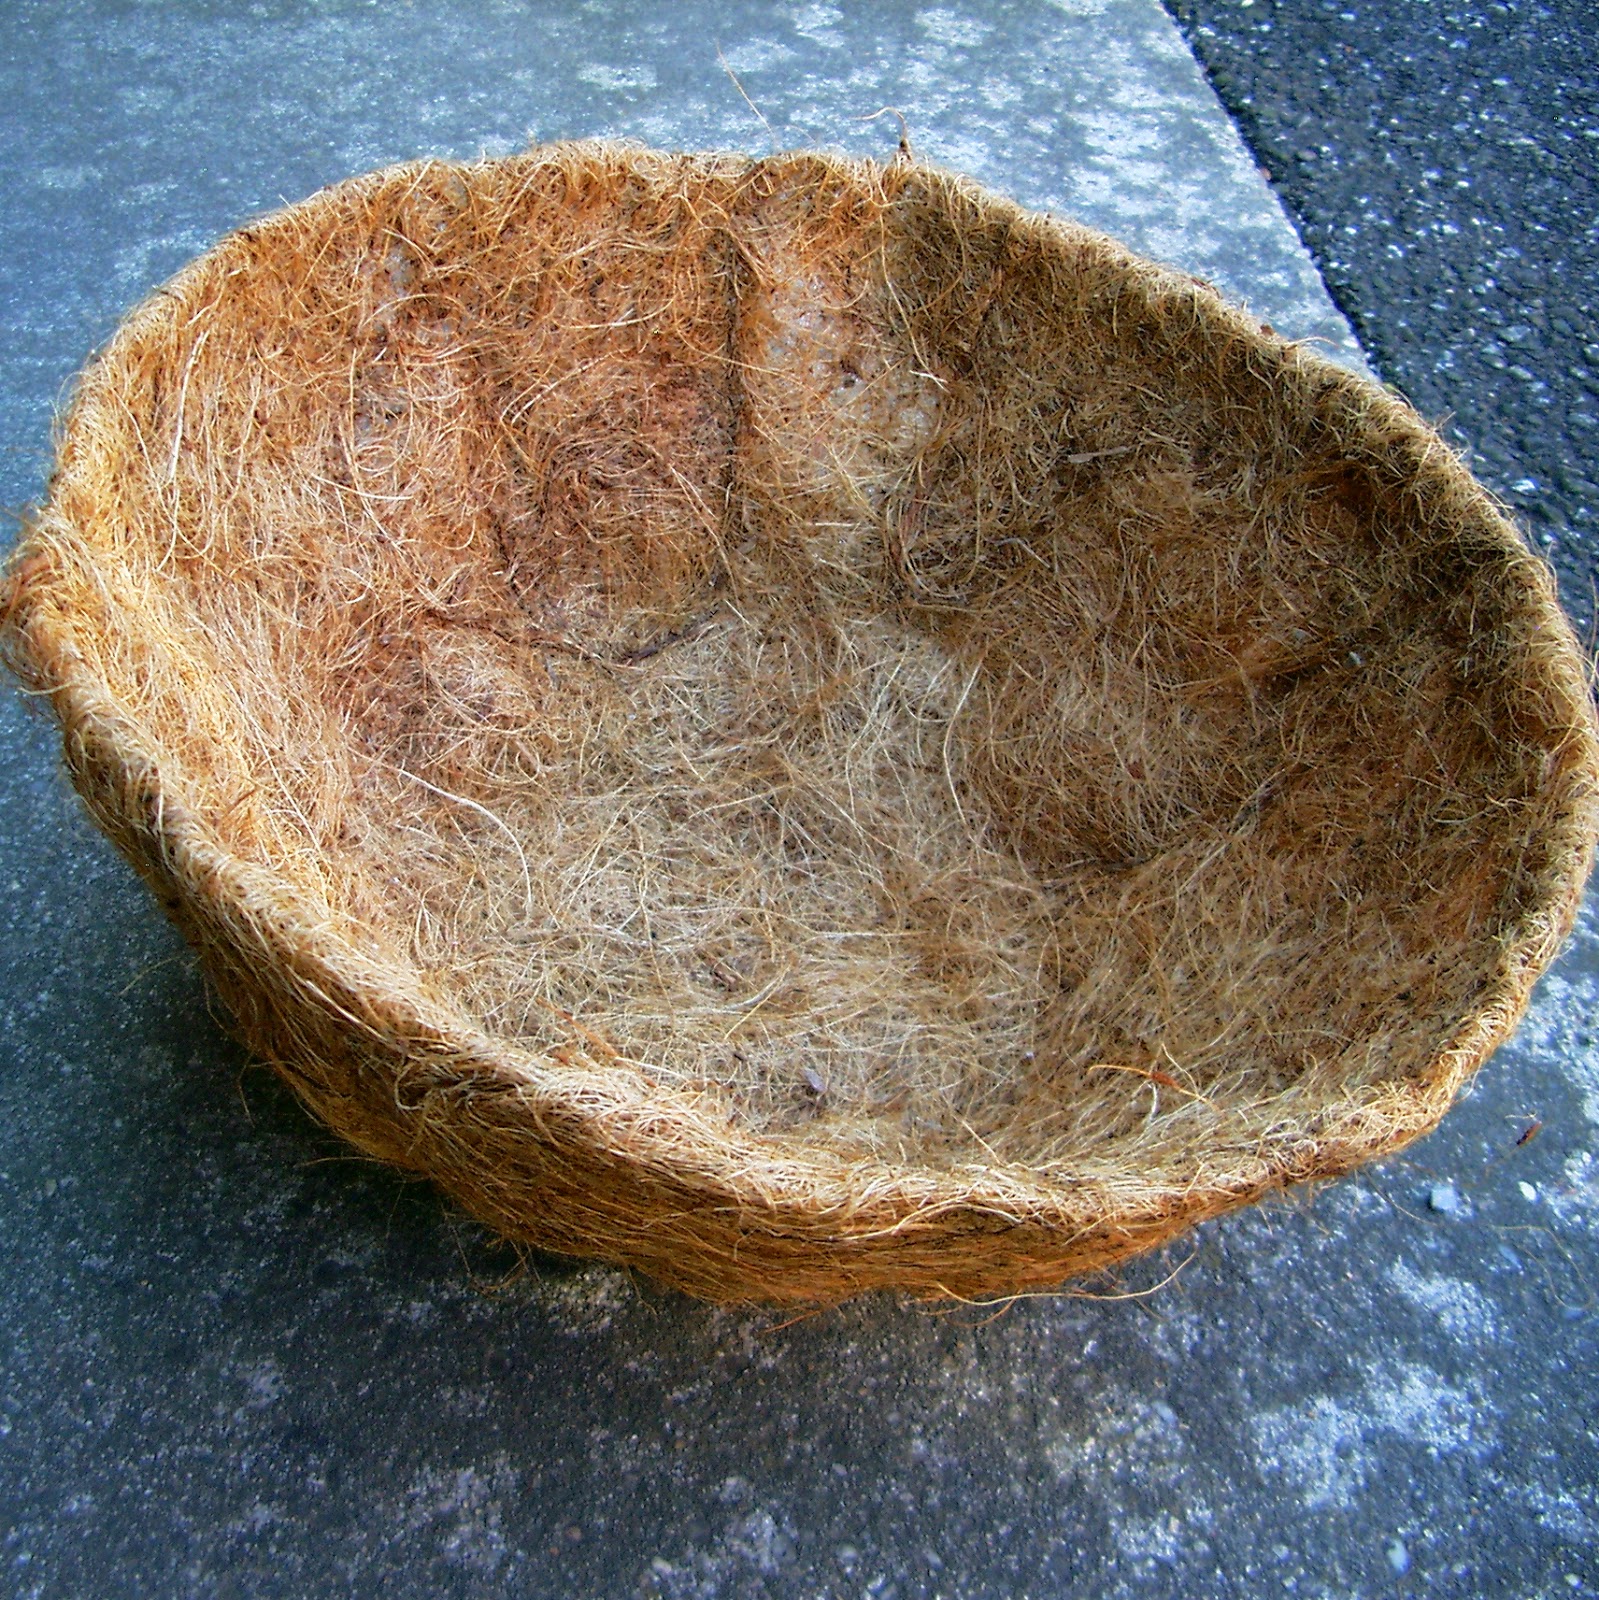
You will need a preformed coco liner that is meant to fit inside a 12″ wire basket planter.

Here’s what you do –
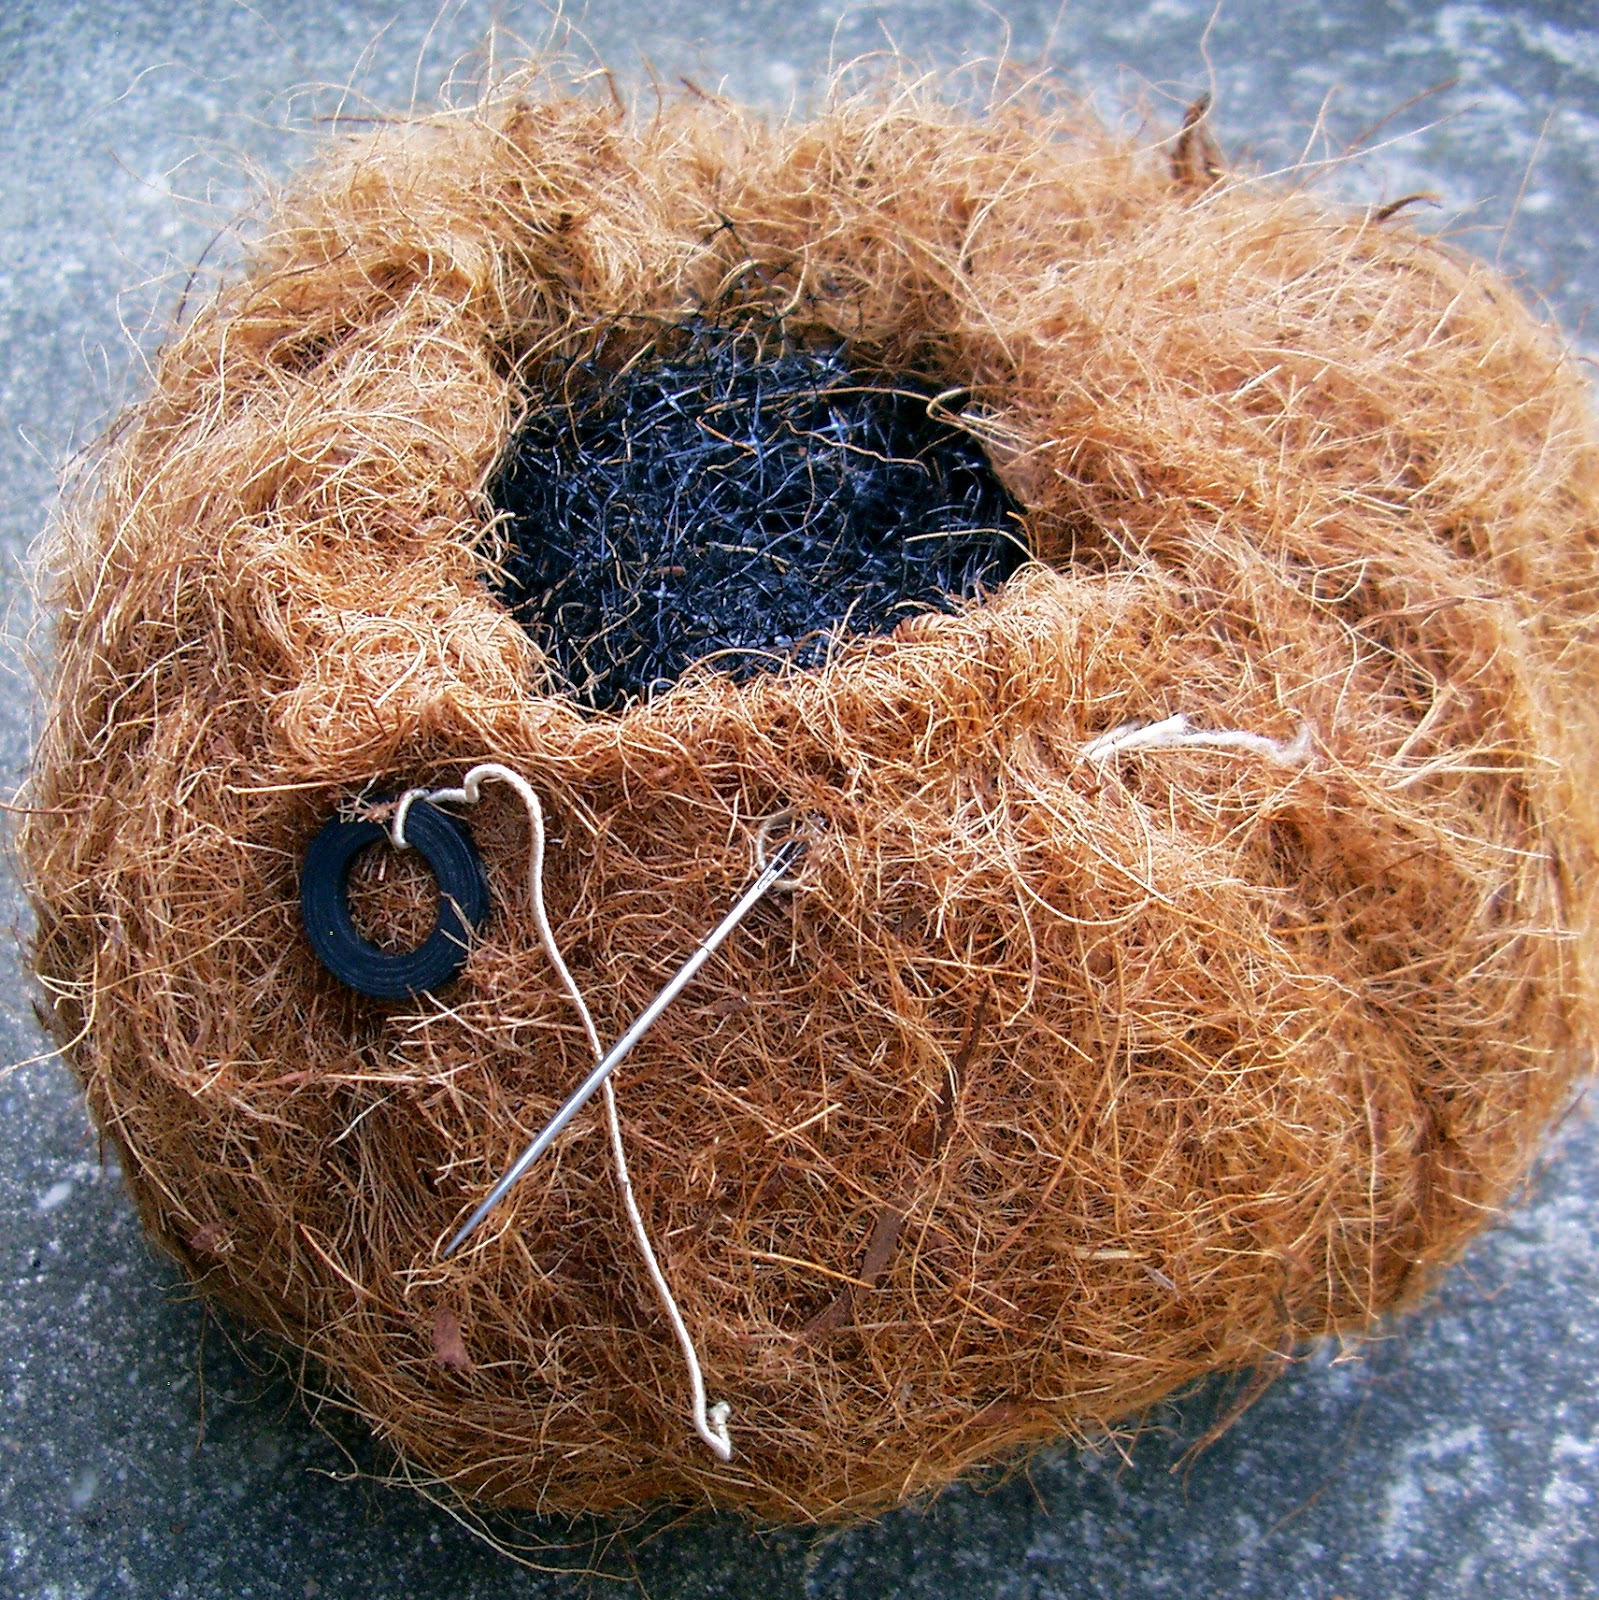
Grap a piece of 24″ twine or jute and an upholstery needle (any needle with an eye big enough to thread the twine through).  Tie one end of the twine onto something to prevent it from slipping through the liner while stitching(I grabbed a washer), and leave about a six inch tail.  Make a simple running stitch all around the circumference of the liner, then cinch it together, leaving a fist-sized opening. Fill your pumpkin with pillow stuffing, shredded newspaper, plastic bags or something of that nature.  I used some old garden netting.  Talk about being resourceful!


Now, cinch it up as tight as you can, remove the washer and tie the twine ends together.  Grab your stem, which could be a branch, an actual pumpkin stem, one formed and shaped out of wire….. (basically, whatever floats your boat) and stuff it where it belongs.  You’re done!  Painless.  Absolutely painless.  The decorative part is up to you.  I happen to appreciate a simple, natural and rustic look, but you may want to push your embellishing ways over the edge.


There you have it.

Now, get creative.


MAKE THIS PUMPKIN! Read More »

THE SHOP ROOM PUMPKIN

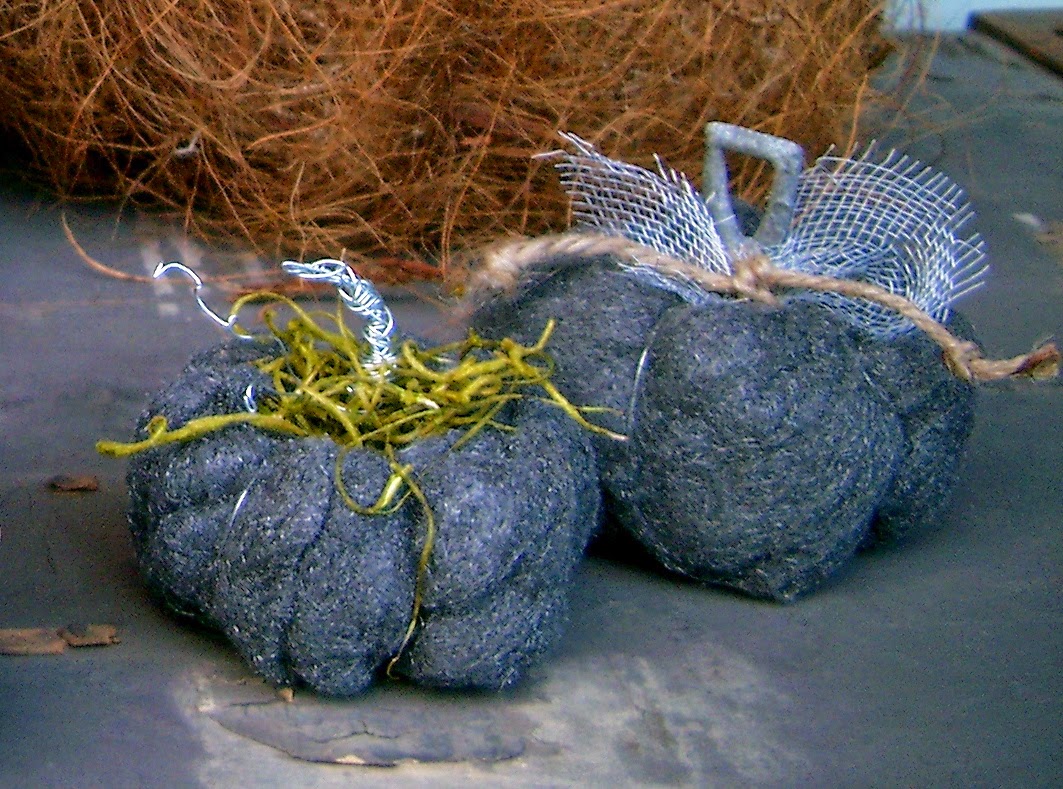
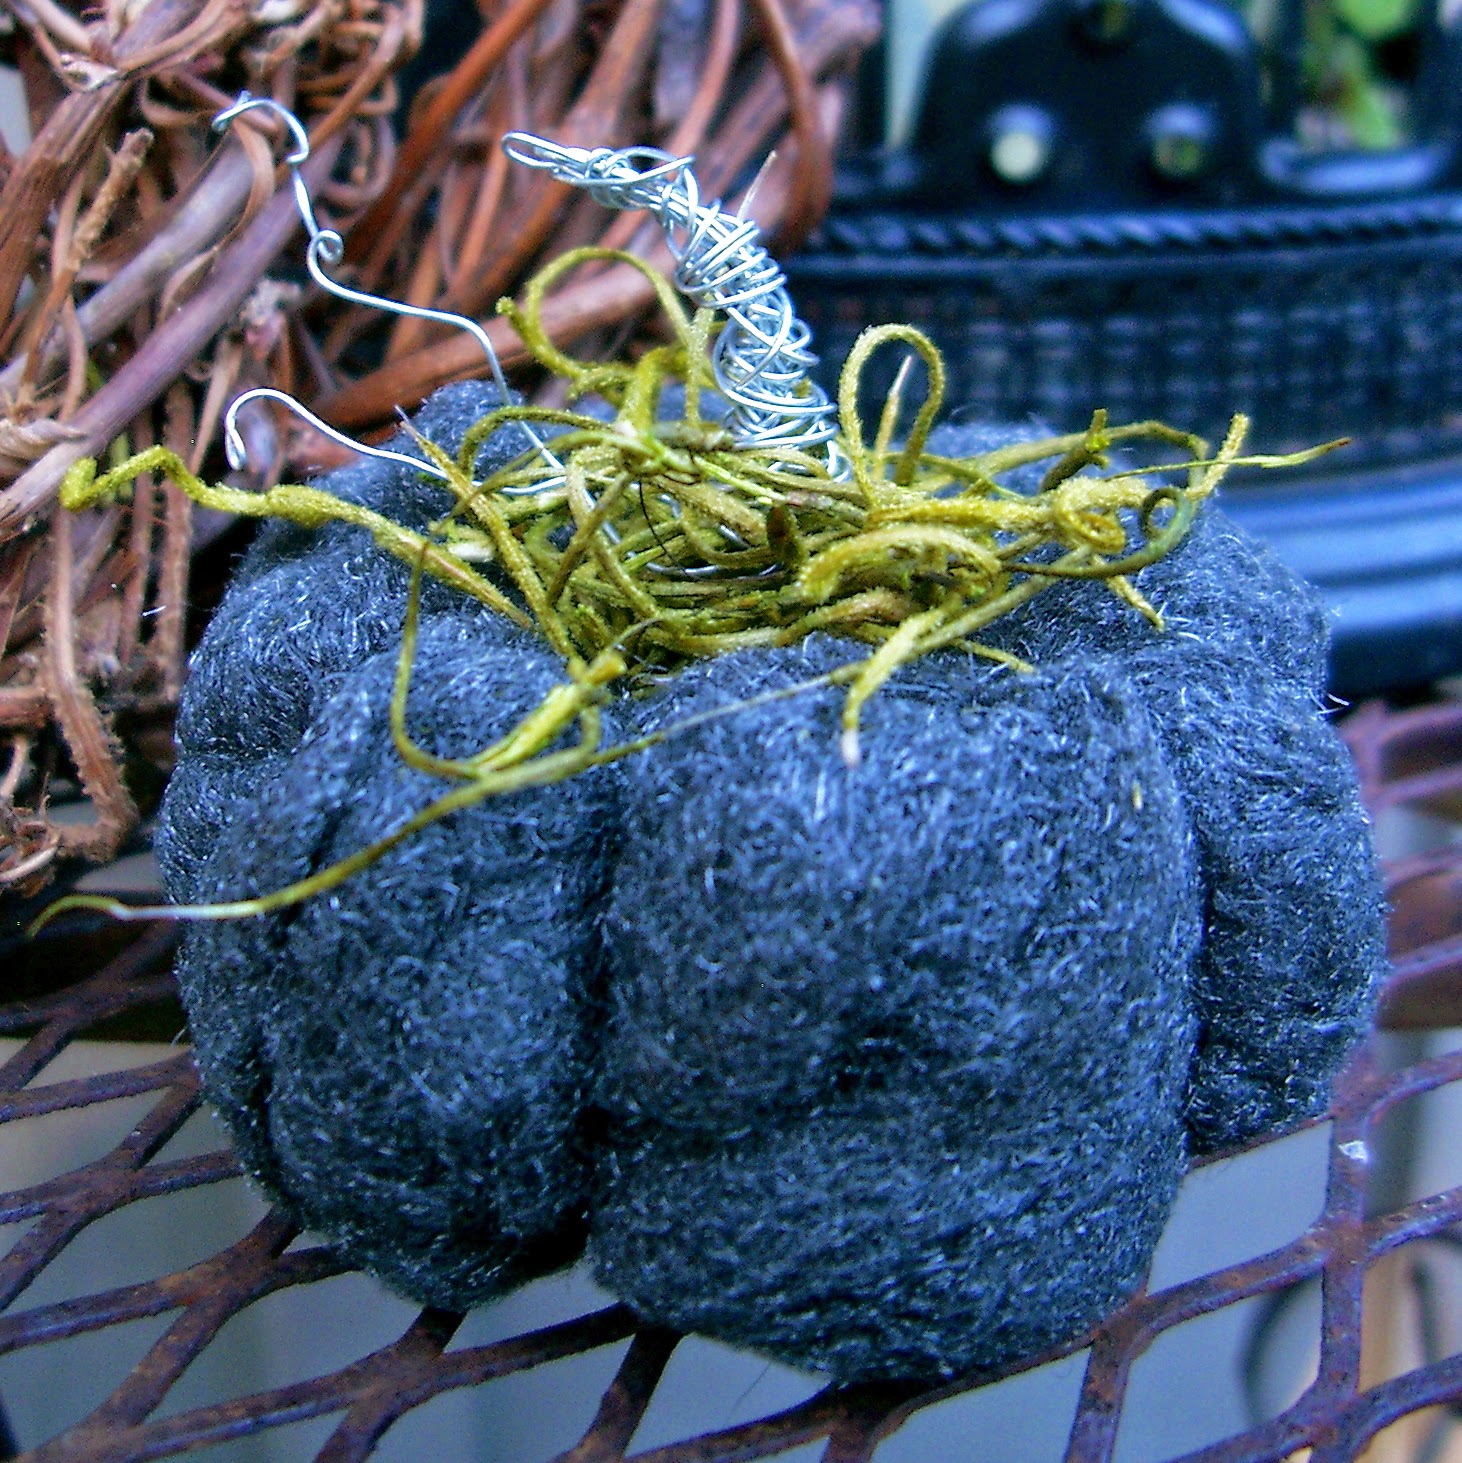
I present to you, the palm-sized shop room pumpkin – “made for a man, yet still decorative enough for a woman”.

To make one, here’s what you do –

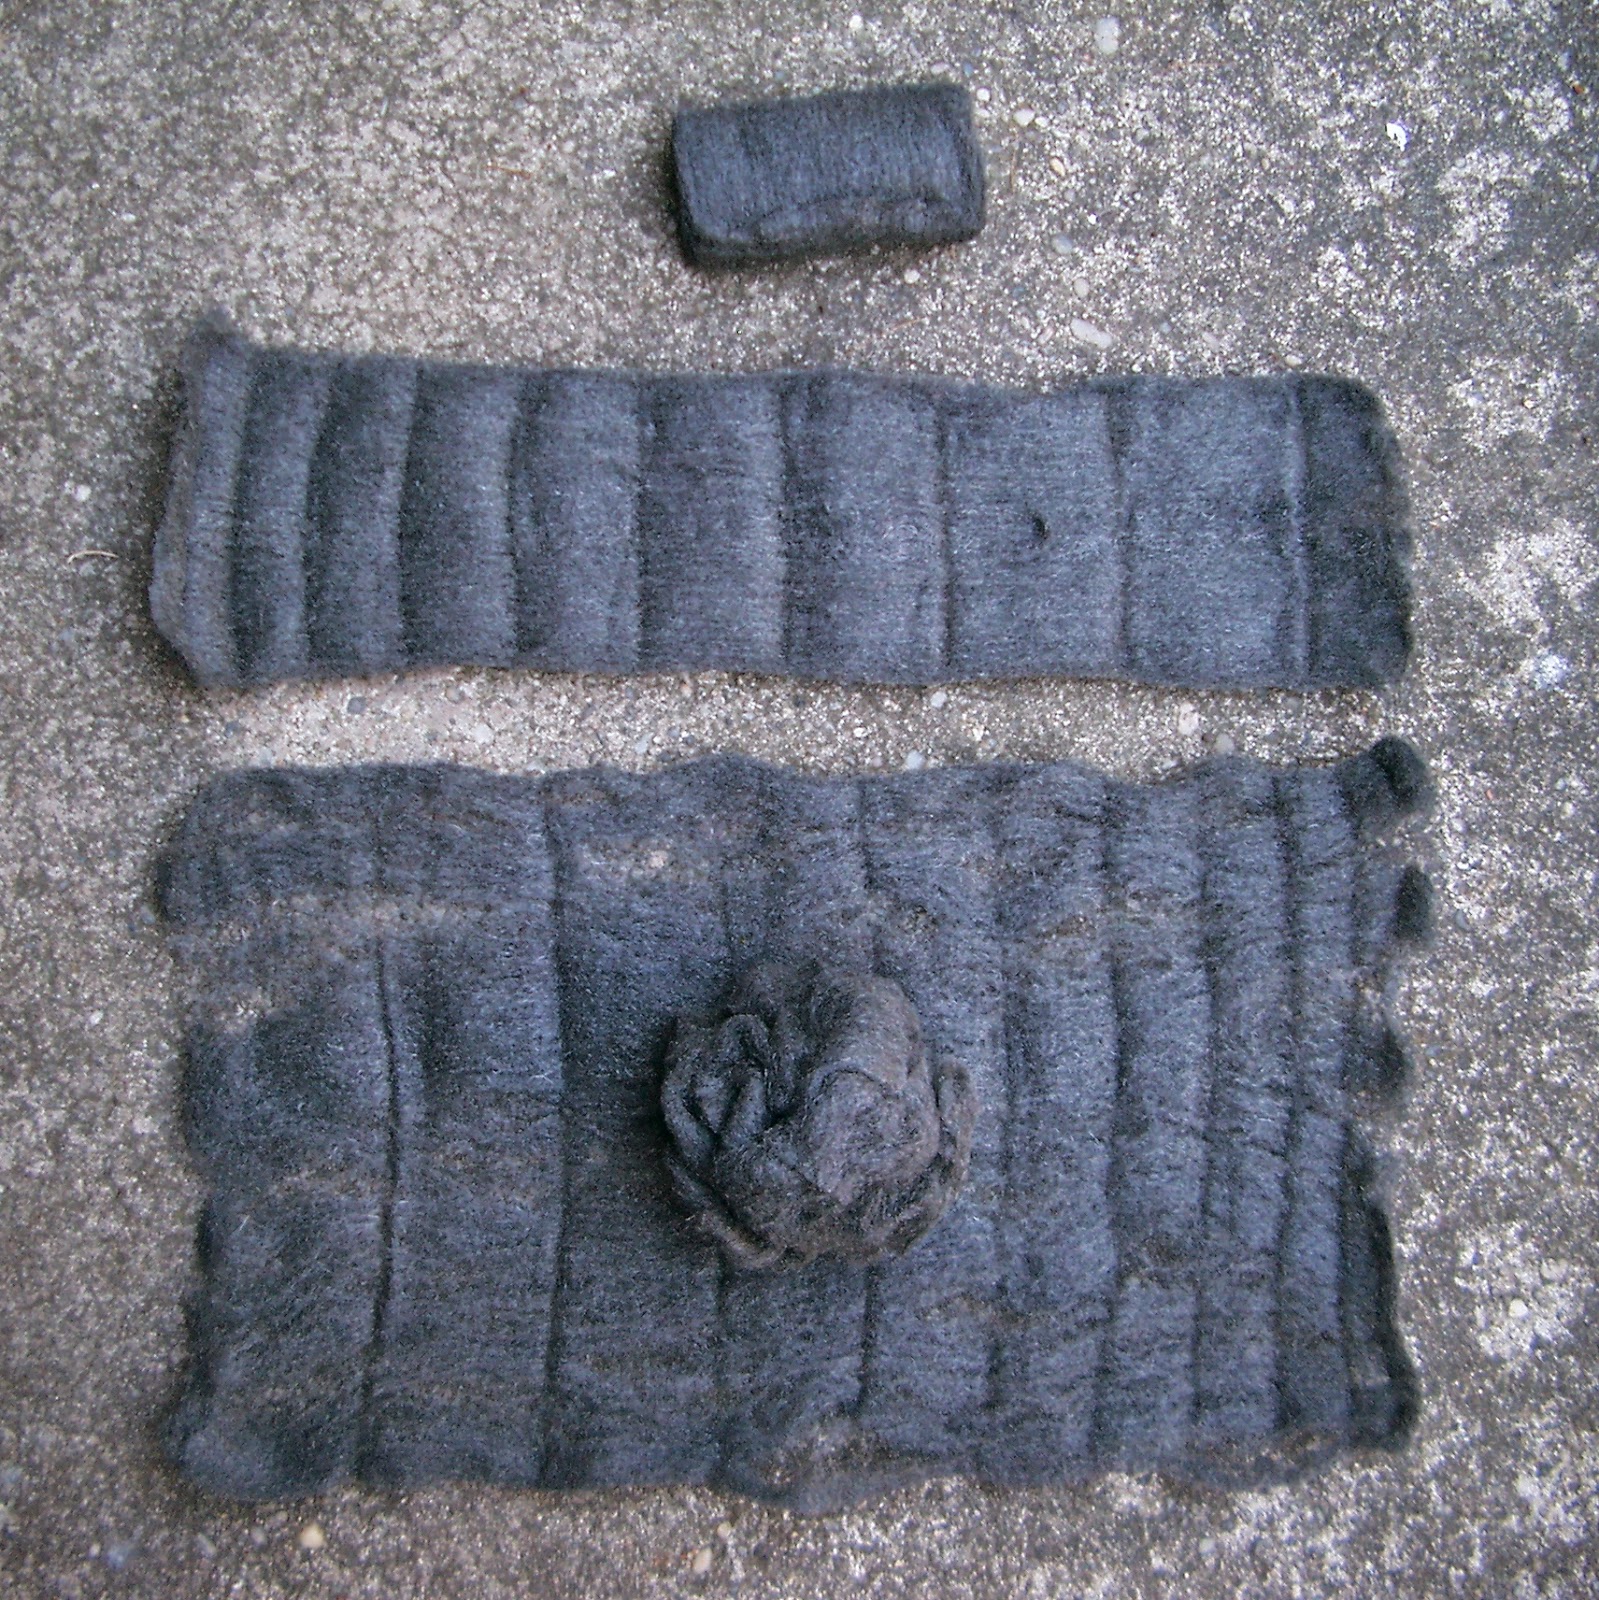
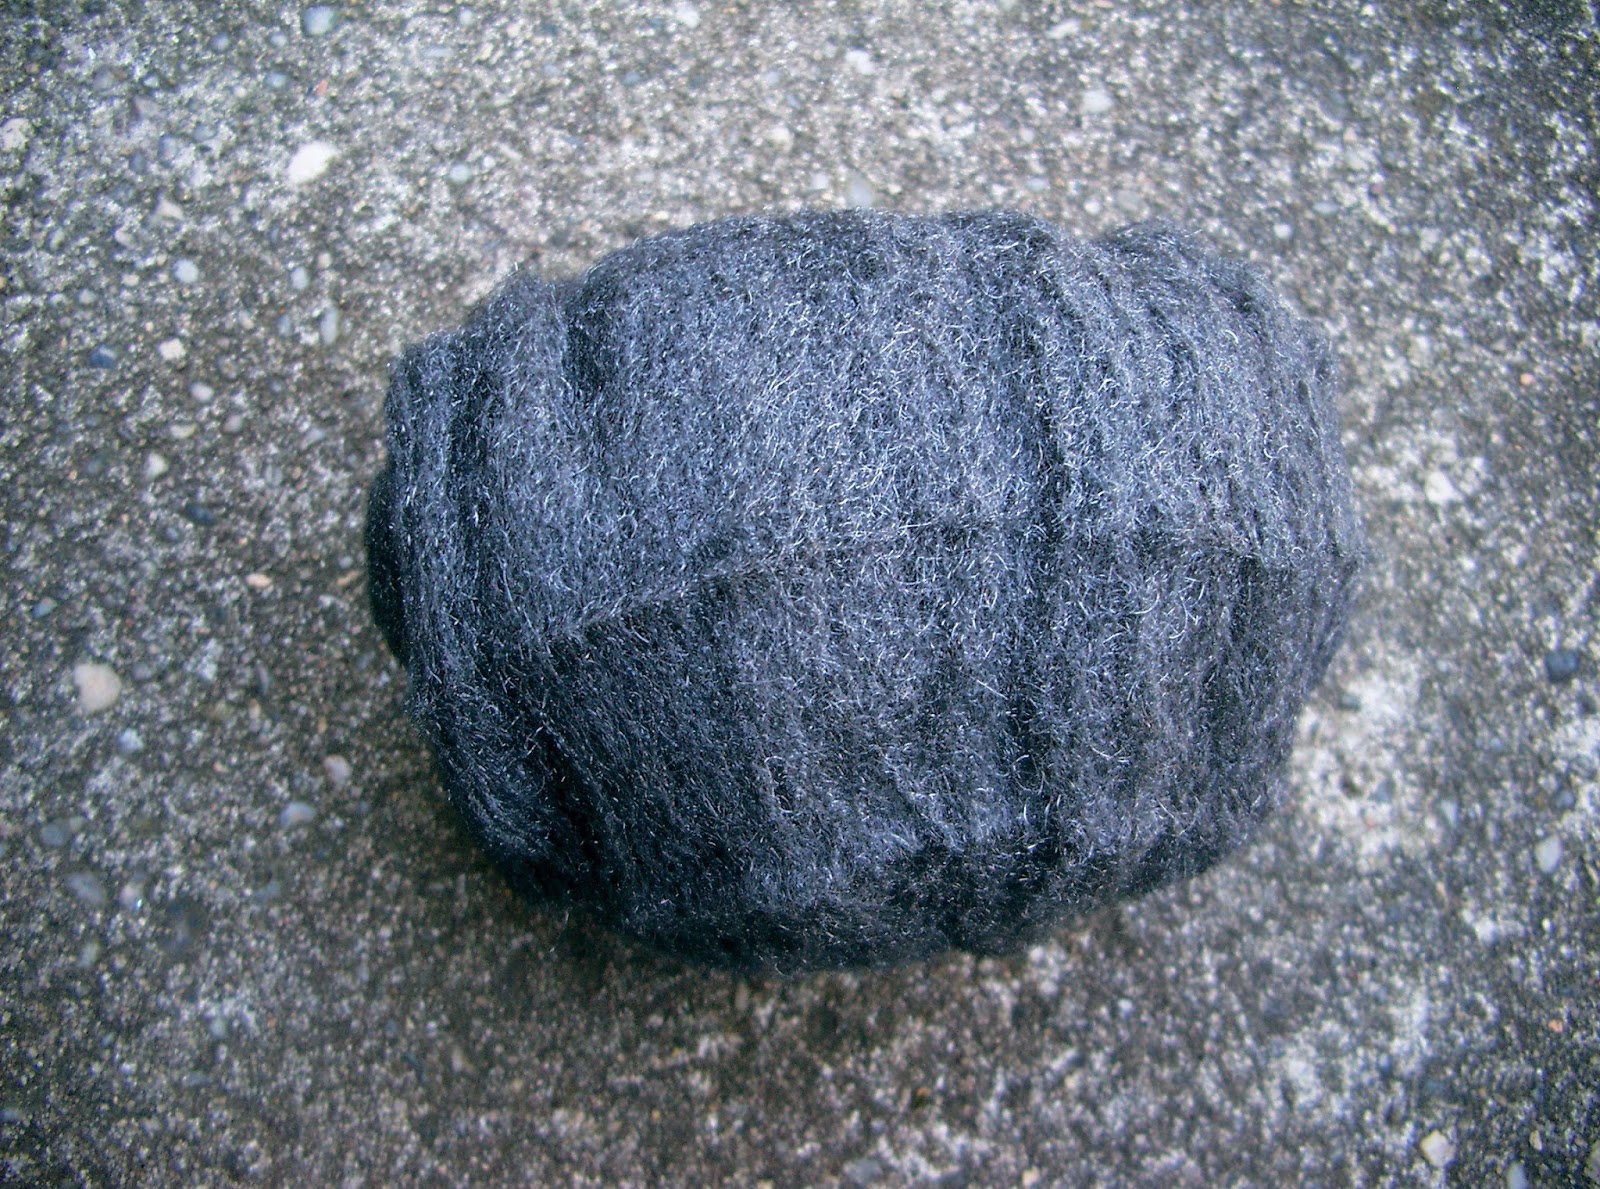
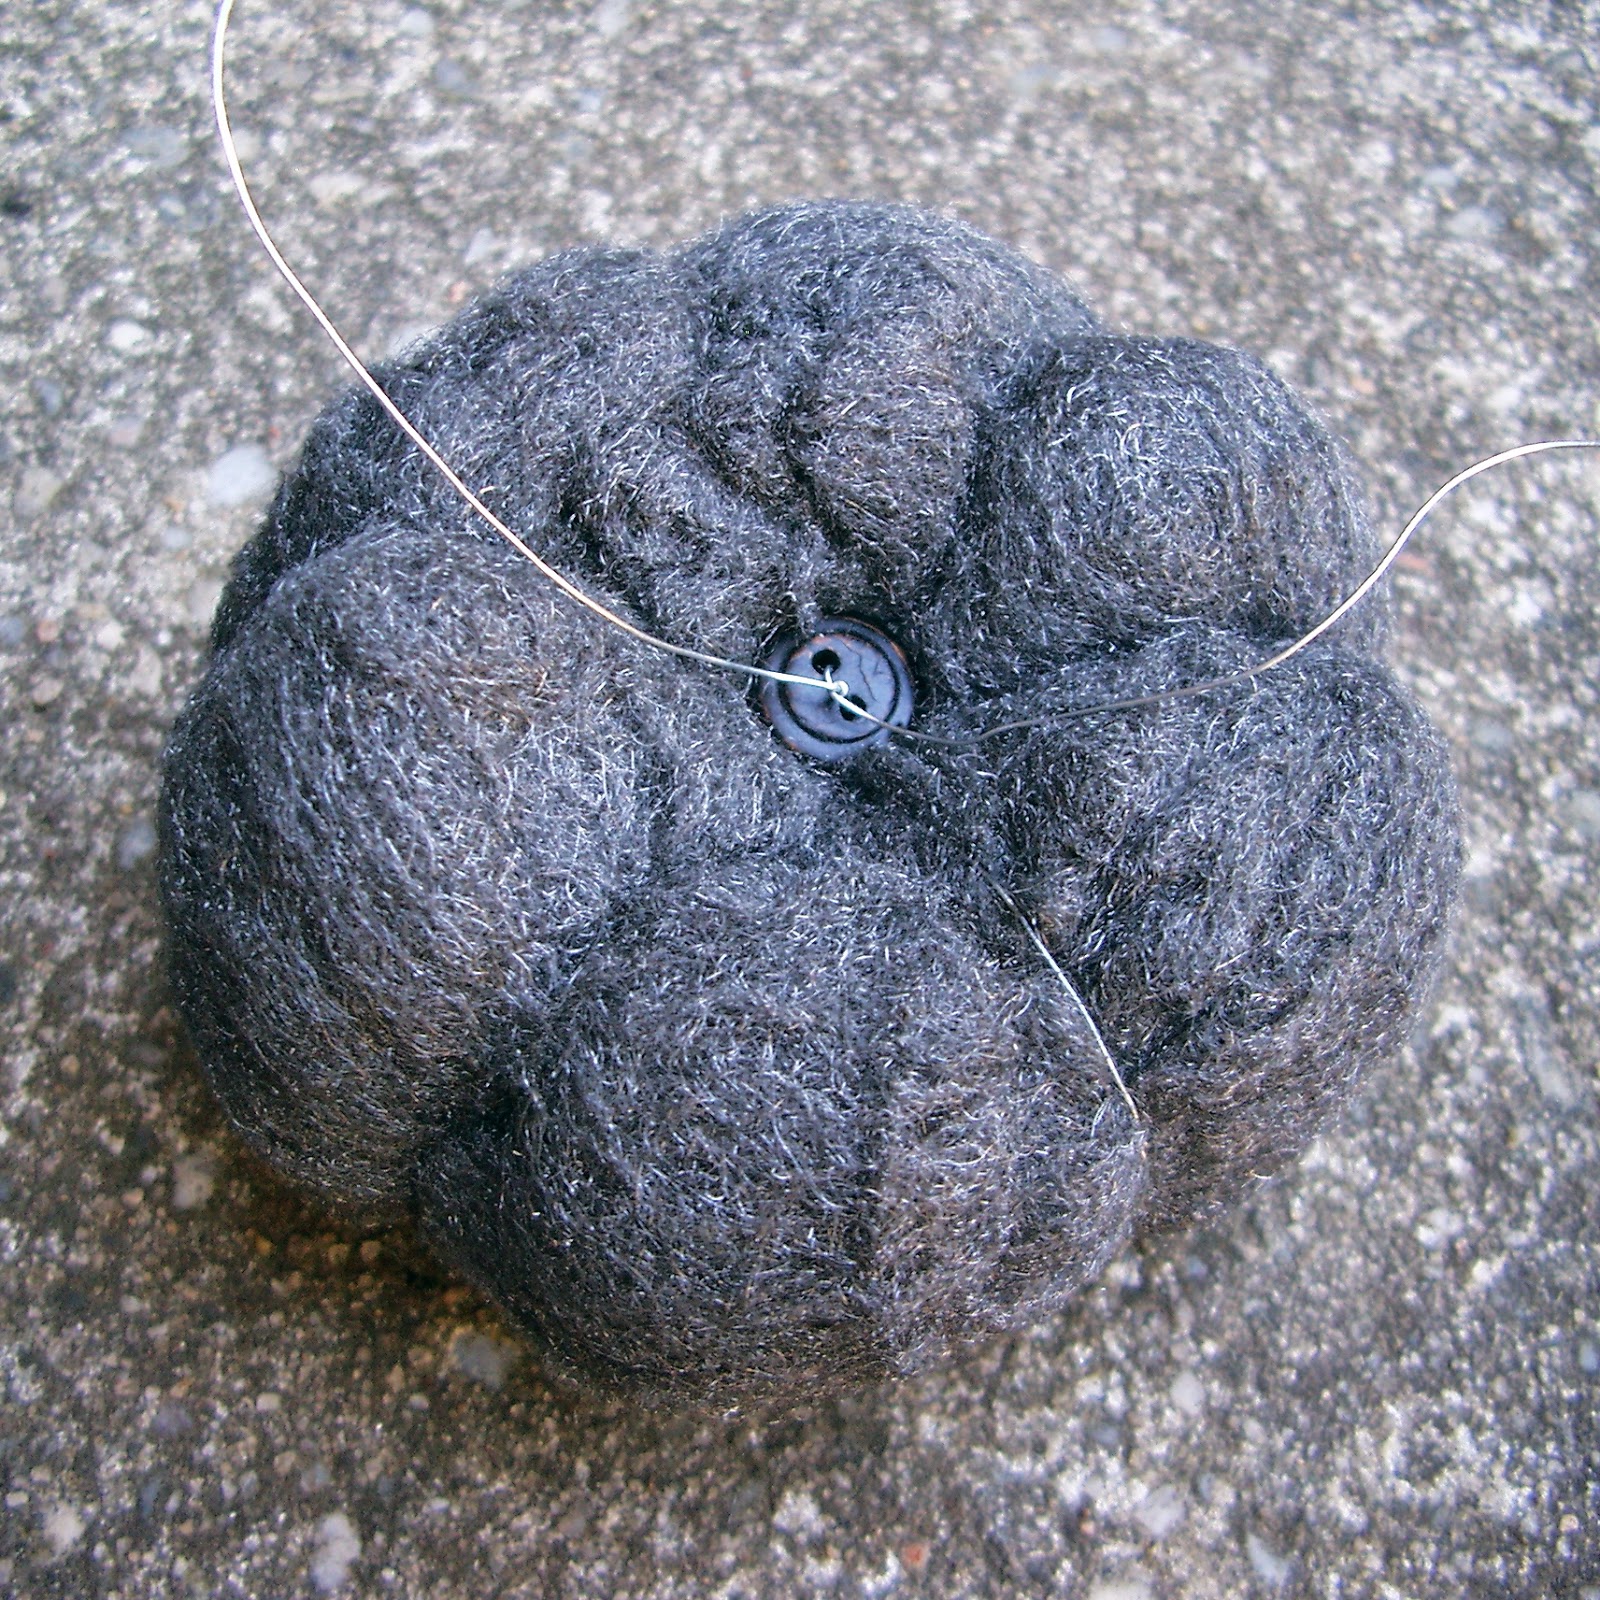
Unroll two wads of #000 extra fine steel wool(sold in packages at any hardware store) and gently stretch their fibers lengthwise and widthwise to make two very thin sheets.  Roll one sheet up into a ball; use the other sheet to cover over it to make it larger.  Gently cup it in your palm and shape it into a nice ball.

©LInda Nelson 2014

Using a 3 1/2 ft. piece of florist’s wire and a tapestry needle, create your pumpkin grooves.  To do this, feed the wire down the center, then come up on the outside, feed the wire down the center again, then come up on the outside a little bit further away from the previous section, and continue until you have created six sections.  Remember to leave about a 6 inch tail of wire; you’ll twist it together with the other end when you’re done with this step.  Maintain an equal tension with all groove sections.  Stick the wire ends into a tiny two-hole button, then twist to secure.  The button step isn’t absolutely necessary; twisting the wire ends together is probably sufficient enough.  Snip off the excess wire ends or leave them intact to use as curlicue tendrils.

The remaining steps for making this pumpkin are open to your imagination.  Glam this pumpkin up, take it down an industrial route or anywhere in between.

To make a smaller pumpkin, use only one sheet and simply roll it up into a ball, then proceed as directed.

There you have it.

Now, get creative.

THE SHOP ROOM PUMPKIN Read More »

LATE SUMMER SCAVENGING AND MORE…

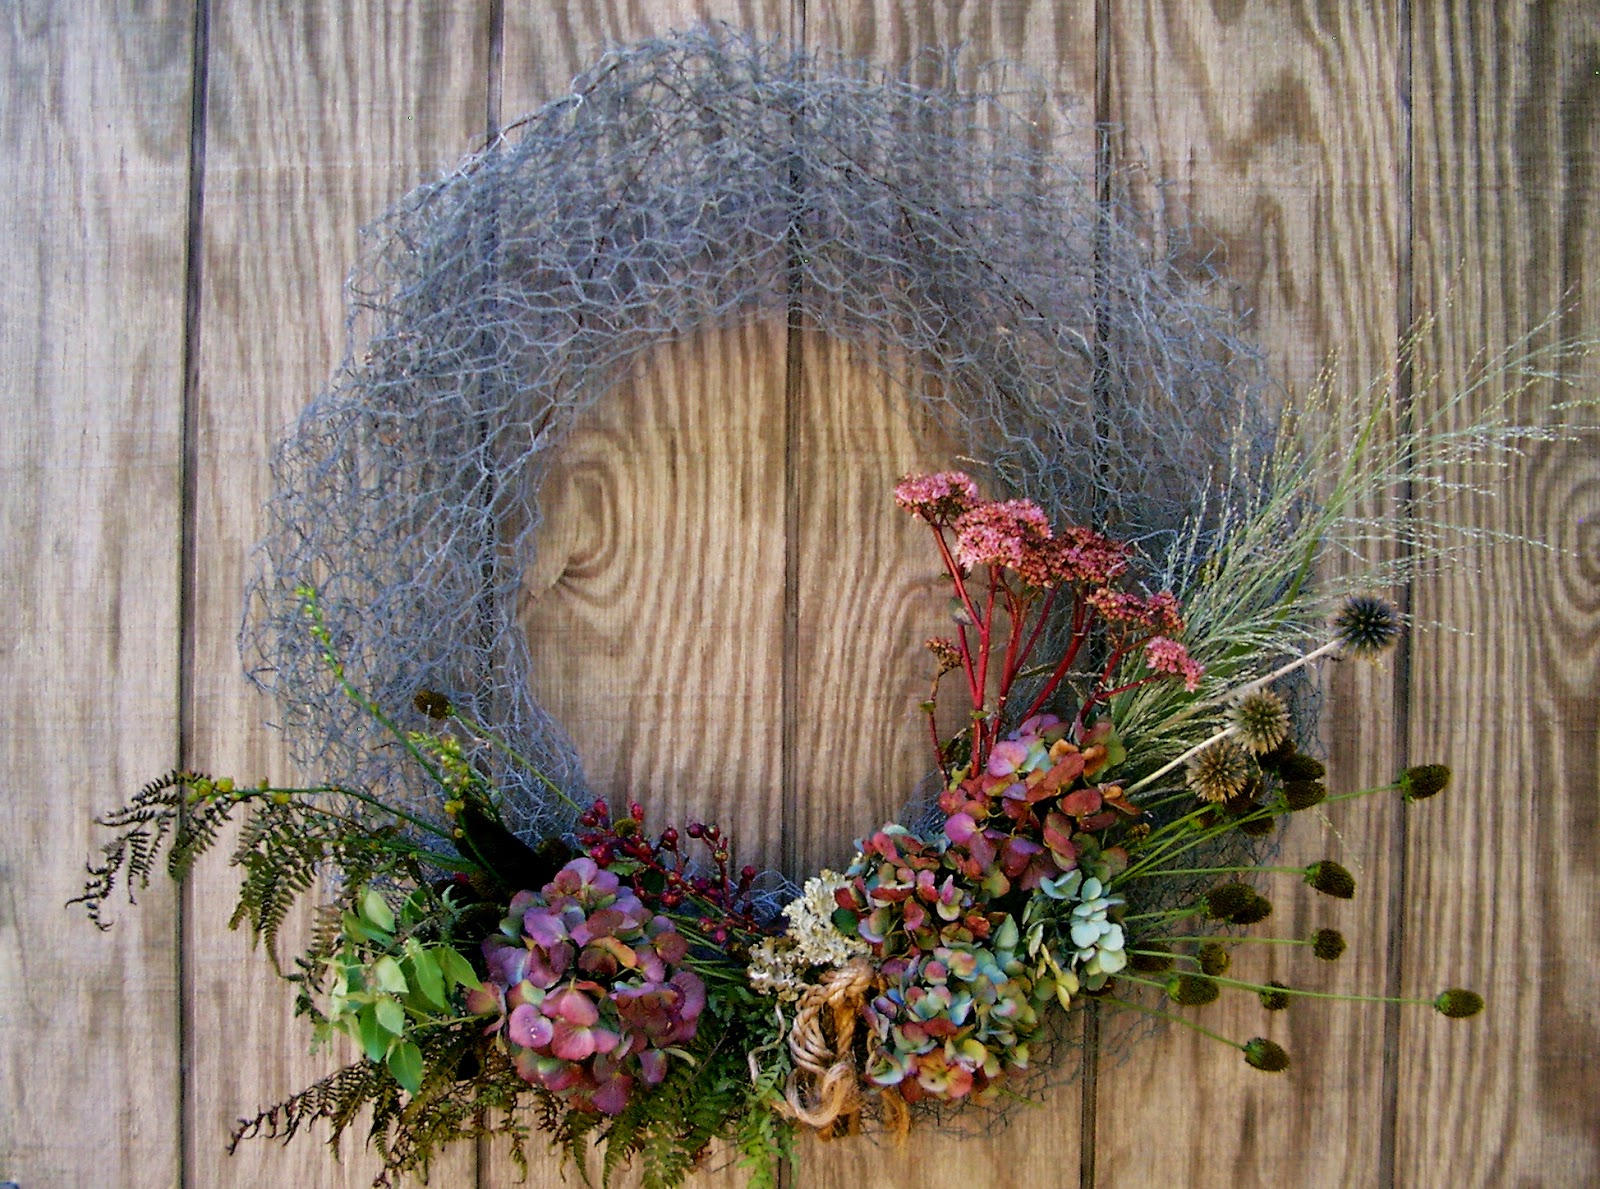
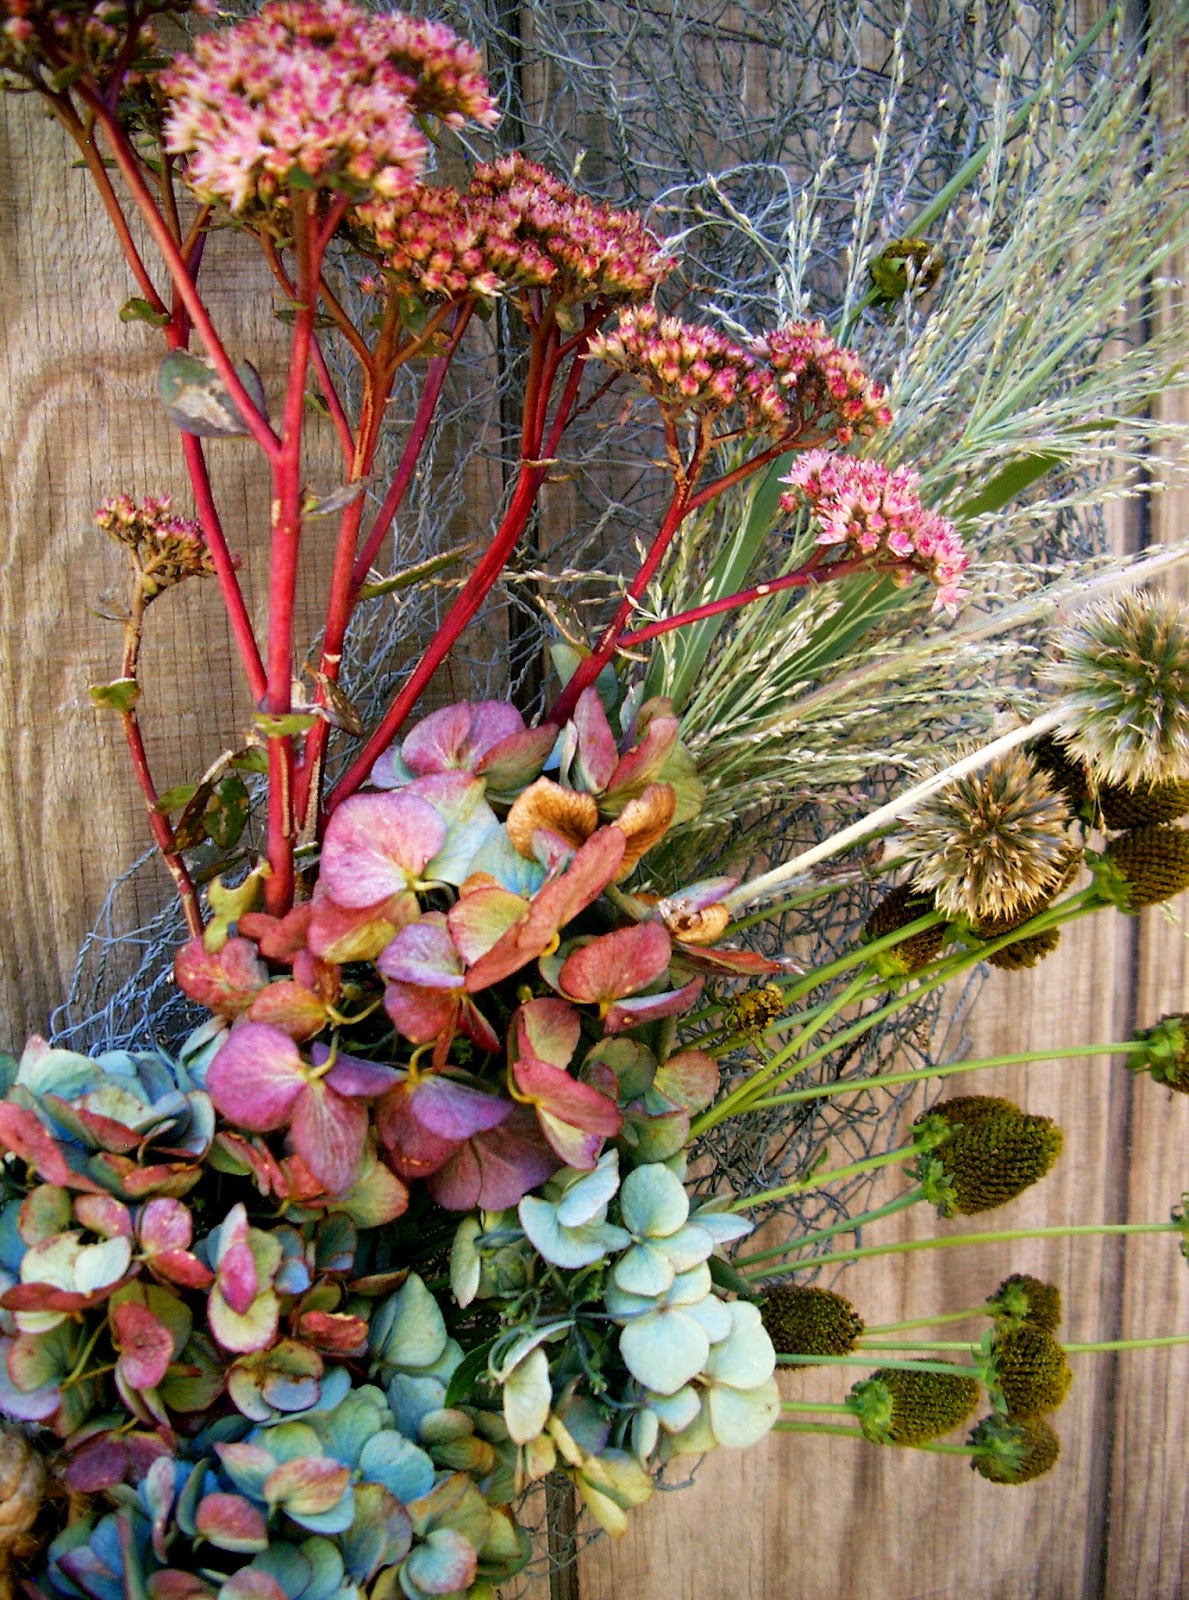
Done any late summer garden scavenging?  I have, and this is what I did with some of my findings.  If you’d like to make something similar, then read on.

©Linda Nelson 2014

I grabbed a ten foot length of scrap chicken wire, gently scrunched and twisted it, wrapped it around itself to double it up, then flattened it out and shaped it to my liking.  I then simply shoved my findings into the twisted and kinked wire form.

A scrap piece of triple-ply jute as an added embellishment, and I was done.  Now, it’s your turn to scavenge around and give it a try.

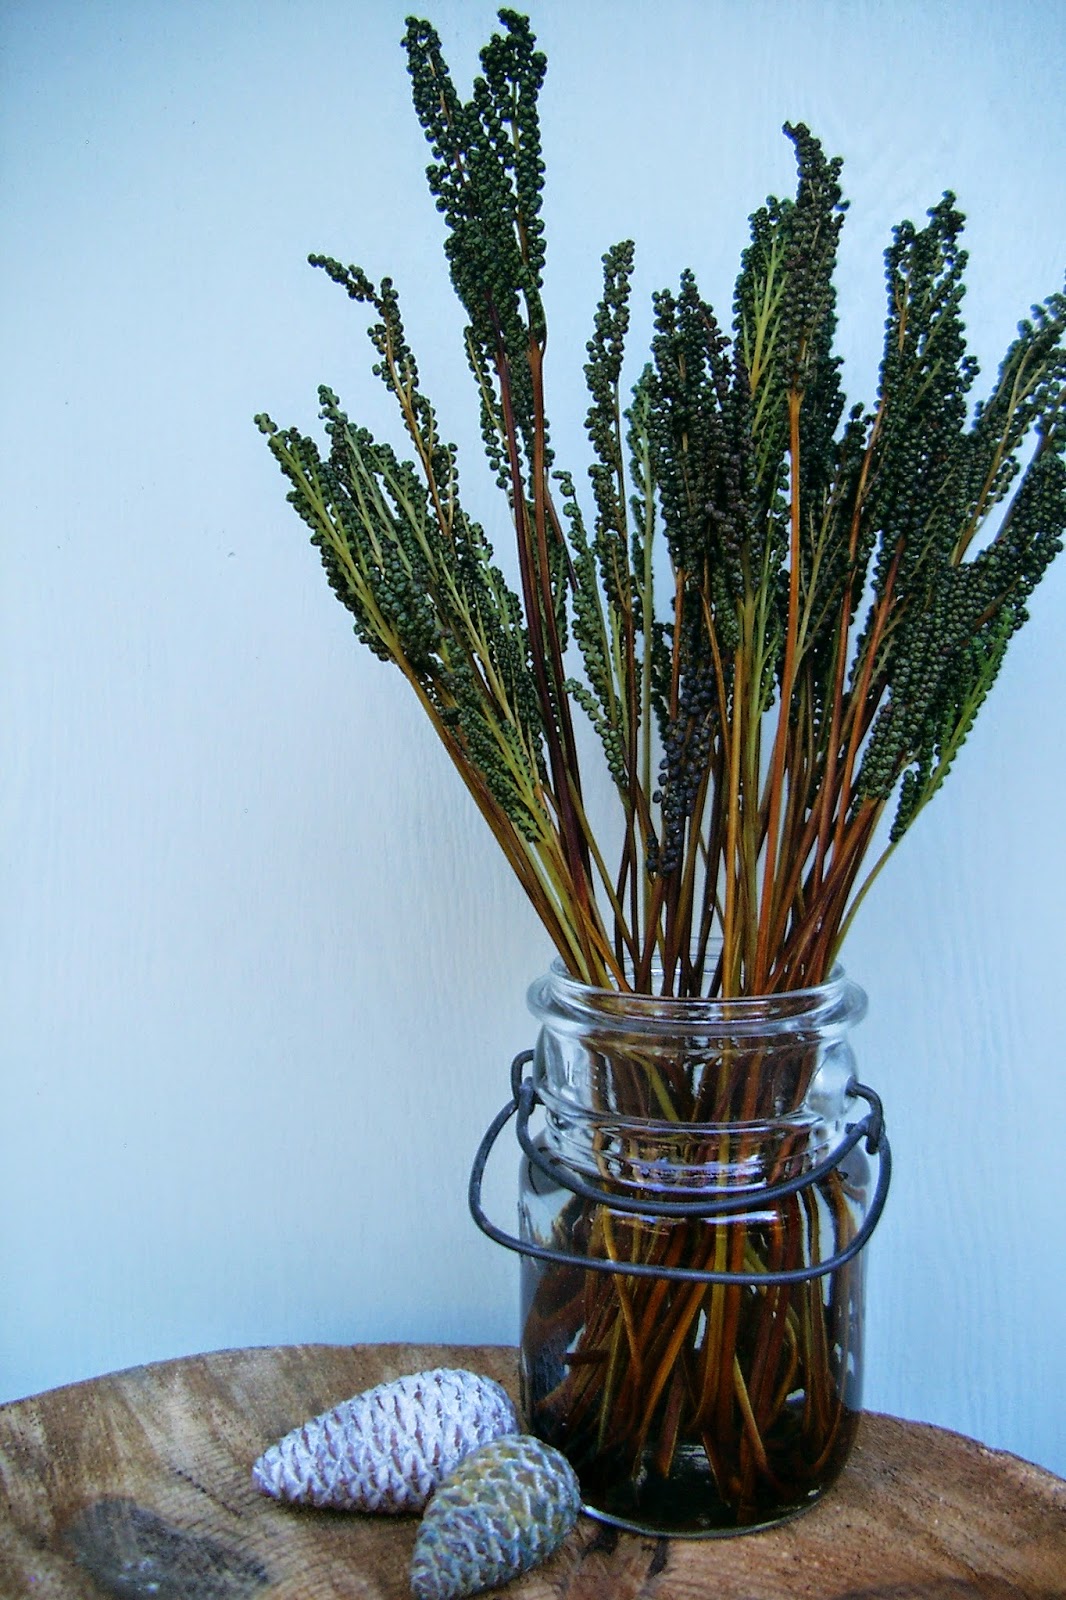
These little garden jewel stalks are actually the fertile fronds of the sensitive fern (Onoclea sensibilis).  Aren’t they pretty?  They look like dark emerald beads on a stick, hence their other nickname, the ‘bead fern’.

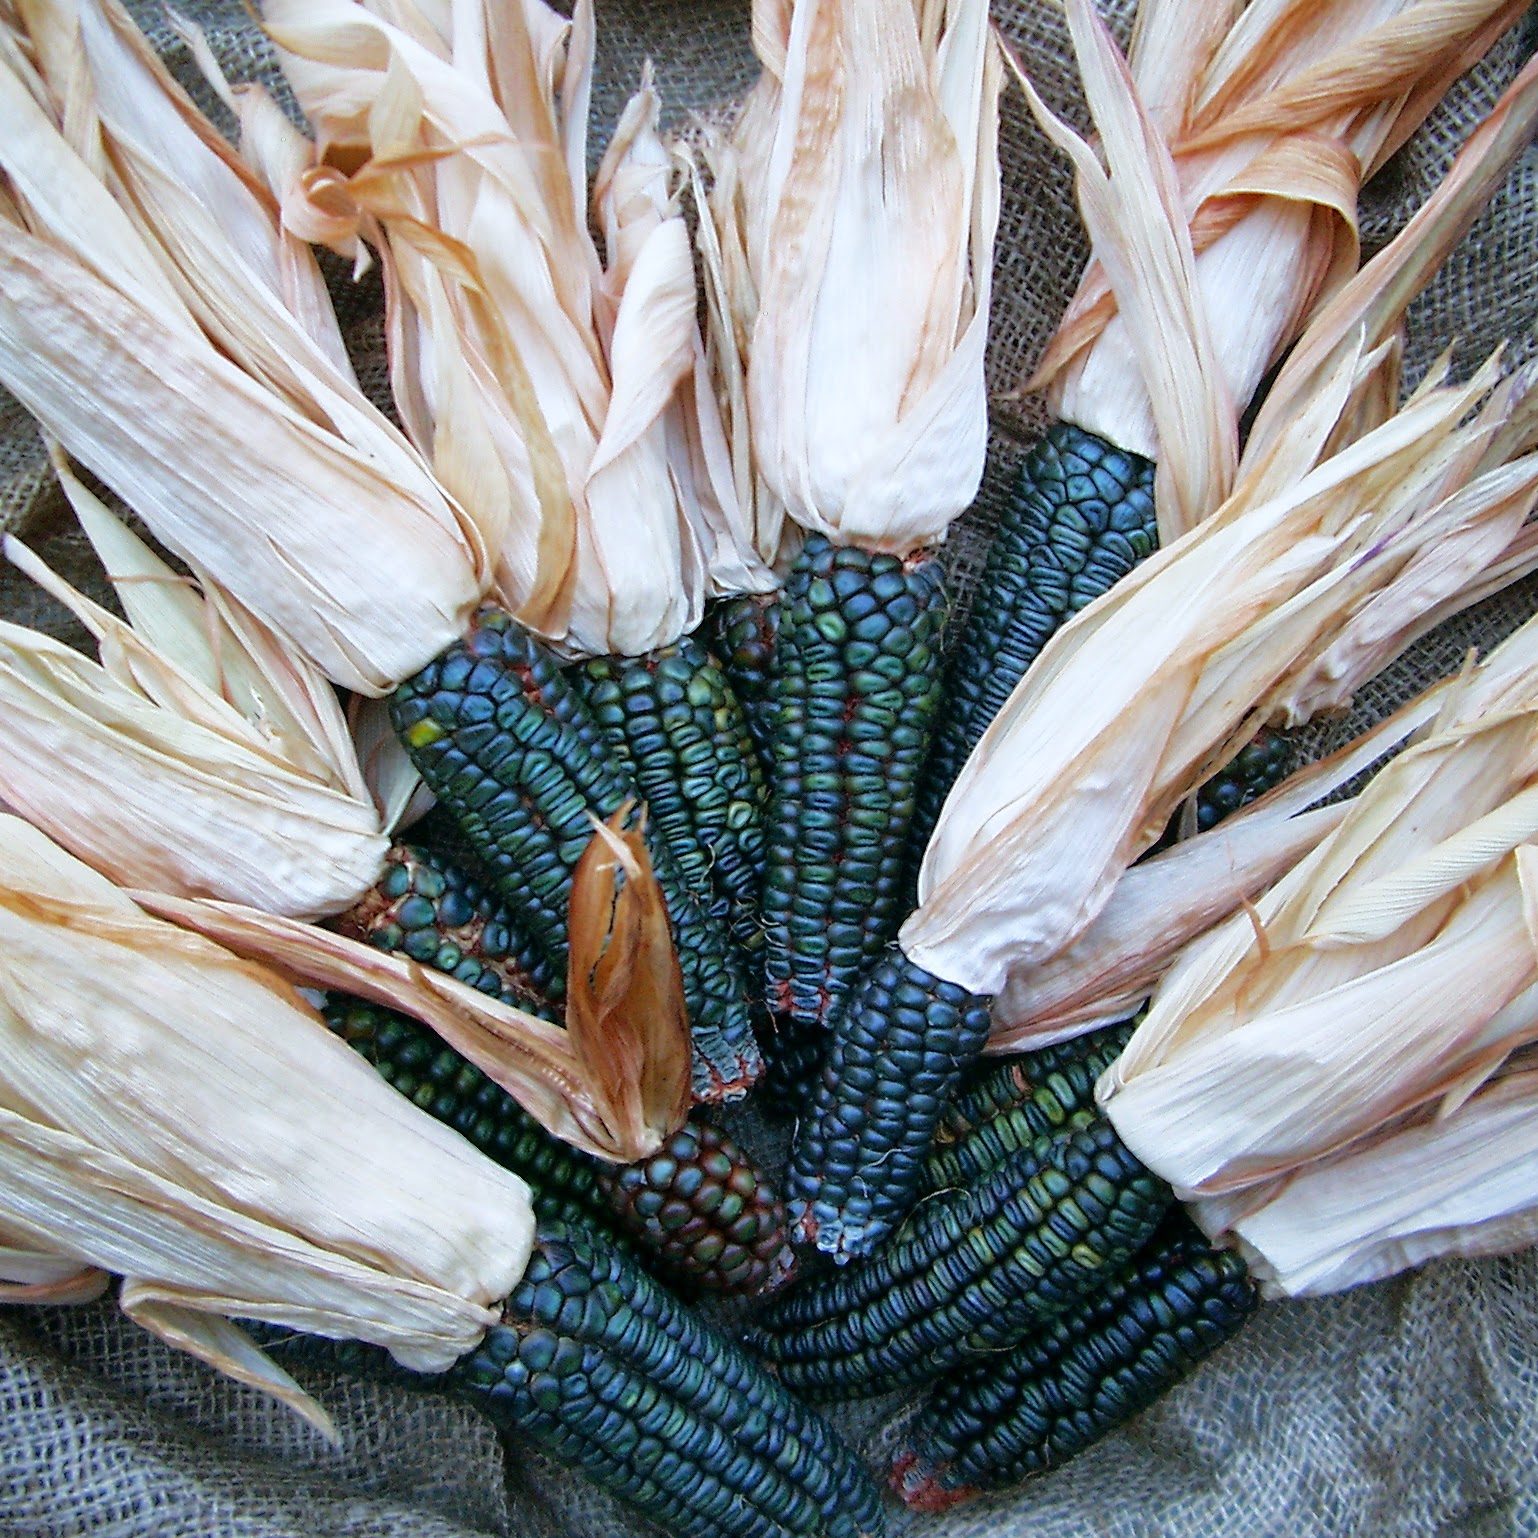
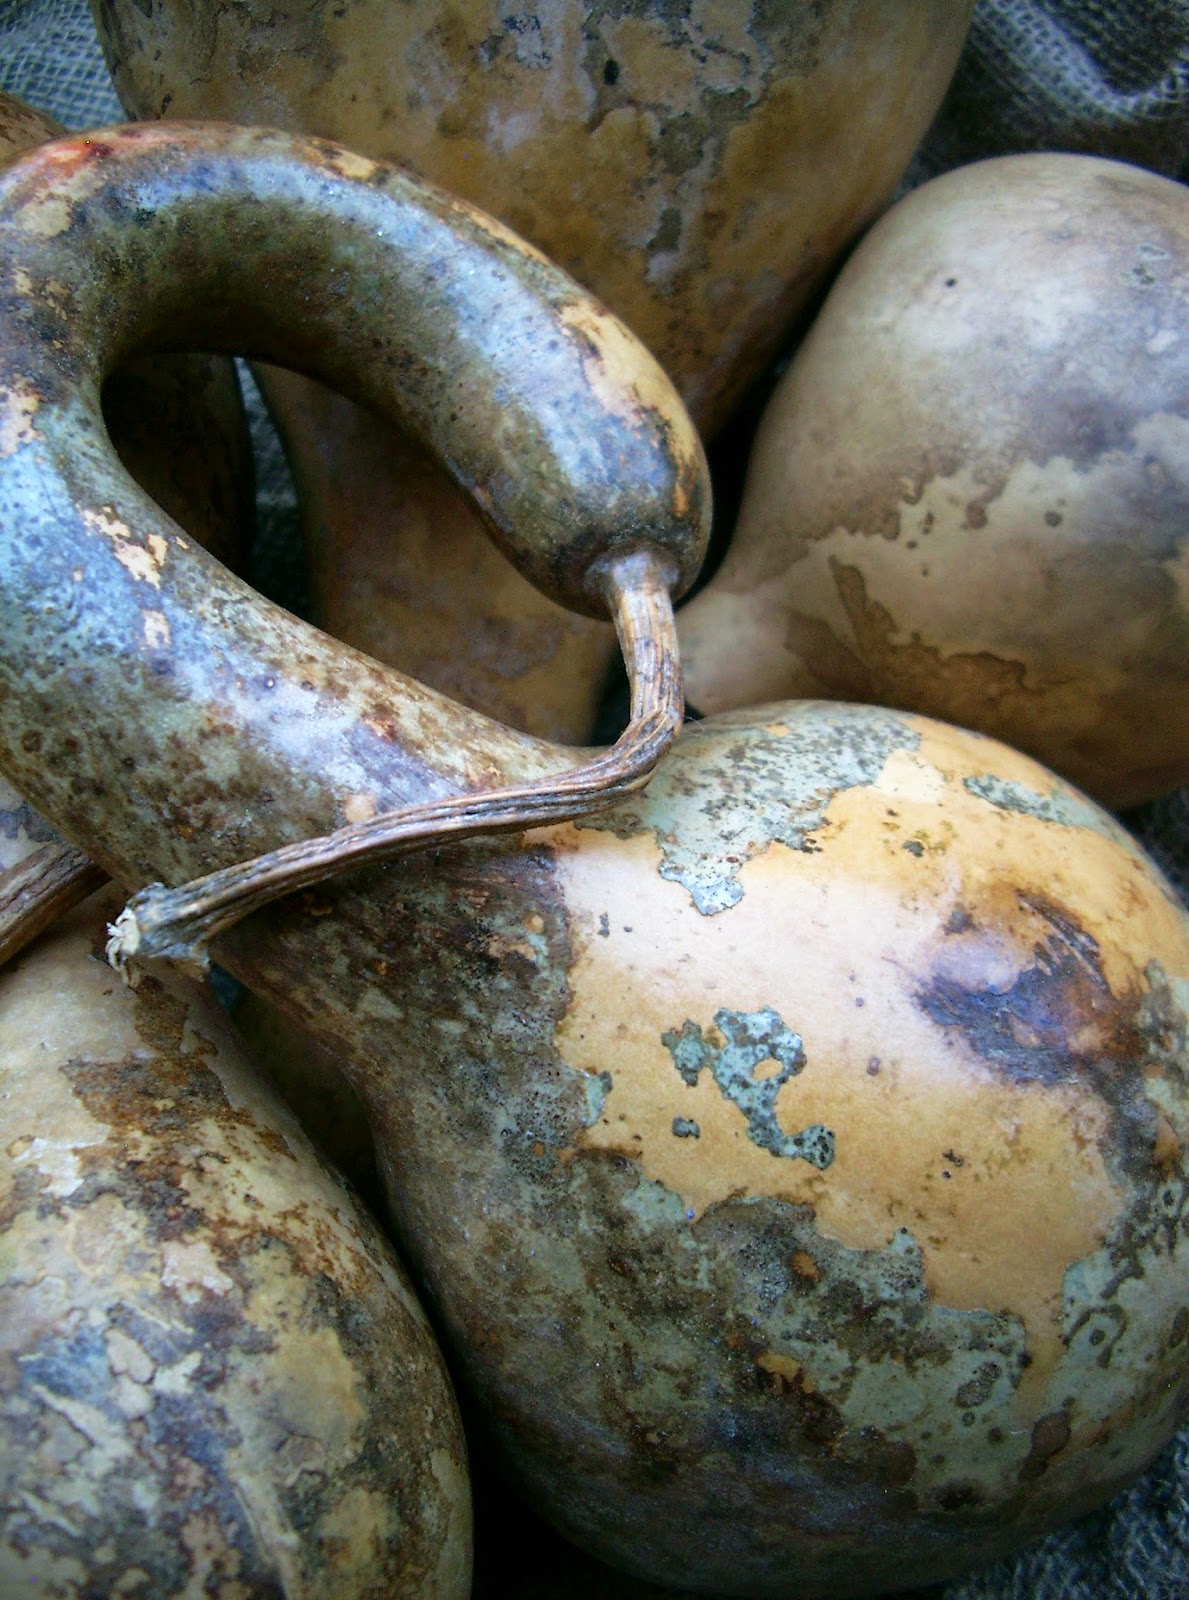
I also scavenged my basement for some stored fall decor.  I grew the Oaxacan blue corn last year, the bottleneck gourds, about seven years ago.  These dried props will be used indoors, most likely displayed in a shallow platter or bowl.  I prefer an ‘au naturel’ look when it comes to fall decorating.  No cute, store bought embellishments for me, thank you.

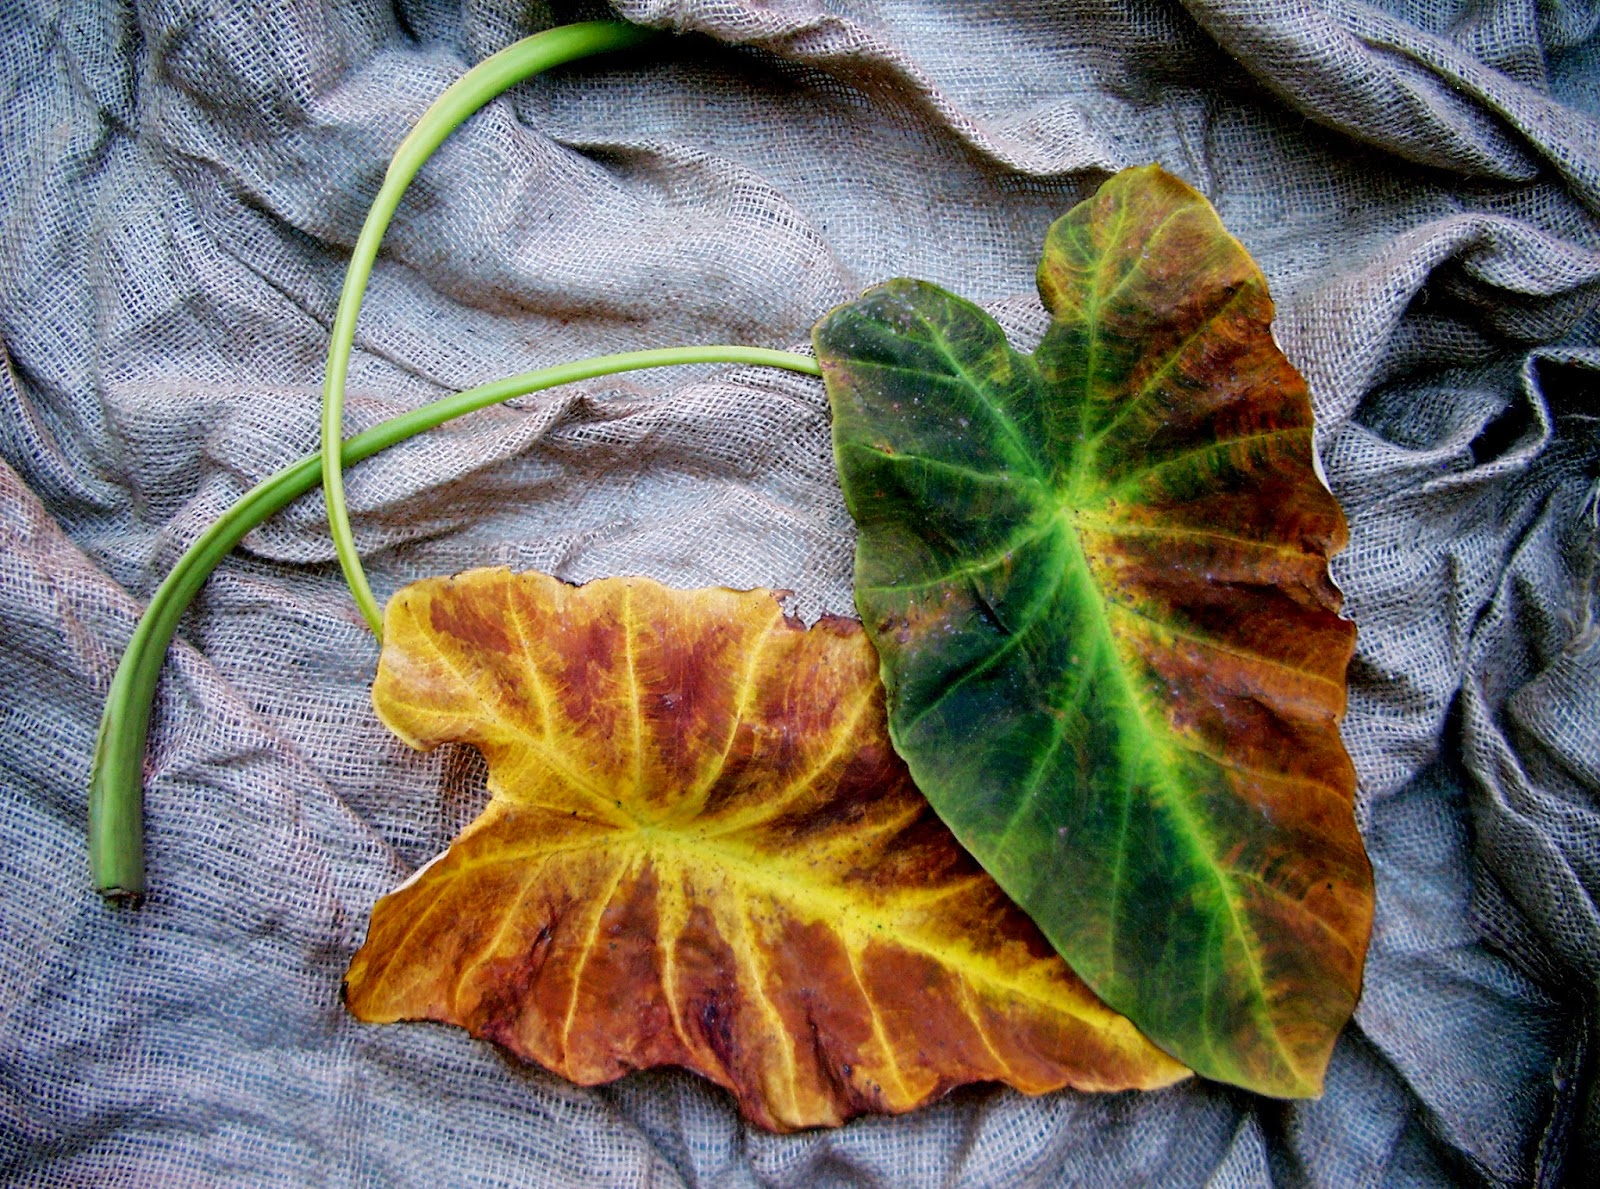
I thought it somewhat amusing that throughout the summer I had been clipping off the spent Colocasia leaves as they declined in looks and performance; however, it is these very colors that are appreciated this time of year.  I took the photo just because of that mere observation.

And finally…. who says chum pots are just for chum.  Whoever says that is just talking chum.

Happy late summer!

LATE SUMMER SCAVENGING AND MORE… Read More »

Scroll to Top