flower

MAKE WATERCOLOR PAPER FLOWERS

Prior to painting on watercolor paper, one needs to first prepare the paper so that it will receive the paint application properly.  This requires briefly dipping the paper (or rag) in water to remove it’s sizing, then laying it out flat on a board to dry.  My knowledge of this from taking painting classes years ago was the catalyst for my curious exploration with wet watercolor paper.  I love to experiment.

If you’d like try my “wet” watercolor paper flower technique yourself, then just keep on reading.  And, it’s super easy to do. You will need:

  • watercolor paper (120# or heavier)
  • circle templates (or you can just eyeball it and freehand draw some circles)
  • circle paper punches in various sizes (completely optional and really unnecessary)
  • small bowl of warm water
  • painting materials (Anything your heart desires; I play with EVERYTHING.)

Begin by cutting or punching out various sized circles (small, medium, large, etc…).  My personal preference is to tear the paper along the pencil line of a traced circle.
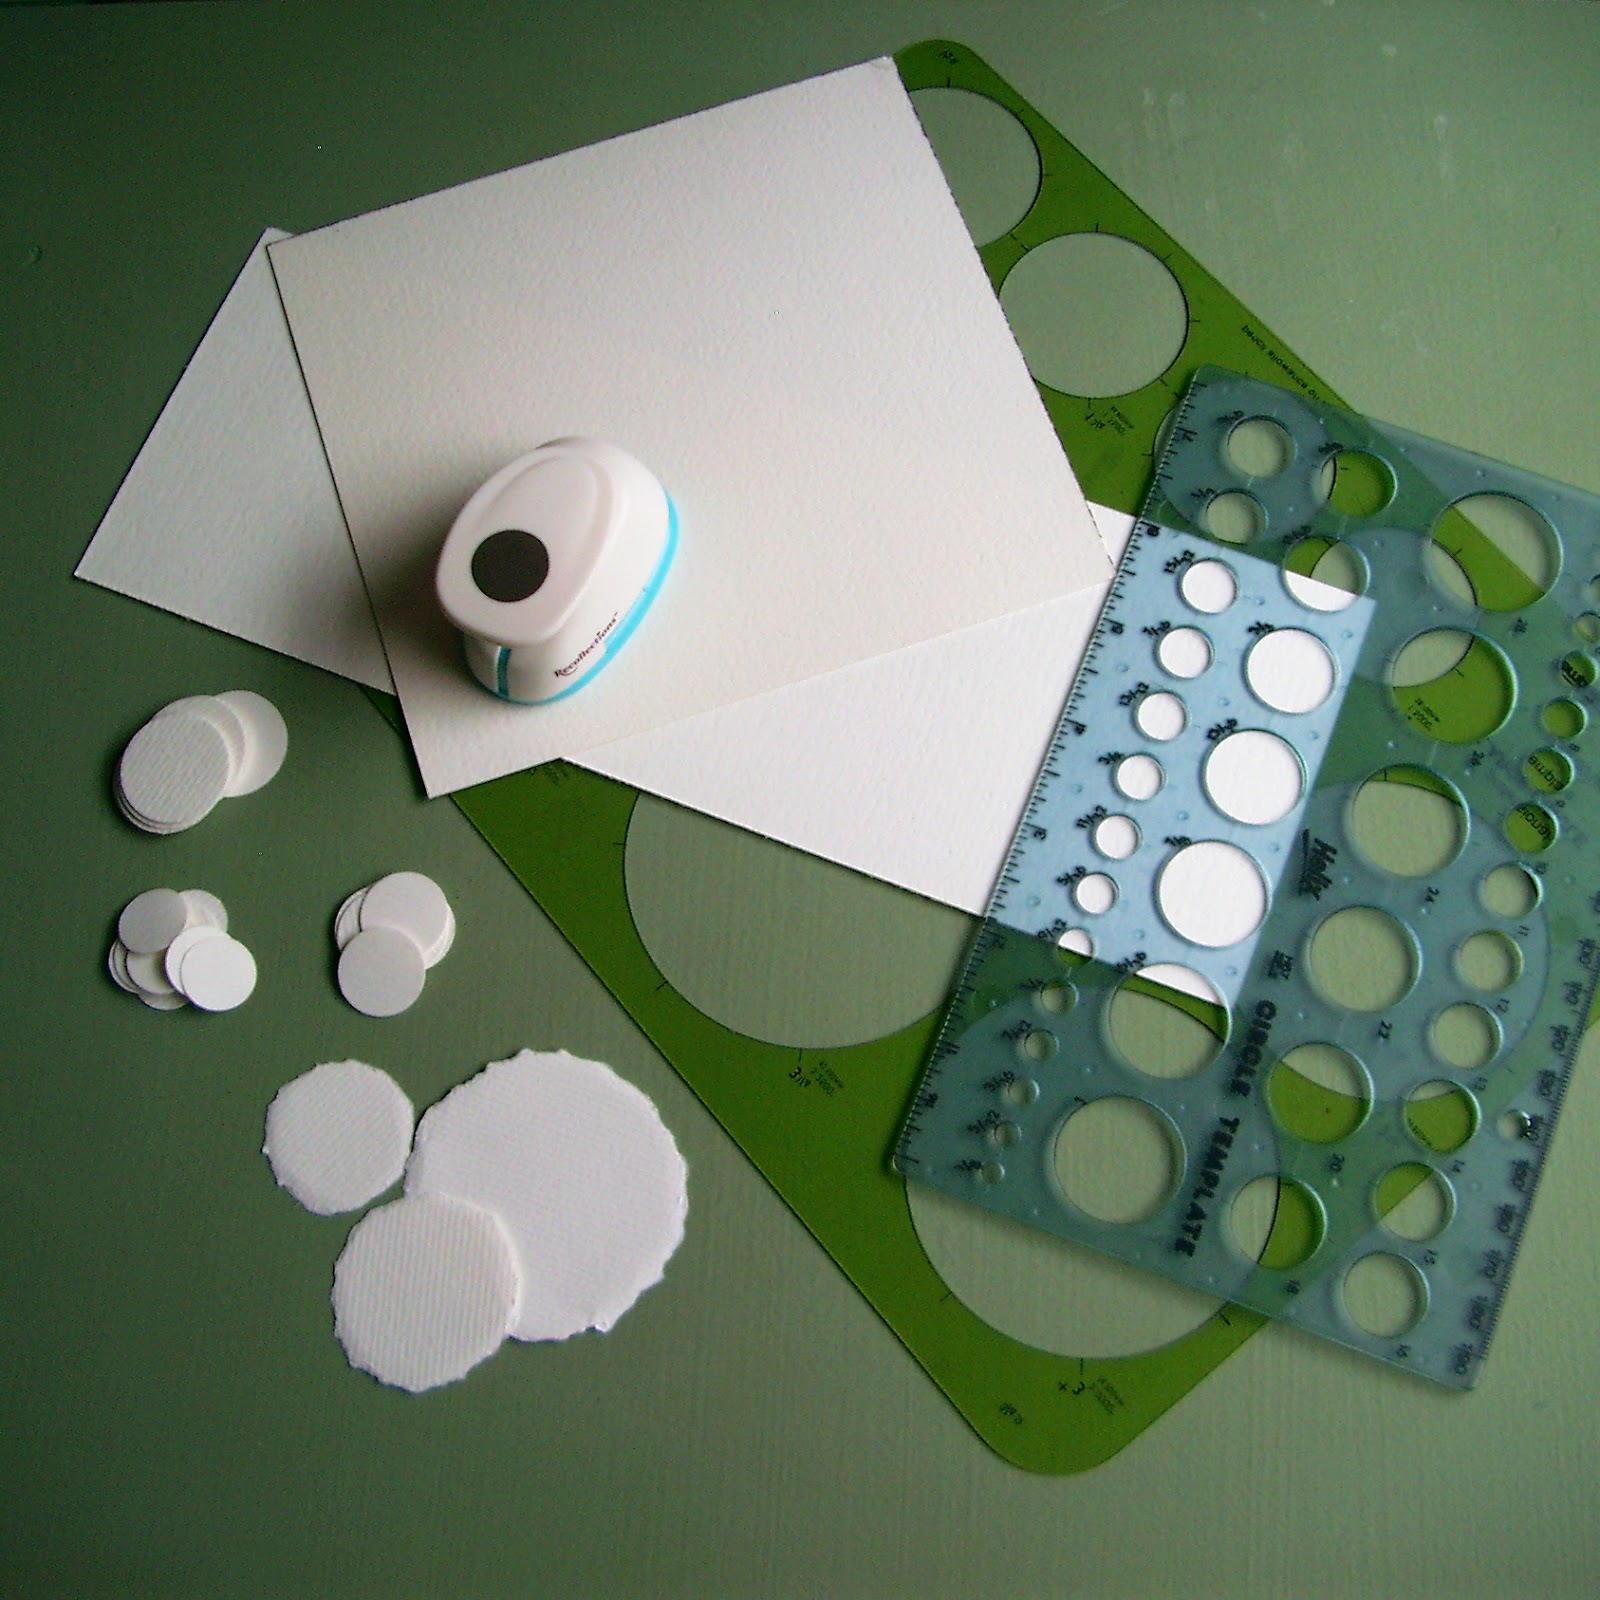
©linda nelson 2014

Next, drop your circles into a small bowl of warm water for about thirty seconds, but no longer than one minute.  Now, scrunch each circle up with your fingertips until it is a tight little crumpled ball, and squeeze out the excess water. Open the circles up and gently scrunch each one around your finger tip to create a “fluttery” shape.  Set your pieces aside to dry for a couple of hours.  I placed them on my radiators; they dried in less than a half hour.  When fully dry they will be “stiffened” into their fluttery shape.
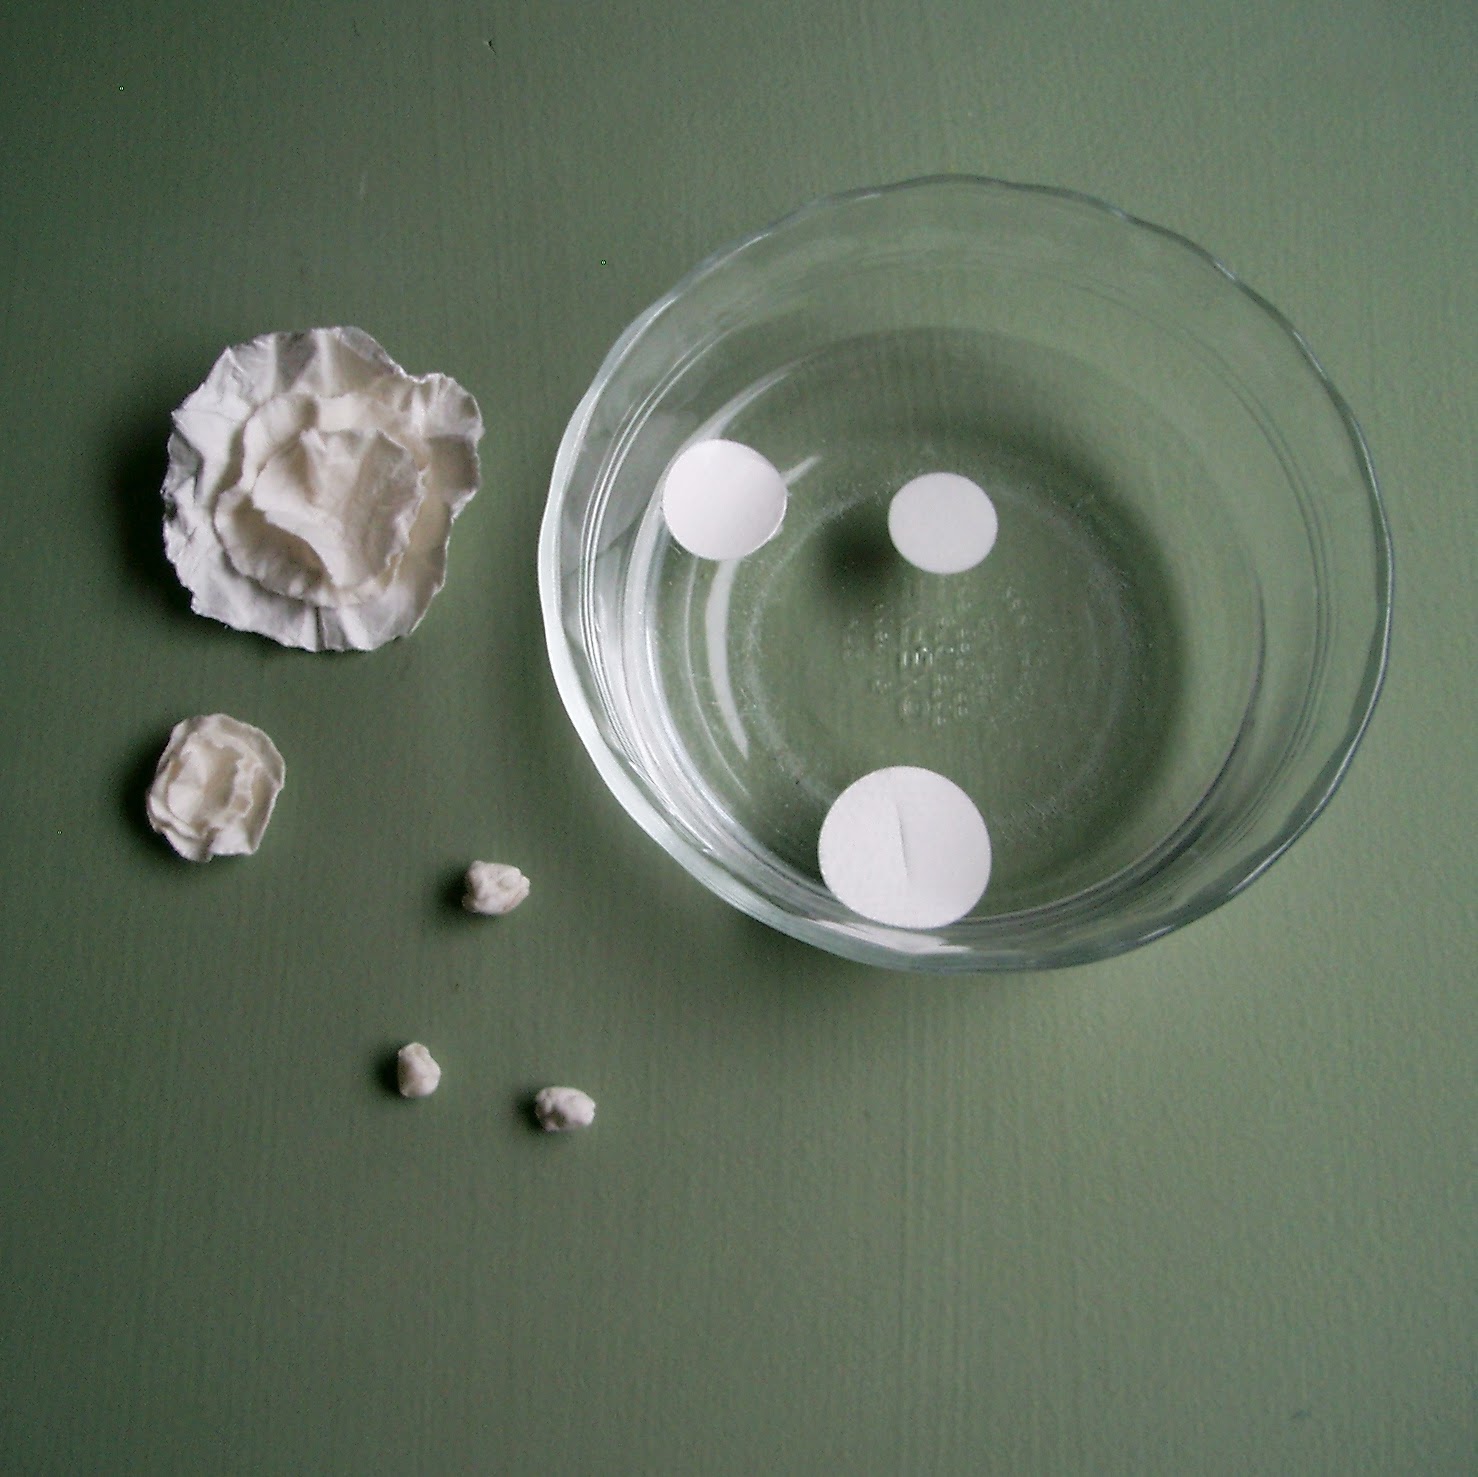
©linda nelson 2014
Paint, tint or color each layer however you prefer.  Leaving them ‘au natural’ makes for very pretty bridal favor embellishments.  Fasten the layers together with a paper fastener, glue, or even by sewing a bead or button into the center.  These little beauties can be incorporated into many craft projects.

©linda nelson 2015

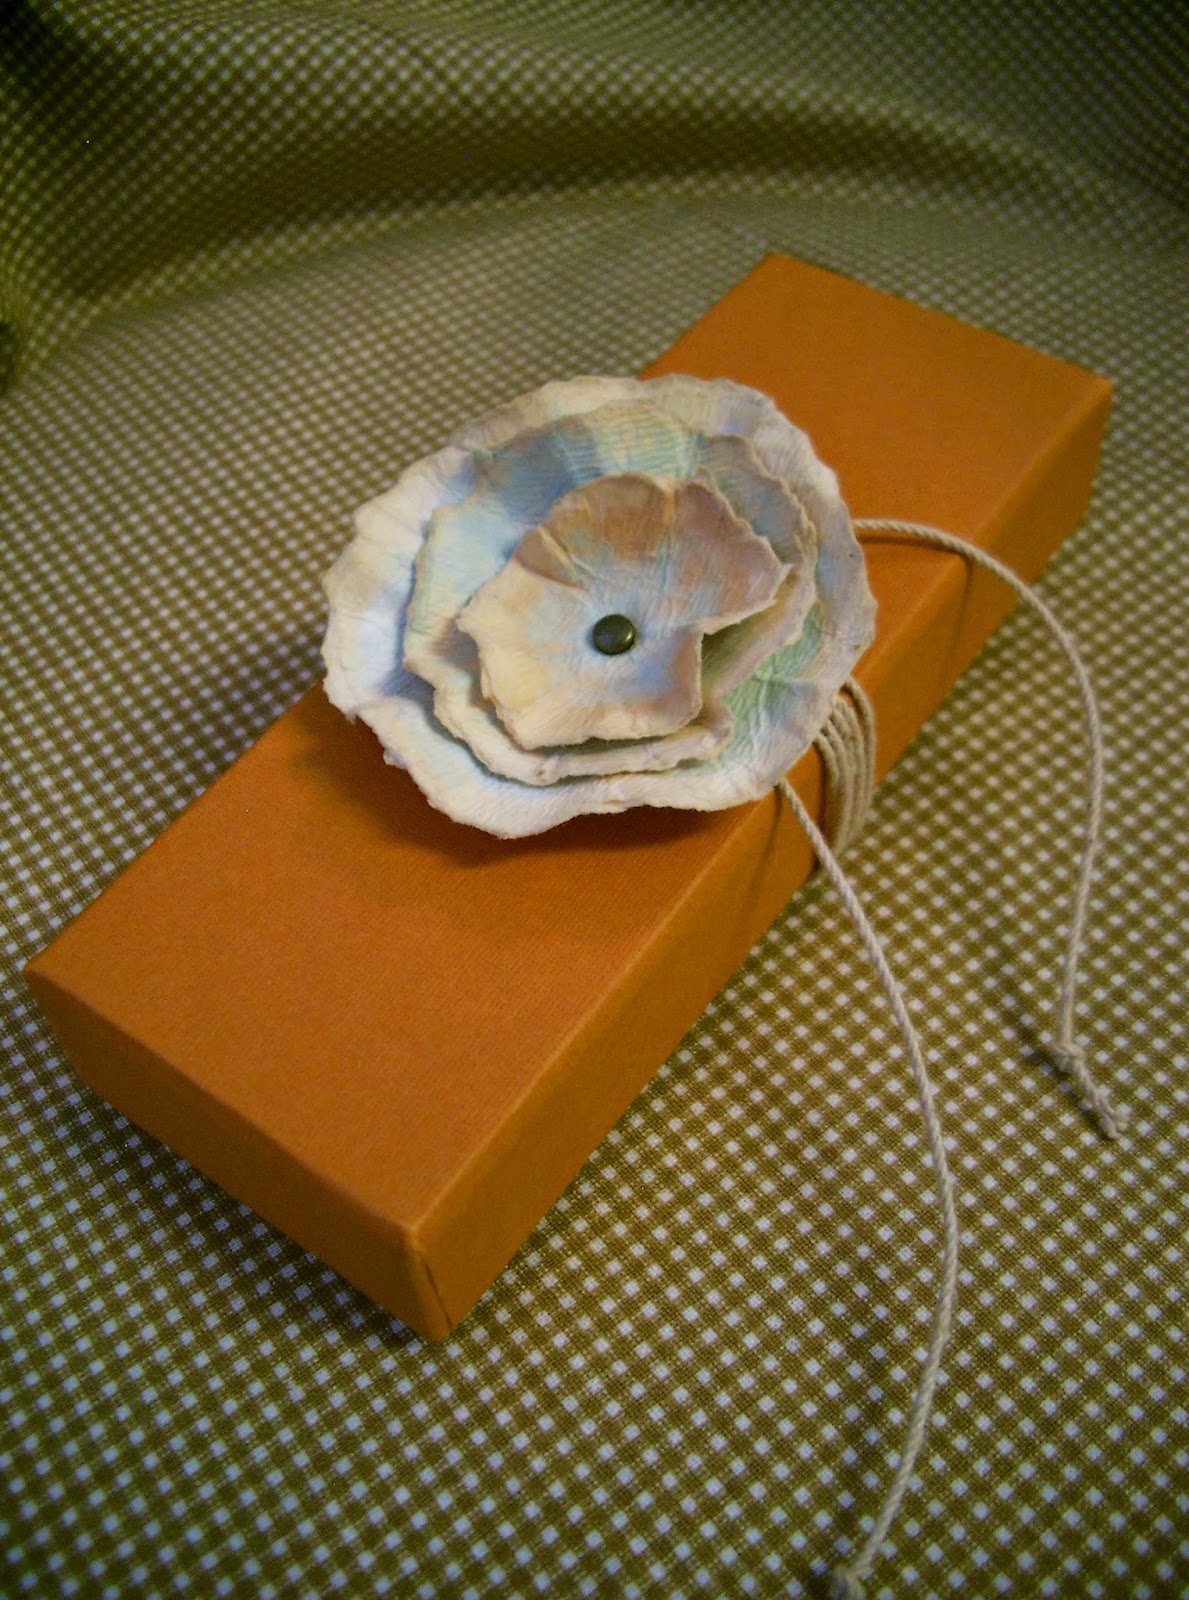
I think they make great substitutes for gift bows.
©linda nelson 2015
©linda nelson 2015

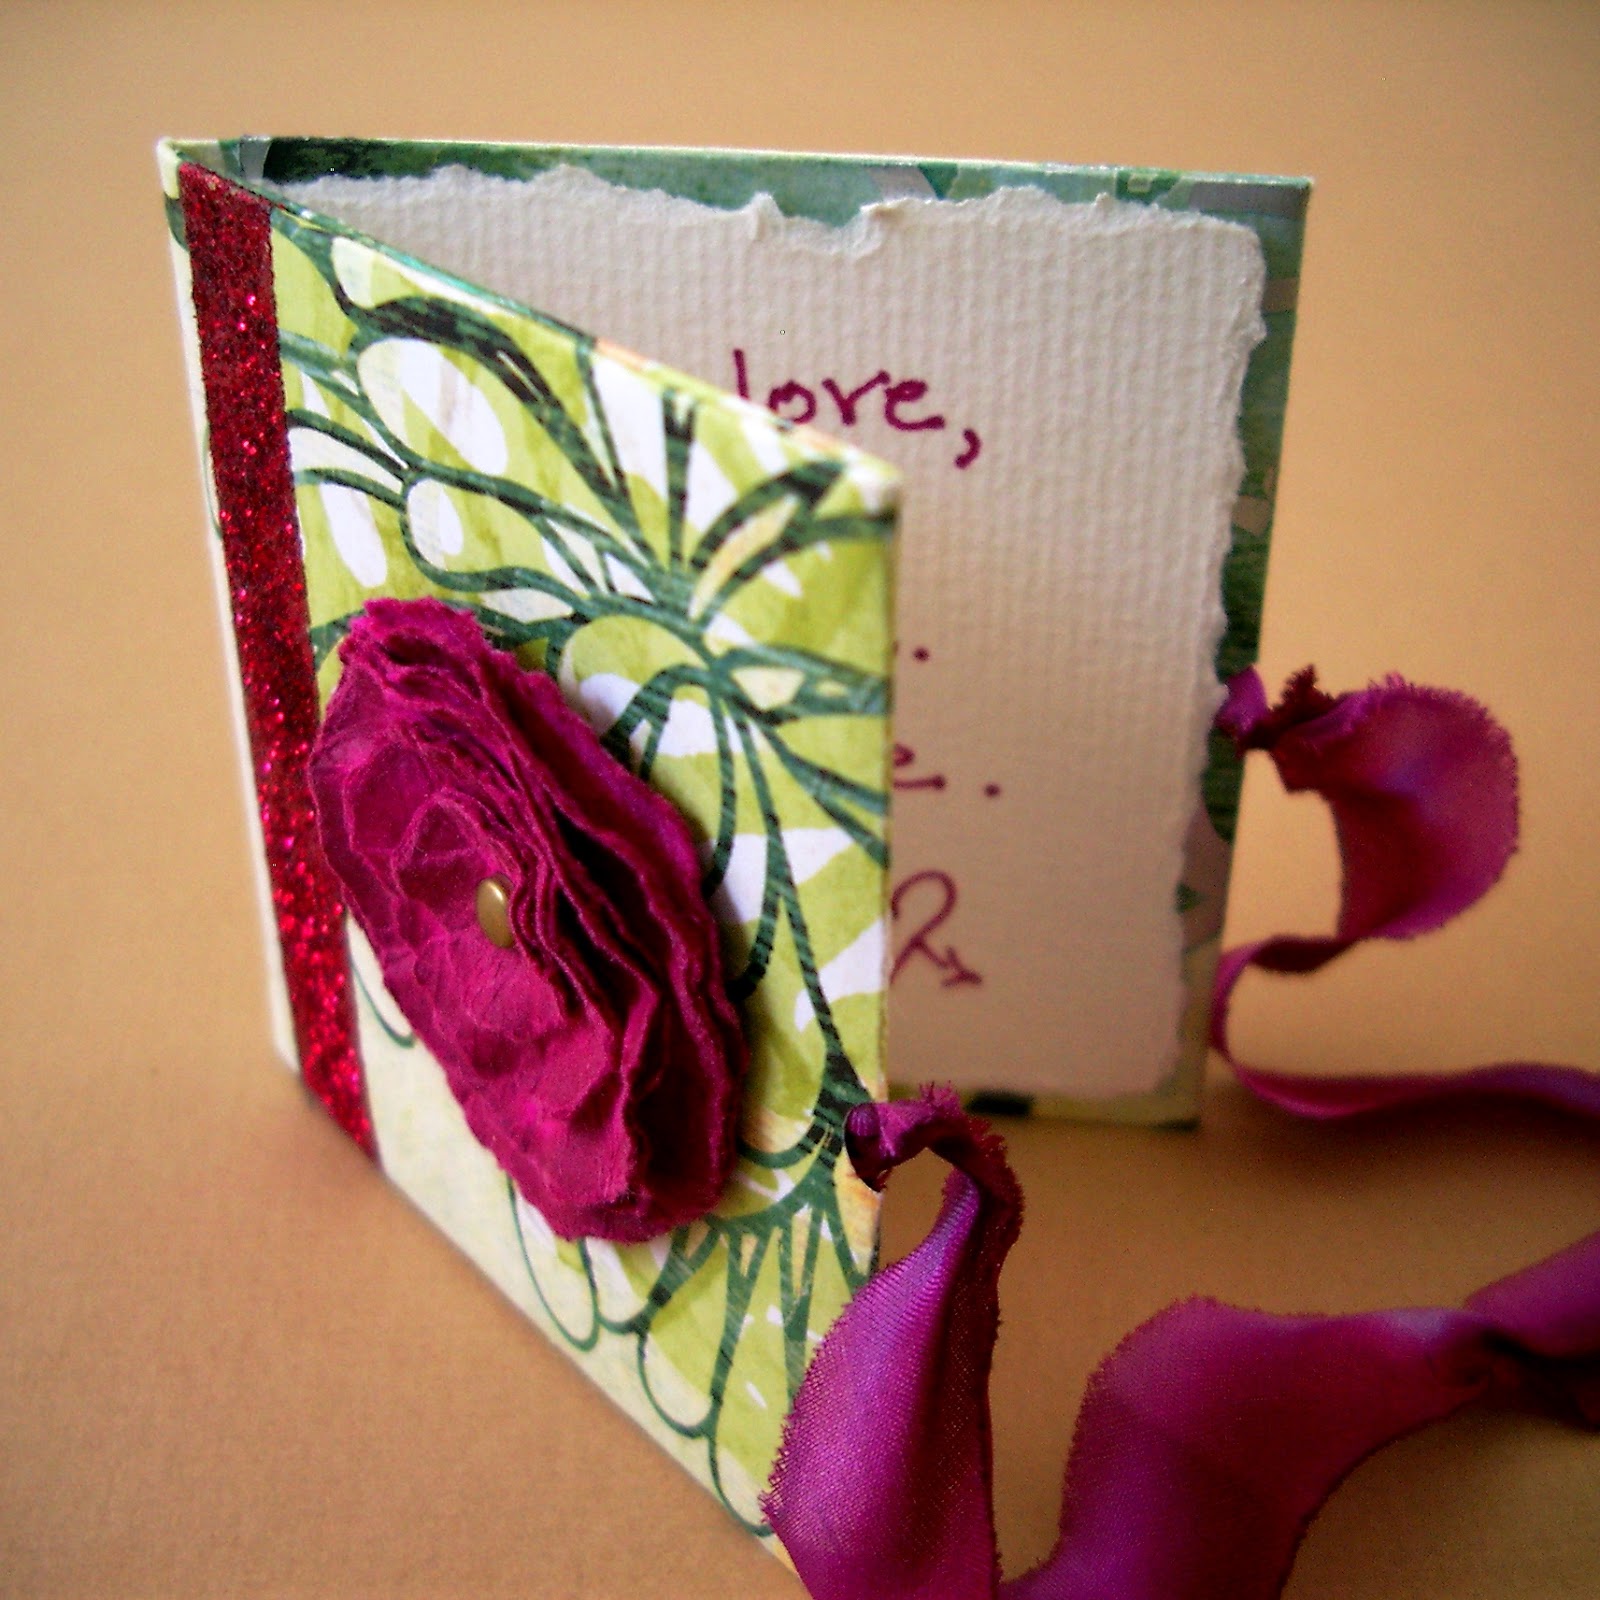
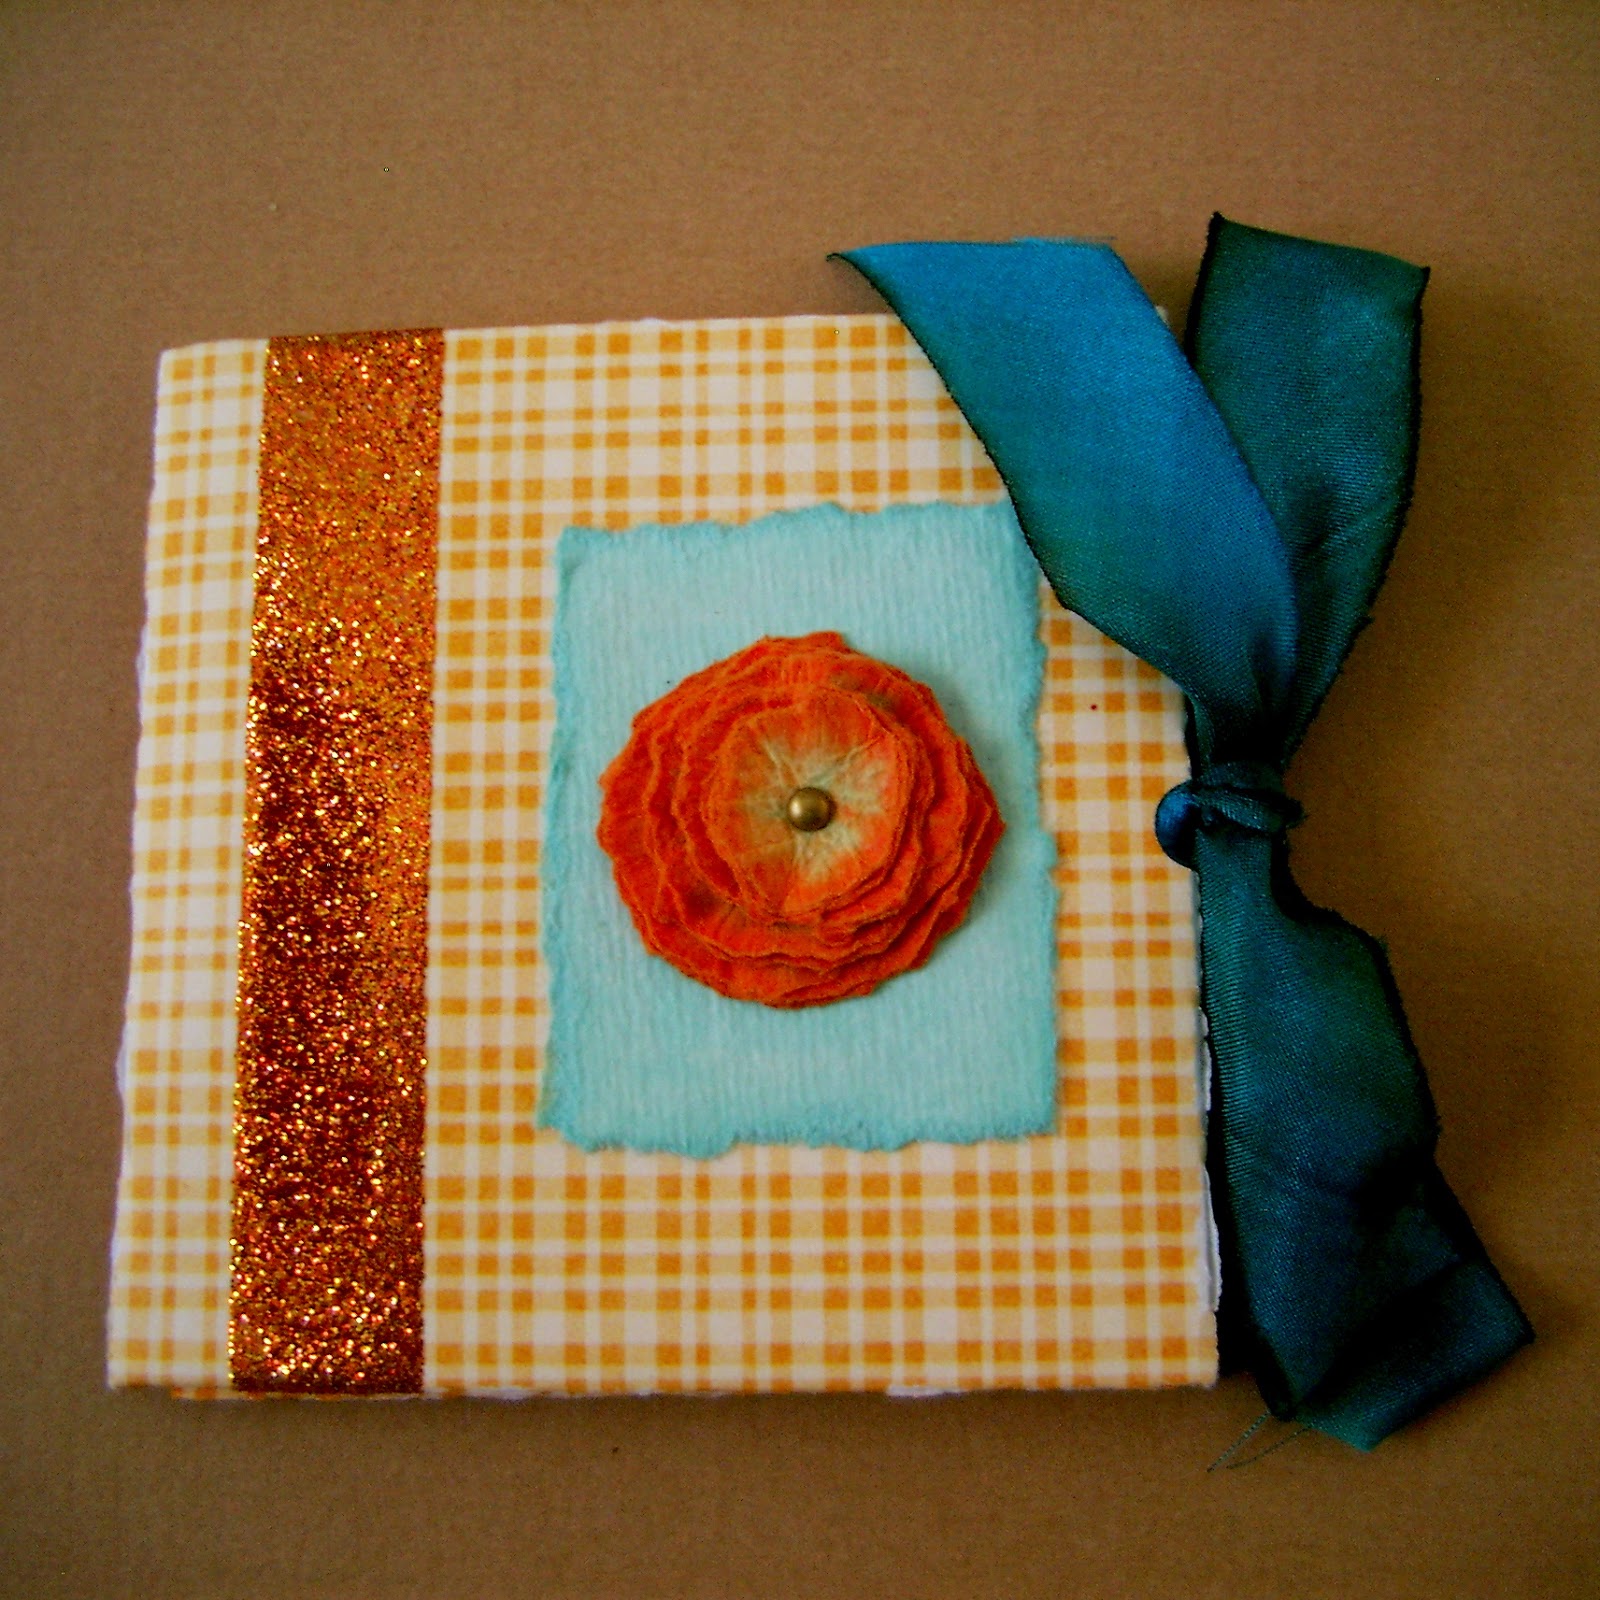
They’re ideal for scrap booking projects; or in my case, embellishing my book-style greeting cards.
©linda nelson 2015

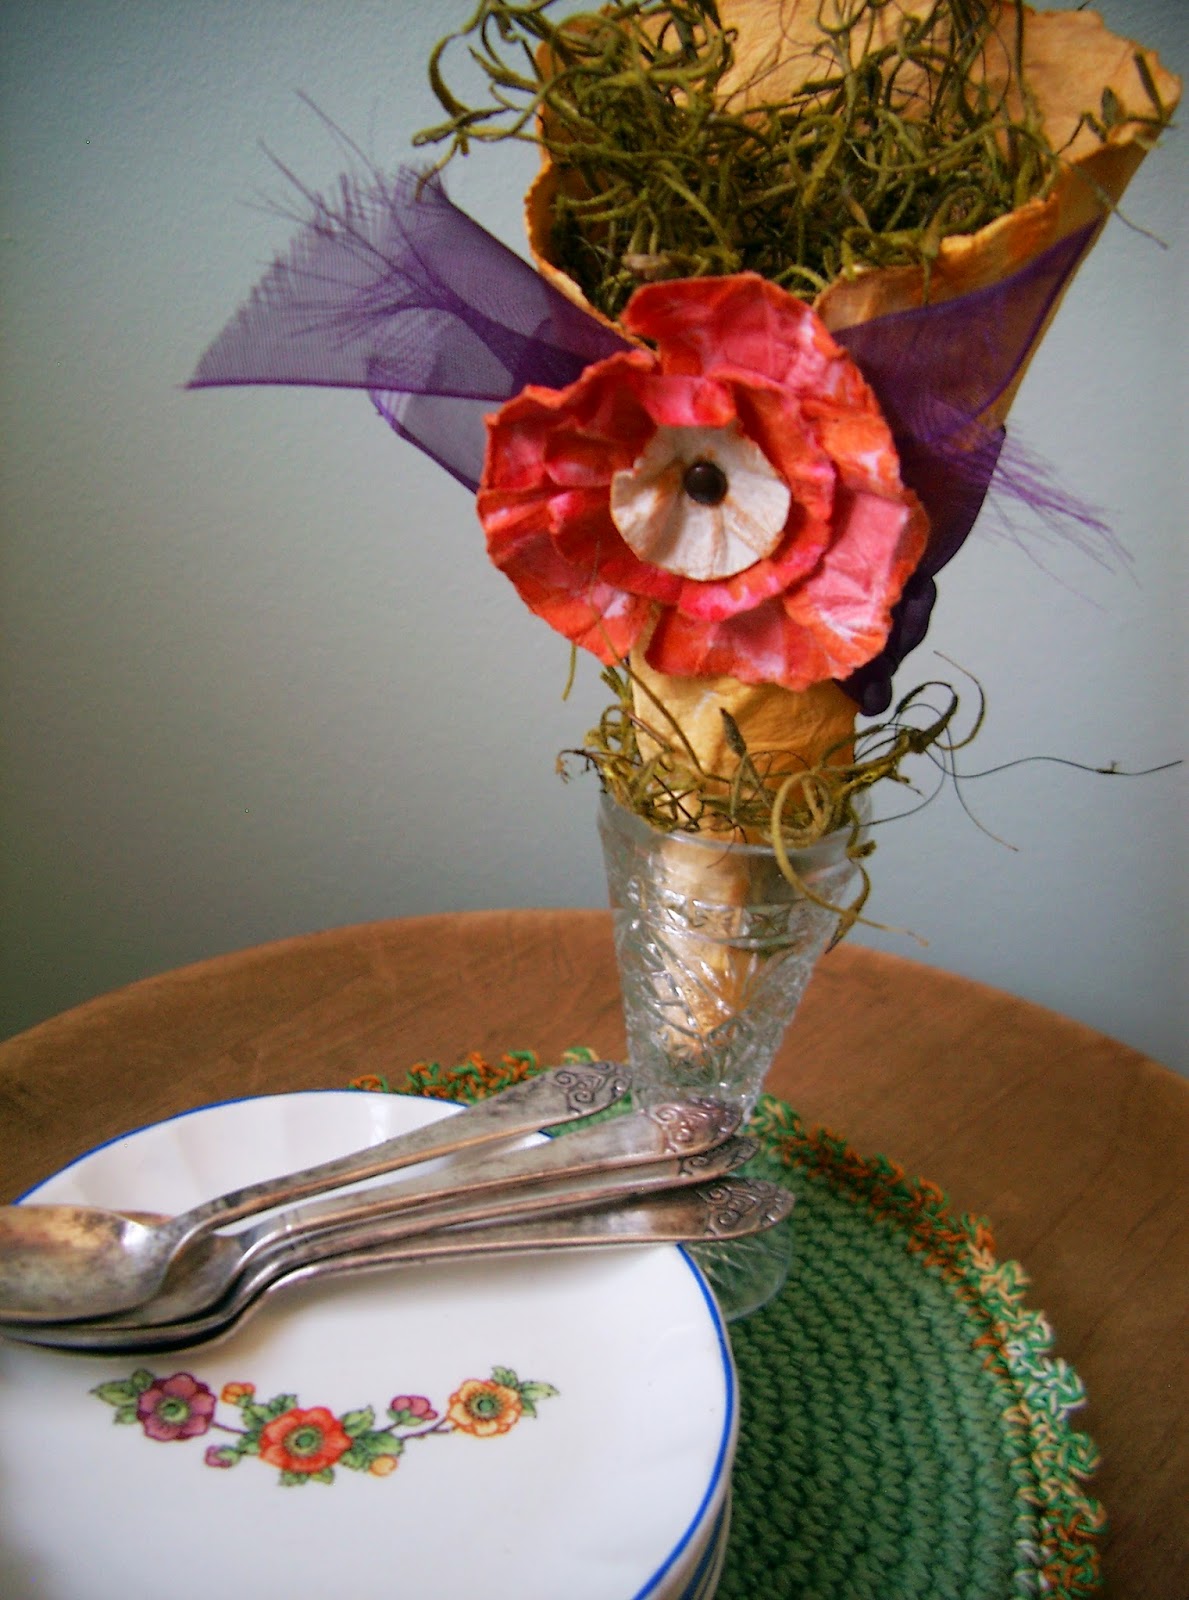
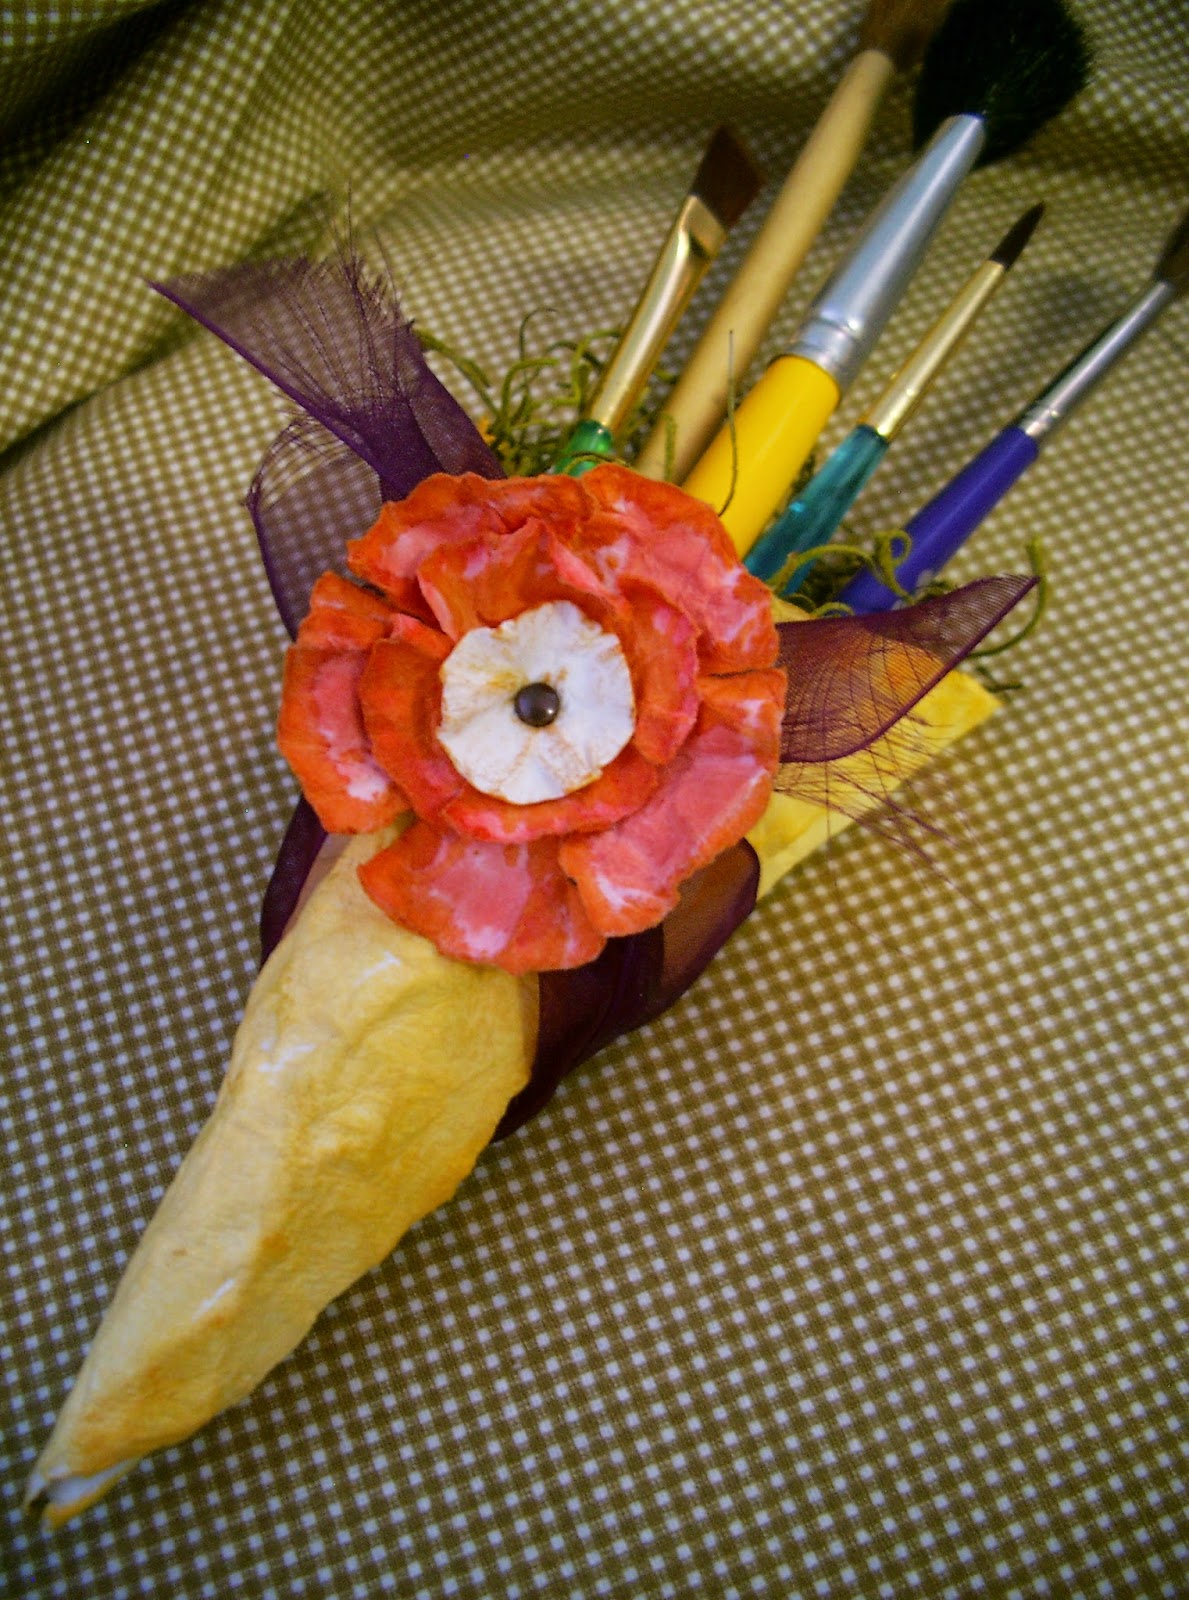
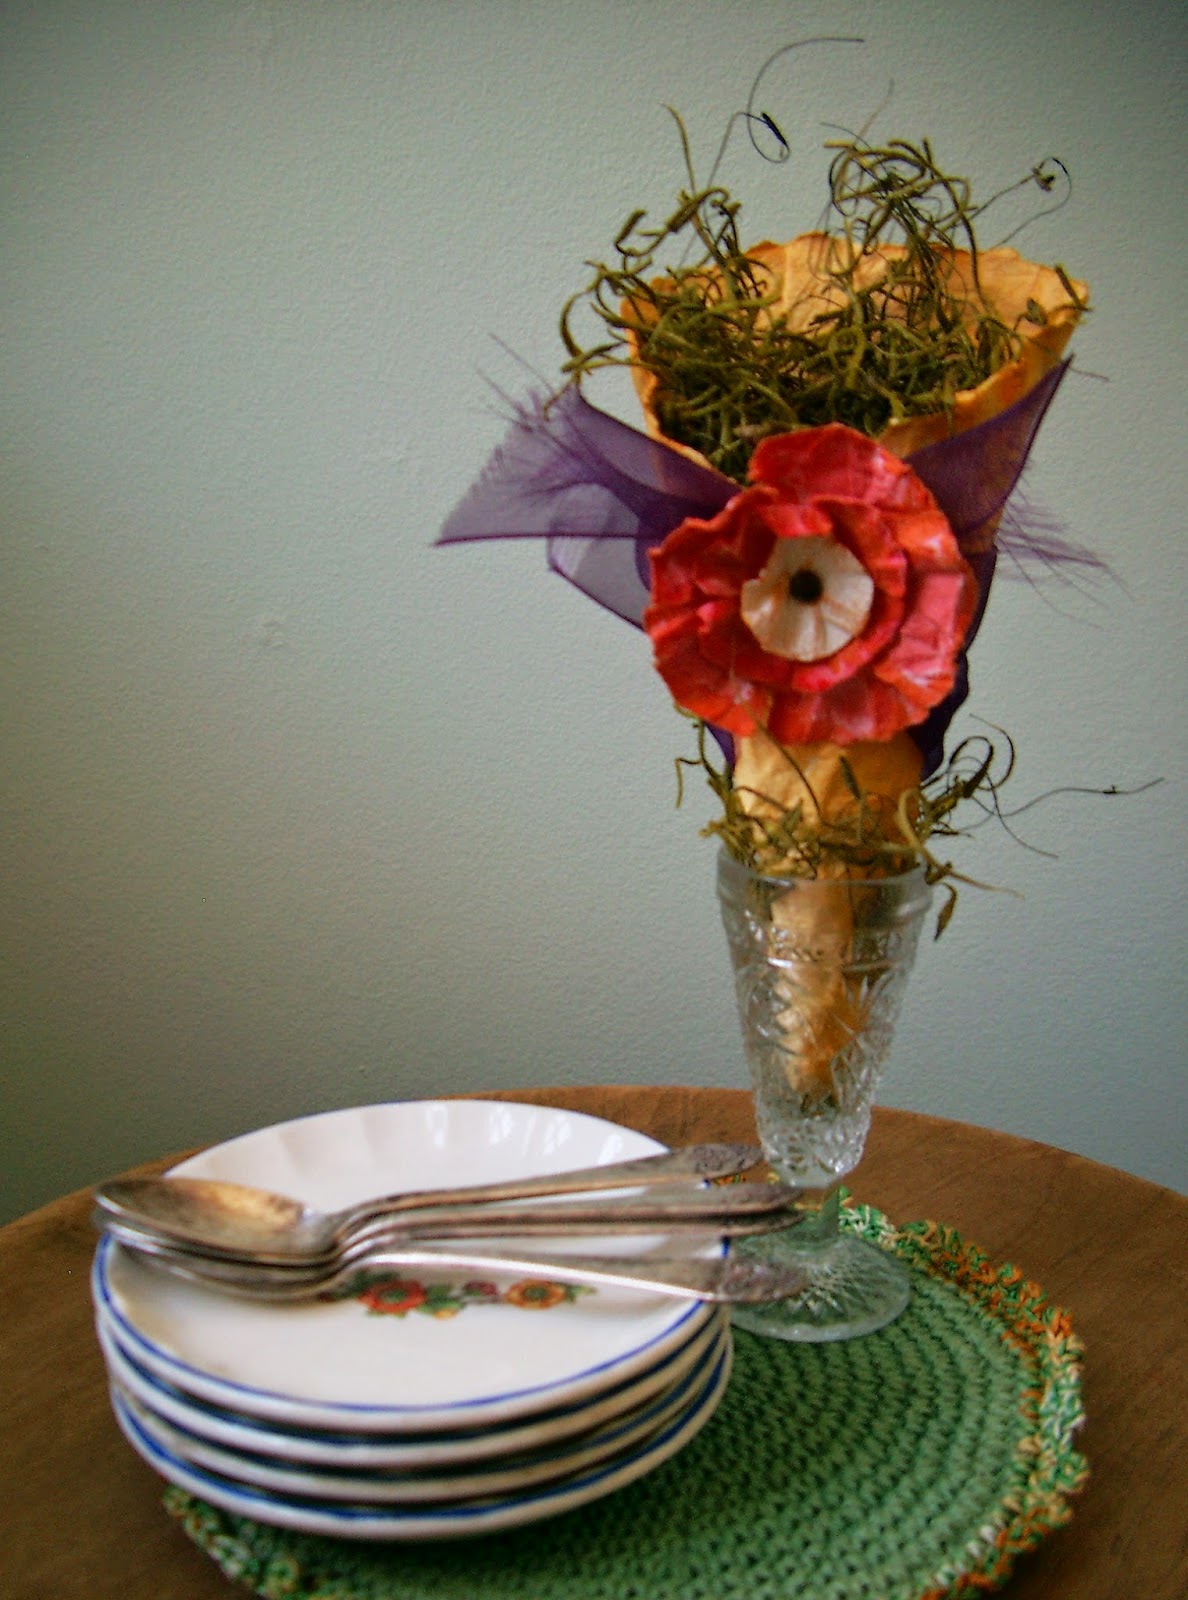
You can make a tussie mussie with a large circle template.  Cut the circle in half, then form a cone shape with one of the halves.  The one pictured above would make a sweet little gift for an artist who paints.  Or, how about a tablescape favor holder like the one pictured below?
©linda nelson 2015
©linda nelson 2015

There you have it.  Now, get creative.

MAKE WATERCOLOR PAPER FLOWERS Read More »

APRIL IS PRUNING HYDRANGEA MONTH….

©linda nelson 2014

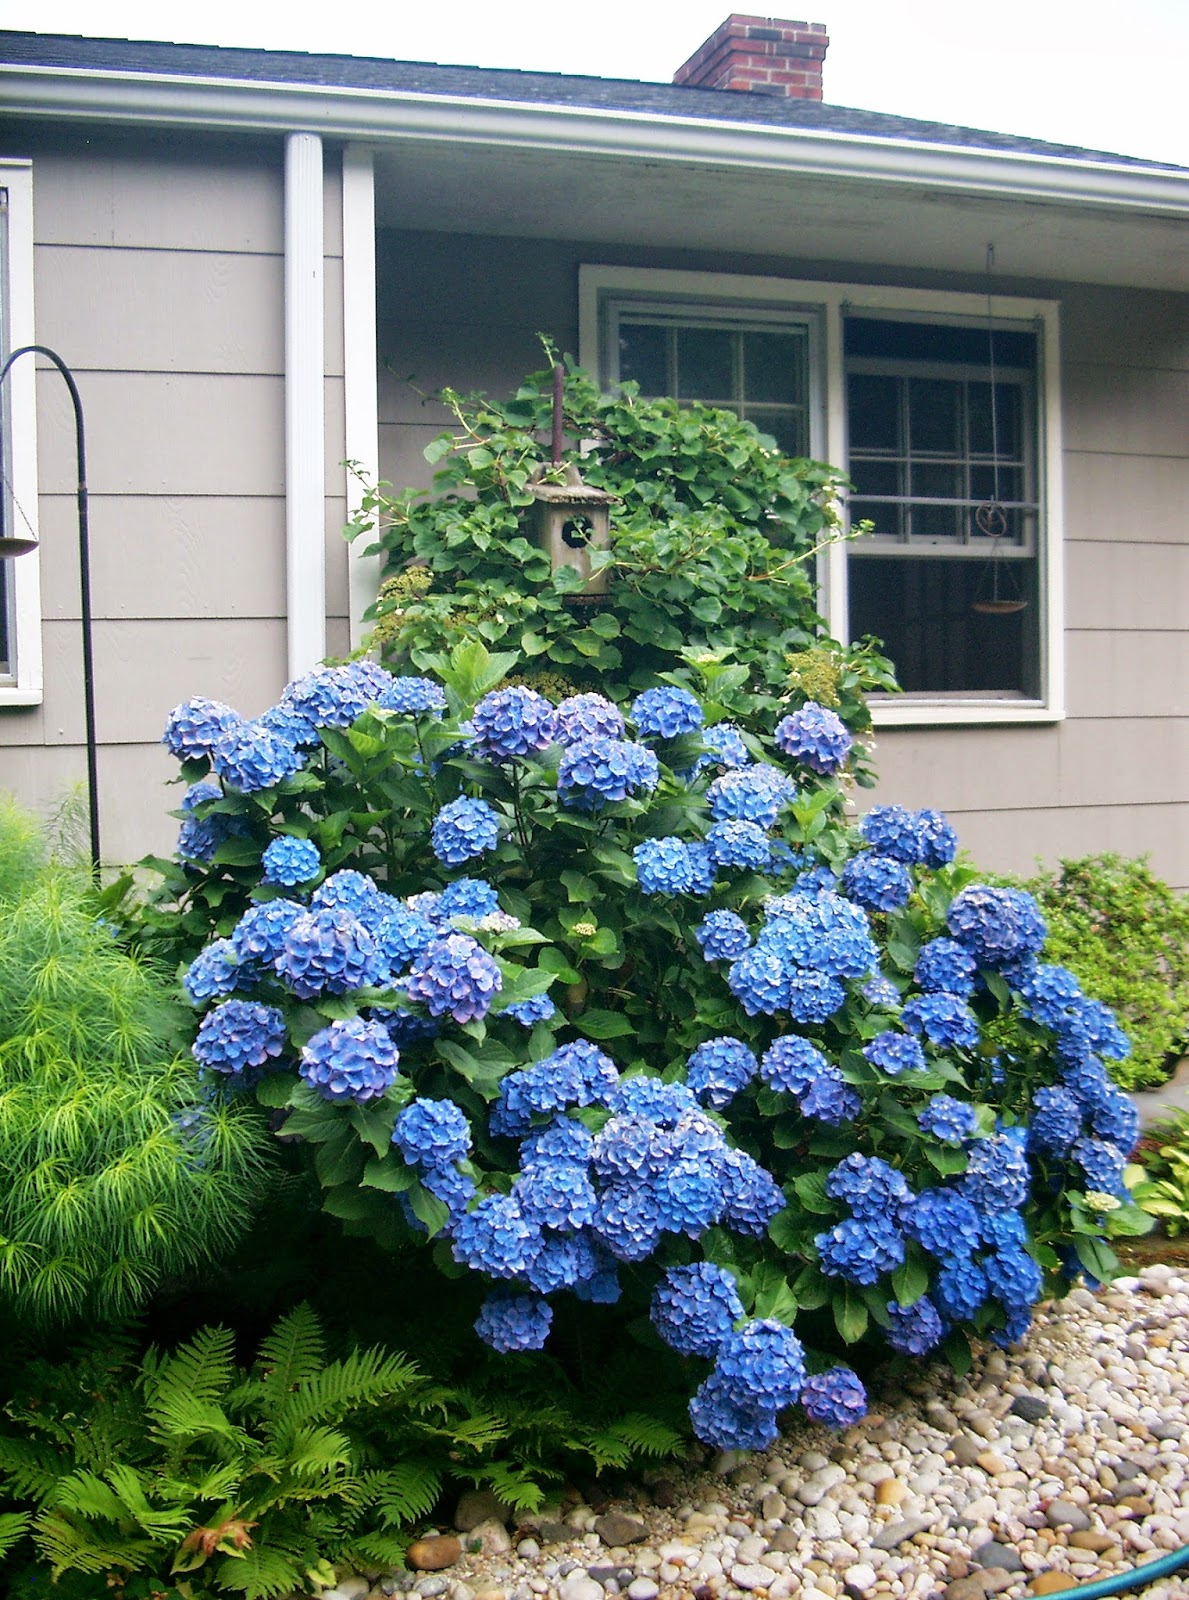
…on the east coast, that is.  My work season is just kicking in, and I’ve got my pruners sharpened.  Most of my clients have hydrangeas on their properties, and LOTS of them.  The one pictured is mine, all mine; my little ‘Nikko Blue’ that could, that does, and that always will.  Unlike the very popular ‘Endless Summer’ and others that bloom on both current and previous growth, this cultivar blooms only on the previous year’s woody growth.  And I prefer that.  Why?  Because the woody stems do a better job at supporting the heavy, mop headed blooms.  I also feel that the hue of Nikko’s blooms is more deeply saturated.  My homestead’s soil happens to be acidic (and sandy); therefore, I receive blueish “gifts”.

Contrary to what many text books tell you as to the correct time for pruning the macrophylla species, April is ideal.  Why?  Letting the old blooms remain on the plant for the winter adds additional insulation and protection from the elements.  It also discourages browsing deer from munching down the stems.  By mid to late April you are able to differentiate the roundish, dense flowering buds from the slender, pointed leaf buds.  This enables you to see what point to prune at, which is just above the highest flowering bud.  The leafy buds can get pruned back just enough to shape the plant to your liking.  I have successfully been using this method for my clients’ hydrangeas as well as my own.  I also prune my paniculata hydrangeas in the spring, and boy, do I prune them hard!  Come late August, the flower heads on these guys are the size of footballs.  If you live in deer browsing country and your property is not securely fenced to keep those prancing beauties at bay, get started on a repellant spray routine immediately.  I prefer to use Deer Out because it is people and pet friendly.  It’s deer friendly, too; they just don’t like the way it tastes.  Experiment to see what product works for you.  Most importantly, spray regularly and diligently.  For some of you, like me, that may mean more often than the product’s directions suggest; deer visit my yard on a daily basis.

APRIL IS PRUNING HYDRANGEA MONTH…. Read More »

Scroll to Top