embellish

MAKE WATERCOLOR PAPER FLOWERS

Prior to painting on watercolor paper, one needs to first prepare the paper so that it will receive the paint application properly.  This requires briefly dipping the paper (or rag) in water to remove it’s sizing, then laying it out flat on a board to dry.  My knowledge of this from taking painting classes years ago was the catalyst for my curious exploration with wet watercolor paper.  I love to experiment.

If you’d like try my “wet” watercolor paper flower technique yourself, then just keep on reading.  And, it’s super easy to do. You will need:

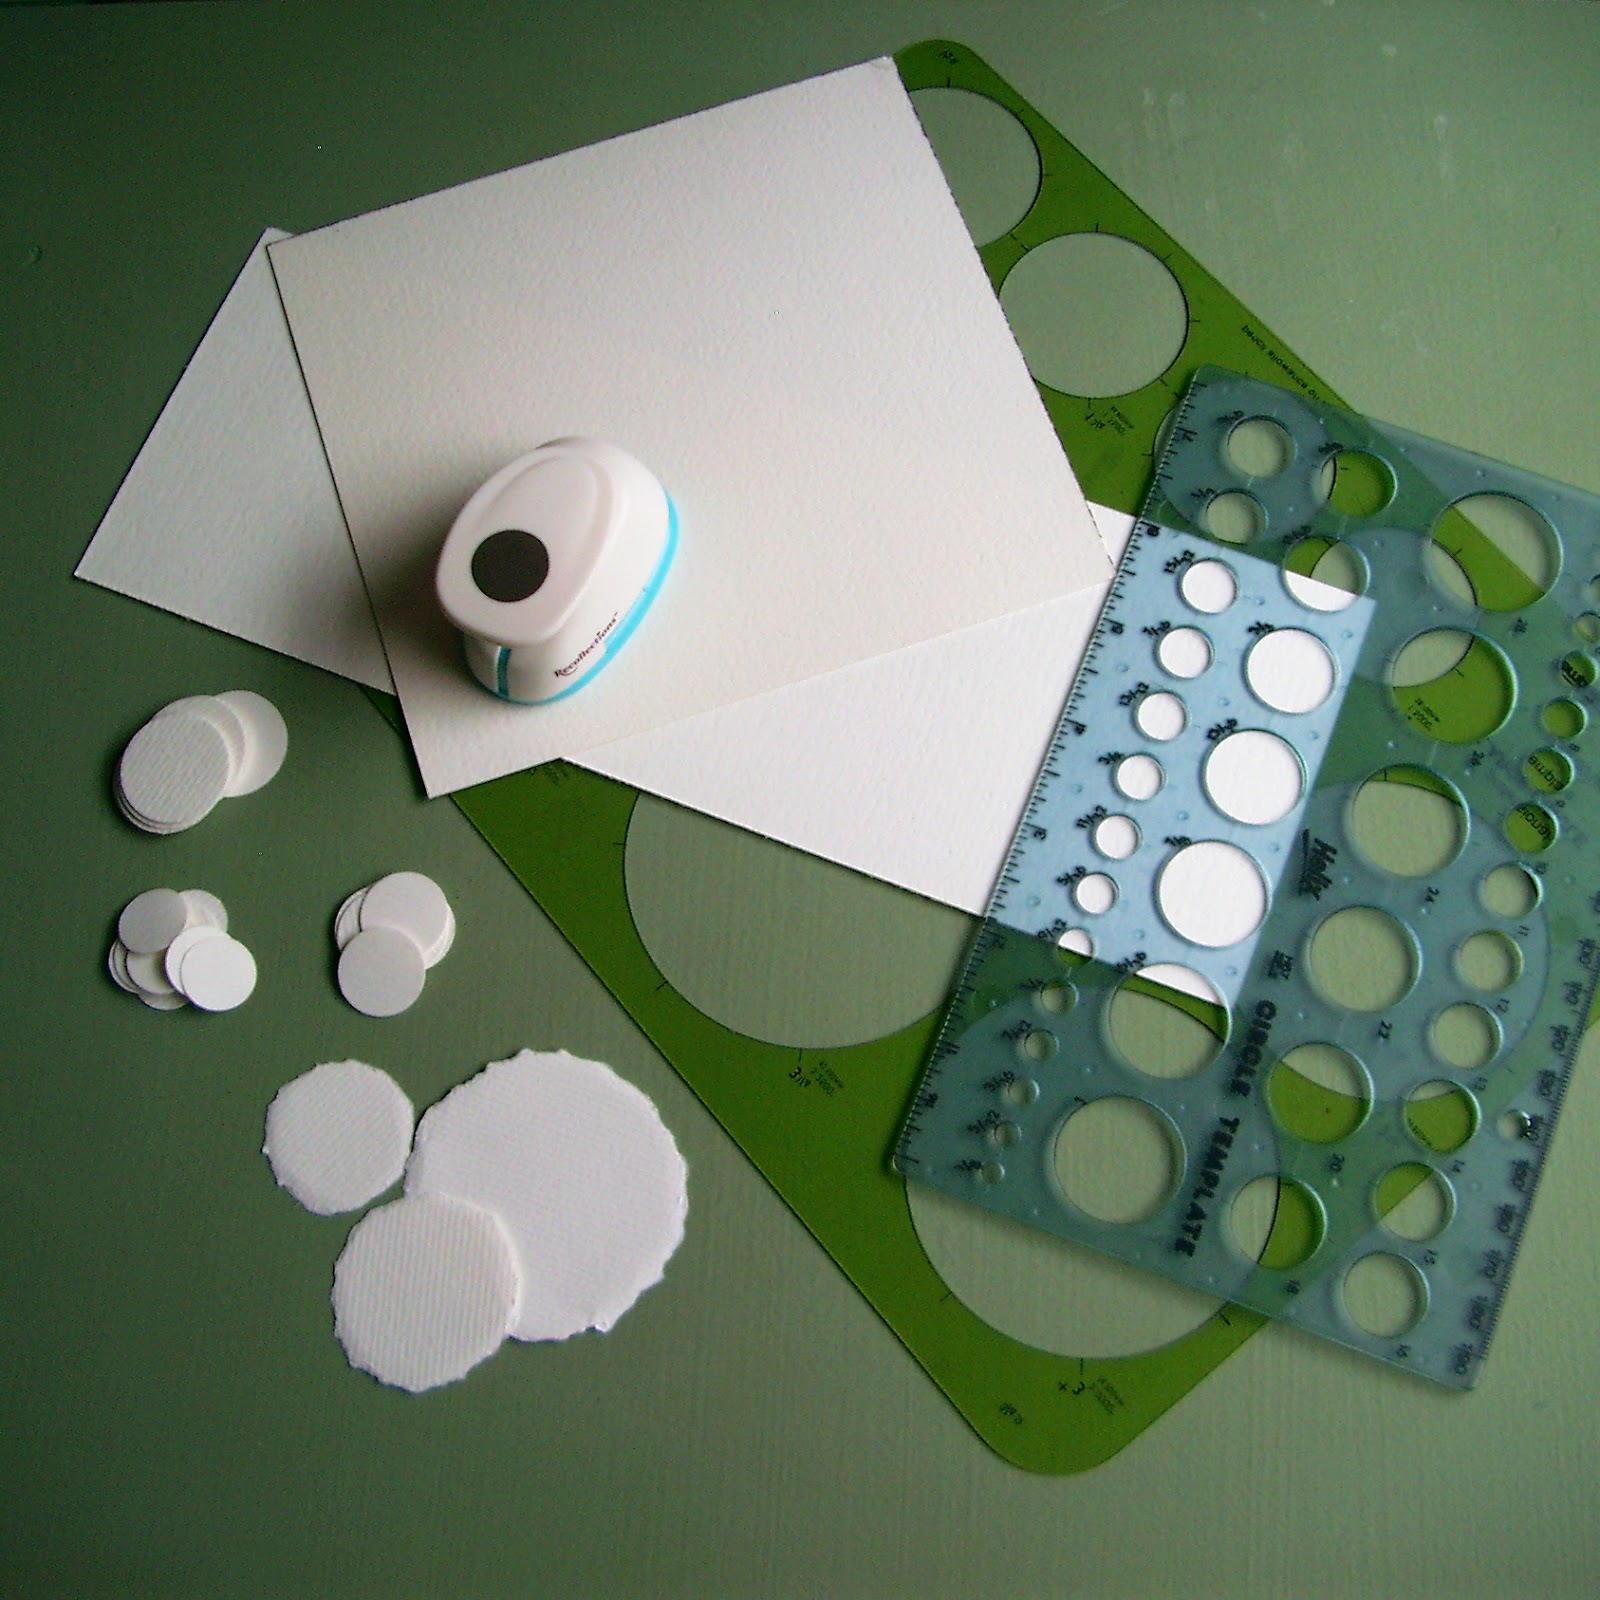
  • watercolor paper (120# or heavier)
  • circle templates (or you can just eyeball it and freehand draw some circles)
  • circle paper punches in various sizes (completely optional and really unnecessary)
  • small bowl of warm water
  • painting materials (Anything your heart desires; I play with EVERYTHING.)

Begin by cutting or punching out various sized circles (small, medium, large, etc…).  My personal preference is to tear the paper along the pencil line of a traced circle.
©linda nelson 2014

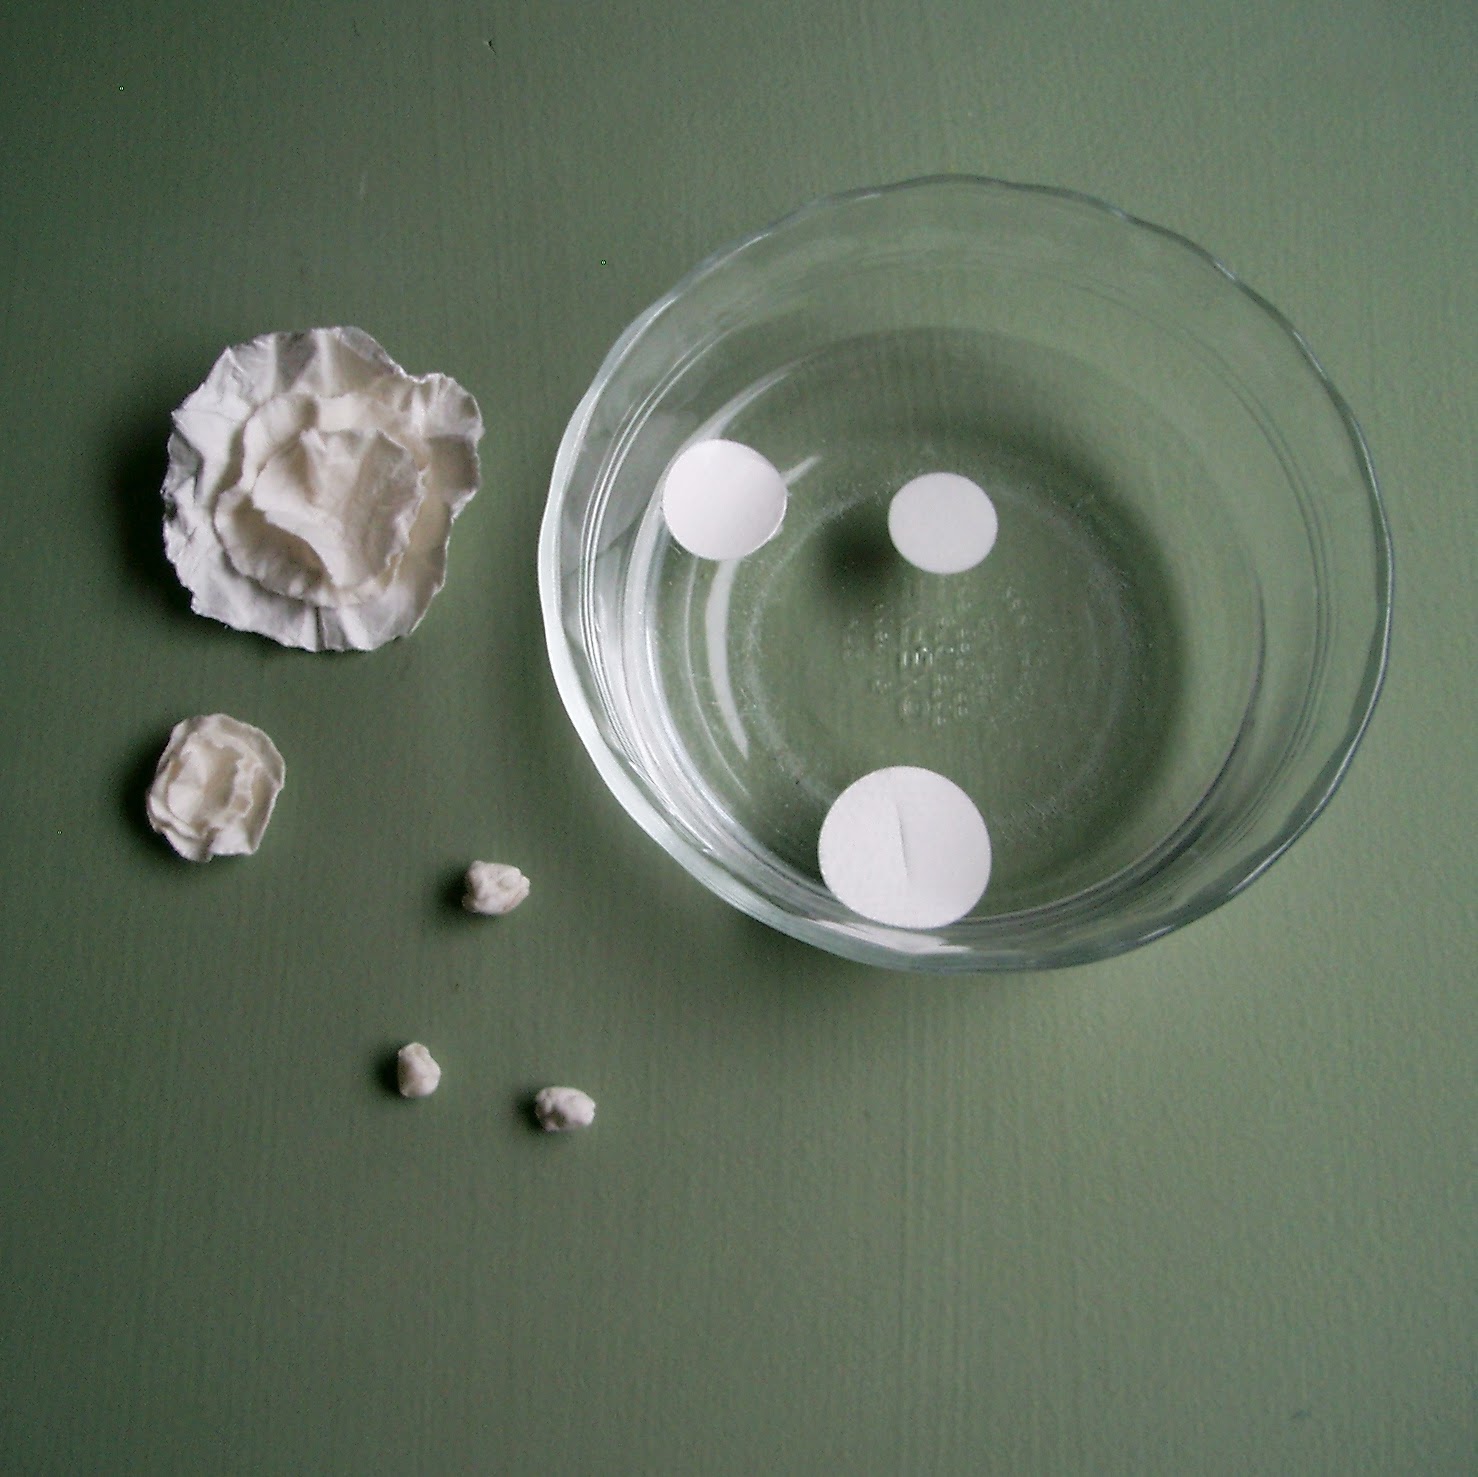
Next, drop your circles into a small bowl of warm water for about thirty seconds, but no longer than one minute.  Now, scrunch each circle up with your fingertips until it is a tight little crumpled ball, and squeeze out the excess water. Open the circles up and gently scrunch each one around your finger tip to create a “fluttery” shape.  Set your pieces aside to dry for a couple of hours.  I placed them on my radiators; they dried in less than a half hour.  When fully dry they will be “stiffened” into their fluttery shape.
©linda nelson 2014
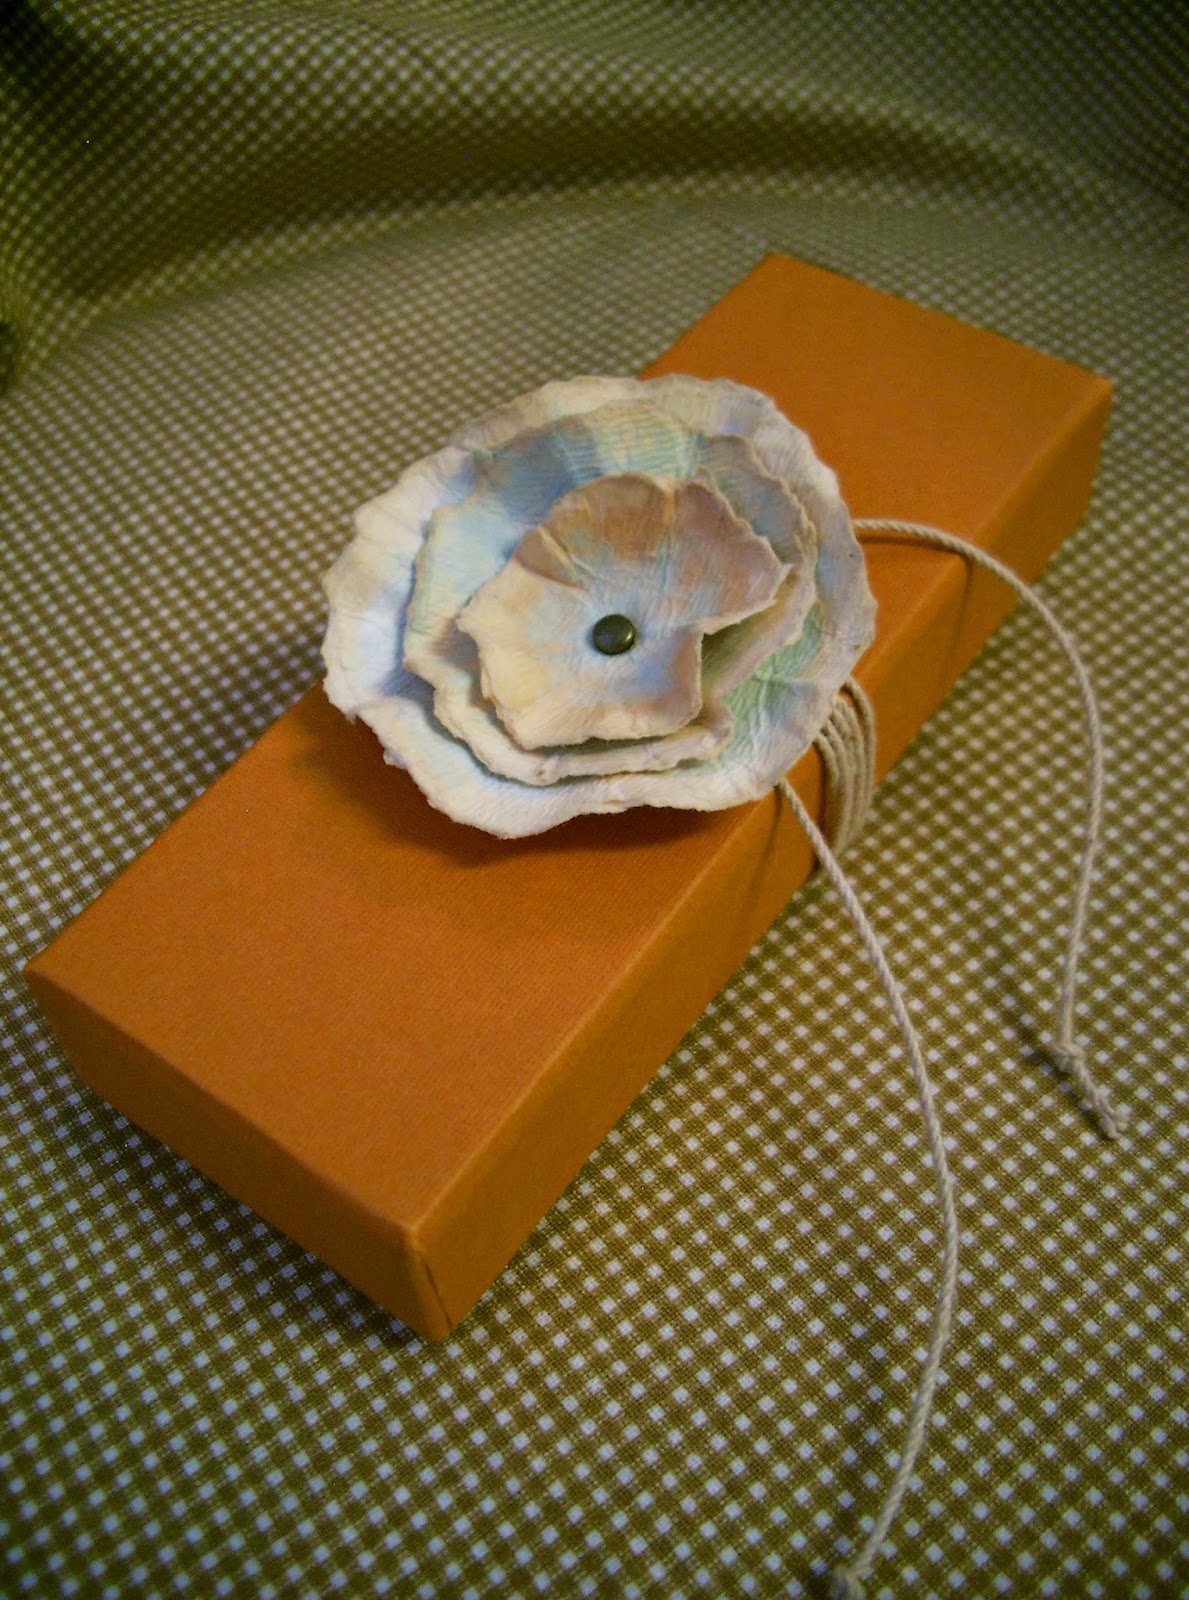
Paint, tint or color each layer however you prefer.  Leaving them ‘au natural’ makes for very pretty bridal favor embellishments.  Fasten the layers together with a paper fastener, glue, or even by sewing a bead or button into the center.  These little beauties can be incorporated into many craft projects.

©linda nelson 2015

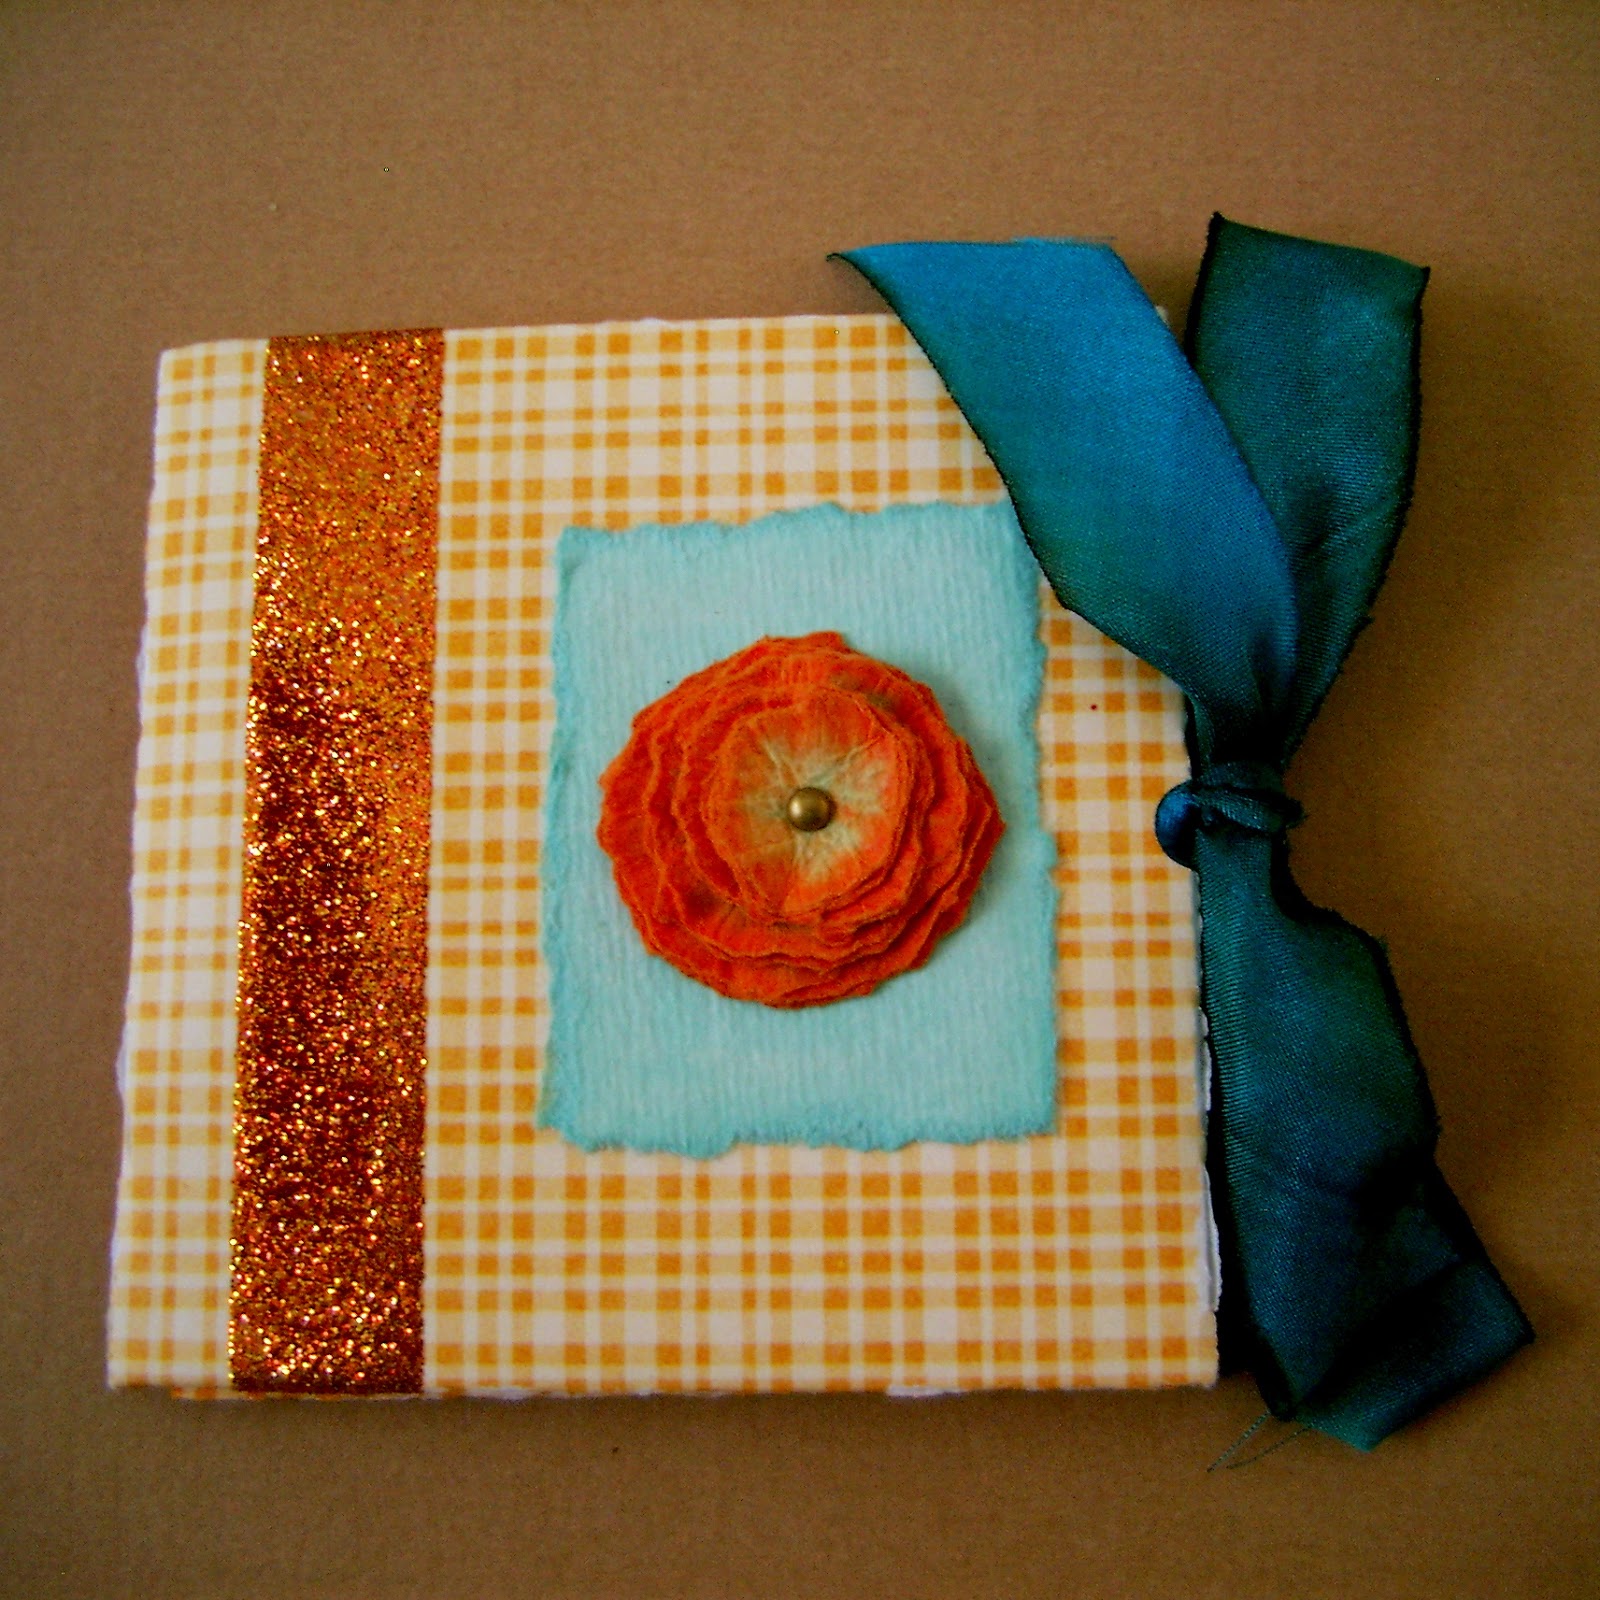
I think they make great substitutes for gift bows.
©linda nelson 2015
©linda nelson 2015

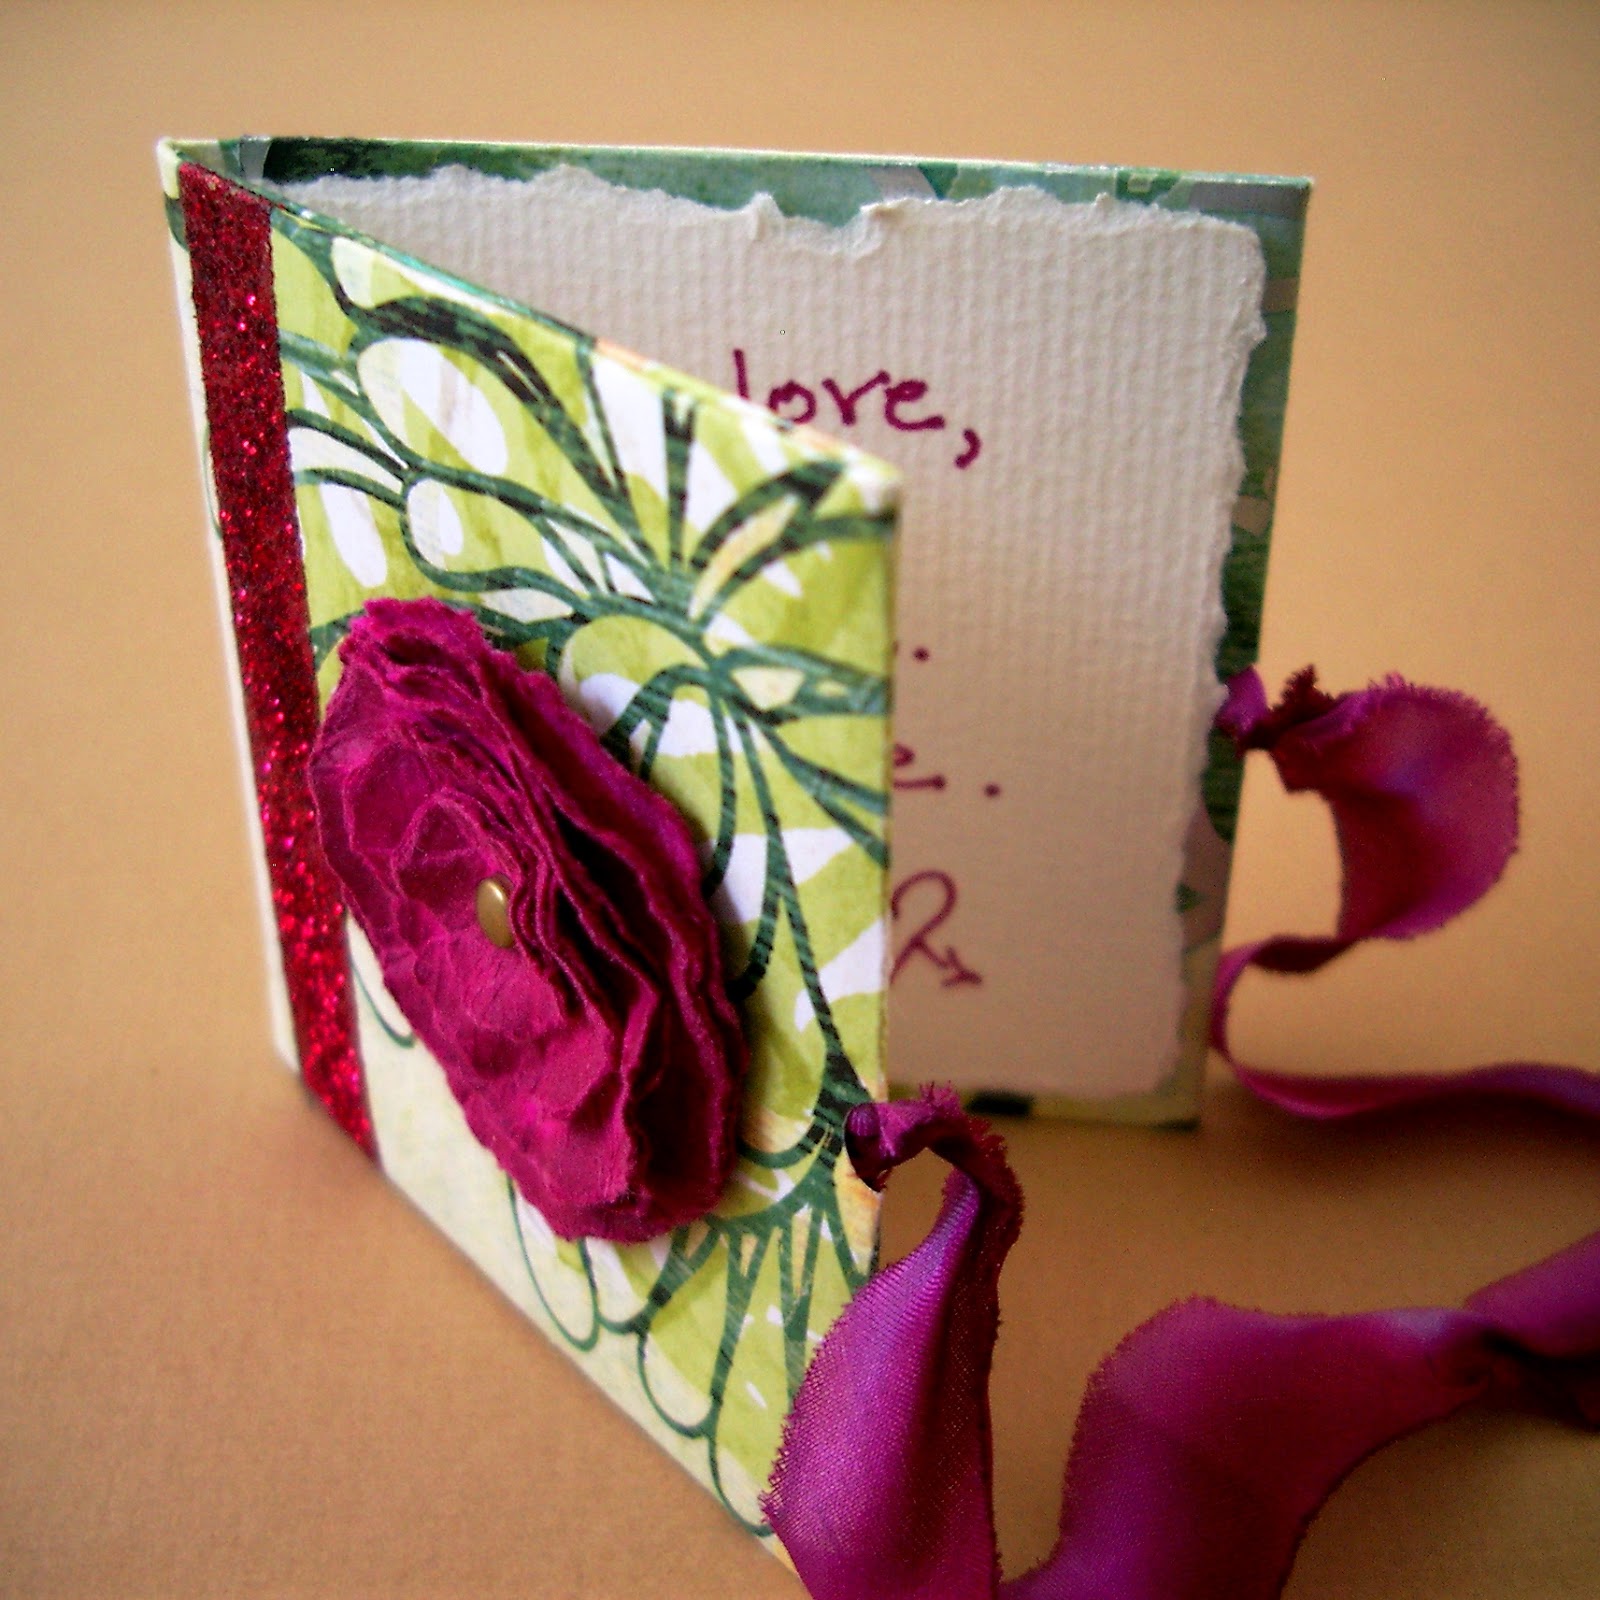
They’re ideal for scrap booking projects; or in my case, embellishing my book-style greeting cards.
©linda nelson 2015

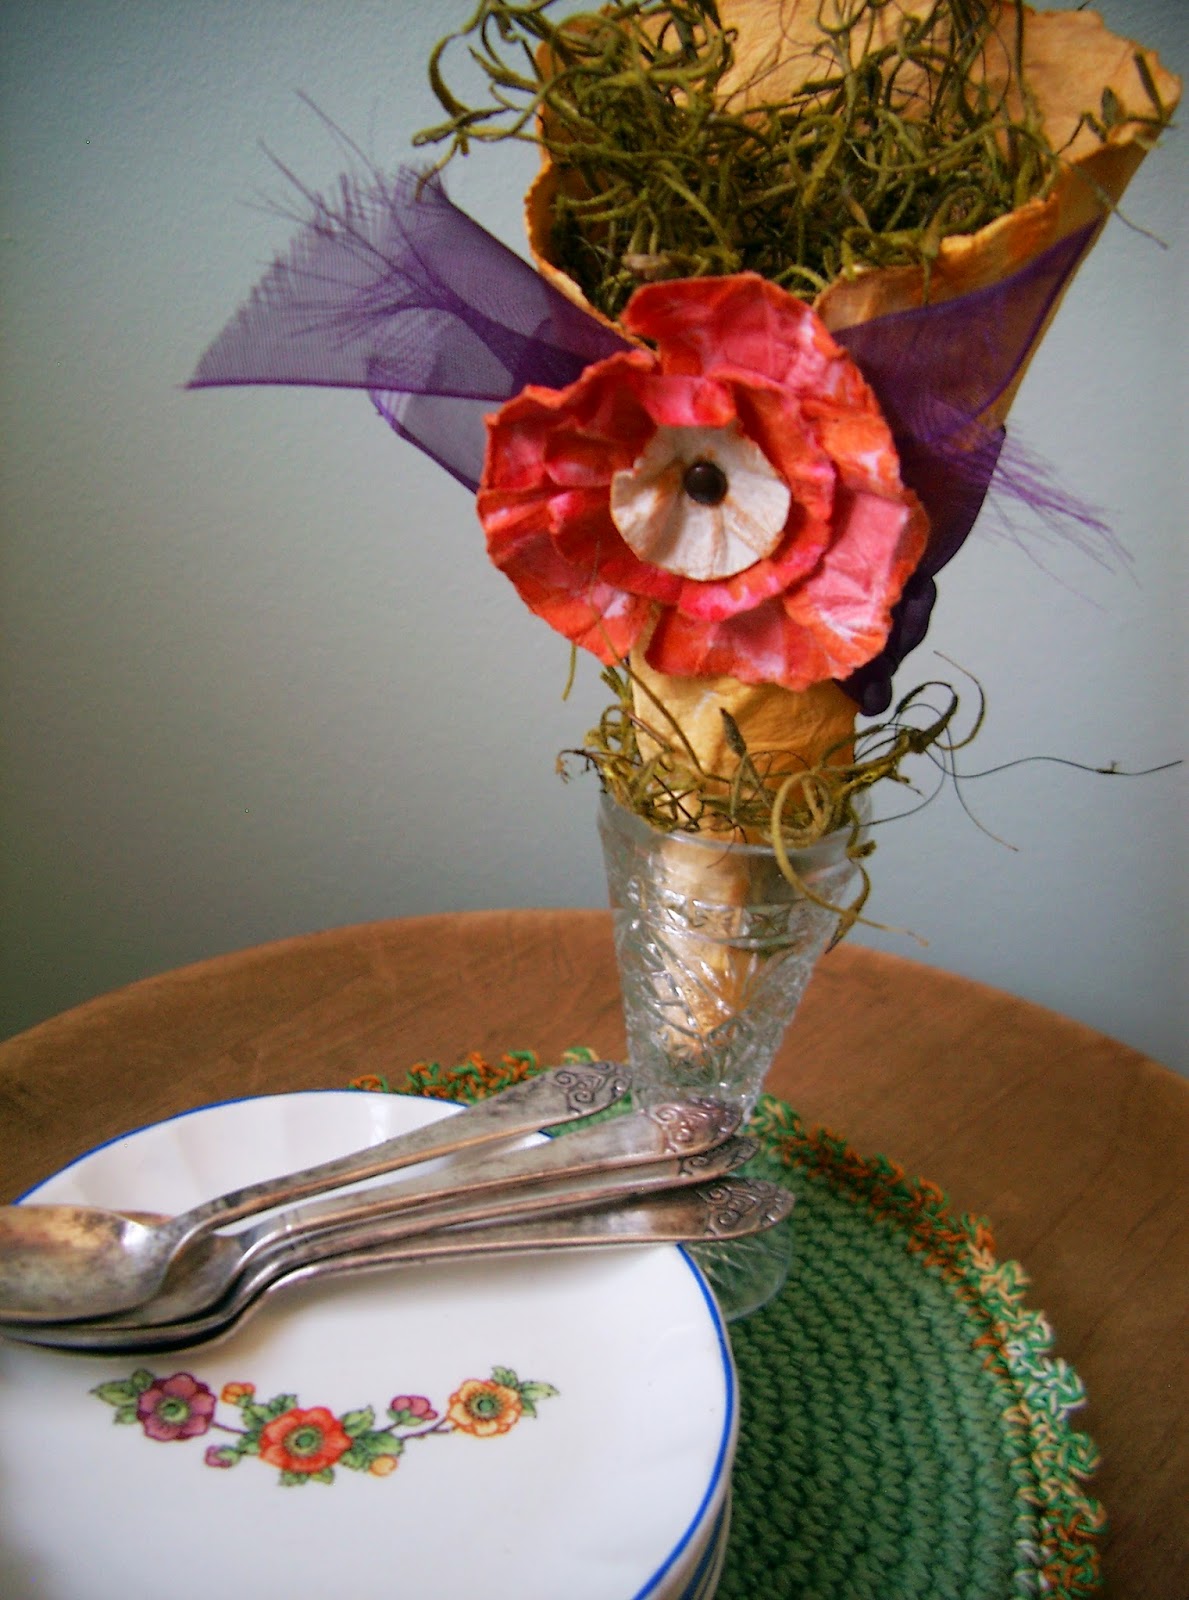
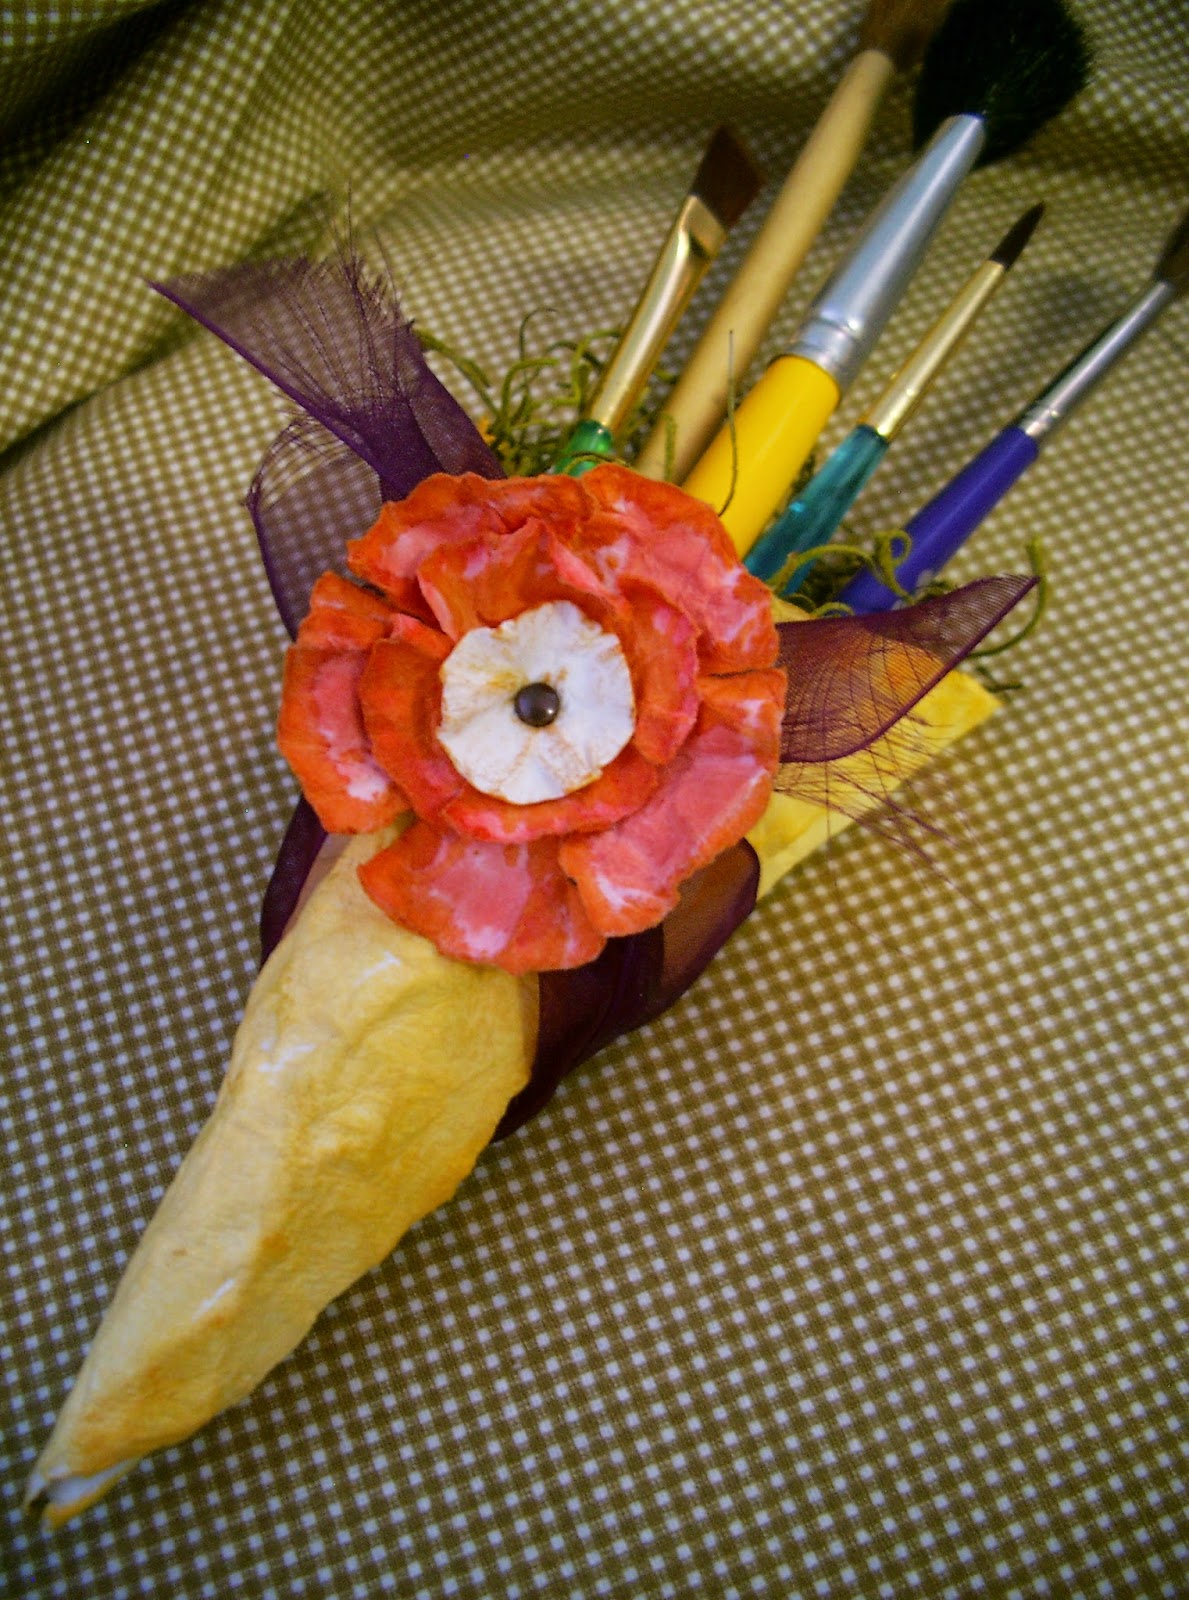
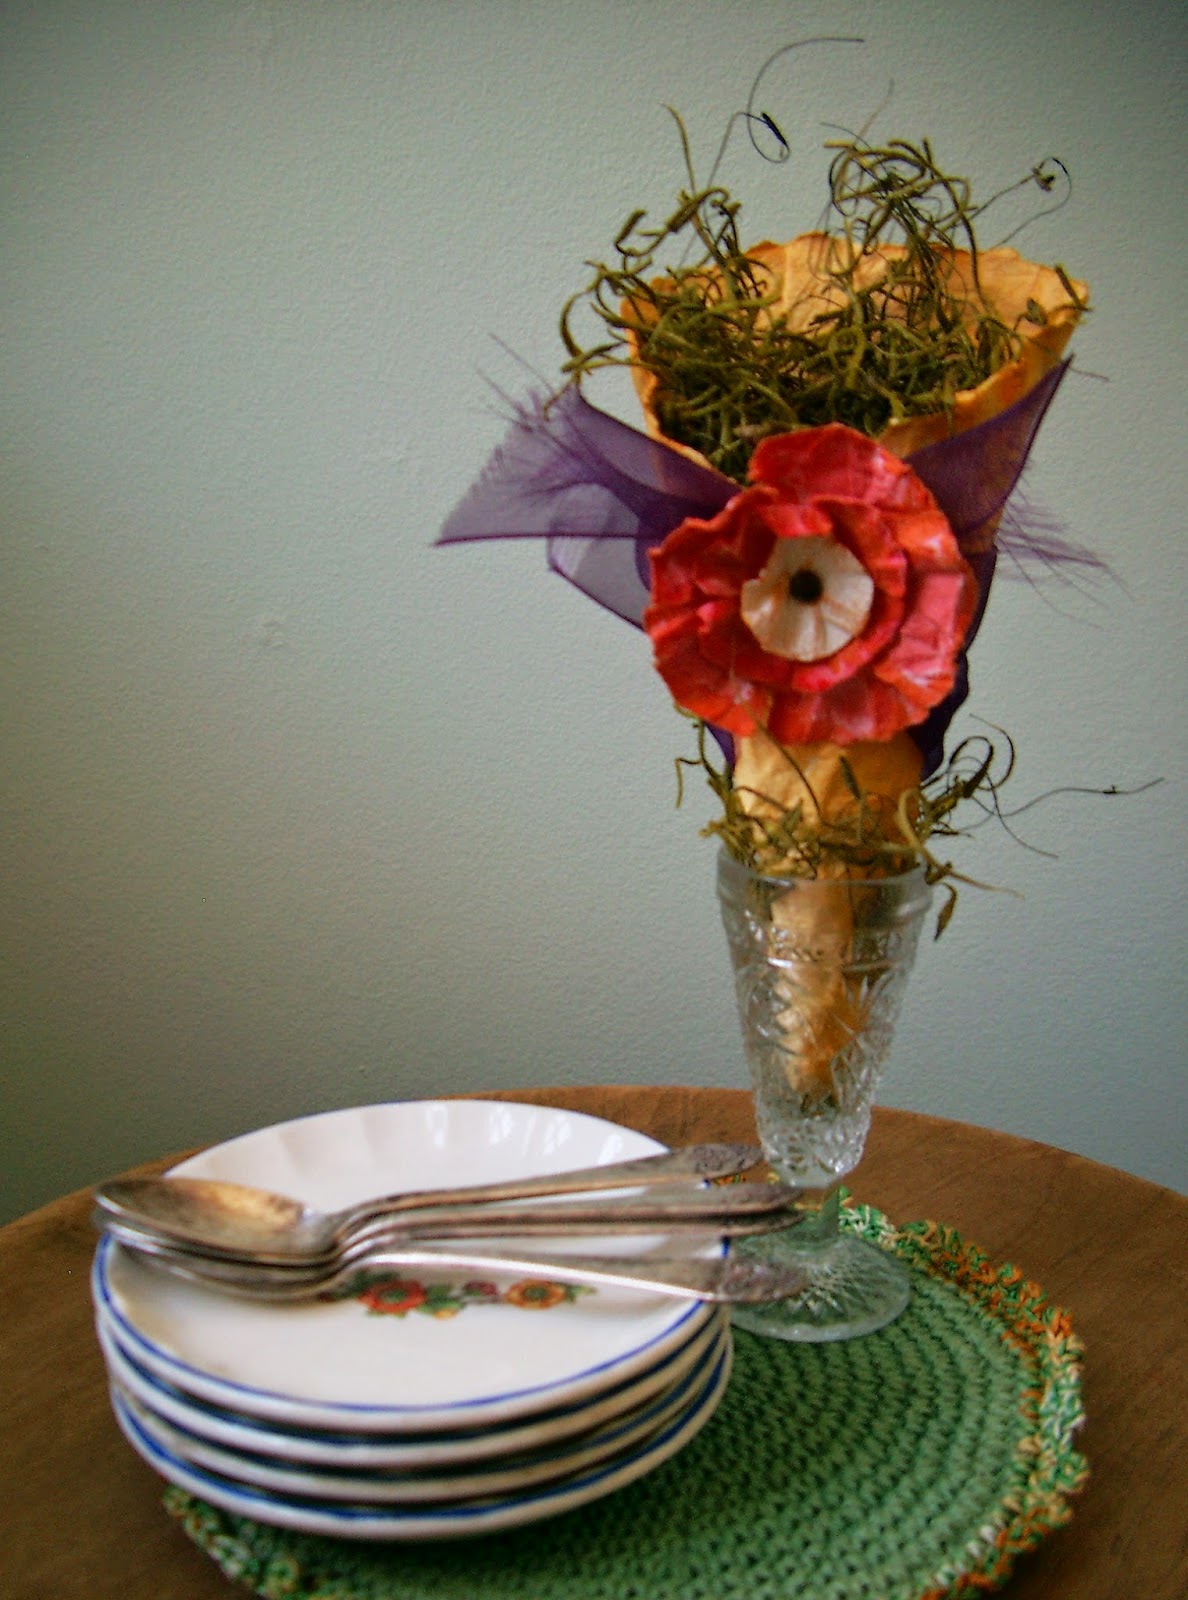
You can make a tussie mussie with a large circle template.  Cut the circle in half, then form a cone shape with one of the halves.  The one pictured above would make a sweet little gift for an artist who paints.  Or, how about a tablescape favor holder like the one pictured below?
©linda nelson 2015
©linda nelson 2015

There you have it.  Now, get creative.

MAKE WATERCOLOR PAPER FLOWERS Read More »

RUSTIC COUTURE SPRING BONNET: TUTORIAL

You’d like to make a rustic couture spring bonnet, would you?

This is what you’ll need for making a 6″(approx.) diameter bonnet:
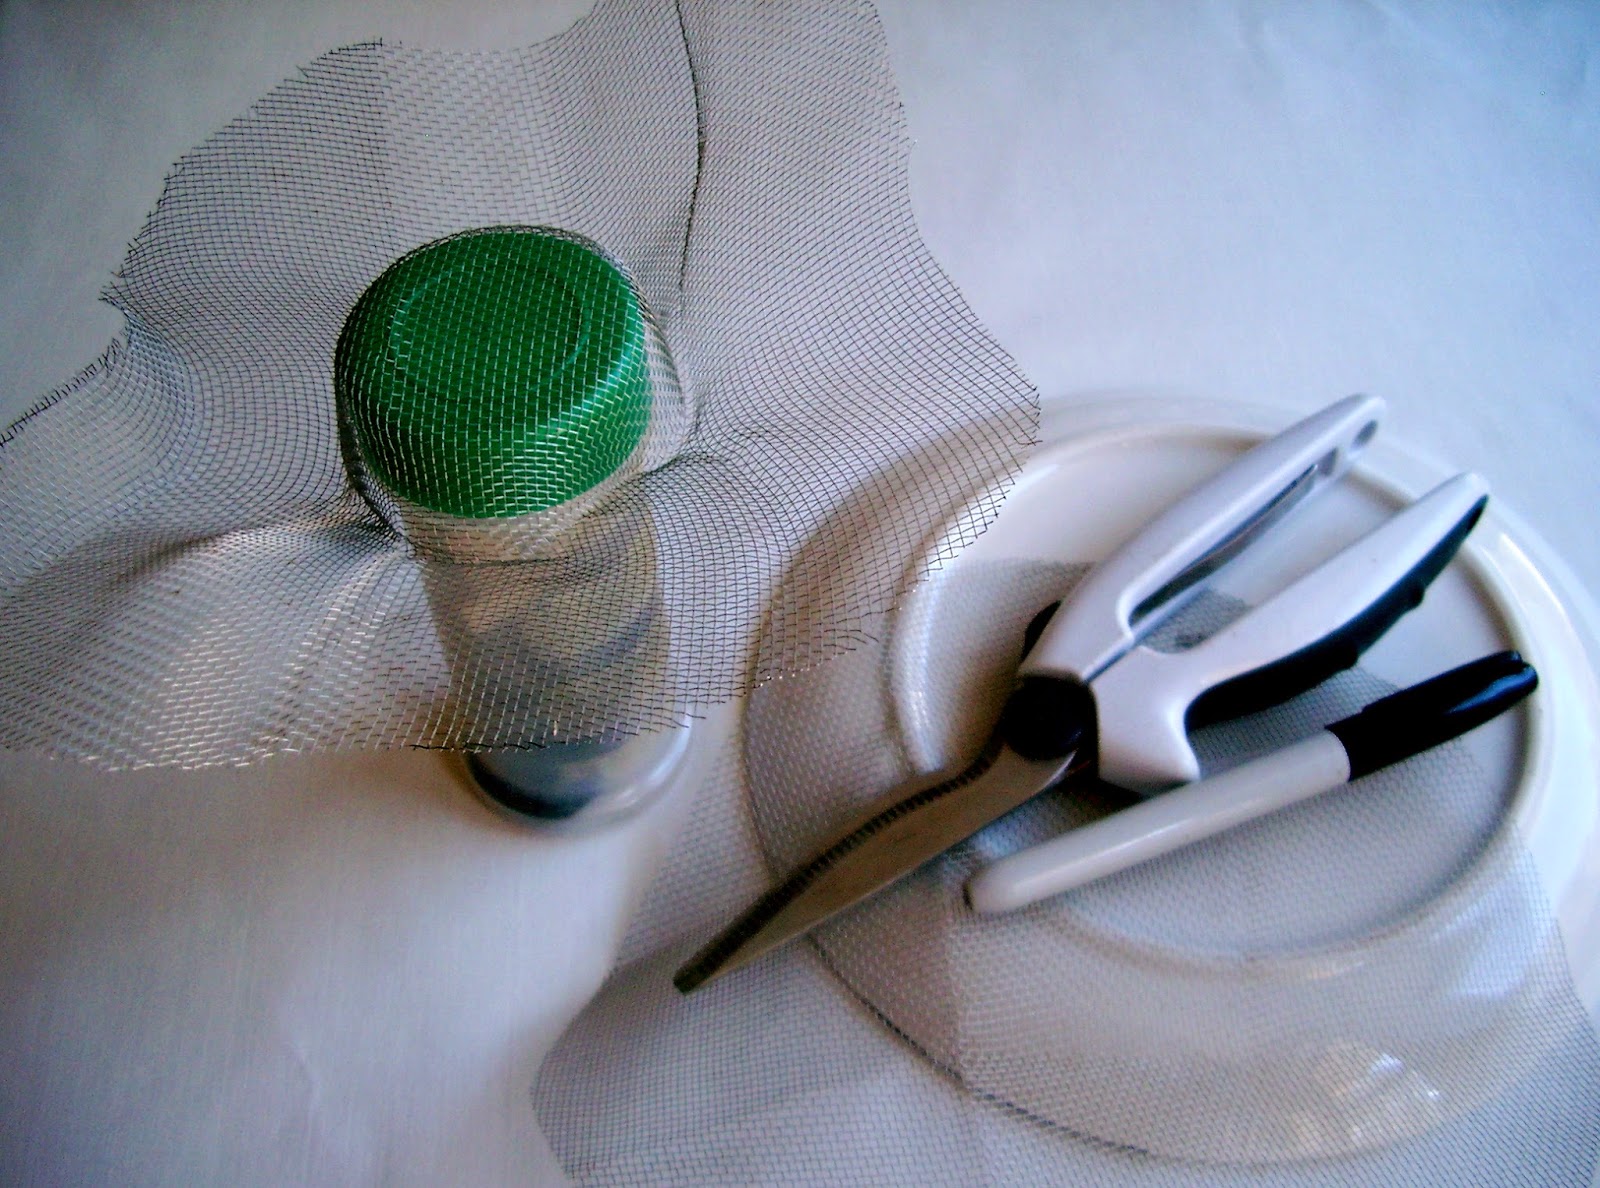
  • a piece of window screening cut into an 8″ circle (check your garage/basement for remnants or purchase some by the foot at a hardware store).  Do not use nylon screen; you can’t form/shape it.  I used a lunch plate as a template and a Sharpie pen to trace my circle.
  • floral wire (roughly 14″ long)
  • acrylic paint & a brush or sponge (I like to create a patina effect using “muddy” greens and blues)
  • ribbon, moss, twigs, notions….(whatever your heart desires for embellishing)
  • scissor type tool that cuts through metal mesh (I used an old pair of boning shears)
  • 2 1/8″ diameter herb container (to use as your”hat form”)
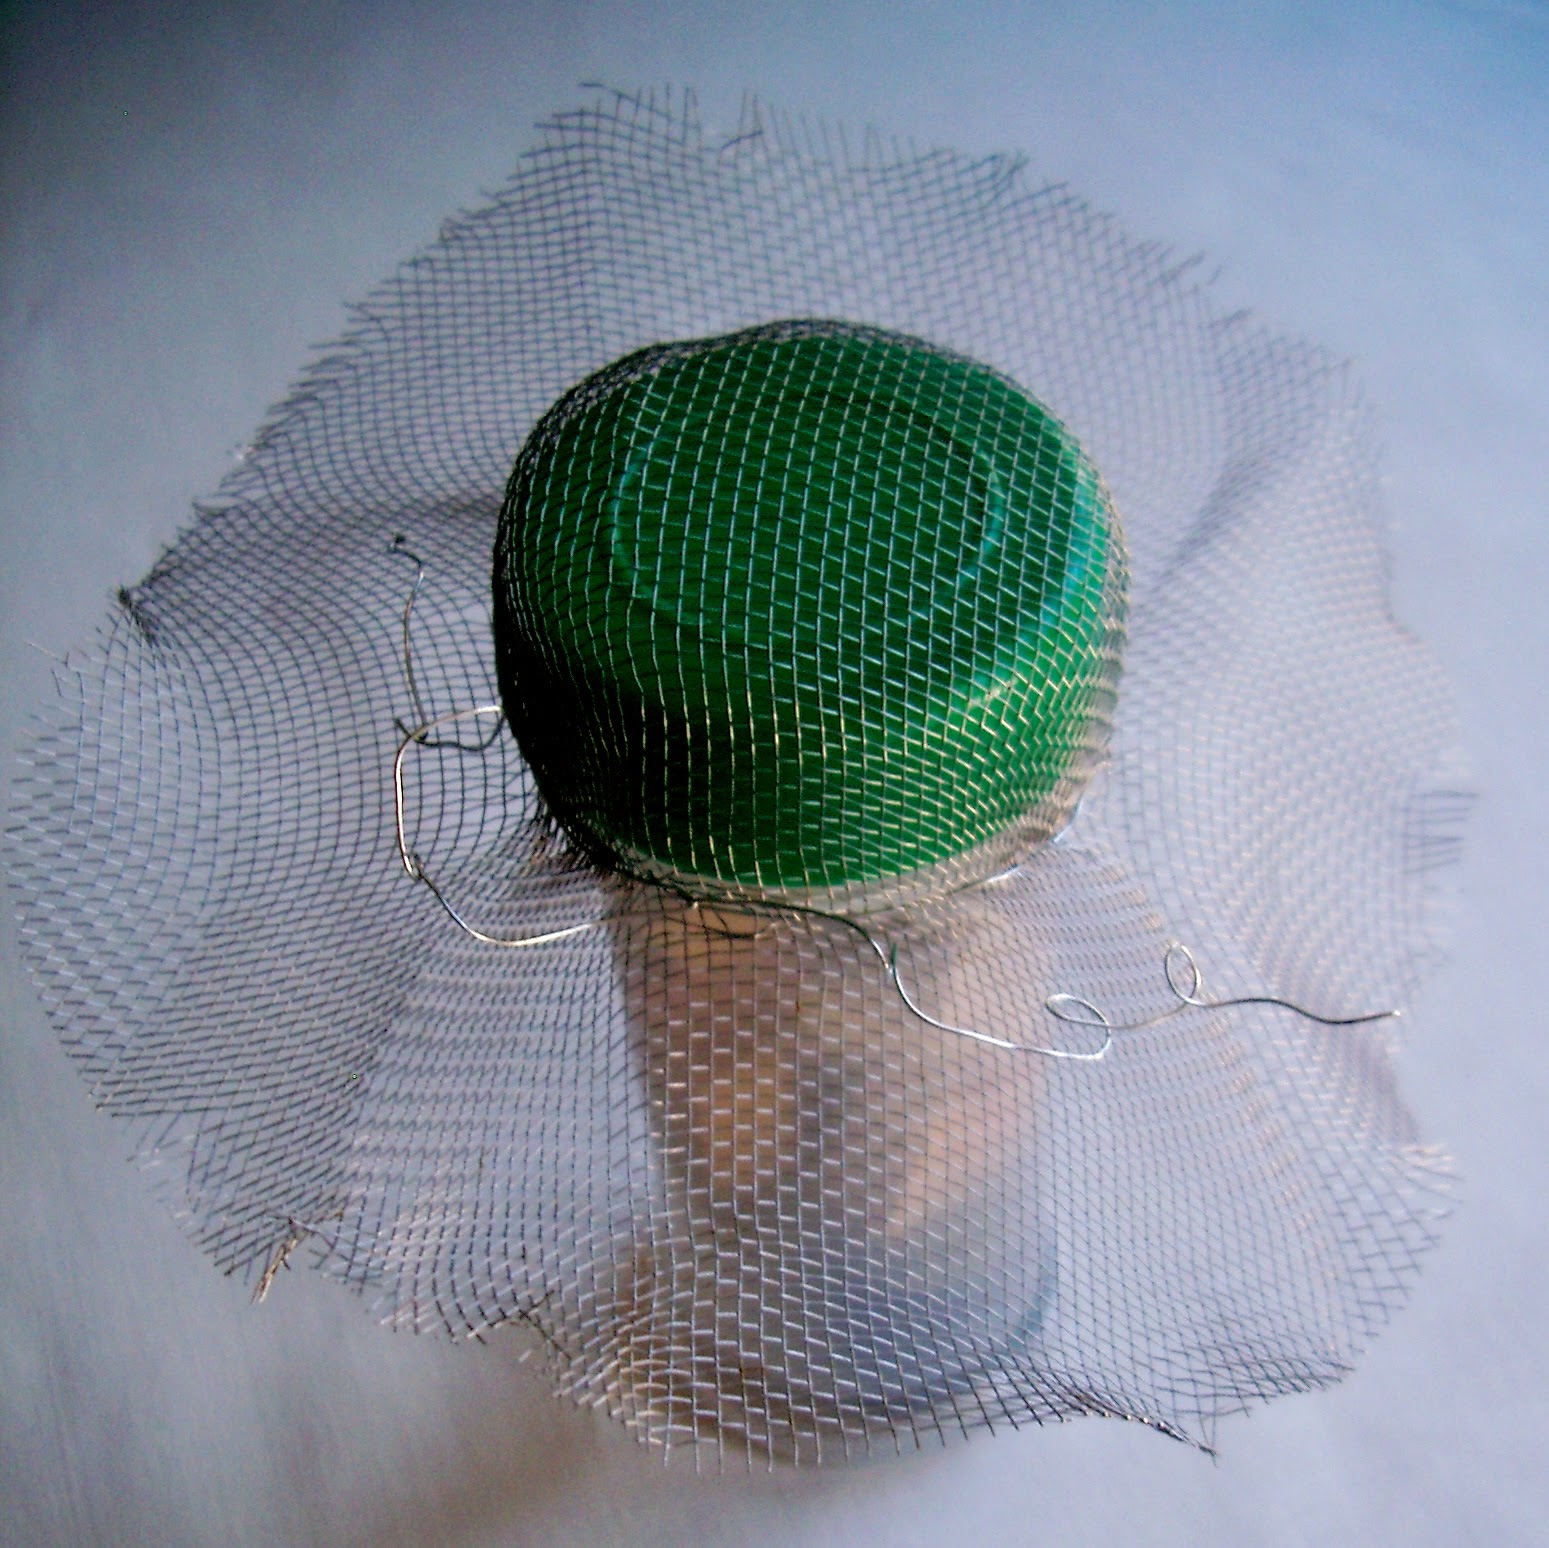
Trace your template onto the mesh, then carefully (the edges are sharp) cut it out.  Next, center your circle over the herb container and squeeze the mesh to fit snuggly around the lid.  Bend upward and crease what would be the brim part of the hat.

©linda nelson 2014

Remove your hat from the form, then use your floral wire (no needle necessary) to stitch, up and down fashion, around and along the crease line.  Twist the two ends together to secure.  This step reinforces your bonnet.  The remaining ends of the floral wire provide a means to fasten some embellishments onto it.  The wire tails can also be kinked and twisted, thus becoming part of the design.  Trim the brim to shape and to your liking of it’s width.  I crimp and fray the edge by giving it a little tug and pulling off a few loose strands; that’s what makes it rustic looking. 

©linda nelson 2014

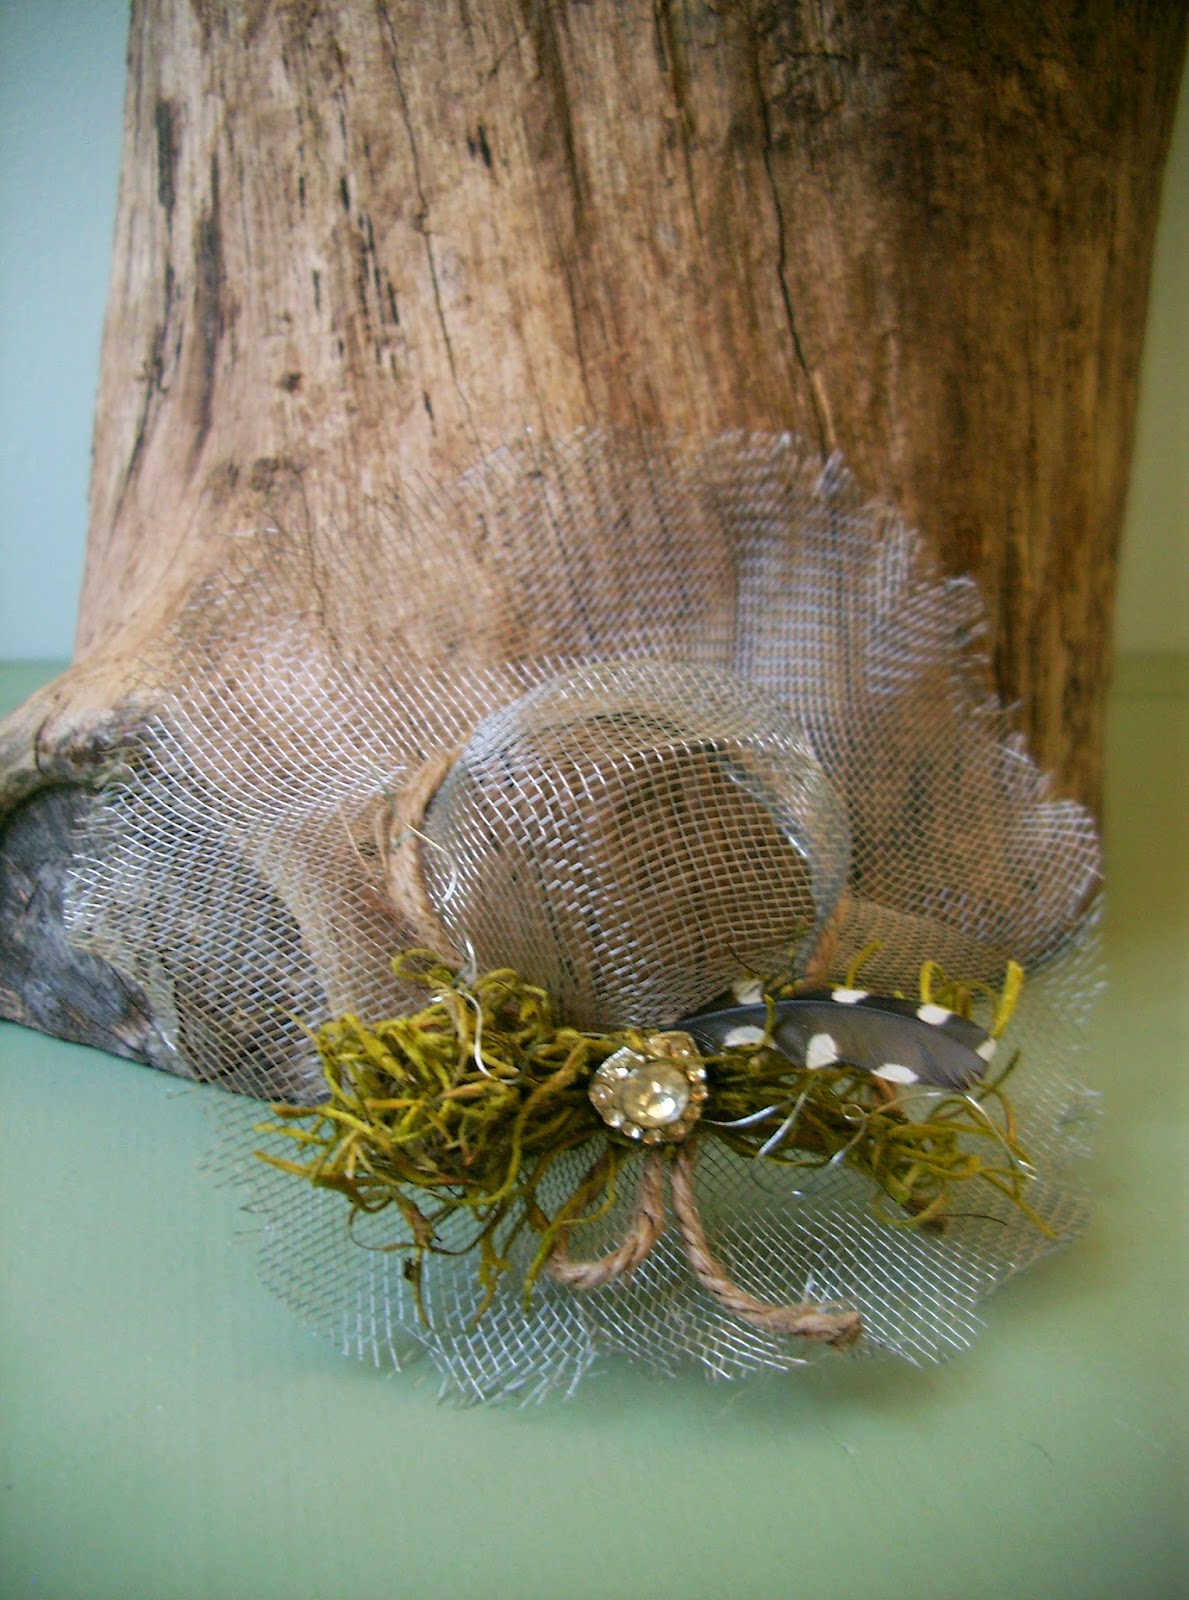
Dab on some paint, if you’d like, though this step is completely optional.  I chose not to paint the one pictured below.  Sew or glue on your embellishments.  You can put your bonnet back on the hat form, if you’d like; it frees up both of your hands while working on it.
©linda nelson 2014

There you have it.  All done.  Now, get creative.

RUSTIC COUTURE SPRING BONNET: TUTORIAL Read More »

Scroll to Top