THE SHOP ROOM PUMPKIN

I present to you, the palm-sized shop room pumpkin – “made for a man, yet still decorative enough for a woman”.
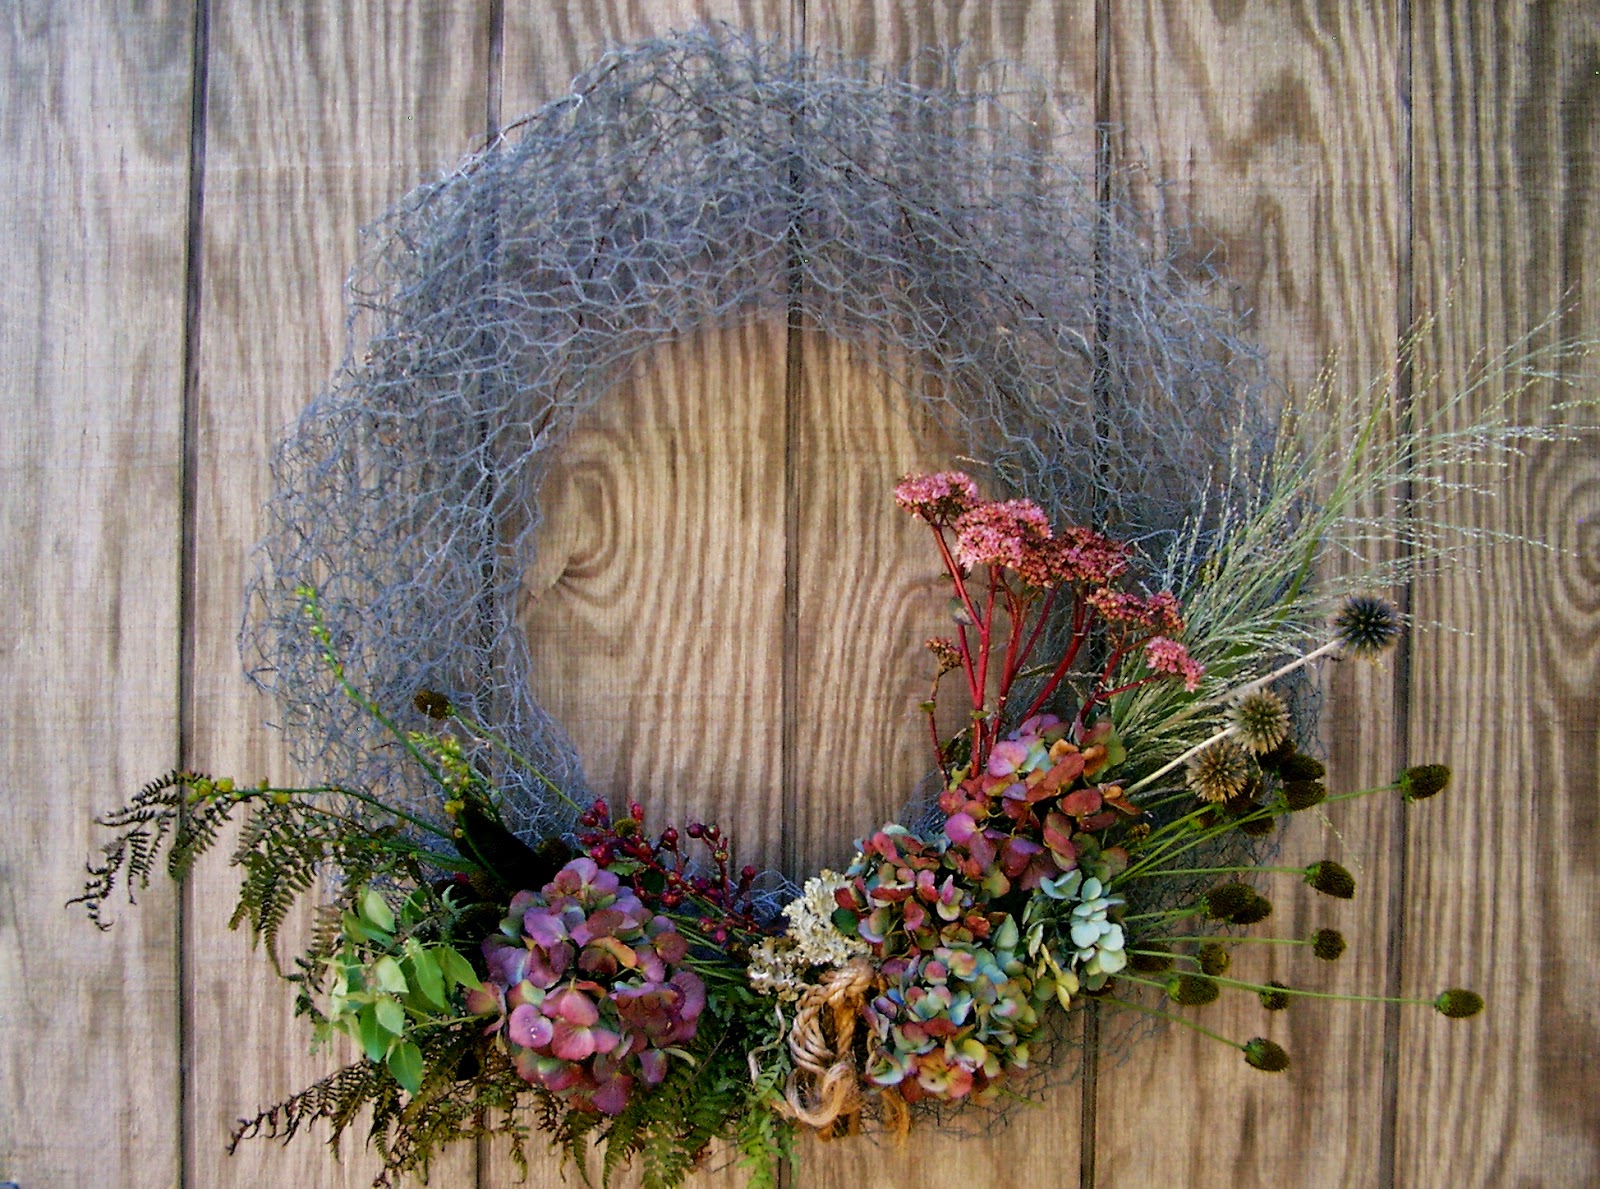
To make one, here’s what you do –

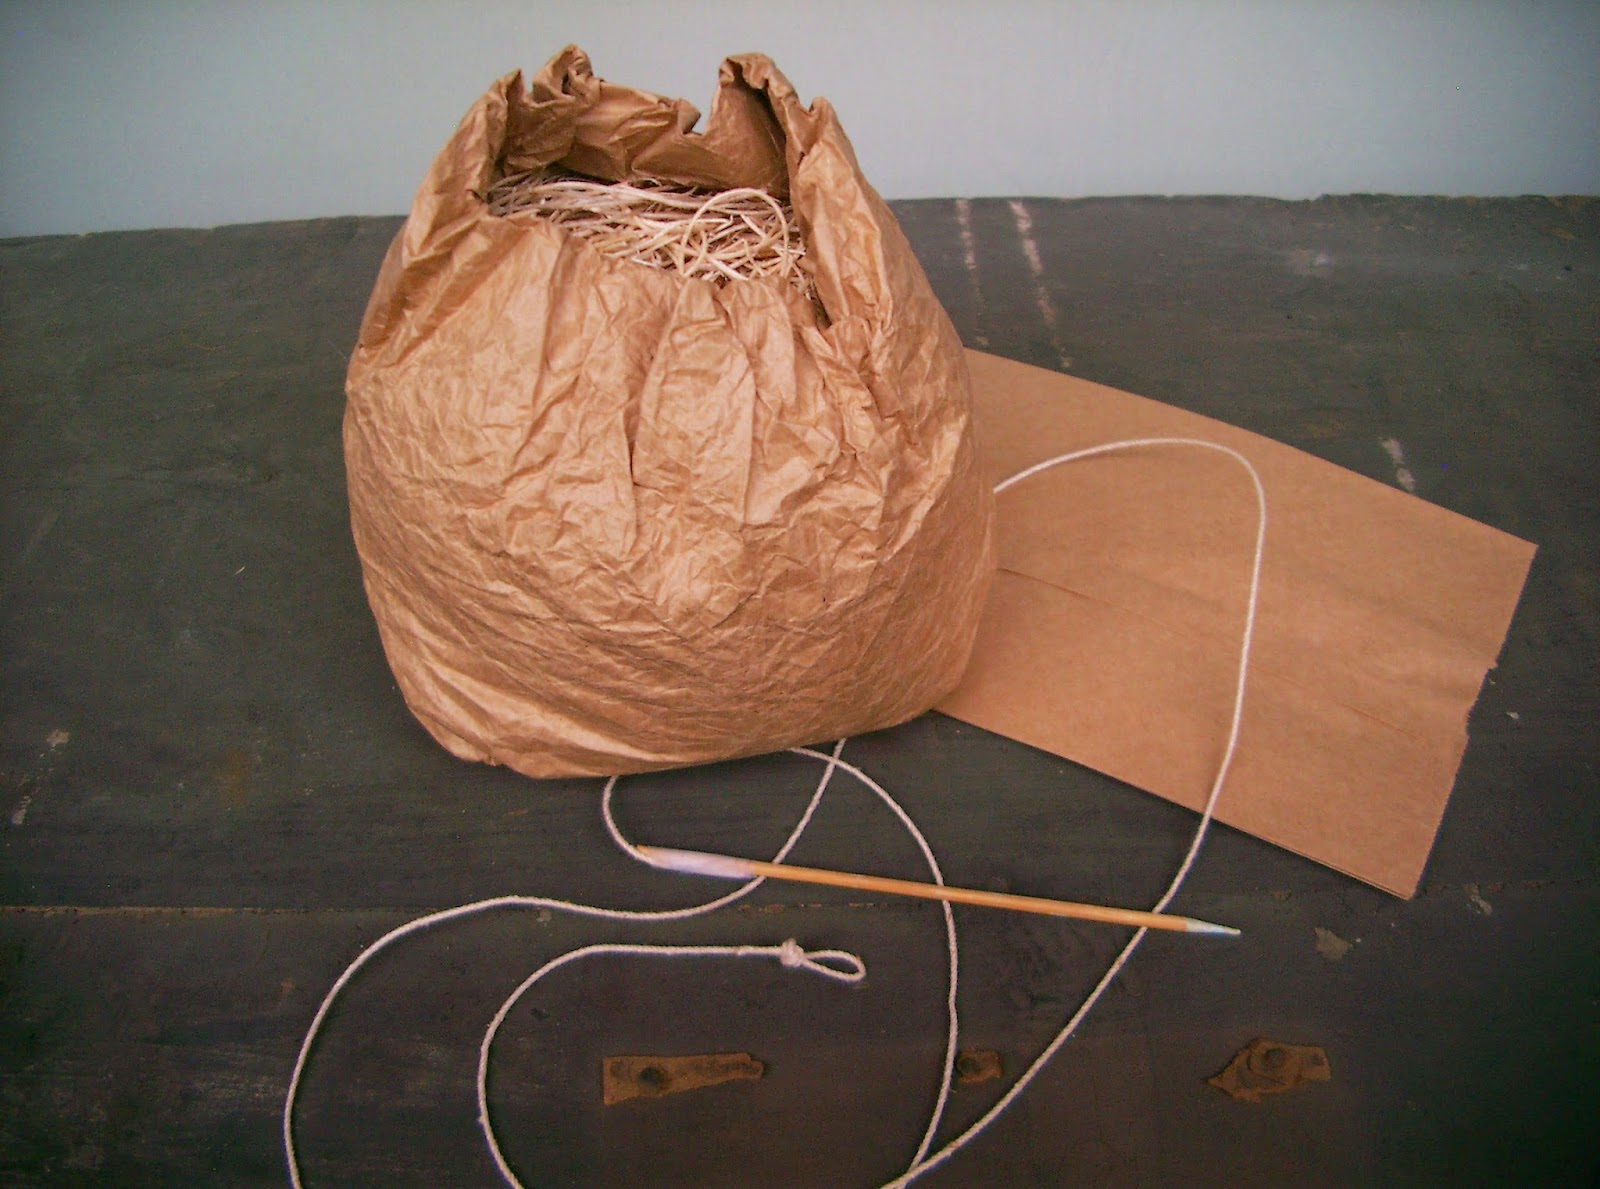
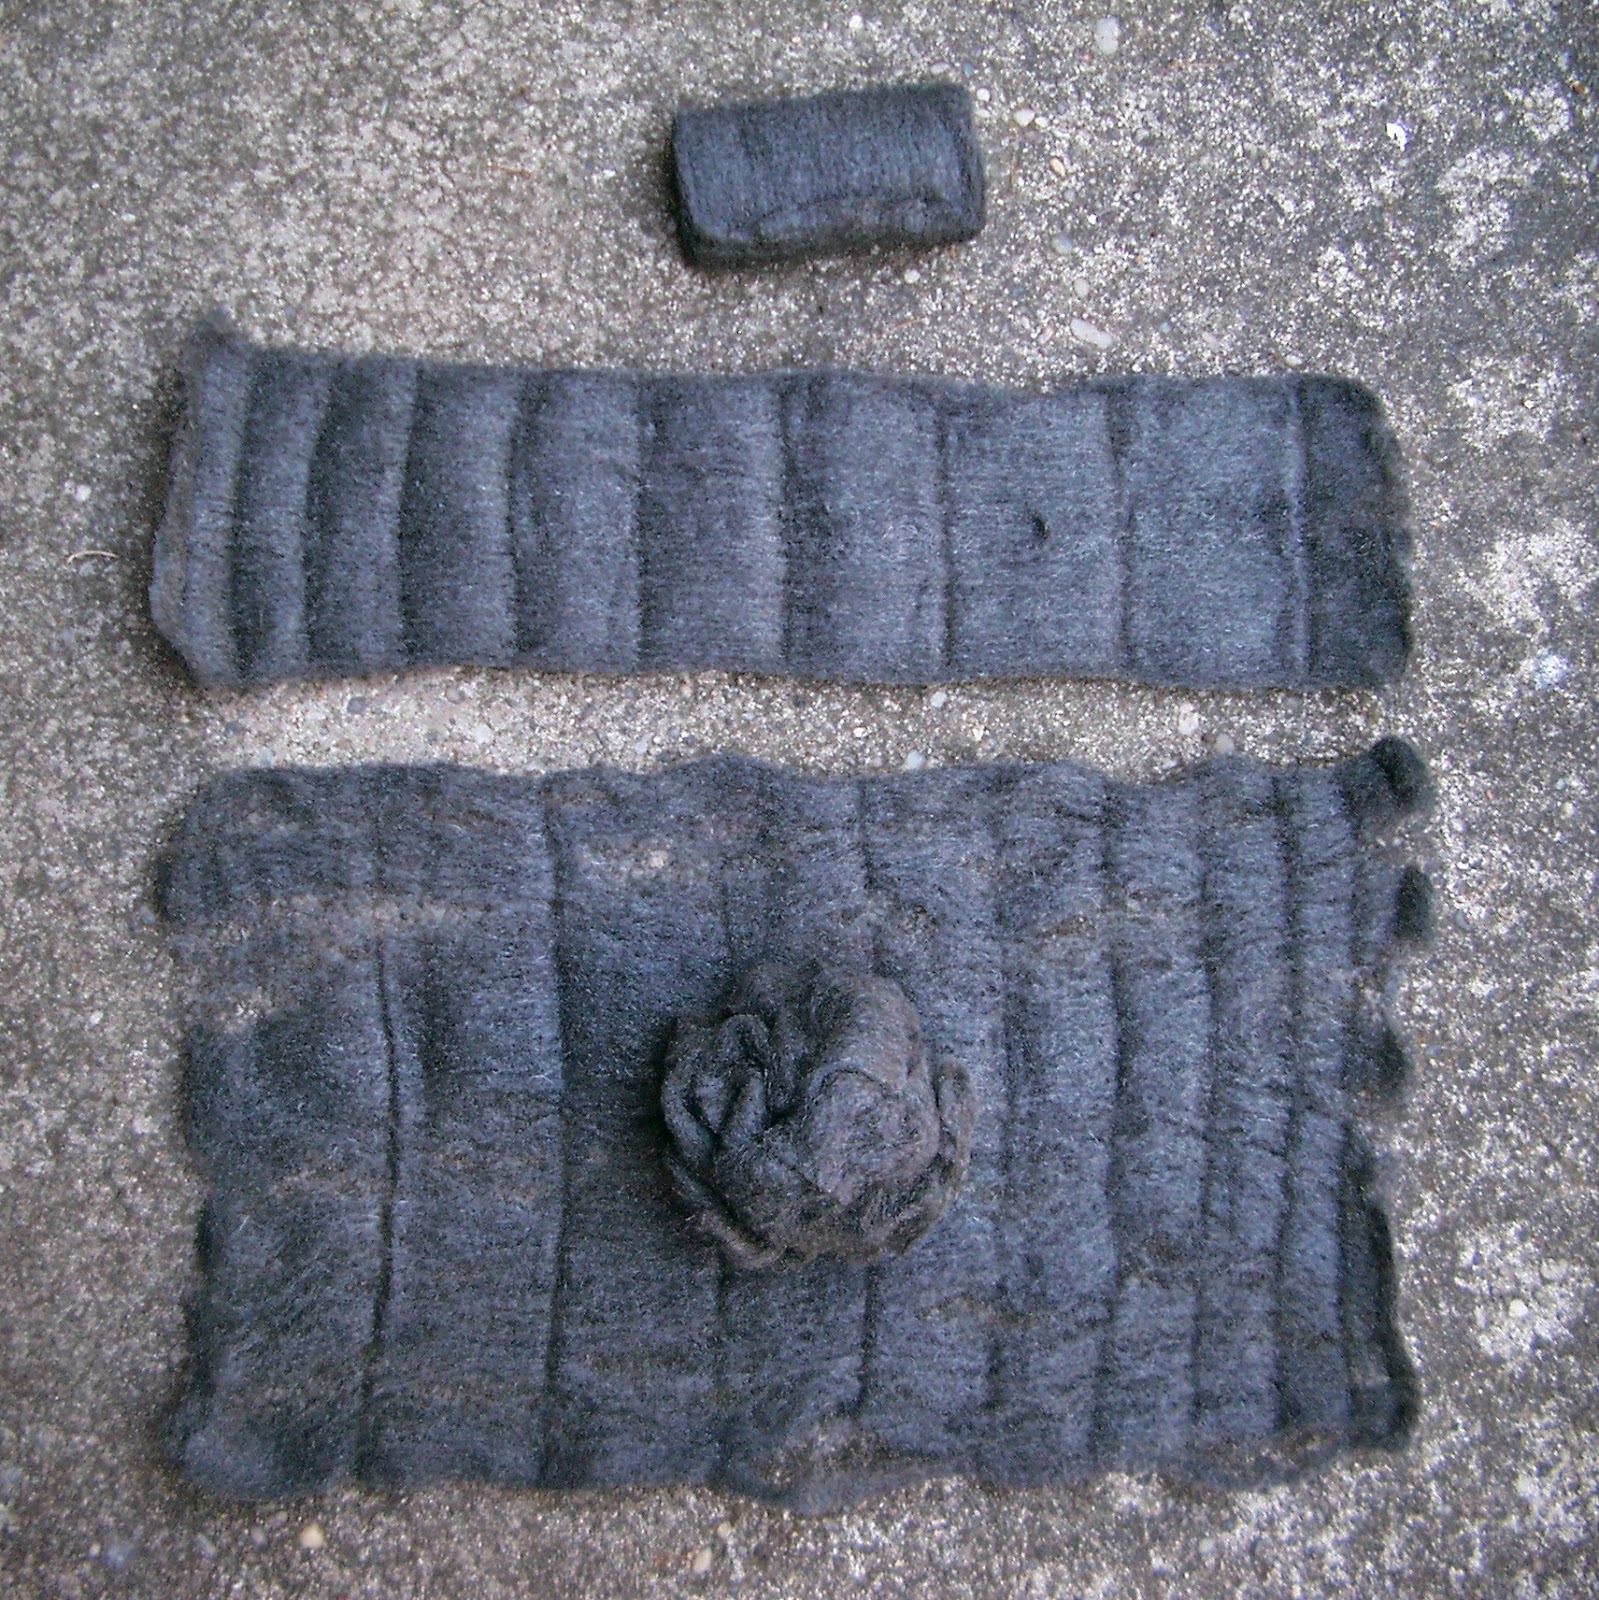
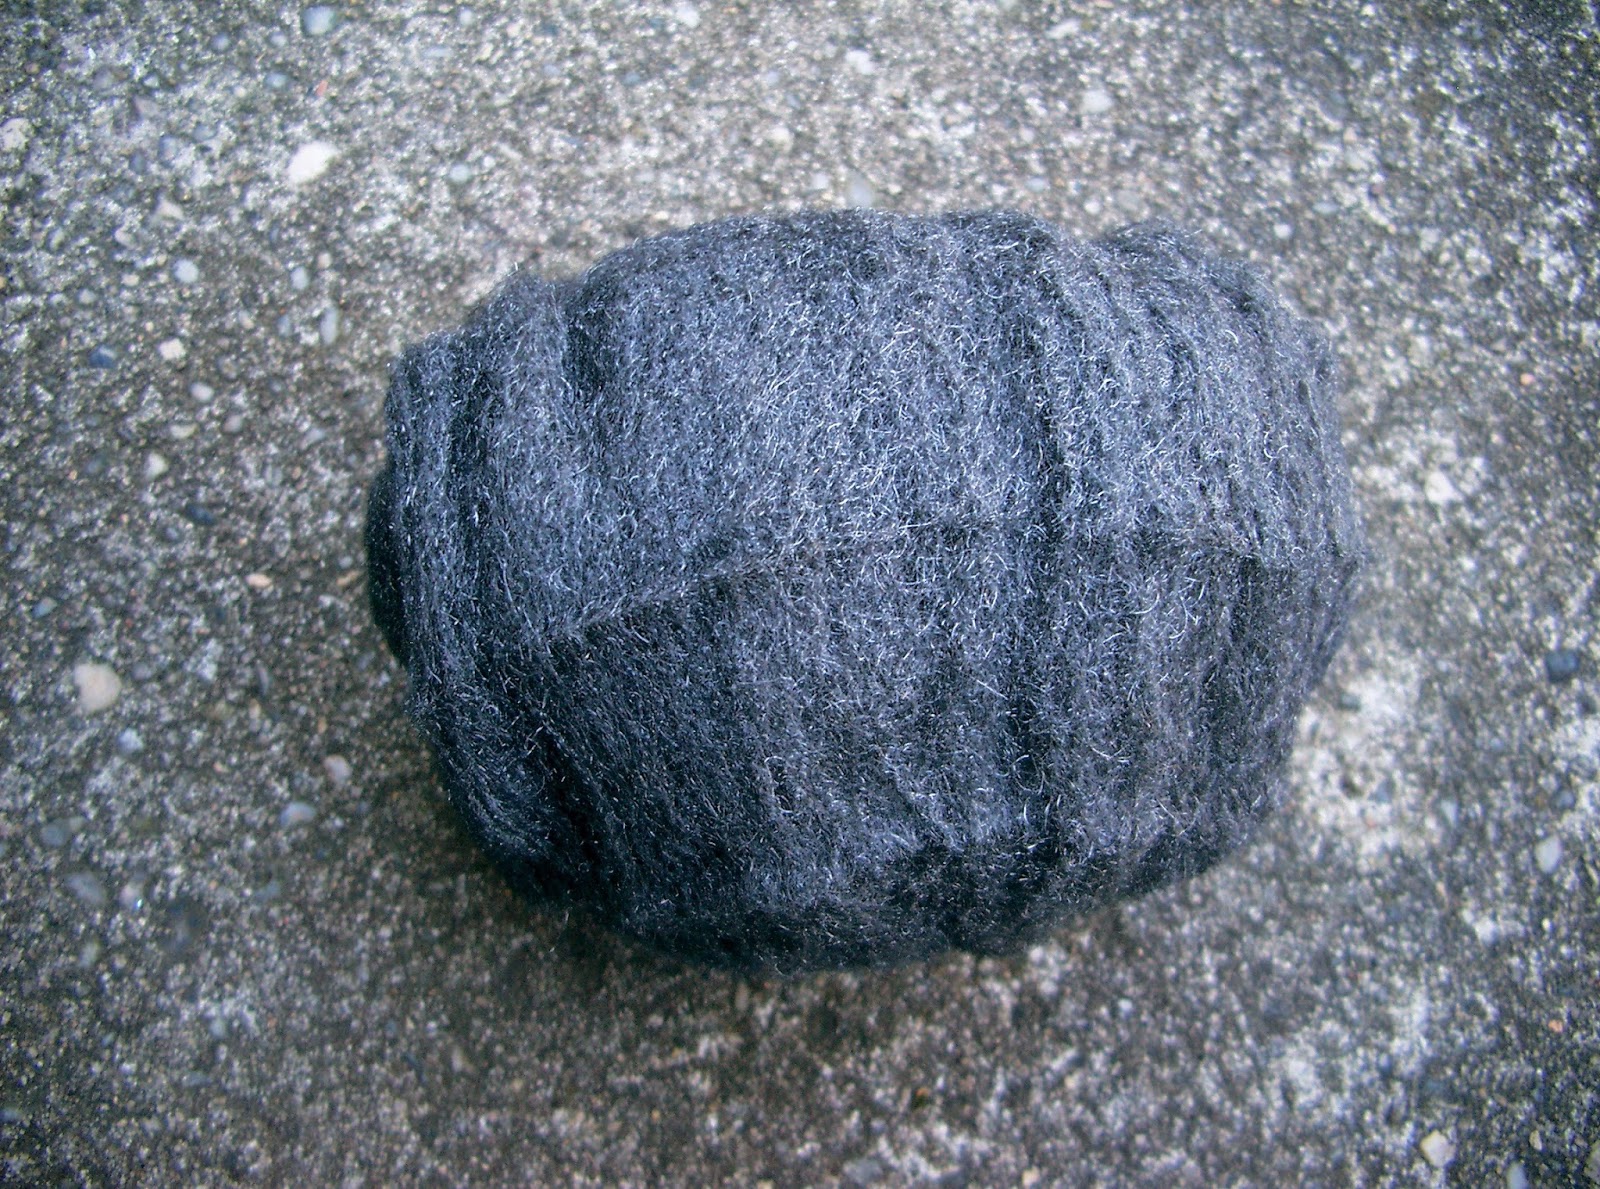
Unroll two wads of #000 extra fine steel wool(sold in packages at any hardware store) and gently stretch their fibers lengthwise and widthwise to make two very thin sheets.  Roll one sheet up into a ball; use the other sheet to cover over it to make it larger.  Gently cup it in your palm and shape it into a nice ball.
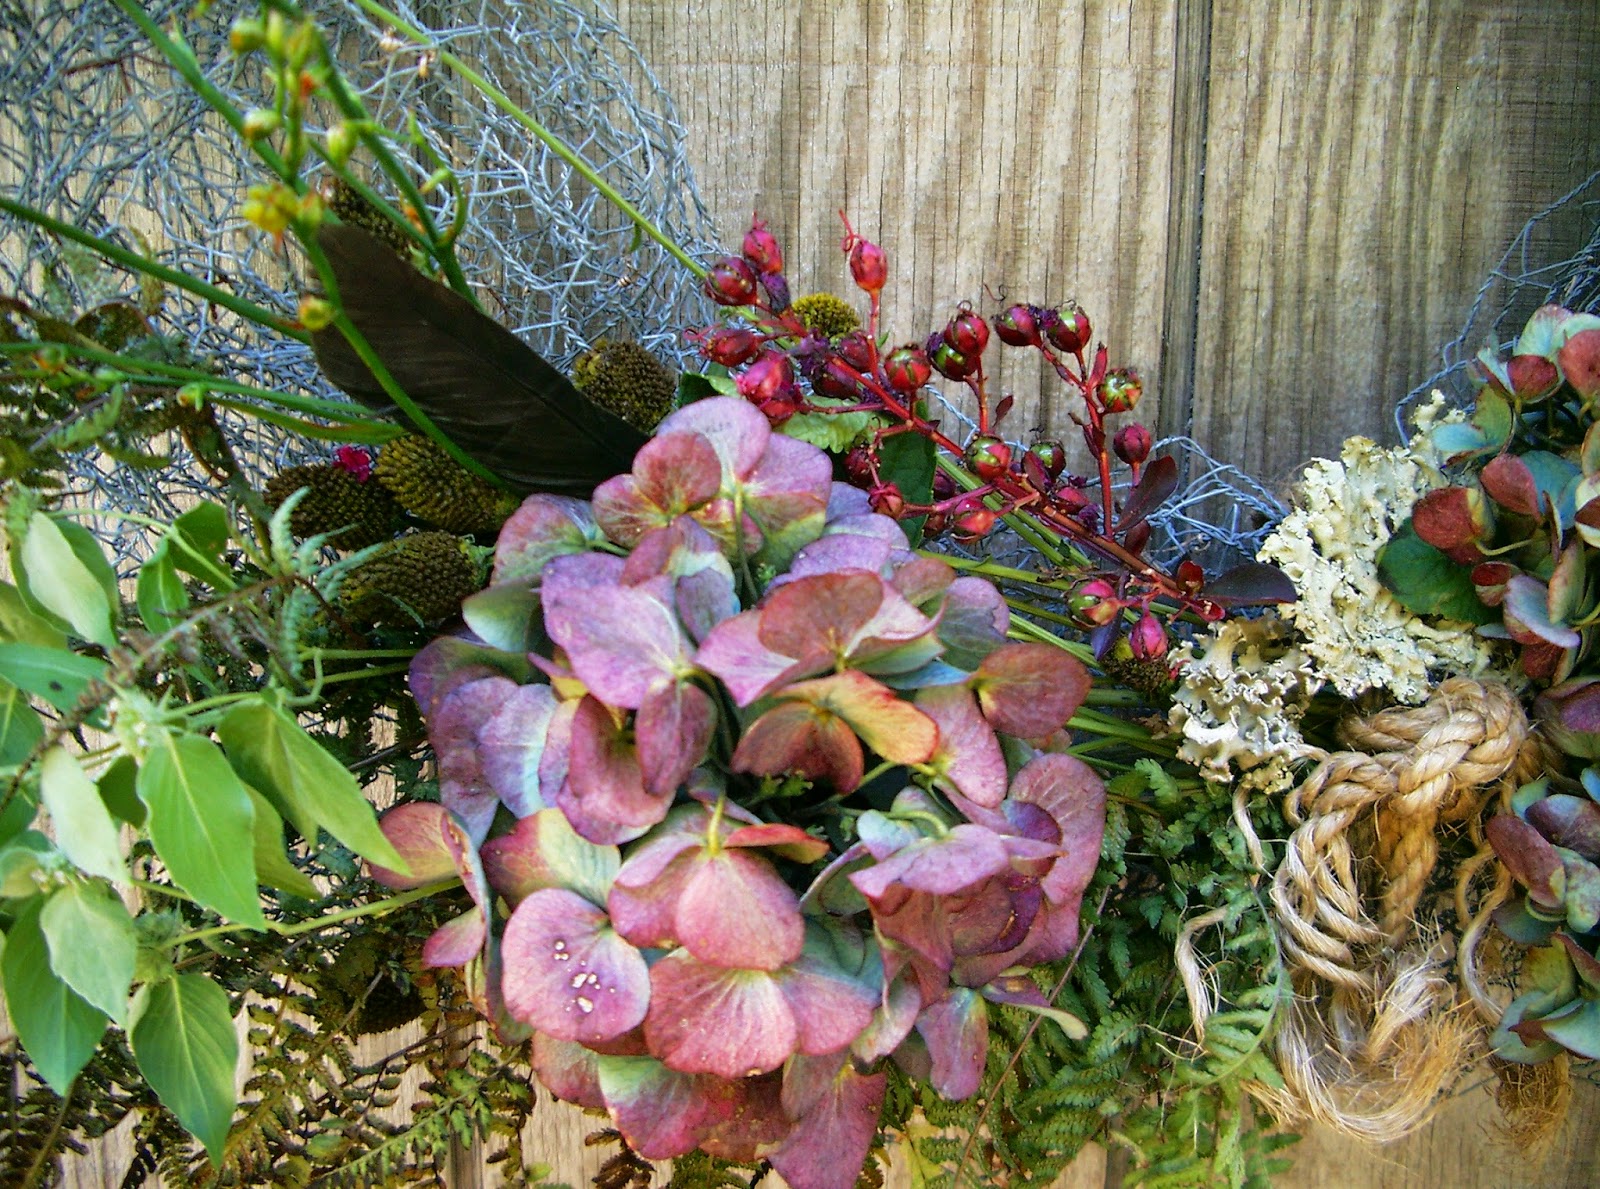
©LInda Nelson 2014

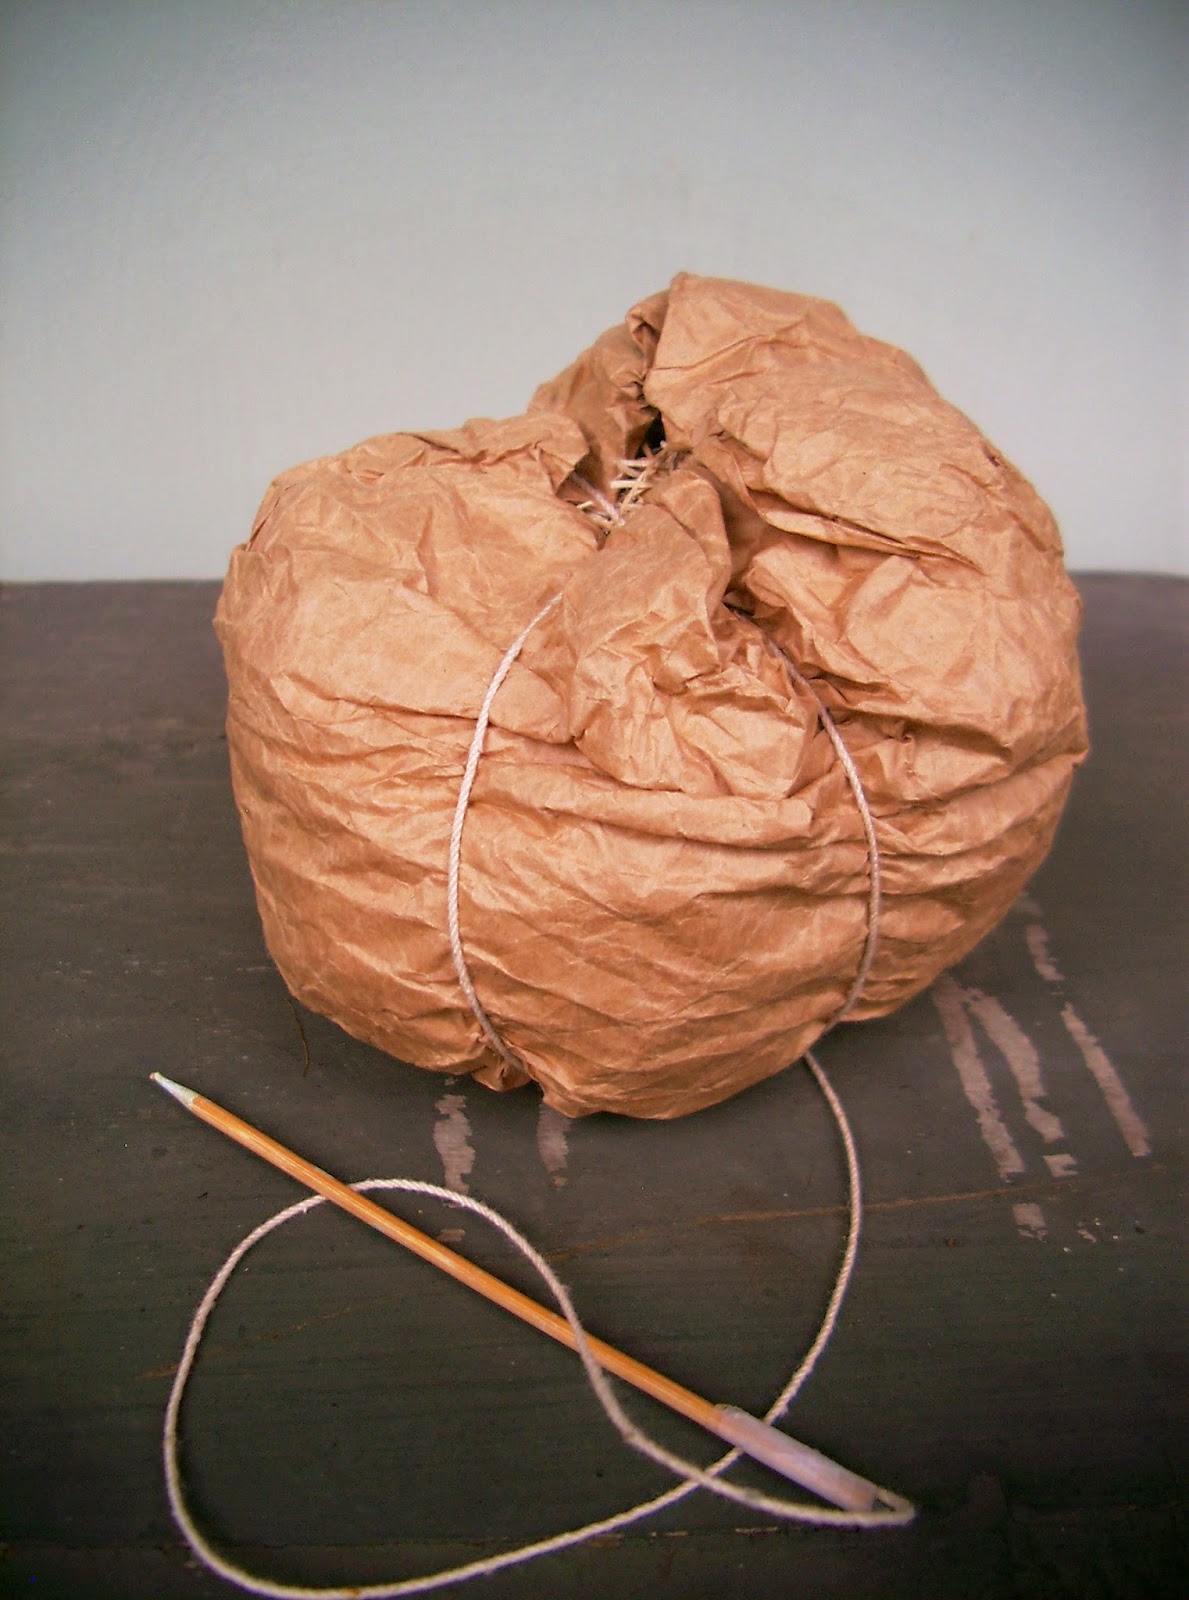
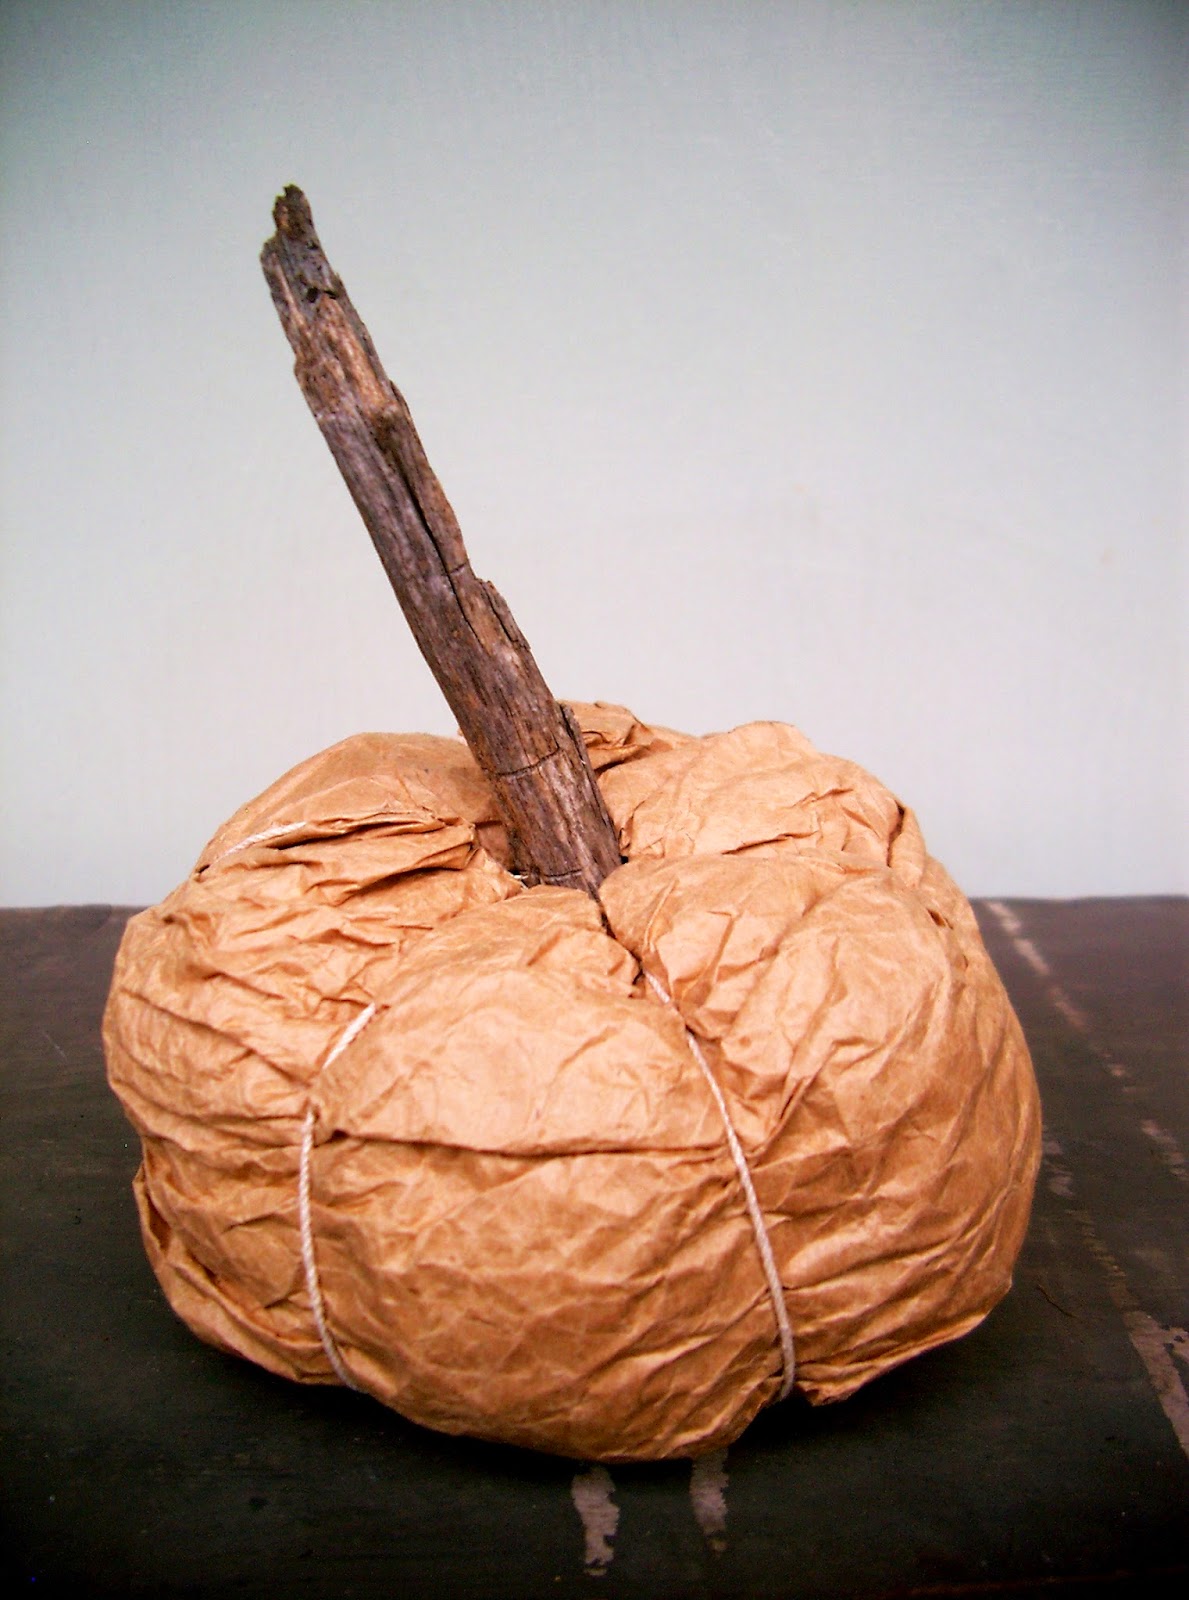
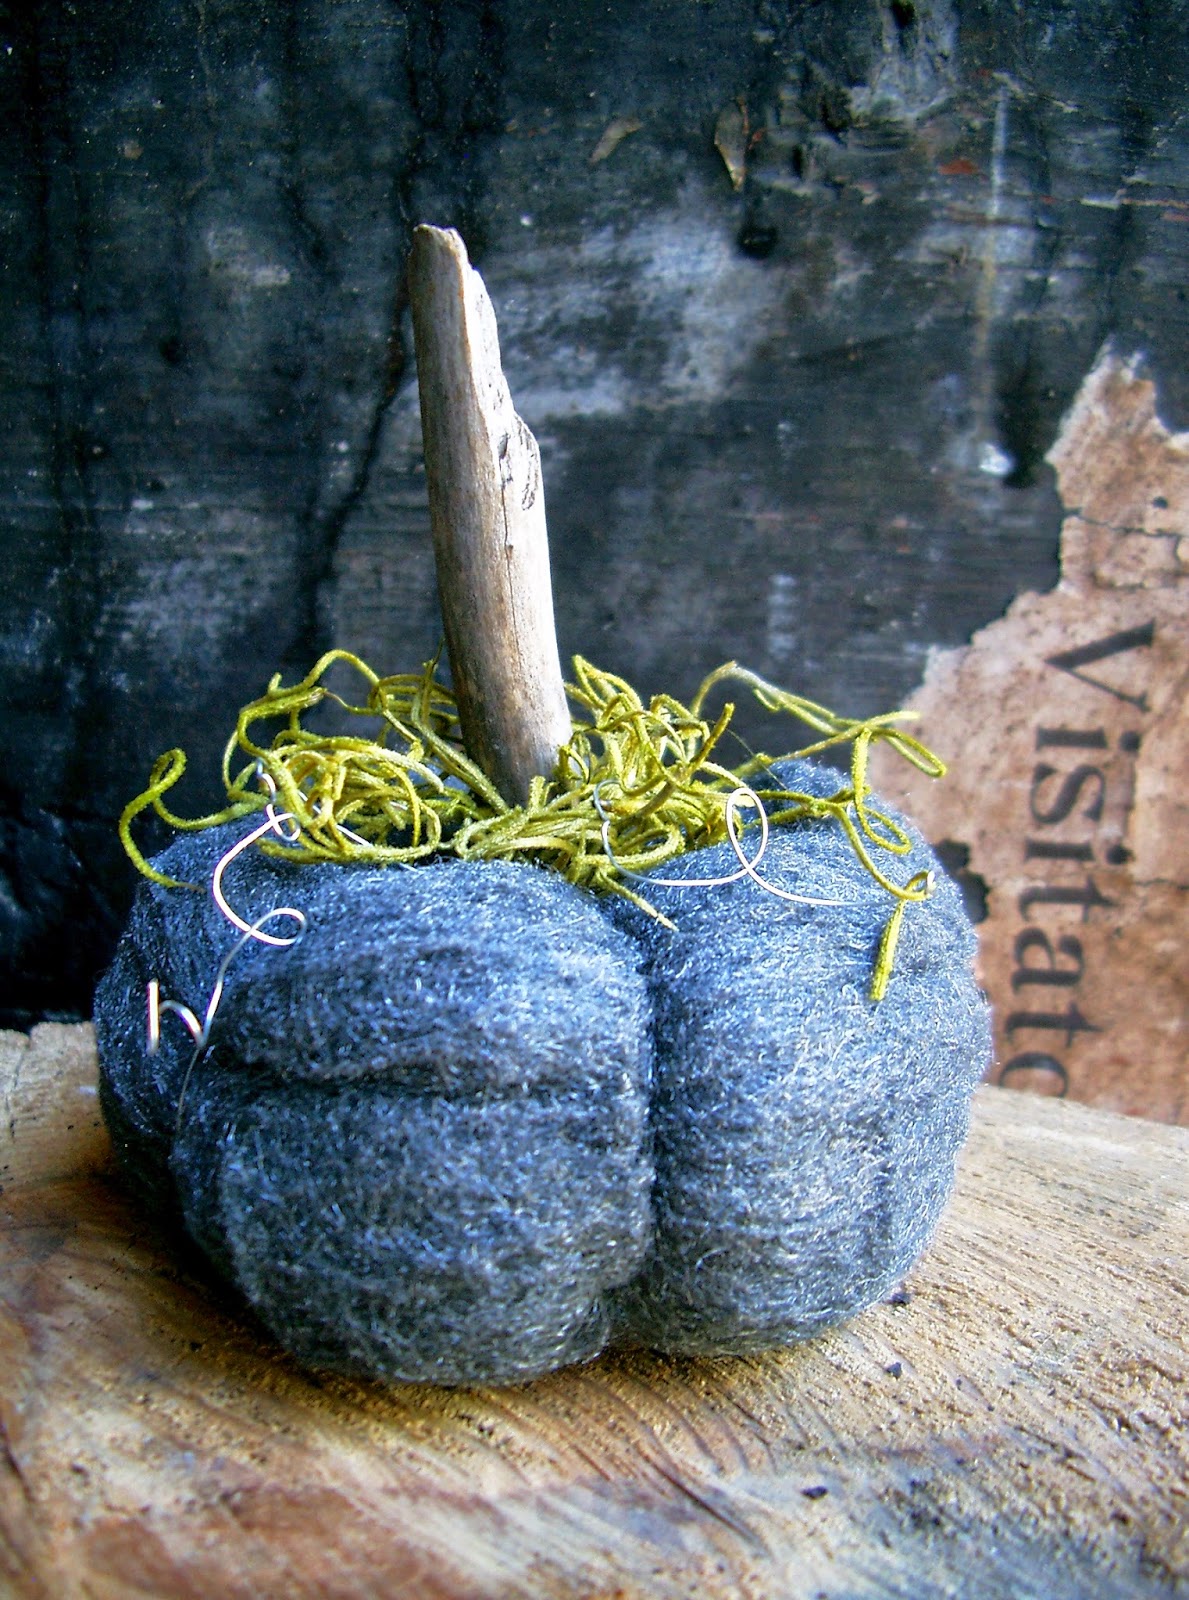
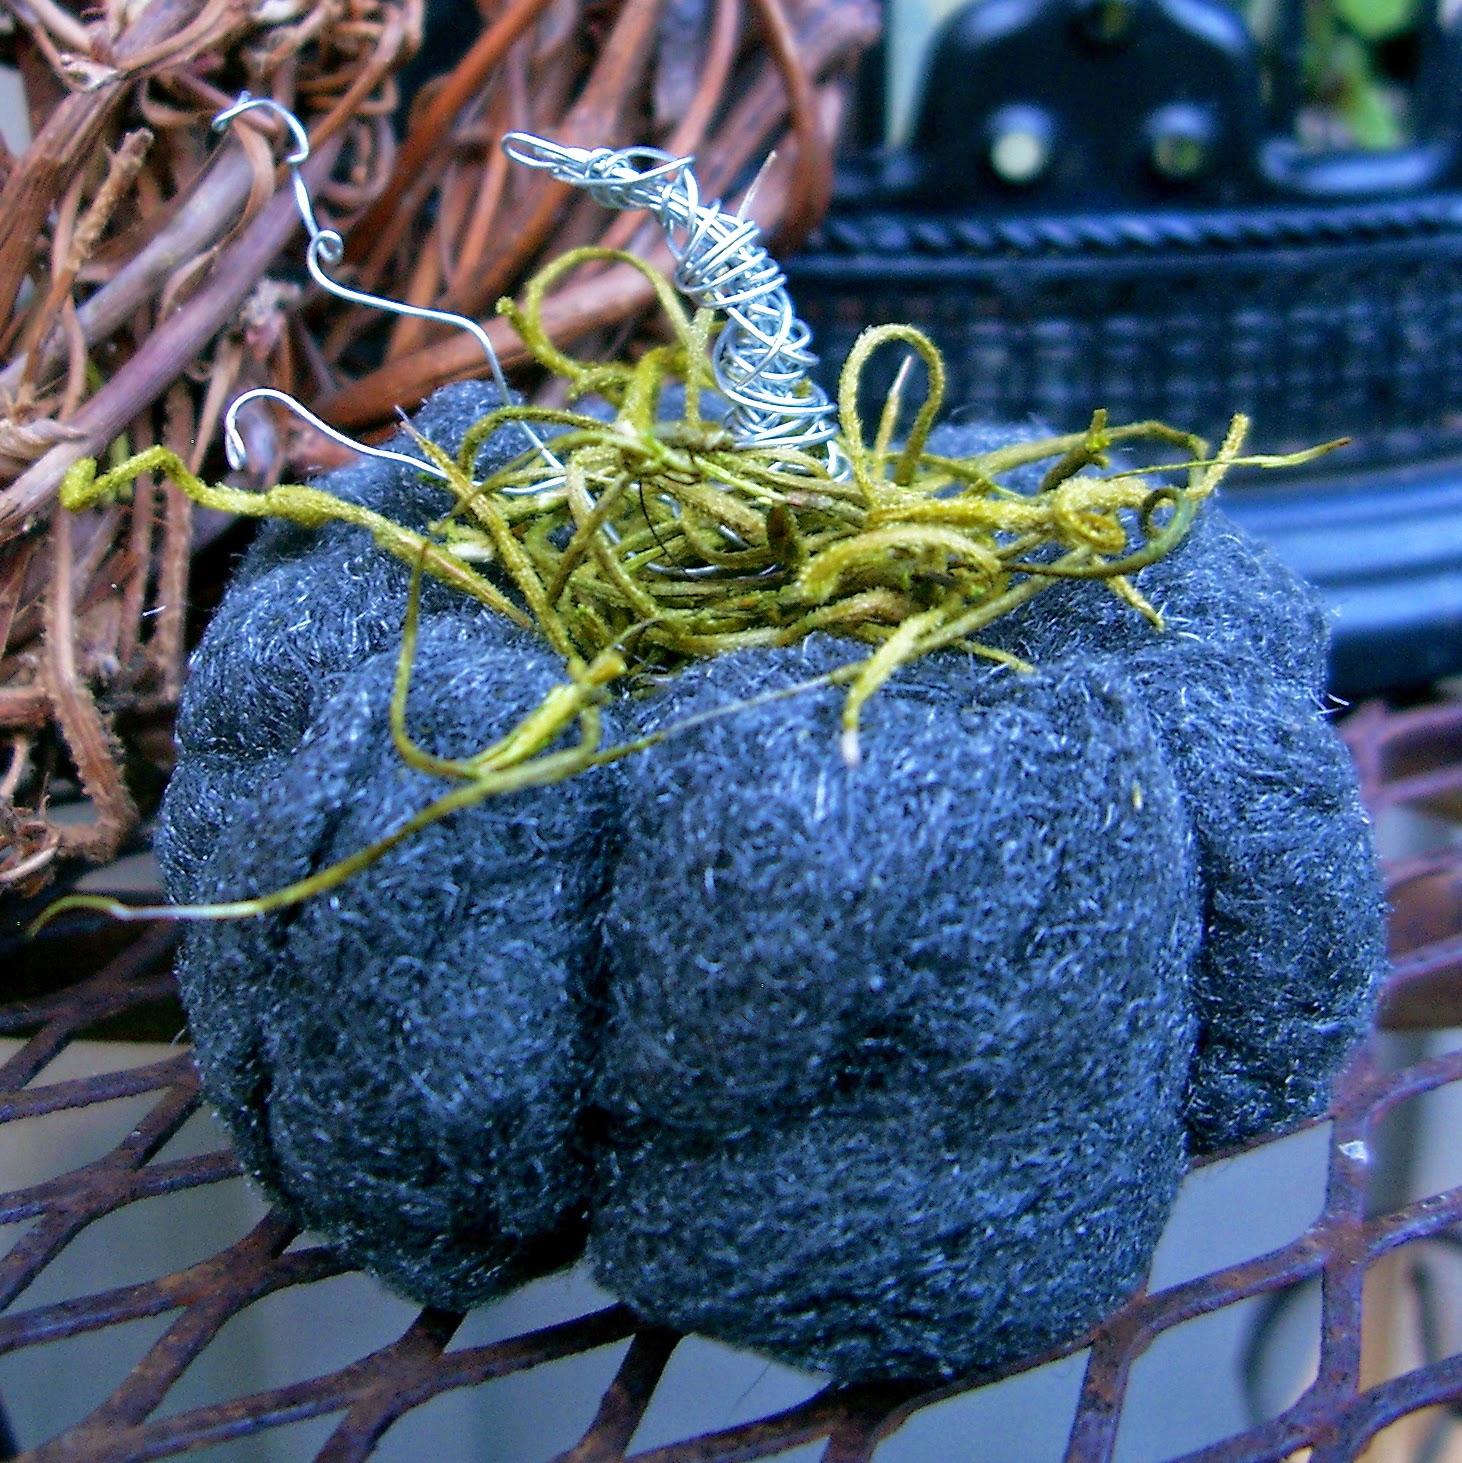
Using a 3 1/2 ft. piece of florist’s wire and a tapestry needle, create your pumpkin grooves.  To do this, feed the wire down the center, then come up on the outside, feed the wire down the center again, then come up on the outside a little bit further away from the previous section, and continue until you have created six sections.  Remember to leave about a 6 inch tail of wire; you’ll twist it together with the other end when you’re done with this step.  Maintain an equal tension with all groove sections.  Stick the wire ends into a tiny two-hole button, then twist to secure.  The button step isn’t absolutely necessary; twisting the wire ends together is probably sufficient enough.  Snip off the excess wire ends or leave them intact to use as curlicue tendrils.

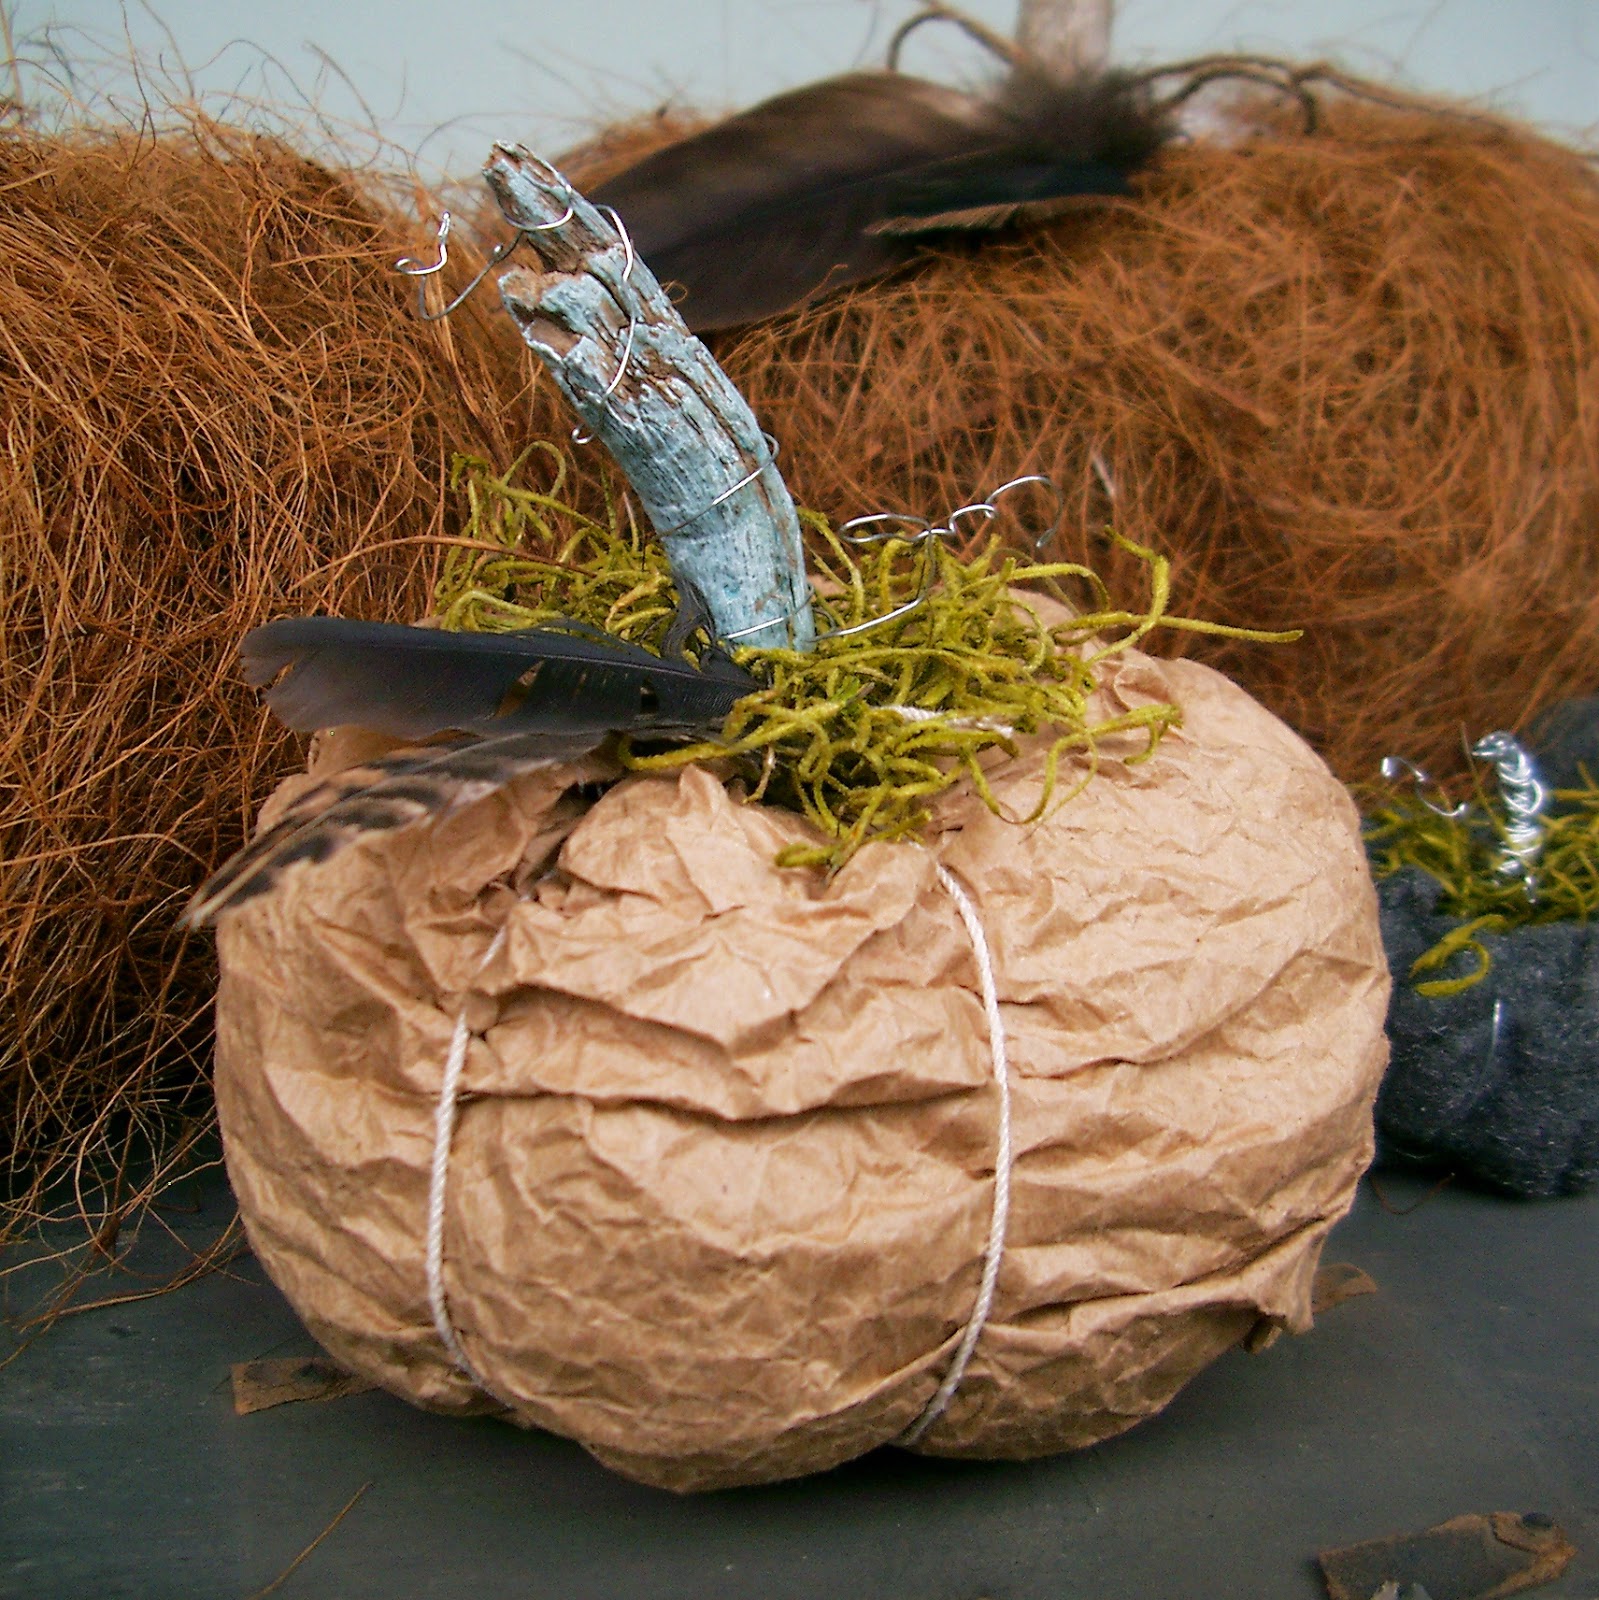
The remaining steps for making this pumpkin are open to your imagination.  Glam this pumpkin up, take it down an industrial route or anywhere in between.

To make a smaller pumpkin, use only one sheet and simply roll it up into a ball, then proceed as directed.

There you have it.

Now, get creative.

THE SHOP ROOM PUMPKIN Read More »

NOT YOUR KIDDY’S PAPER PUMPKIN

Have I got a few resourceful, rustic and simple to make little pumpkins for you.  Today’s post features not your little kiddy’s paper bag pumpkin, but a rustic, yet sophisticated lady’s paper pumpkin. The neighboring ones in this photo will be showcased in tutorial posts to follow.

You likey?  Well, here’s what you do –

Crumple and scrunch a lunch paper bag until it’s wrinkly and soft to the touch, taking care not to tear it.  Stuff the bag (pack it somewhat densely) just over half full with shredded paper, pillow stuffing, or something similar.  Create an inward facing rolled cuff with the top half of the bag, rolling until you meet up with the stuffed half.
Take a 5 ft. piece of twine and make a loop knot at one end; tape the other end to a bamboo skewer.  The skewer is your “needle”.  Pass the skewer down the center of the bag, carefully piercing through the center of the bottom of the bag.
Pass the skewer through the loop knot, then tug the twine to create your first pumpkin groove.  Continue around until you have six evenly spaced grooves with just the right amount of tension to give the pumpkin its characteristic shape.
Securely tie the twine off at the bottom of the pumpkin.  Find or make a stem, then glue it into position. You may be able to forego glueing the stem on if it is long enough to be gently twisted and nestled in.
Add your embellishments, then place your newly created pumpkin among the other fabulous, decorative things around your home.
There you have it.
Now, get creative.  And, do stay tuned for some more pumpkin making tutorials!

NOT YOUR KIDDY’S PAPER PUMPKIN Read More »

LATE SUMMER SCAVENGING AND MORE…

Done any late summer garden scavenging?  I have, and this is what I did with some of my findings.  If you’d like to make something similar, then read on.

©Linda Nelson 2014

I grabbed a ten foot length of scrap chicken wire, gently scrunched and twisted it, wrapped it around itself to double it up, then flattened it out and shaped it to my liking.  I then simply shoved my findings into the twisted and kinked wire form.

A scrap piece of triple-ply jute as an added embellishment, and I was done.  Now, it’s your turn to scavenge around and give it a try.

These little garden jewel stalks are actually the fertile fronds of the sensitive fern (Onoclea sensibilis).  Aren’t they pretty?  They look like dark emerald beads on a stick, hence their other nickname, the ‘bead fern’.

I also scavenged my basement for some stored fall decor.  I grew the Oaxacan blue corn last year, the bottleneck gourds, about seven years ago.  These dried props will be used indoors, most likely displayed in a shallow platter or bowl.  I prefer an ‘au naturel’ look when it comes to fall decorating.  No cute, store bought embellishments for me, thank you.

I thought it somewhat amusing that throughout the summer I had been clipping off the spent Colocasia leaves as they declined in looks and performance; however, it is these very colors that are appreciated this time of year.  I took the photo just because of that mere observation.

And finally…. who says chum pots are just for chum.  Whoever says that is just talking chum.

Happy late summer!

LATE SUMMER SCAVENGING AND MORE… Read More »

DECORATIVE PINE CONE TUTORIAL

Remember these?  One of my more recent posts from the past provided a sneak peak for today’s tutorial.

To make these little natural decorative treasures, first gather some unopened spiny pine cones.  Yes, I do mean the ones that you would normally not choose.  The ones that pinch if you grasp them too hard in your hand.  In addition, you will need some acrylic craft paint, fine sandpaper, molding paste (I had Golden Artist Colors’ light molding paste on hand, but any brand will do), a small dish and a stirring stick.

Begin by pruning off any branch remains from the pine cone.  I also like to gently snip off the pointed end of the cone to give it a more blunt shape, though you don’t have to.

Gently sand the entire surface of the pine cone until it feels smooth, yet ripply.  It is important to not sand it to completely even out the surface; you just want it to feel rather comfortable and pleasing to the touch when grasping it.

Next, place about one half teaspoon of molding paste onto a dish, add a tiny drop of paint, then mix them together.  (I really do mean tiny; otherwise, the color will be too saturated and your pine cone will look “painted”.  That’s what six year olds do.  This process is meant to give you a more rustic, yet sophisticated look).  Smear this mixture onto the cone with your fingers, working it into all the crevices.  Wait about one minute, then buff off all the residual paint/paste with a paper towel or cloth.  Buff it thoroughly so that the outer most surface of the pine cone is visible again.

And, here is the finished result.  A little clutch of rustic, yet sophisticated pine cones.  You may elect to further buff them with some paste wax, but that’s up to you.  I did that for some, yet it did not make a difference visually.  I think they look best simply displayed in a bowl, mason jar, nest or some sort of “nesting” object.

I made the ones below using the molding paste and white paint.  Very rustic and “beachy”, don’t you think?

There you have it.  Now, gather those pine cones and get creative.

DECORATIVE PINE CONE TUTORIAL Read More »

Scroll to Top