spring

SOW BY NUMBERS

The southeast coast of New York has been blessed with a string of spring-like days lately, and I’ve been taking full advantage of it.  What a gift!  I’ve been able to turn my compost pile, do a bit of garden bed grooming, and seed sow a few cold hardy crops – all without being bundled up in a snowsuit.  Sweet!  Kovacs, my foster cat, looks on from the comforts of my office as I toil away.

linda nelson at the createaerie

We’re all familiar with the classic “Paint By Number” kits, right?  Well, today I’m sharing with you, “Sow By Numberâ„¢”, a very practical method I created for labeling seeded vegetables and flowers that’s as easy as 1-2-3!

What you’ll need is –

  • a bunch of landscape fabric anchor pins
  • a plastic placemat with printed decor on only one side
  • permanent magic marker
  • a clipboard, paper and pen or pencil
  • scissors and a hole punch

Cut your placemat into a bunch of 1″x3″ strips.  Punch a hole at the short end of each strip, making sure the hole is big enough to slip one prong of the landscape pin through the hole.  Grab a label, write a number “1” on it and drive the pin into the soil at the site of where you sowed your seeds.

linda nelson at the createaerie

Log the number “1” onto your paper chart along with the seed type and sowing date.  Your next label will be number “2”(obviously), and you will anchor it in a the site of a different type of seed.  Continue this process for each type of seed variety that you sow.  If you plan to succession sow a particular variety, label your marker with a letter next to the number and catalog those dates on your chart.

linda nelson at the createaerie

What’s nice about this method is that, no matter what you plant, the numbered labels can be used over and over again every year; simply create a new chart for each season.  Your labels won’t blow away, either; the anchor pins keep them in place all season long.  And……… you don’t have to painstakingly fit your descriptive scribble on a tiny little marker label.  Now, THAT’S sweet!

Hey, did you know that window wells make perfect little cold frames for growing potted cool crop/winter sown seedlings?  They do, try it!

linda nelson at the createaerie

Ahhh….. now it’s time to sit back and watch things sprout.

linda nelson at the createaerie

SOW BY NUMBERS Read More »

ALMOST SPRING

How delighted I was this morning to wake up to a snowflake-y view.  I love snow, and feel we didn’t get enough this winter here on Long Island, NY.  Snow triggers the cozy craftiness in me; I’d be happy with snowflakes falling all winter long.

linda nelson at the createaerie

Snowy days are ideal for curling up and napping……..

linda nelson at the createaerie

But, I chose to do something else.

linda nelson at the createaerie

I printed up some vintage seed packet images onto watercolor paper, then hunted my house for some props to display them on.

linda nelson at the createaerie

linda nelson at the createaerie

The simplest of crafting activities is often all it takes to make a seasonal decorative statement.

Let’s see what other signs of spring are making an appearance at the createaerie.

linda nelson at the createaerie

Perusing through books and magazines is also a wonderful snowy day activity.  This one is a gift I received from a friend who recently visited for a weekend.  I can never have enough gardening books.

linda nelson at the createaerie

The quince branches I cut for forcing have finally begun showing off.

linda nelson at the createaerie

And, that!………. concludes my snowy, not-yet-spring day.

ALMOST SPRING Read More »

DON’T LET SPRING GO DOWN THE DRAIN

So, while I should be working on my 100 count greeting card order, I just couldn’t resist sharing this sweet and super easy idea with you.  No tutorial needed for this one; it’s a real no-brainer.

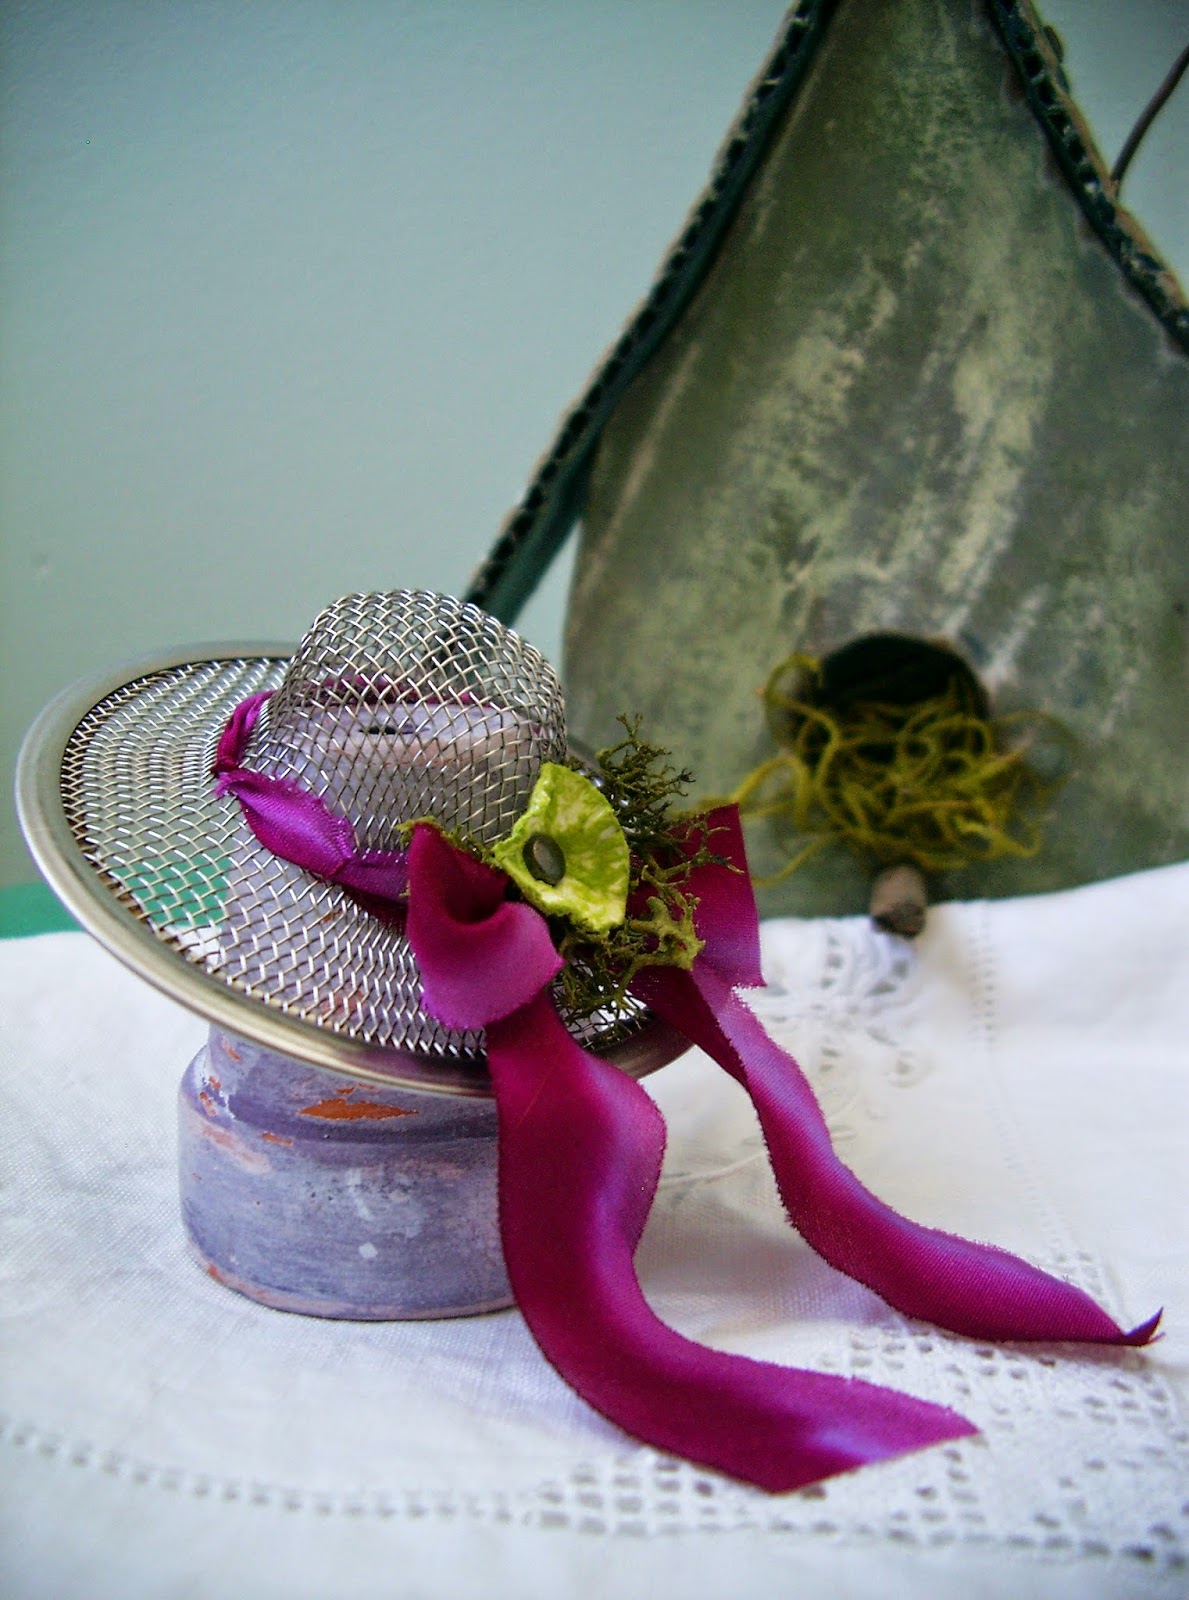
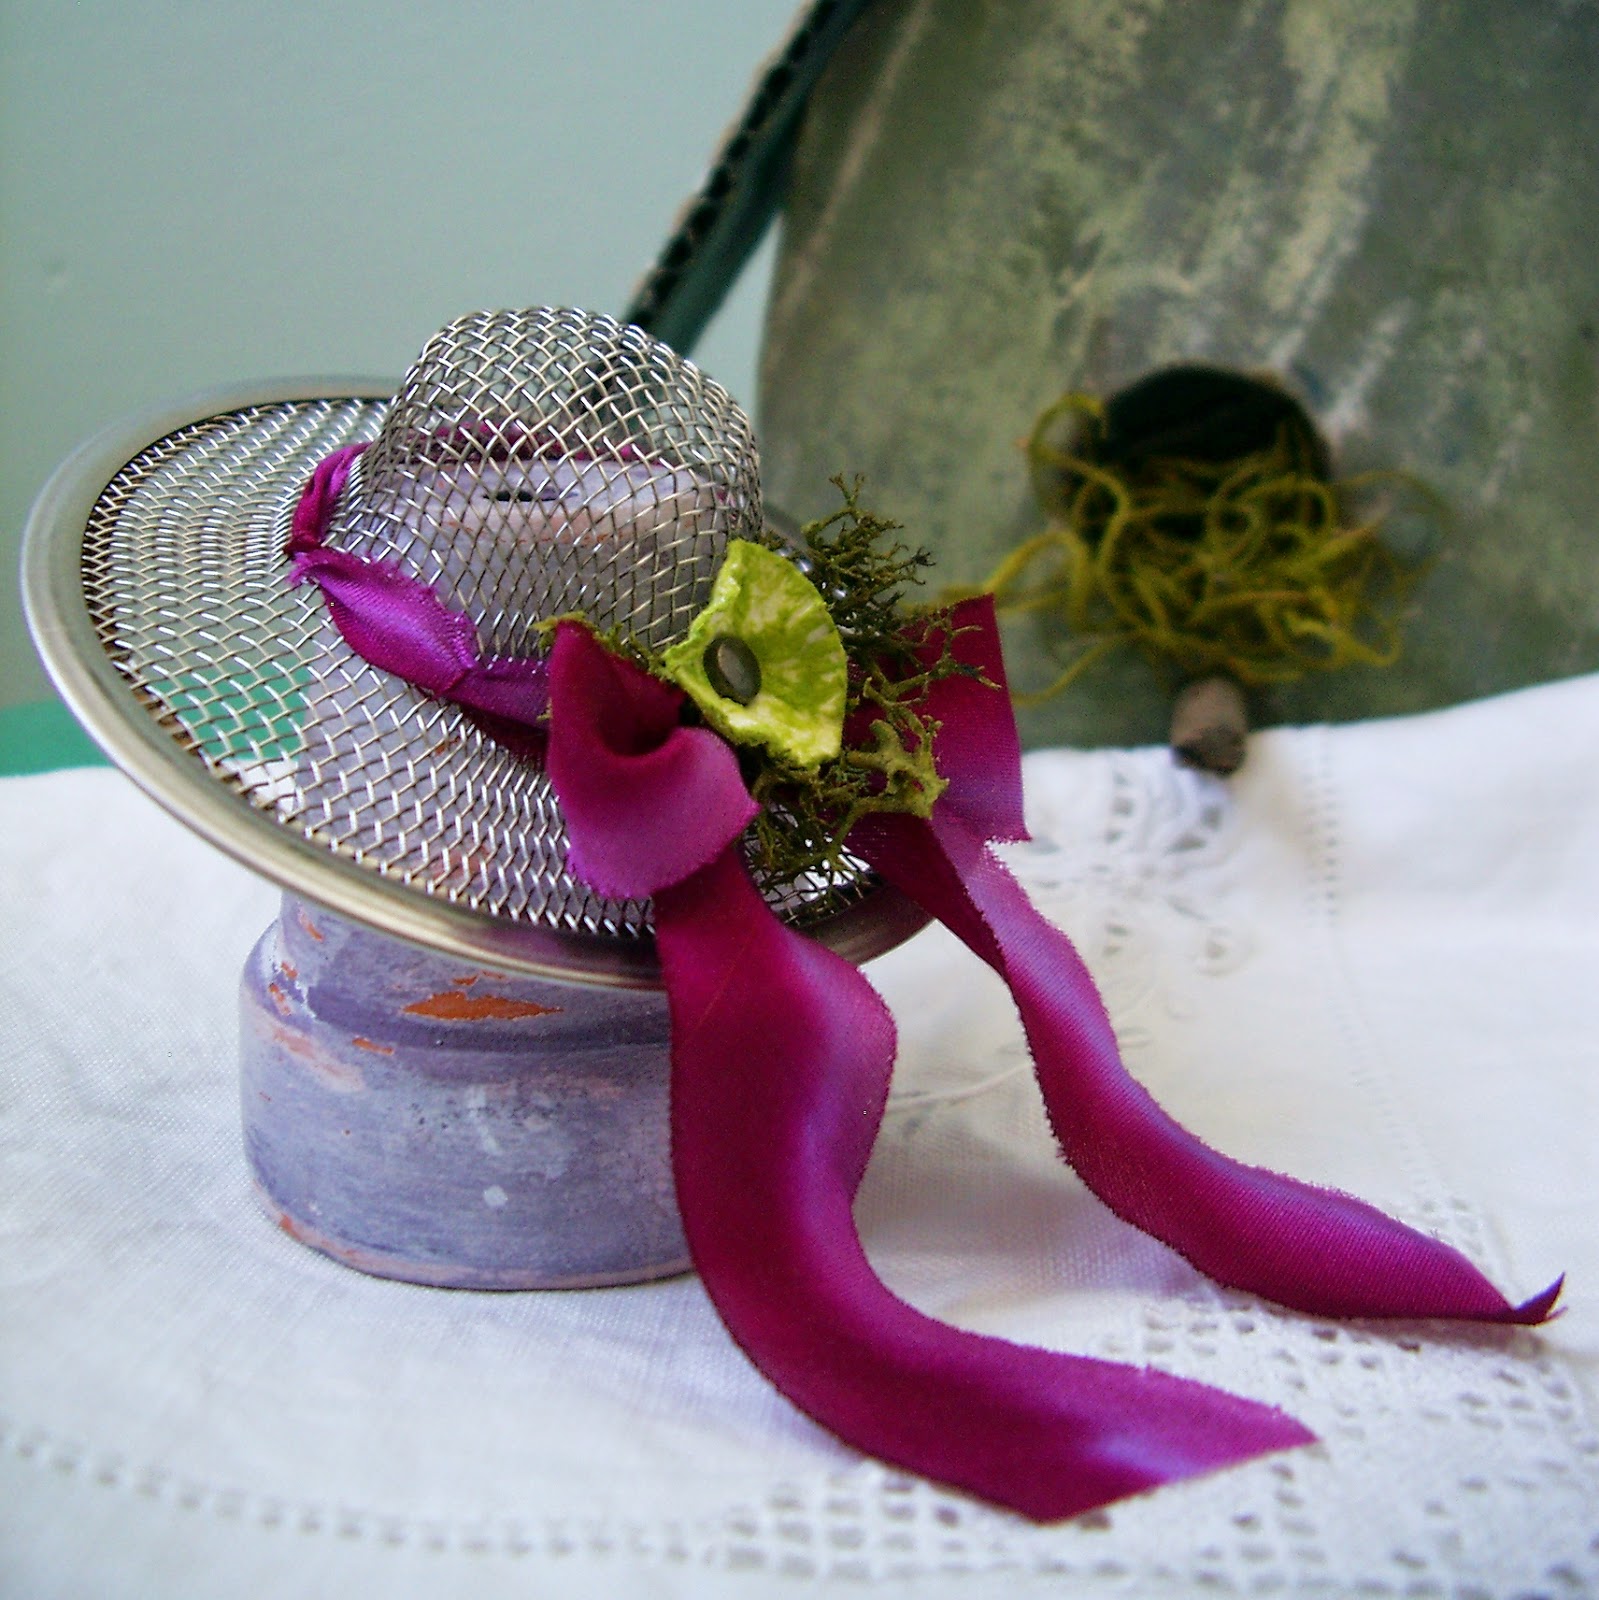
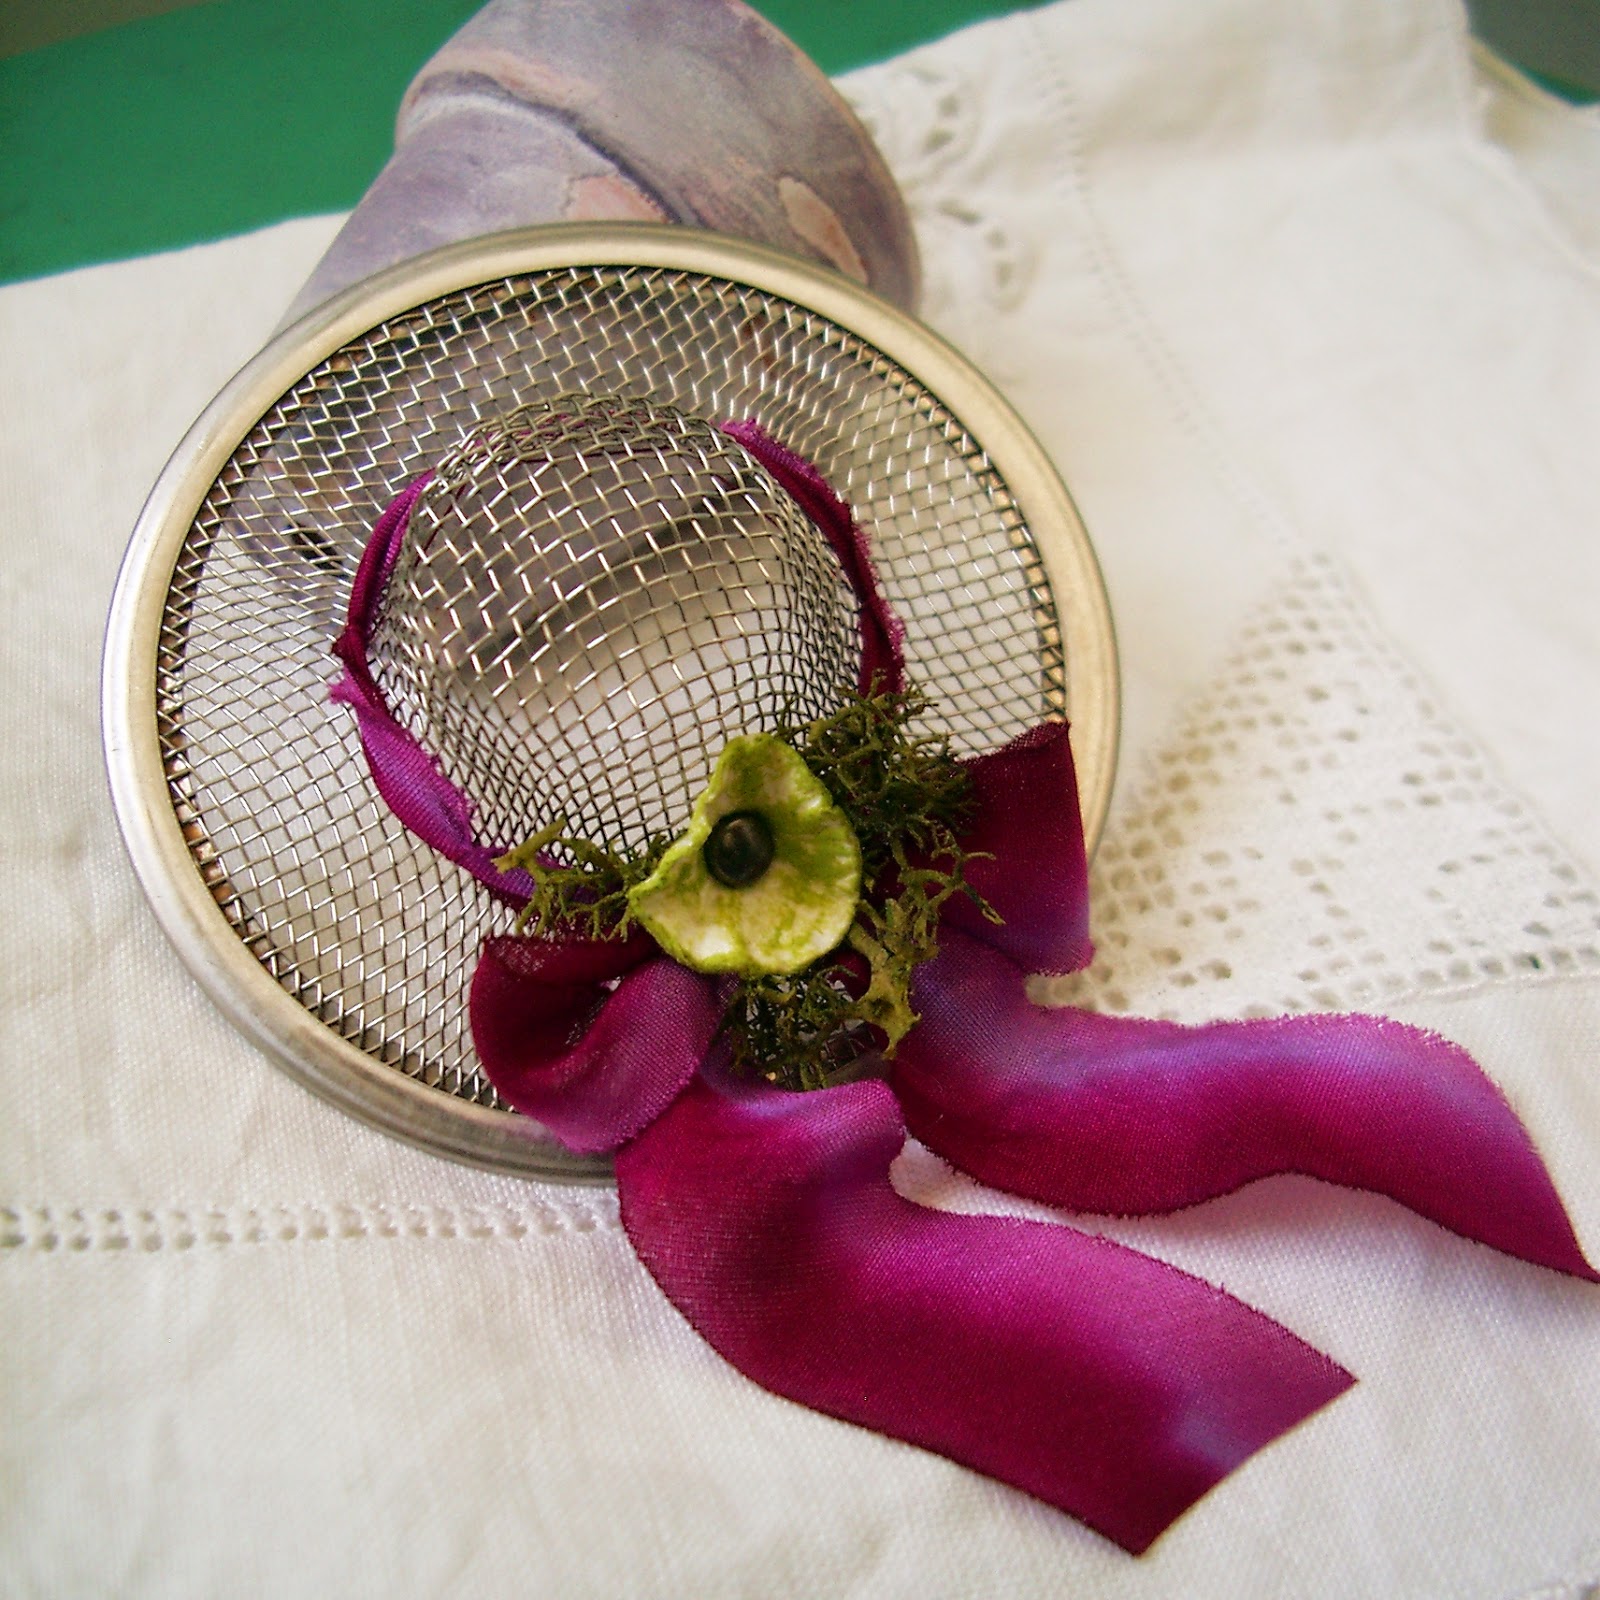
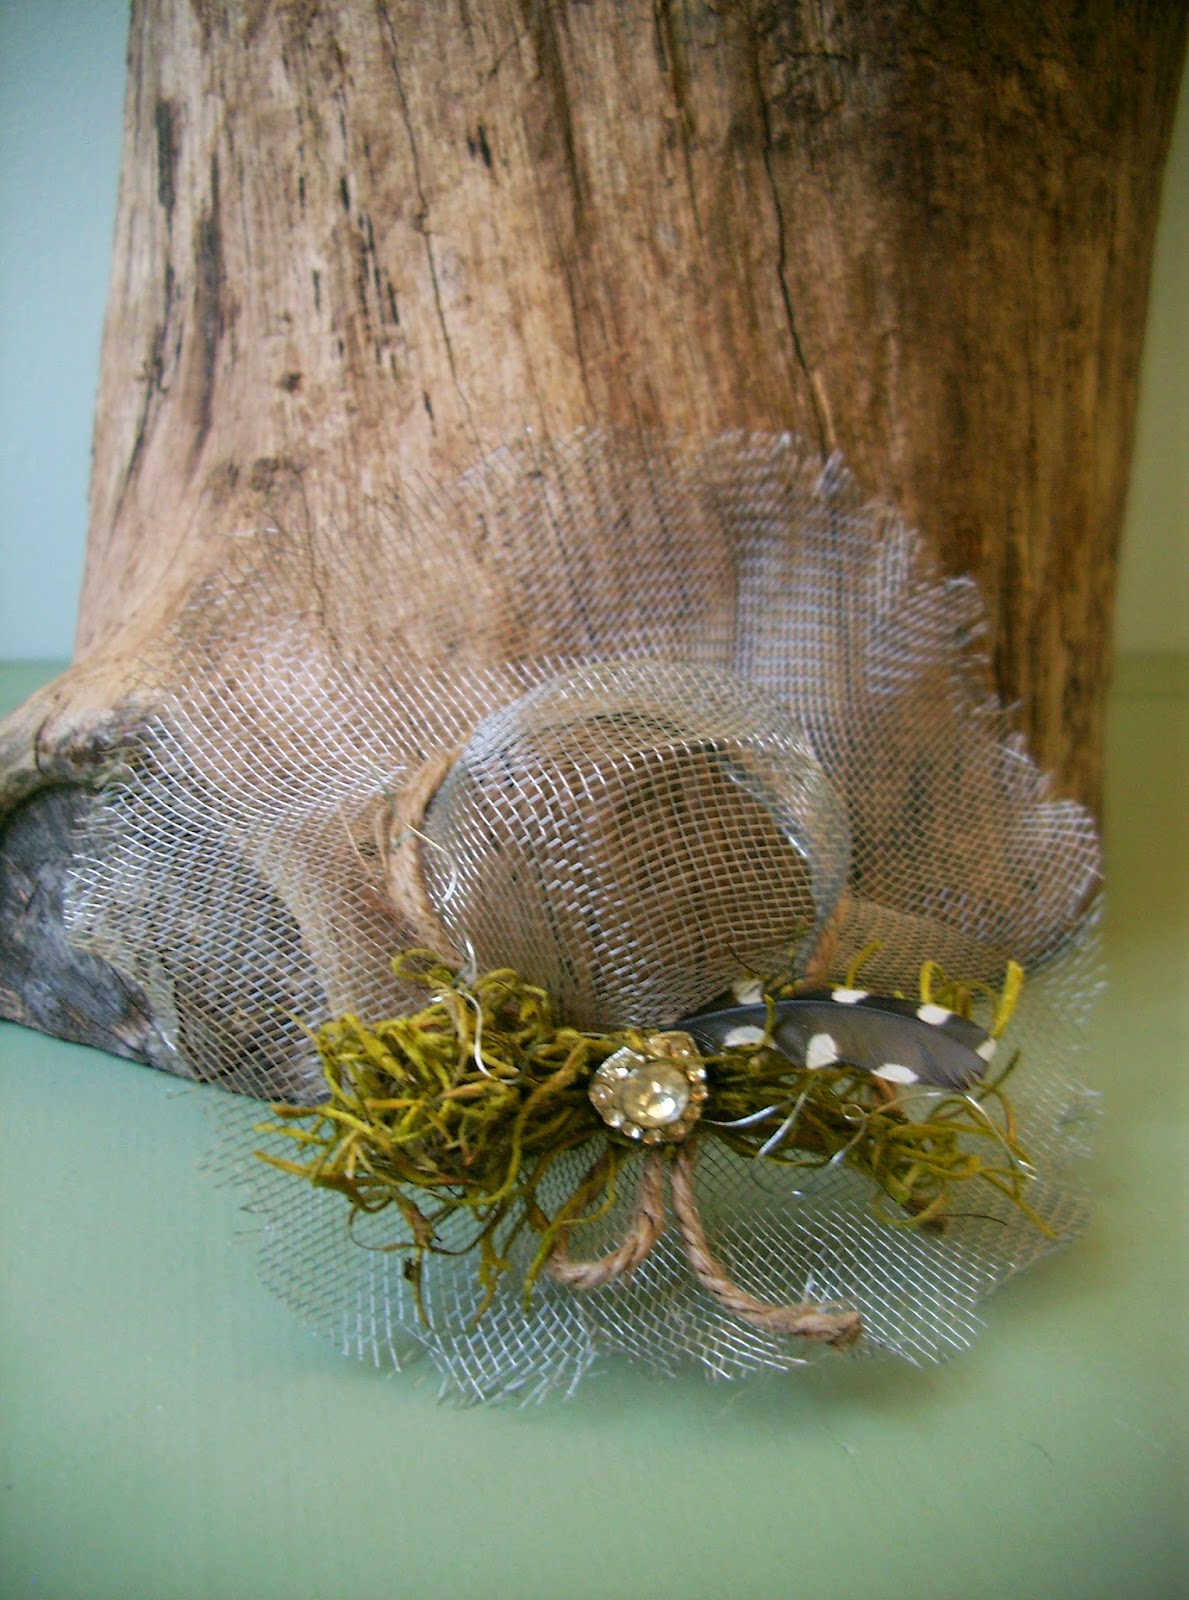
Transform mesh sink strainers into fabulous, palm-sized spring bonnets.  I whipped up one, but I know that you can come up with many, many more versions.  They make darling little favors, napkin rings or place cards for springtime soirees.  Easy.  Painless.  Fabulous.

©linda nelson 2015
©linda nelson 2015
©LInda Nelson 2015
©linda nelson 2015

Check out my post from the past to see other bonnets I’ve made, then read my tutorial on how to make them, yourself.

There you have it.  Now, get creative.

DON’T LET SPRING GO DOWN THE DRAIN Read More »

RUSTIC COUTURE SPRING BONNET: TUTORIAL

You’d like to make a rustic couture spring bonnet, would you?

This is what you’ll need for making a 6″(approx.) diameter bonnet:
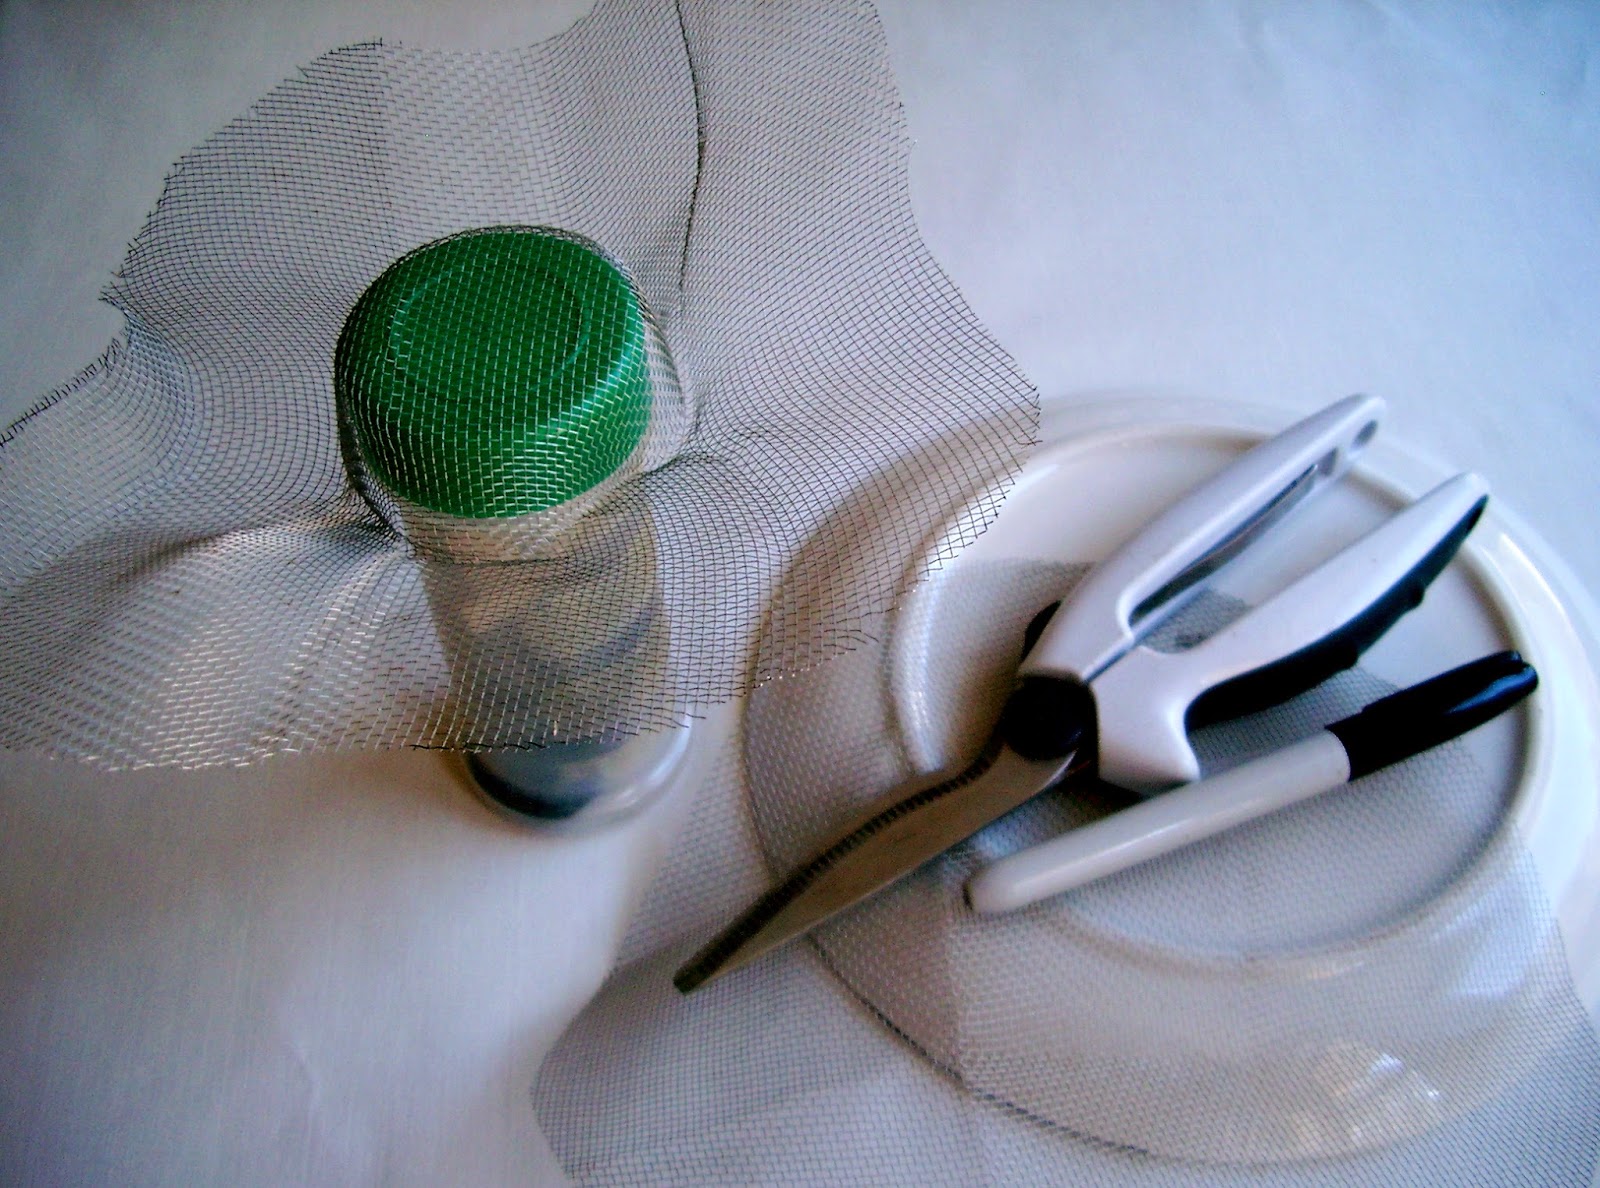
  • a piece of window screening cut into an 8″ circle (check your garage/basement for remnants or purchase some by the foot at a hardware store).  Do not use nylon screen; you can’t form/shape it.  I used a lunch plate as a template and a Sharpie pen to trace my circle.
  • floral wire (roughly 14″ long)
  • acrylic paint & a brush or sponge (I like to create a patina effect using “muddy” greens and blues)
  • ribbon, moss, twigs, notions….(whatever your heart desires for embellishing)
  • scissor type tool that cuts through metal mesh (I used an old pair of boning shears)
  • 2 1/8″ diameter herb container (to use as your”hat form”)
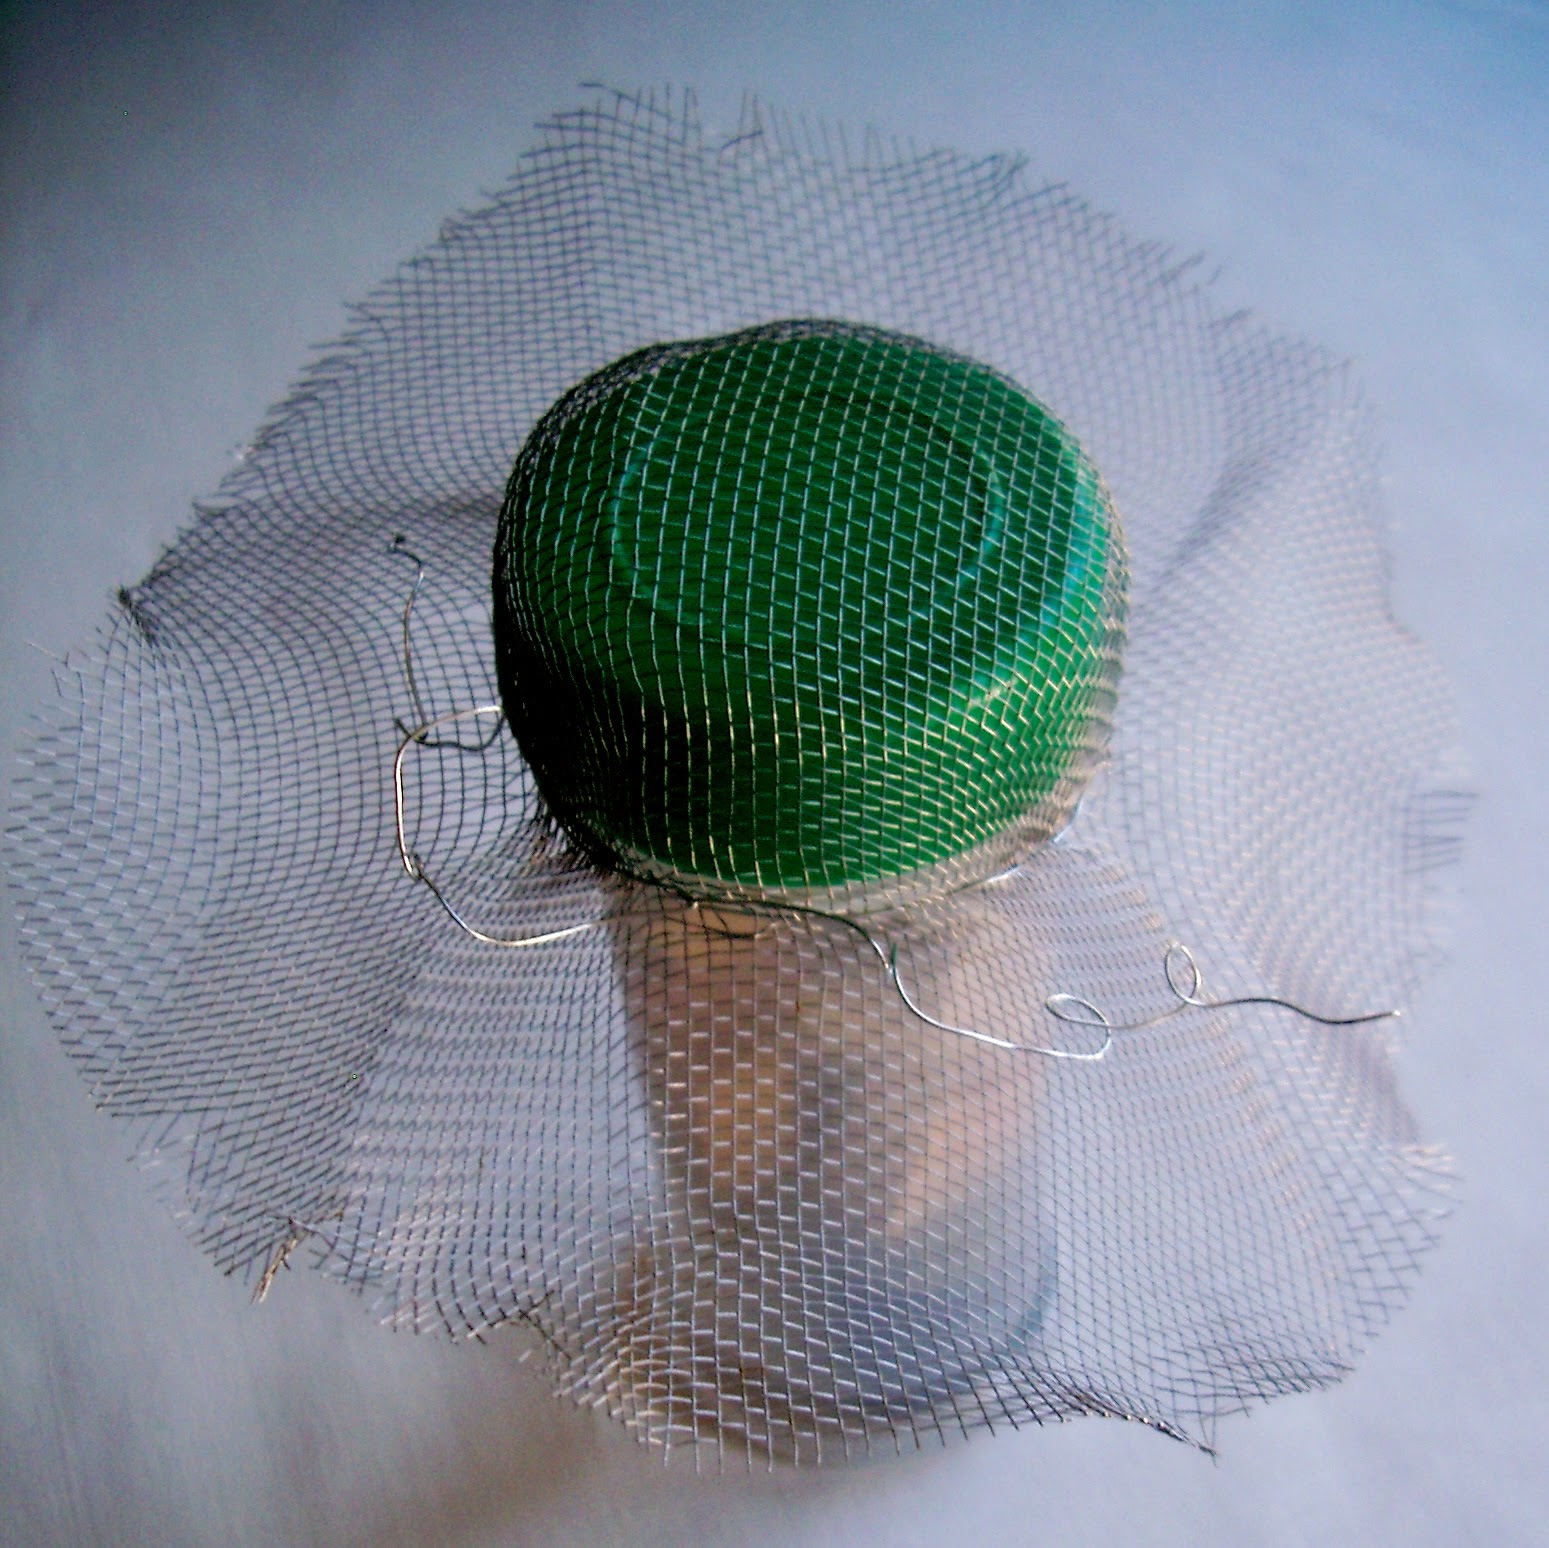
Trace your template onto the mesh, then carefully (the edges are sharp) cut it out.  Next, center your circle over the herb container and squeeze the mesh to fit snuggly around the lid.  Bend upward and crease what would be the brim part of the hat.

©linda nelson 2014

Remove your hat from the form, then use your floral wire (no needle necessary) to stitch, up and down fashion, around and along the crease line.  Twist the two ends together to secure.  This step reinforces your bonnet.  The remaining ends of the floral wire provide a means to fasten some embellishments onto it.  The wire tails can also be kinked and twisted, thus becoming part of the design.  Trim the brim to shape and to your liking of it’s width.  I crimp and fray the edge by giving it a little tug and pulling off a few loose strands; that’s what makes it rustic looking. 

©linda nelson 2014

Dab on some paint, if you’d like, though this step is completely optional.  I chose not to paint the one pictured below.  Sew or glue on your embellishments.  You can put your bonnet back on the hat form, if you’d like; it frees up both of your hands while working on it.
©linda nelson 2014

There you have it.  All done.  Now, get creative.

RUSTIC COUTURE SPRING BONNET: TUTORIAL Read More »

Scroll to Top