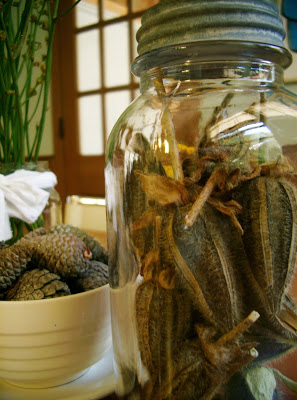
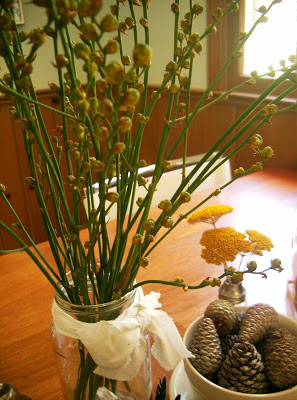
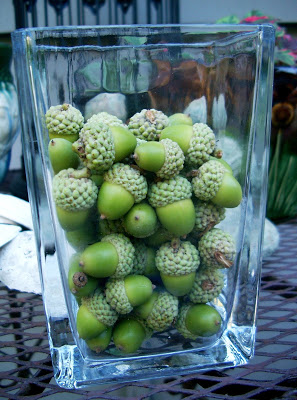
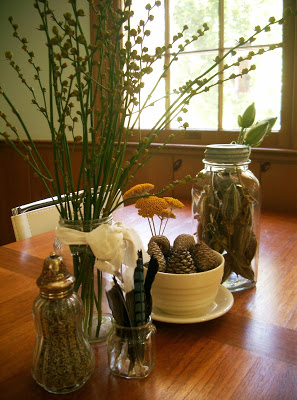
Remember these? One of my more recent posts from the past provided a sneak peak for today’s tutorial.
 |
| ©Linda Nelson 2014 |
To make these little natural decorative treasures, first gather some unopened spiny pine cones. Yes, I do mean the ones that you would normally not choose. The ones that pinch if you grasp them too hard in your hand. In addition, you will need some acrylic craft paint, fine sandpaper, molding paste (I had Golden Artist Colors’ light molding paste on hand, but any brand will do), a small dish and a stirring stick.
 |
| ©Linda Nelson 2014 |
Begin by pruning off any branch remains from the pine cone. I also like to gently snip off the pointed end of the cone to give it a more blunt shape, though you don’t have to.
 |
| ©Linda Nelson 2014 |
Gently sand the entire surface of the pine cone until it feels smooth, yet ripply. It is important to not sand it to completely even out the surface; you just want it to feel rather comfortable and pleasing to the touch when grasping it.
 |
| ©Linda Nelson 2014 |
Next, place about one half teaspoon of molding paste onto a dish, add a tiny drop of paint, then mix them together. (I really do mean tiny; otherwise, the color will be too saturated and your pine cone will look “painted”. That’s what six year olds do. This process is meant to give you a more rustic, yet sophisticated look). Smear this mixture onto the cone with your fingers, working it into all the crevices. Wait about one minute, then buff off all the residual paint/paste with a paper towel or cloth. Buff it thoroughly so that the outer most surface of the pine cone is visible again.
 |
| ©Linda Nelson 2014 |
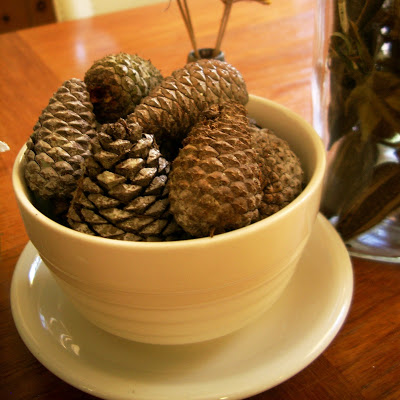
And, here is the finished result. A little clutch of rustic, yet sophisticated pine cones. You may elect to further buff them with some paste wax, but that’s up to you. I did that for some, yet it did not make a difference visually. I think they look best simply displayed in a bowl, mason jar, nest or some sort of “nesting” object.
 |
| ©Linda Nelson 2014 |
I made the ones below using the molding paste and white paint. Very rustic and “beachy”, don’t you think?
 |
| ©Linda Nelson 2014 |
There you have it. Now, gather those pine cones and get creative.
