mesh

MAKING A MESH

In a previous post published earlier this summer, I mentioned that I was having new windows installed.  I love my new windows, and hope my purse will feel a difference with regard to saving on utility costs.  I held on to a few old screened frames to use as drying racks for my lavender harvest and for drying flower heads for saving seeds.  The remaining old screens were awaiting my hauling them to the scrap metal yard, but I’d eye them now and then to see if a repurposing idea would come to mind.  So, I saved the screening as well as some other “notions” from the scrap pile.

linda nelson at the createaerie

Alas, the “aha” moment struck, and I was moved to make a creative little mess mesh.

Does not every home need a window screen tussie-mussie?  I believe so, and my home was without……. until now.  I cut the screen into a circle, folded it in half, rolled it up into a cone shape and simply slipped it into an old bed spring coil.  I used one of those cone shaped treat bags as an inner sleeve to hold water.

linda nelson at the createaerie

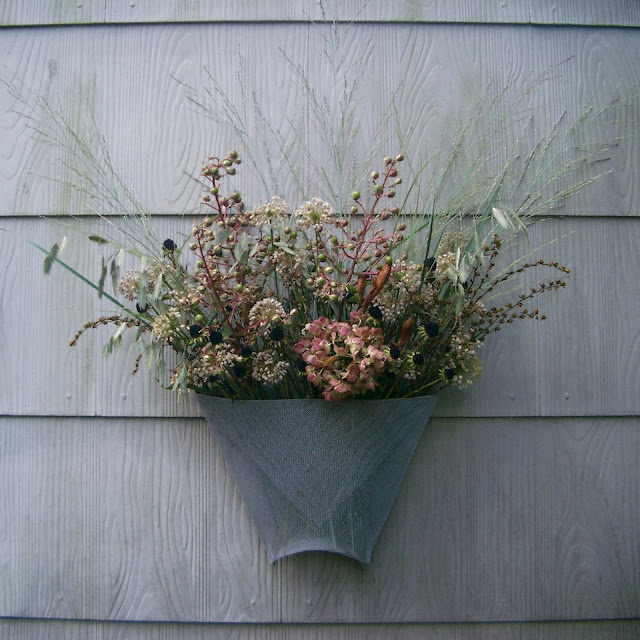
And, when you stare through a window screen, do you start thinking about origami?  It happened to me, and that’s how I made this wall basket.  You don’t need no stinkin’ paper to do origami; just use old window screens.  I followed a random “paper cup” folding instruction tutorial.

linda nelson at the createaerie
I’ll redo the decorative embellishments at another time; but for now, it’s filled with cuttings from plants that have gone to seed.
linda nelson at the createaerie

See?  Staring through window screens can be very inspiring.

Now, get creative.

MAKING A MESH Read More »

RUSTIC COUTURE SPRING BONNET: TUTORIAL

You’d like to make a rustic couture spring bonnet, would you?

This is what you’ll need for making a 6″(approx.) diameter bonnet:
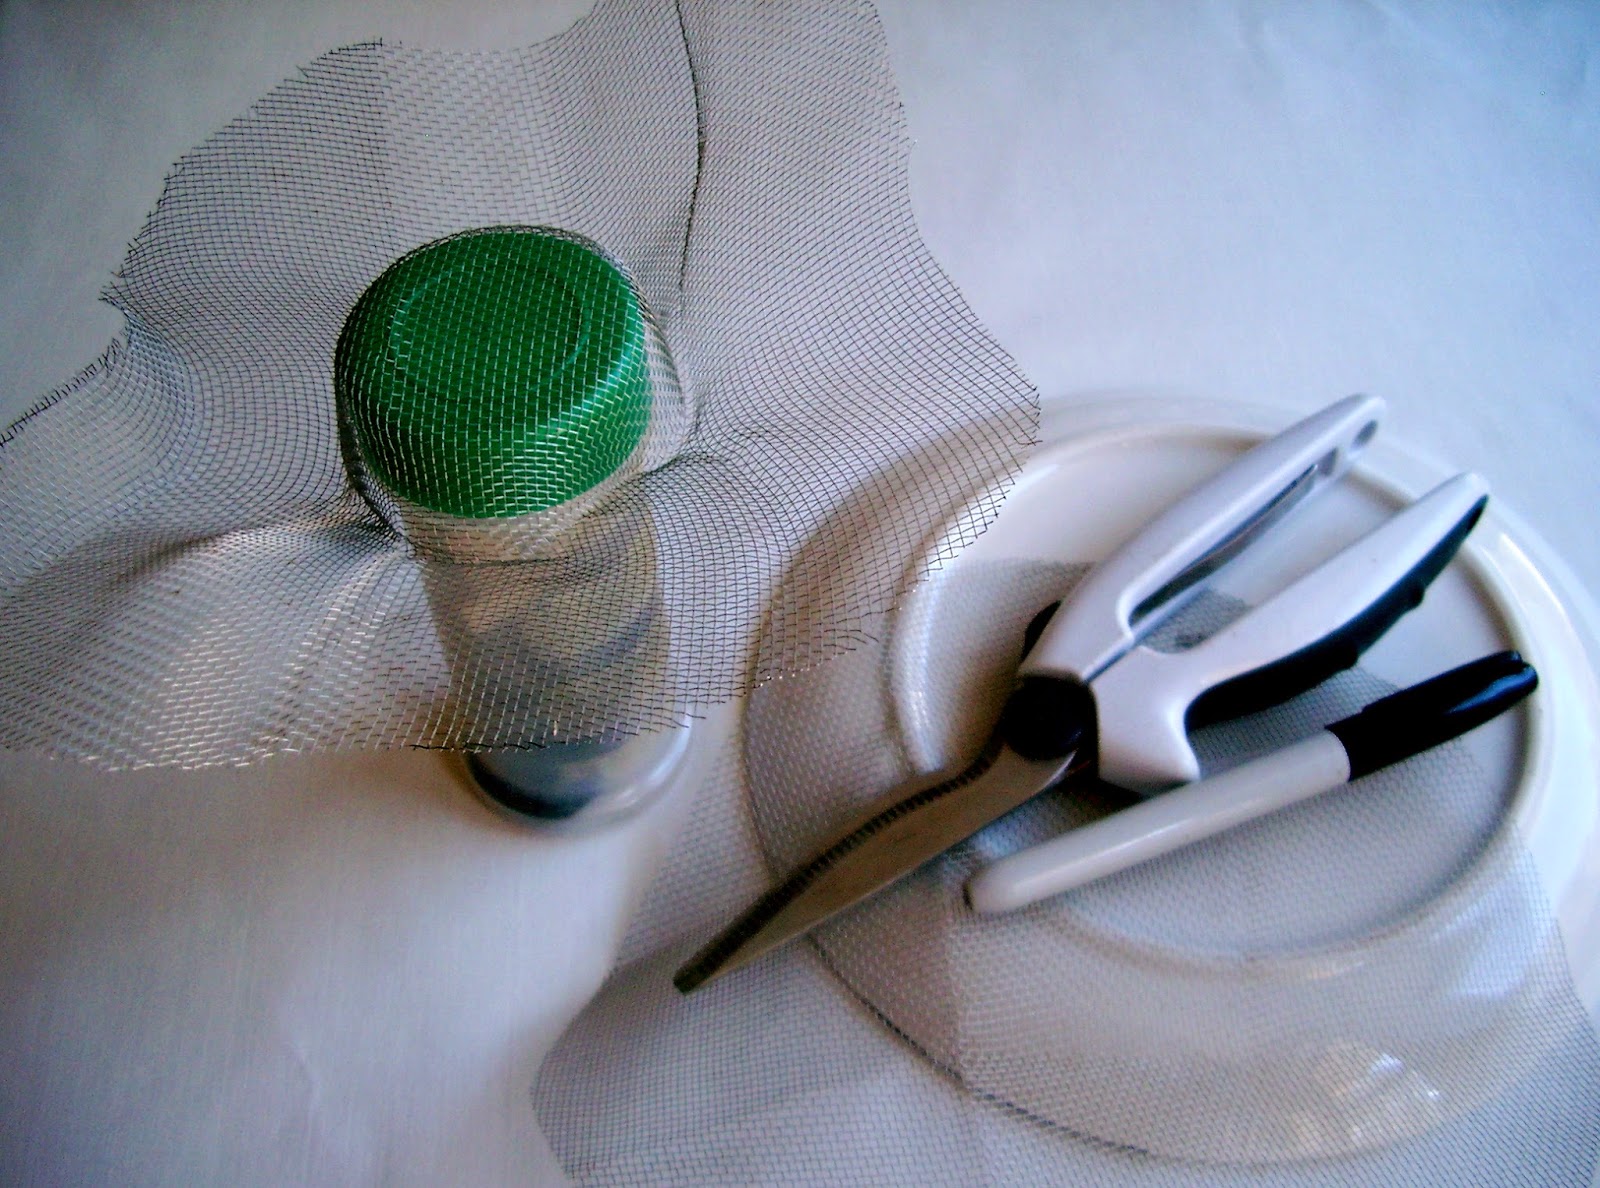
  • a piece of window screening cut into an 8″ circle (check your garage/basement for remnants or purchase some by the foot at a hardware store).  Do not use nylon screen; you can’t form/shape it.  I used a lunch plate as a template and a Sharpie pen to trace my circle.
  • floral wire (roughly 14″ long)
  • acrylic paint & a brush or sponge (I like to create a patina effect using “muddy” greens and blues)
  • ribbon, moss, twigs, notions….(whatever your heart desires for embellishing)
  • scissor type tool that cuts through metal mesh (I used an old pair of boning shears)
  • 2 1/8″ diameter herb container (to use as your”hat form”)
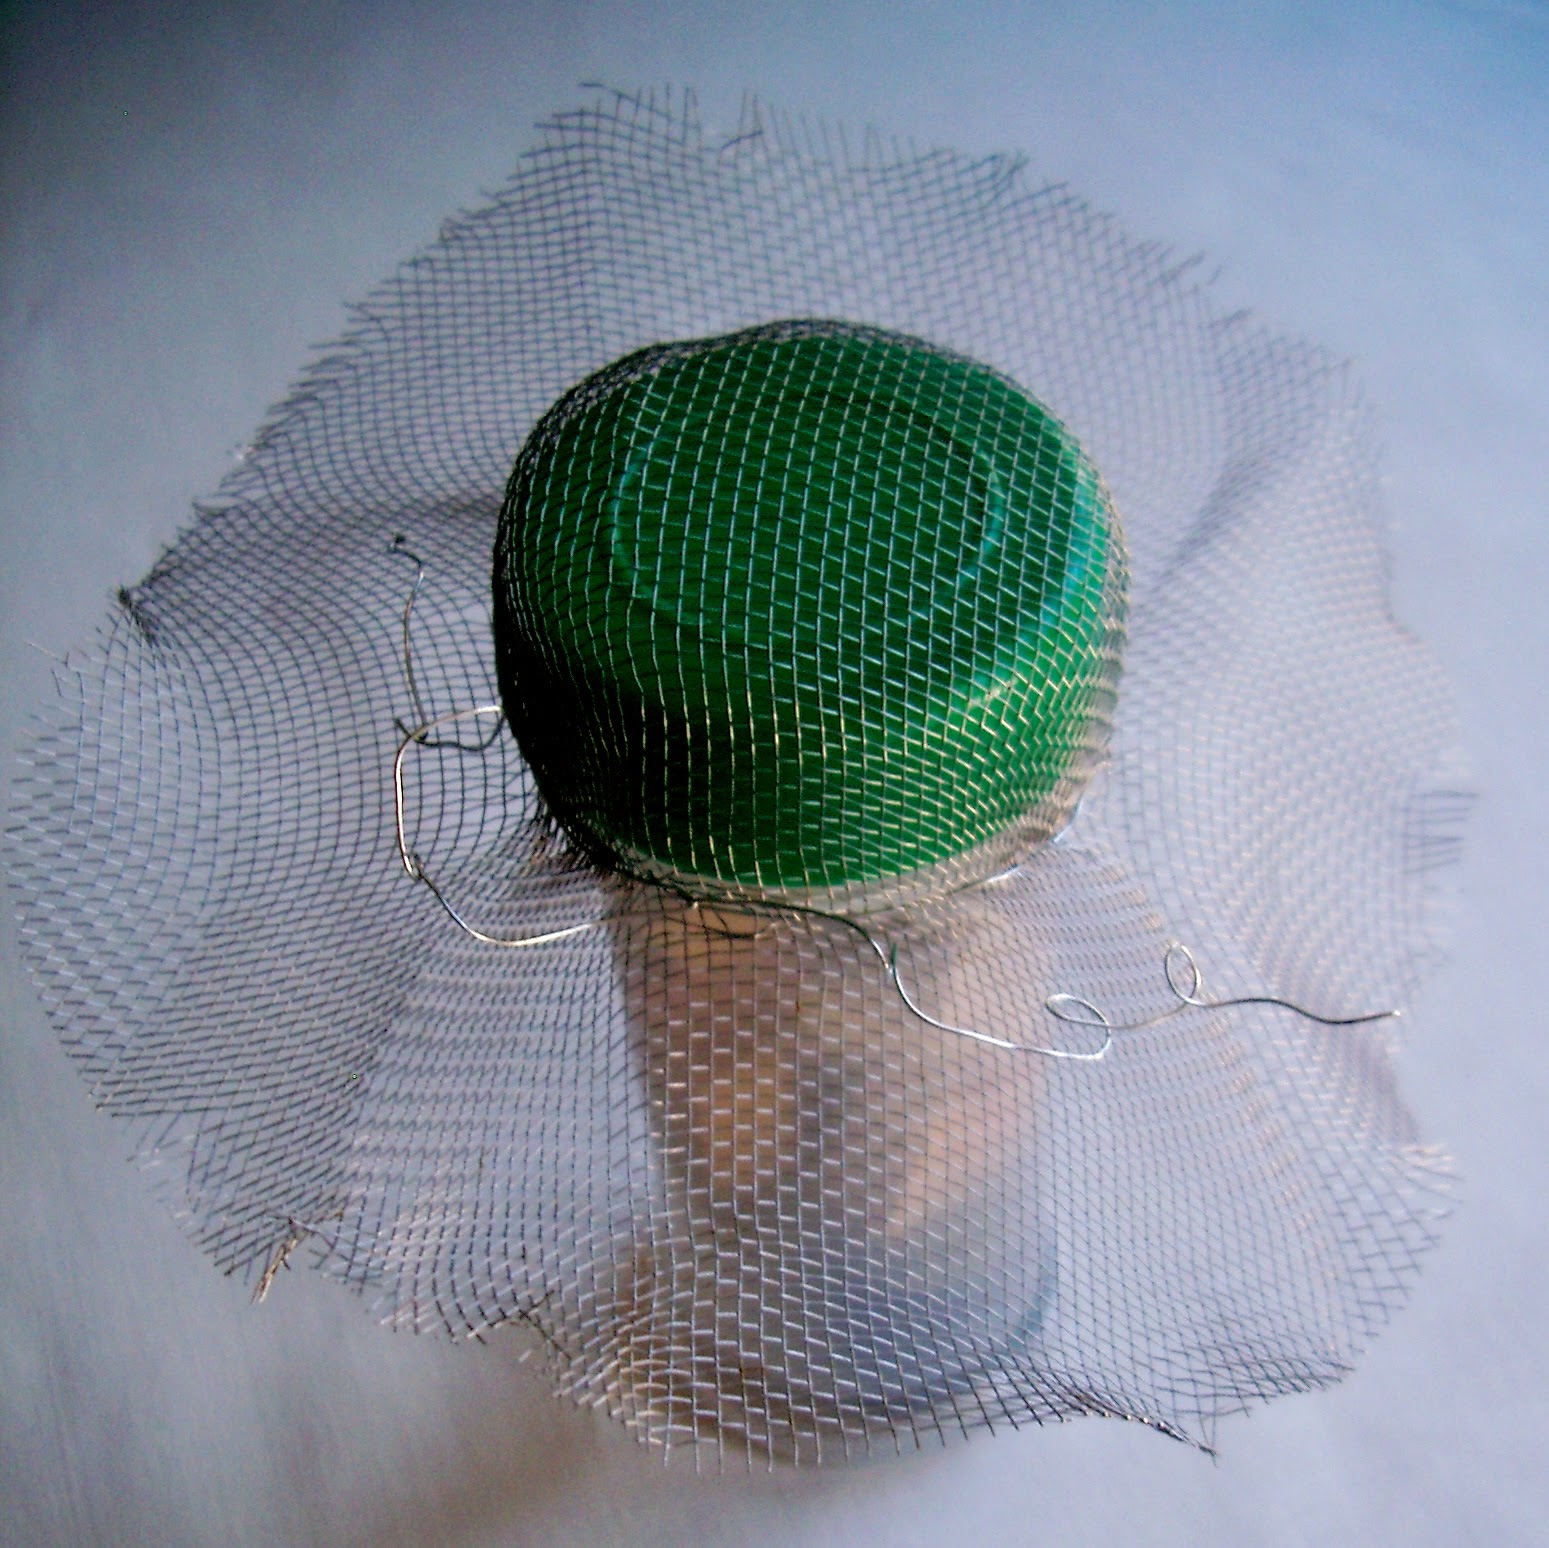
Trace your template onto the mesh, then carefully (the edges are sharp) cut it out.  Next, center your circle over the herb container and squeeze the mesh to fit snuggly around the lid.  Bend upward and crease what would be the brim part of the hat.

©linda nelson 2014

Remove your hat from the form, then use your floral wire (no needle necessary) to stitch, up and down fashion, around and along the crease line.  Twist the two ends together to secure.  This step reinforces your bonnet.  The remaining ends of the floral wire provide a means to fasten some embellishments onto it.  The wire tails can also be kinked and twisted, thus becoming part of the design.  Trim the brim to shape and to your liking of it’s width.  I crimp and fray the edge by giving it a little tug and pulling off a few loose strands; that’s what makes it rustic looking. 

©linda nelson 2014

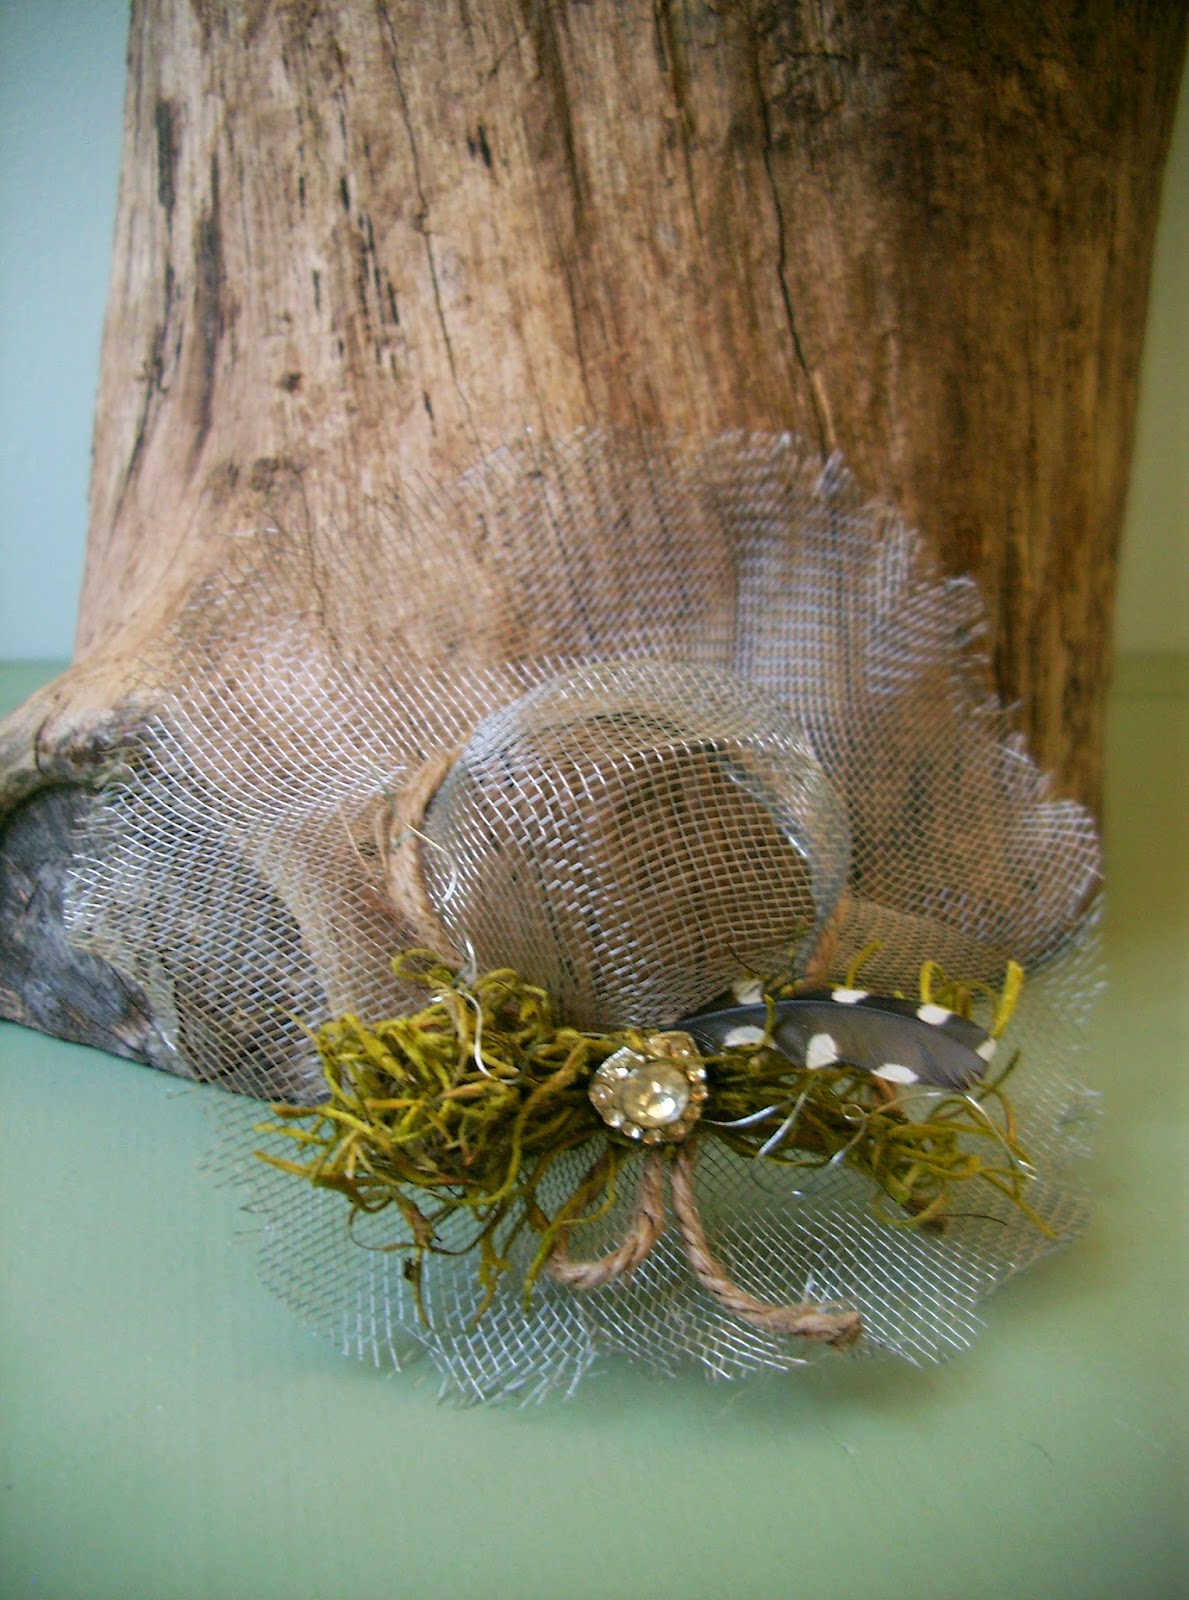
Dab on some paint, if you’d like, though this step is completely optional.  I chose not to paint the one pictured below.  Sew or glue on your embellishments.  You can put your bonnet back on the hat form, if you’d like; it frees up both of your hands while working on it.
©linda nelson 2014

There you have it.  All done.  Now, get creative.

RUSTIC COUTURE SPRING BONNET: TUTORIAL Read More »

Scroll to Top