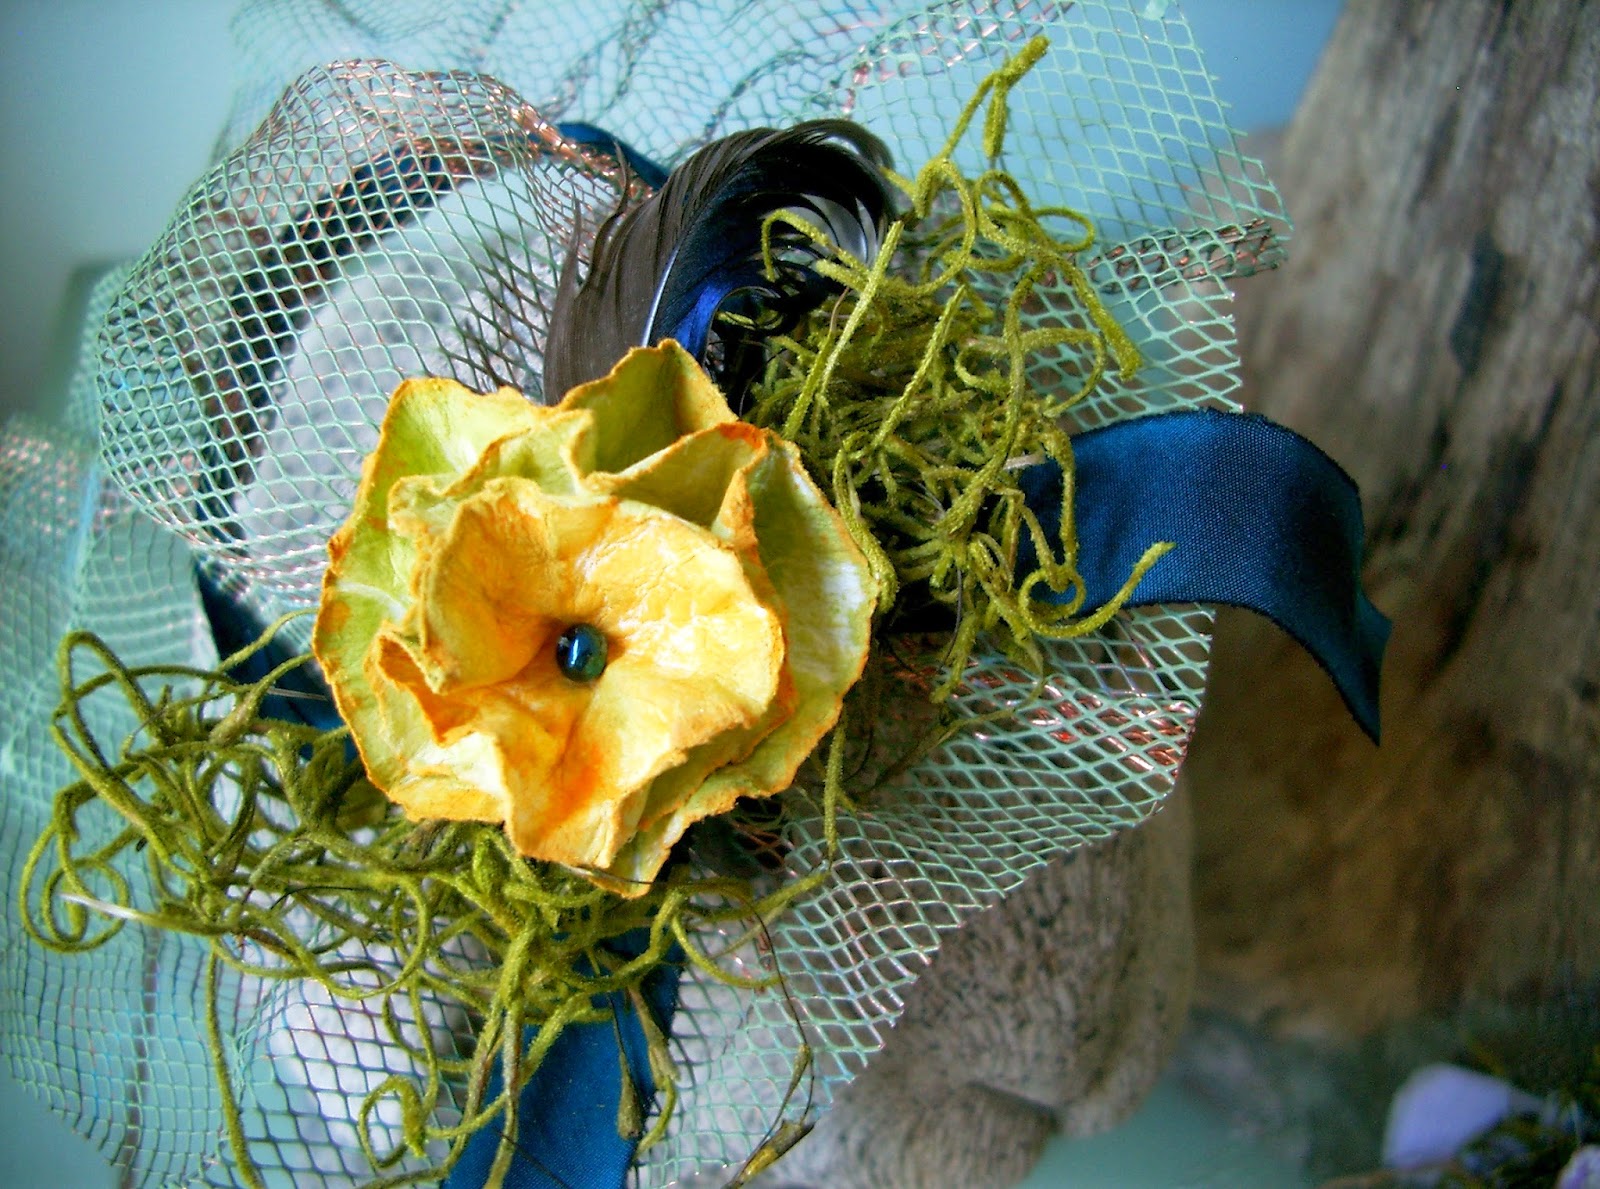
RUSTIC COUTURE SPRING BONNET: TUTORIAL
You’d like to make a rustic couture spring bonnet, would you?
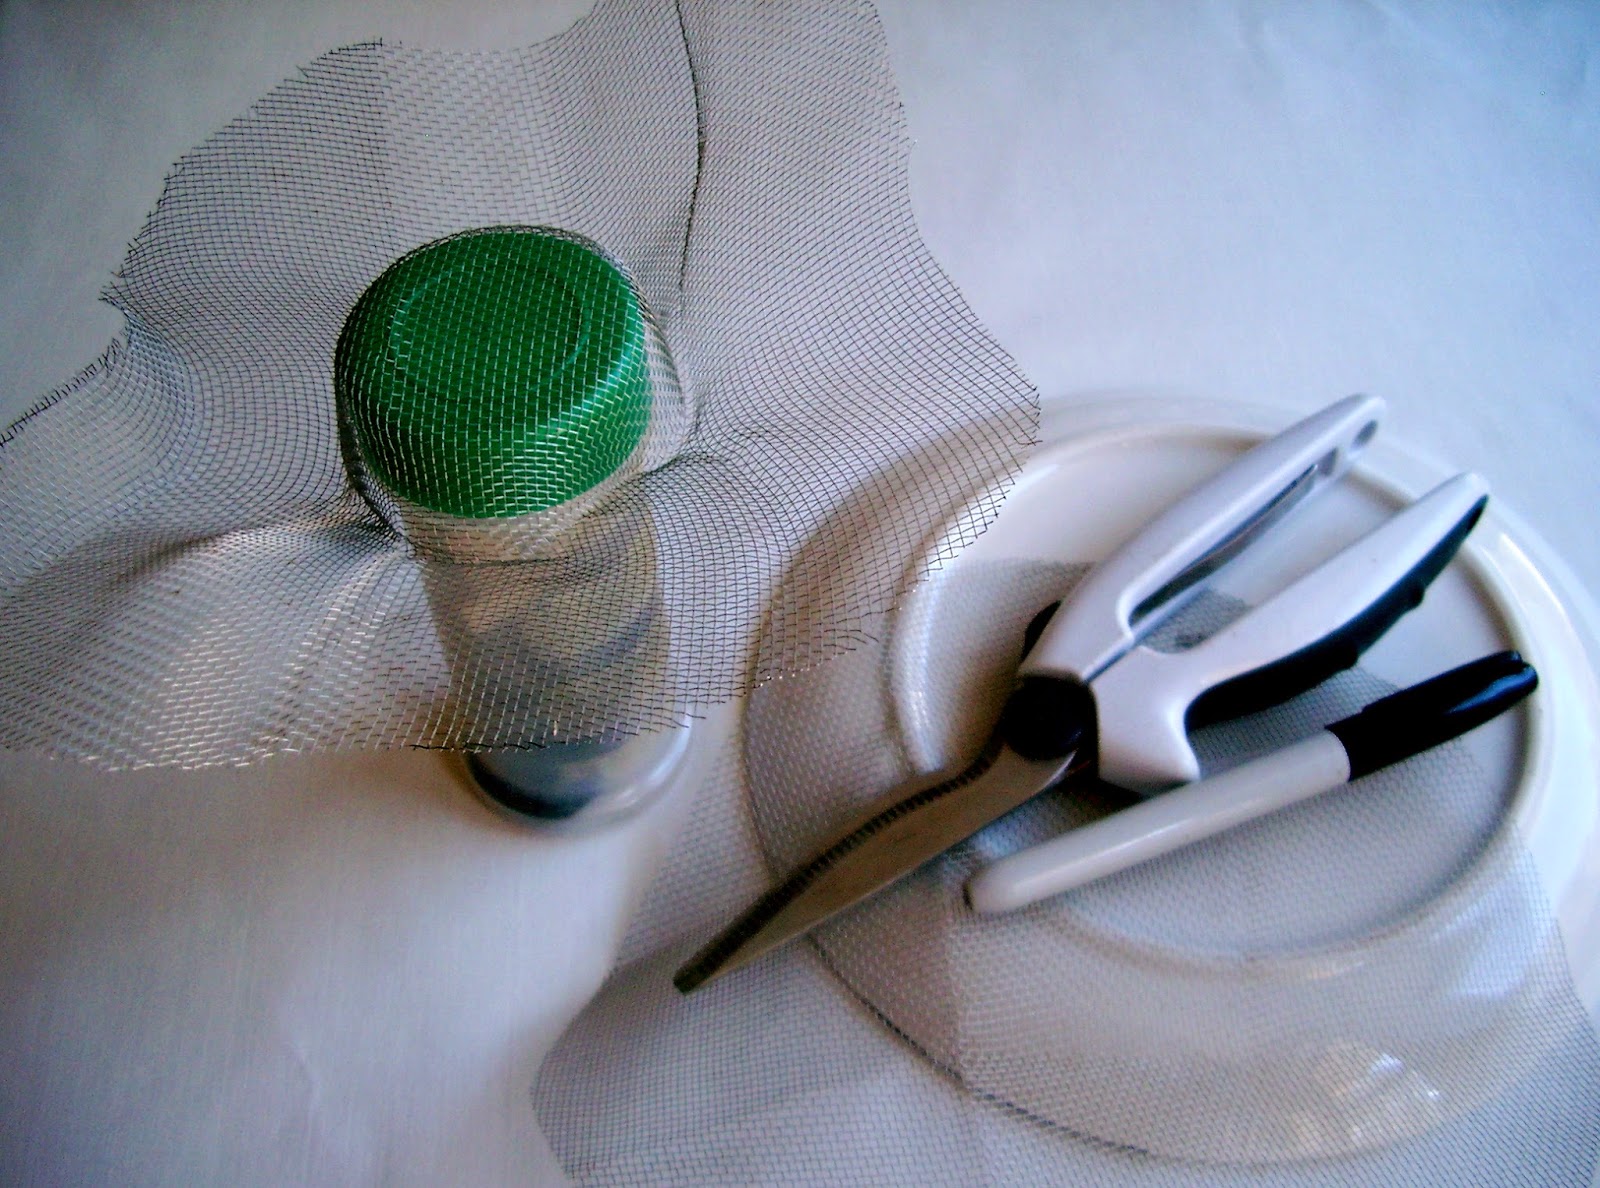
- a piece of window screening cut into an 8″ circle (check your garage/basement for remnants or purchase some by the foot at a hardware store). Do not use nylon screen; you can’t form/shape it. I used a lunch plate as a template and a Sharpie pen to trace my circle.
- floral wire (roughly 14″ long)
- acrylic paint & a brush or sponge (I like to create a patina effect using “muddy” greens and blues)
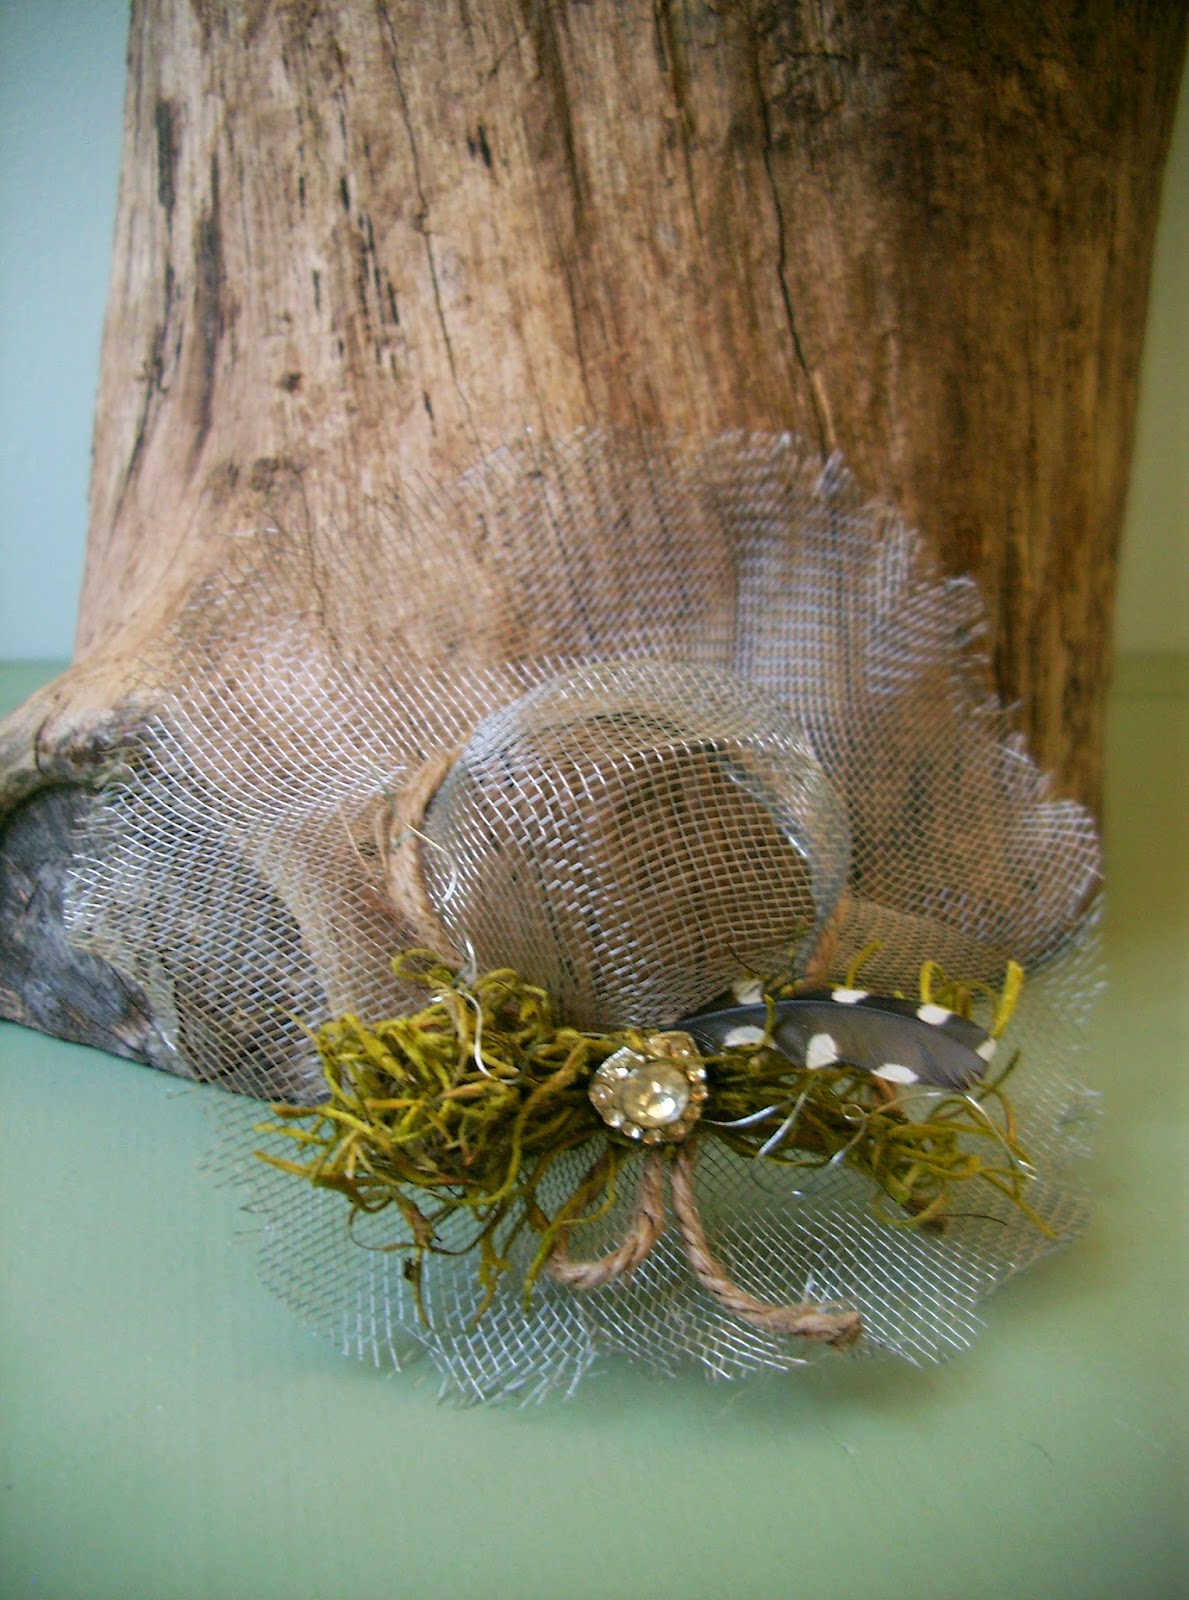
- ribbon, moss, twigs, notions….(whatever your heart desires for embellishing)
- scissor type tool that cuts through metal mesh (I used an old pair of boning shears)
- 2 1/8″ diameter herb container (to use as your”hat form”)
 |
| ©Linda Nelson 2014 |
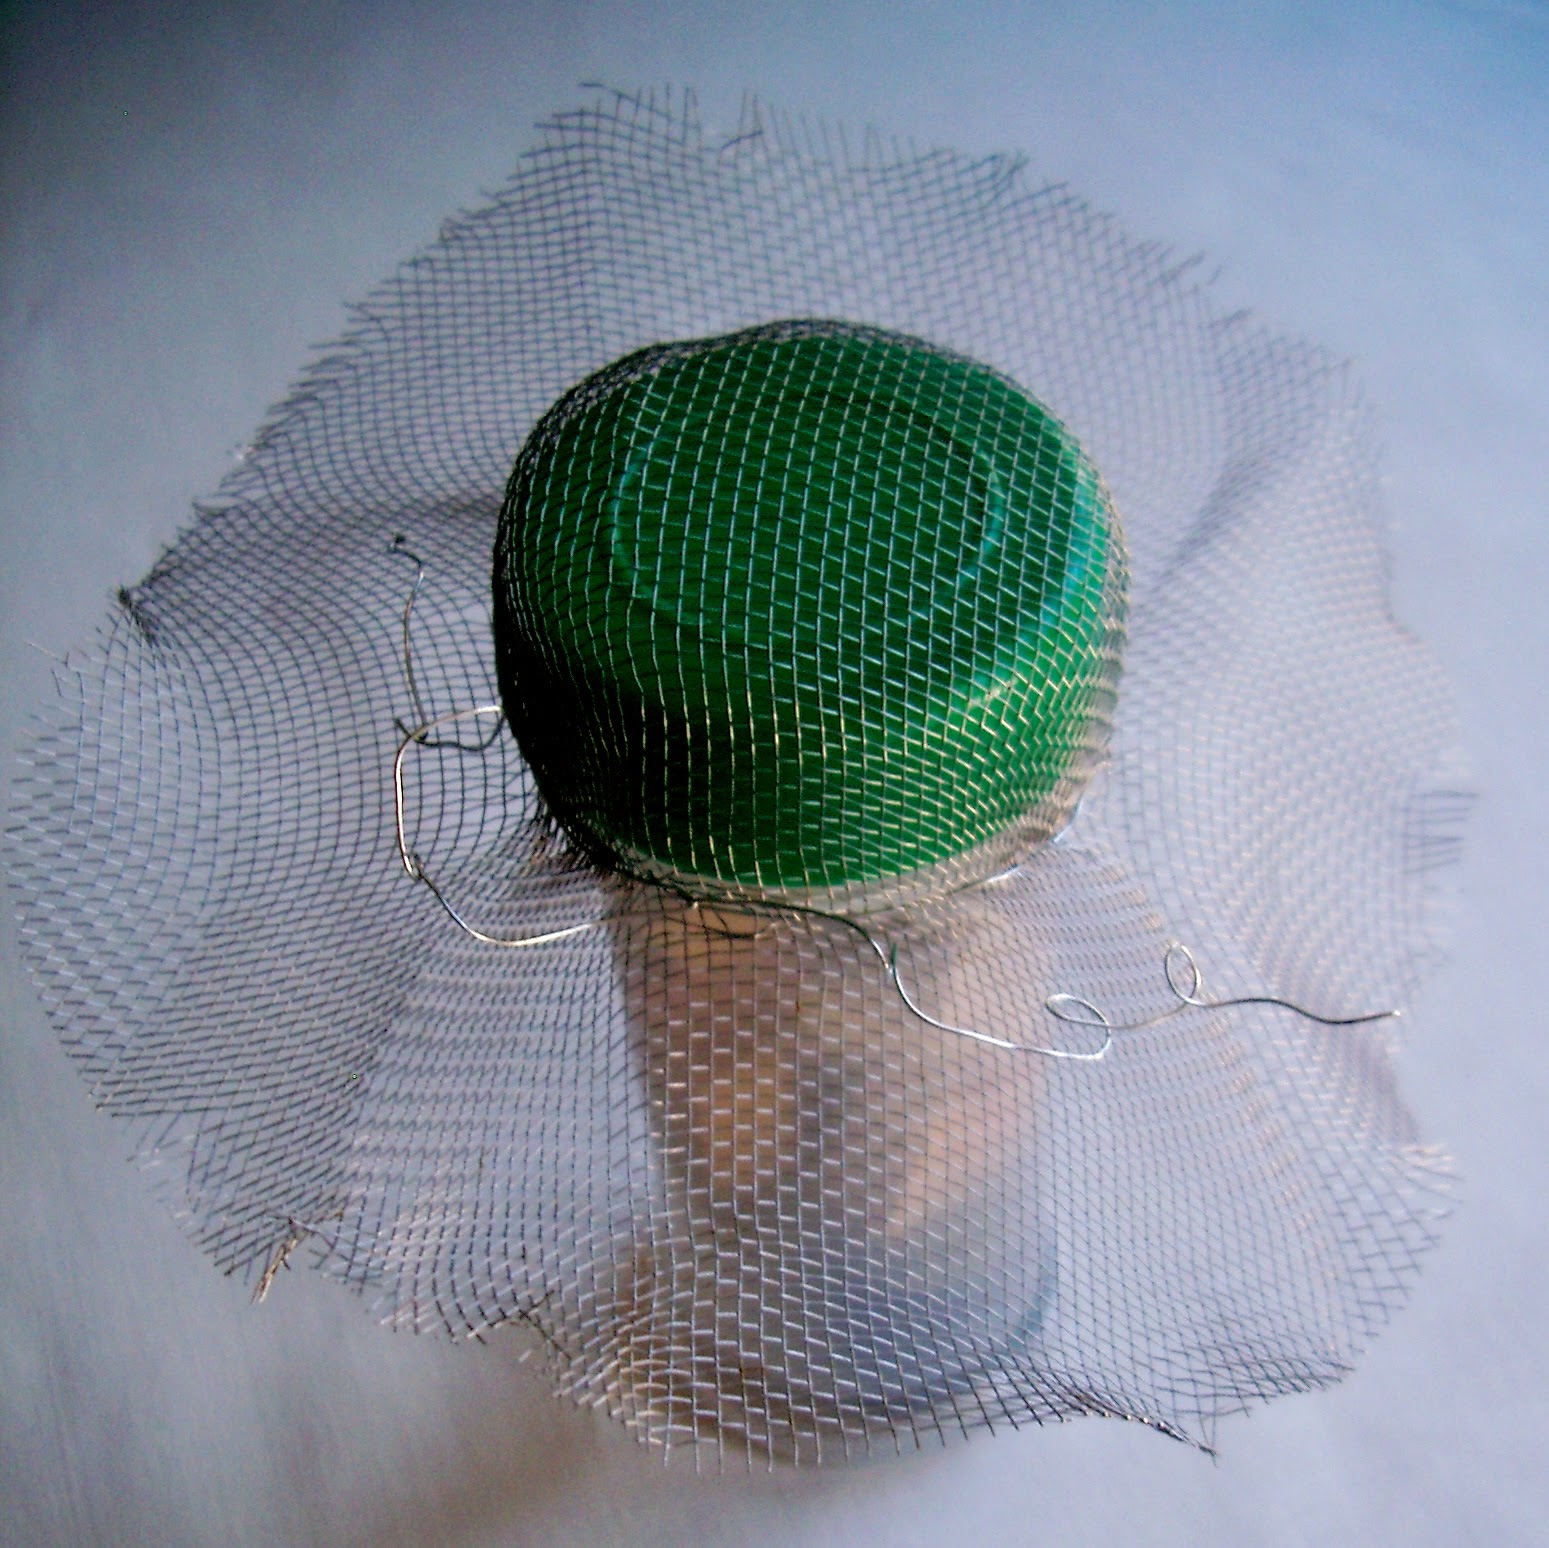
Remove your hat from the form, then use your floral wire (no needle necessary) to stitch, up and down fashion, around and along the crease line. Twist the two ends together to secure. This step reinforces your bonnet. The remaining ends of the floral wire provide a means to fasten some embellishments onto it. The wire tails can also be kinked and twisted, thus becoming part of the design. Trim the brim to shape and to your liking of it’s width. I crimp and fray the edge by giving it a little tug and pulling off a few loose strands; that’s what makes it rustic looking.
RUSTIC COUTURE SPRING BONNET: TUTORIAL Read More »

