bag

A THRIFTY NOR’ “EASTER”

Hey there!  Just before our area was gifted with a windy, slushy mess yesterday, I scrambled to get some errands done.  On my list was visiting a new-to-me little thrift shop, and a mission to find a very particular something.  I scored!

So, pay attention moms with little tots; this one’s for you!

My vision was toddler size clothing that could be turned into Easter egg hunt gathering bags.

Ta-da!

linda nelson at the createaerie

Aren’t they adorable?  And, after the egg gathering activities are over, these fashionable little vessels can hold socks, mittens, trinkets or any little clutch of goodies. 

For the dress, I simply turned it inside out, sewed the bottom shut, then turned it back to right side out.  With a few machine stitches, I reinforced the straps to handle the weight of anything stashed inside.

linda nelson at the createaerie

The process was basically the same for the overalls, though I did cut off the leg/crotch snaps and reduce the length of the legs.

linda nelson at the createaerie

You can even take it a step further and adorn them with bows, colorful buttons, appliques, etc….

Now, go raid your kid’s wardrobe and get creative!

A THRIFTY NOR’ “EASTER” Read More »

NOT YOUR KIDDY’S PAPER PUMPKIN

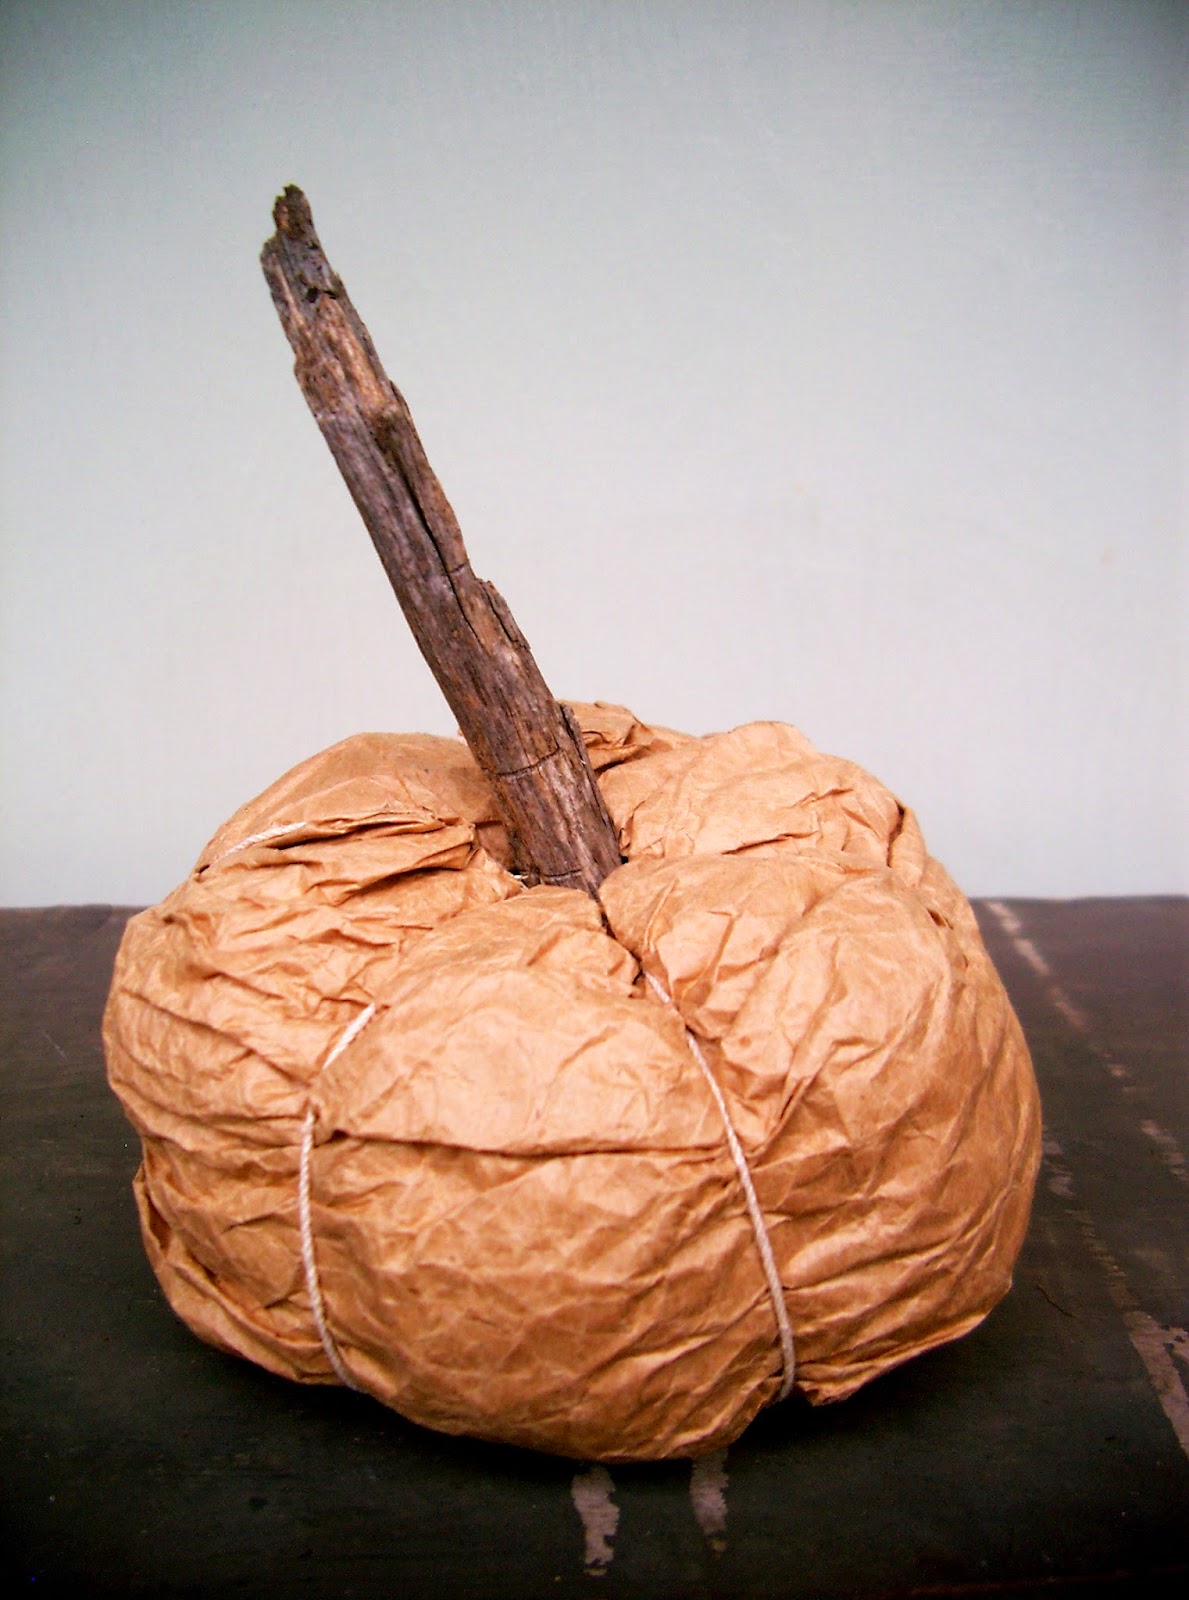
Have I got a few resourceful, rustic and simple to make little pumpkins for you.  Today’s post features not your little kiddy’s paper bag pumpkin, but a rustic, yet sophisticated lady’s paper pumpkin. The neighboring ones in this photo will be showcased in tutorial posts to follow.

You likey?  Well, here’s what you do –

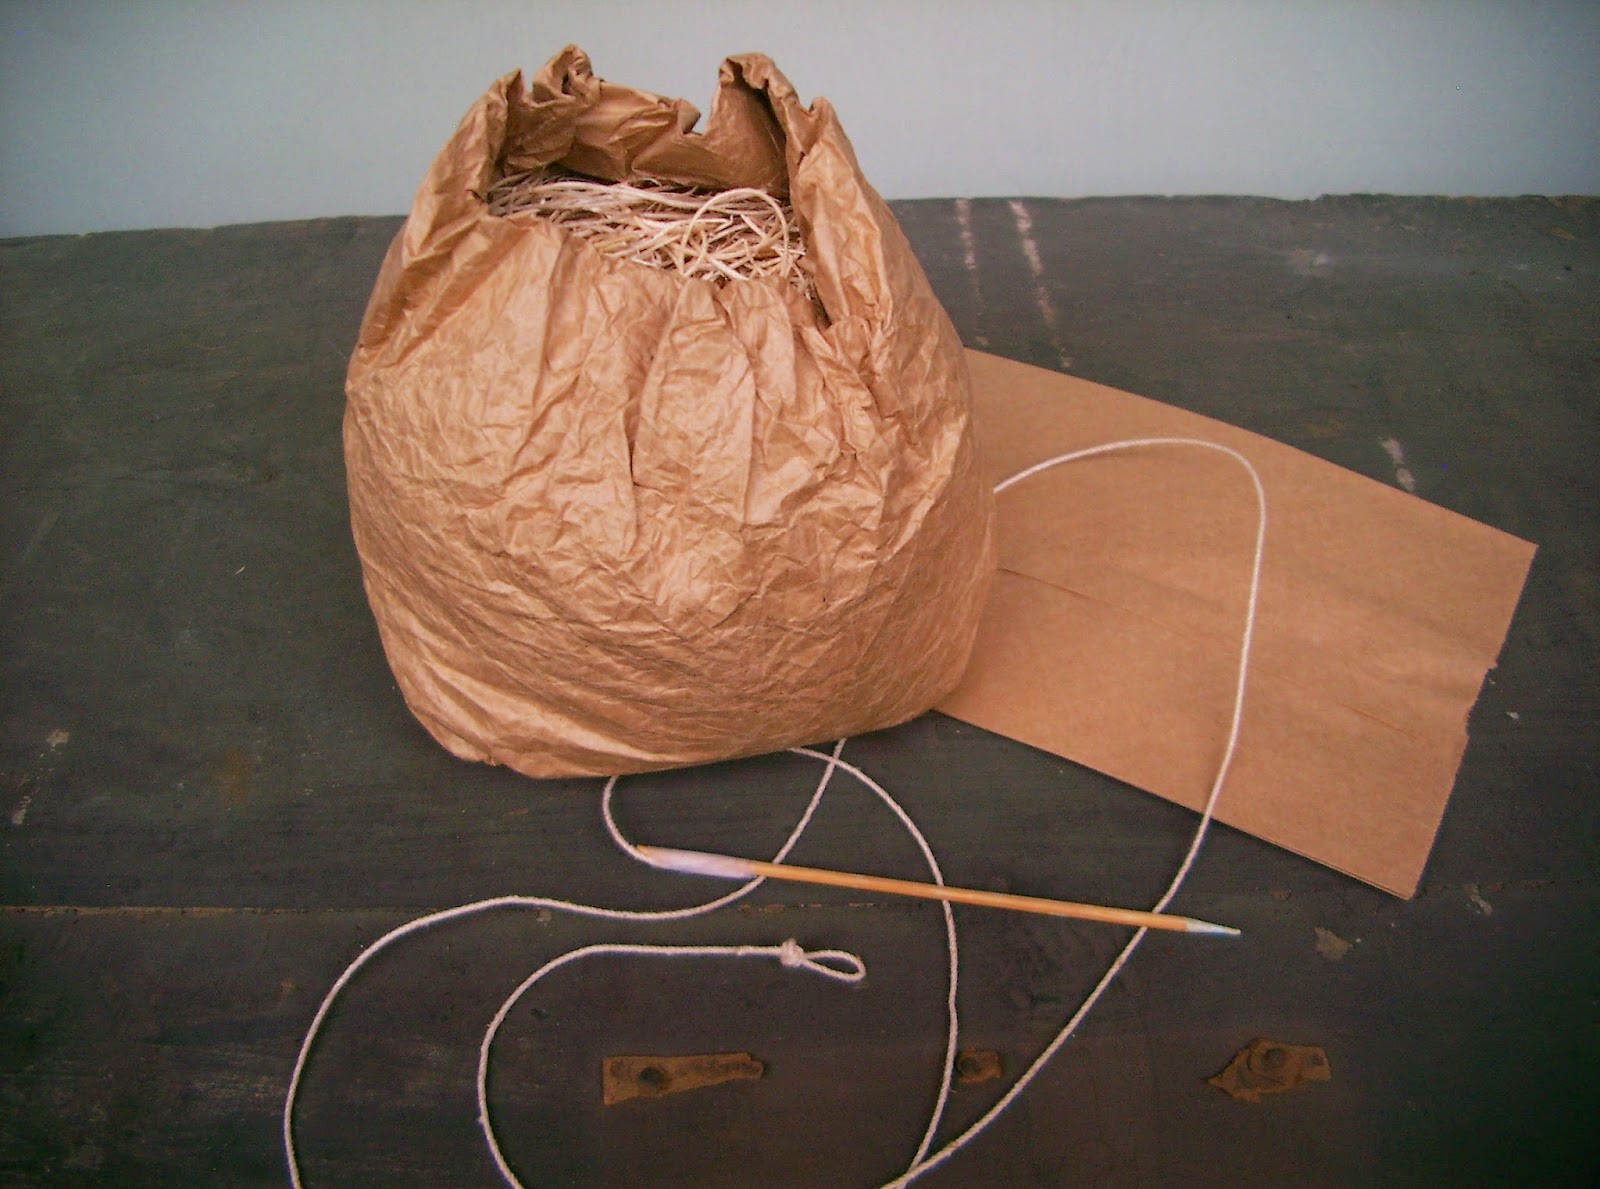
Crumple and scrunch a lunch paper bag until it’s wrinkly and soft to the touch, taking care not to tear it.  Stuff the bag (pack it somewhat densely) just over half full with shredded paper, pillow stuffing, or something similar.  Create an inward facing rolled cuff with the top half of the bag, rolling until you meet up with the stuffed half.
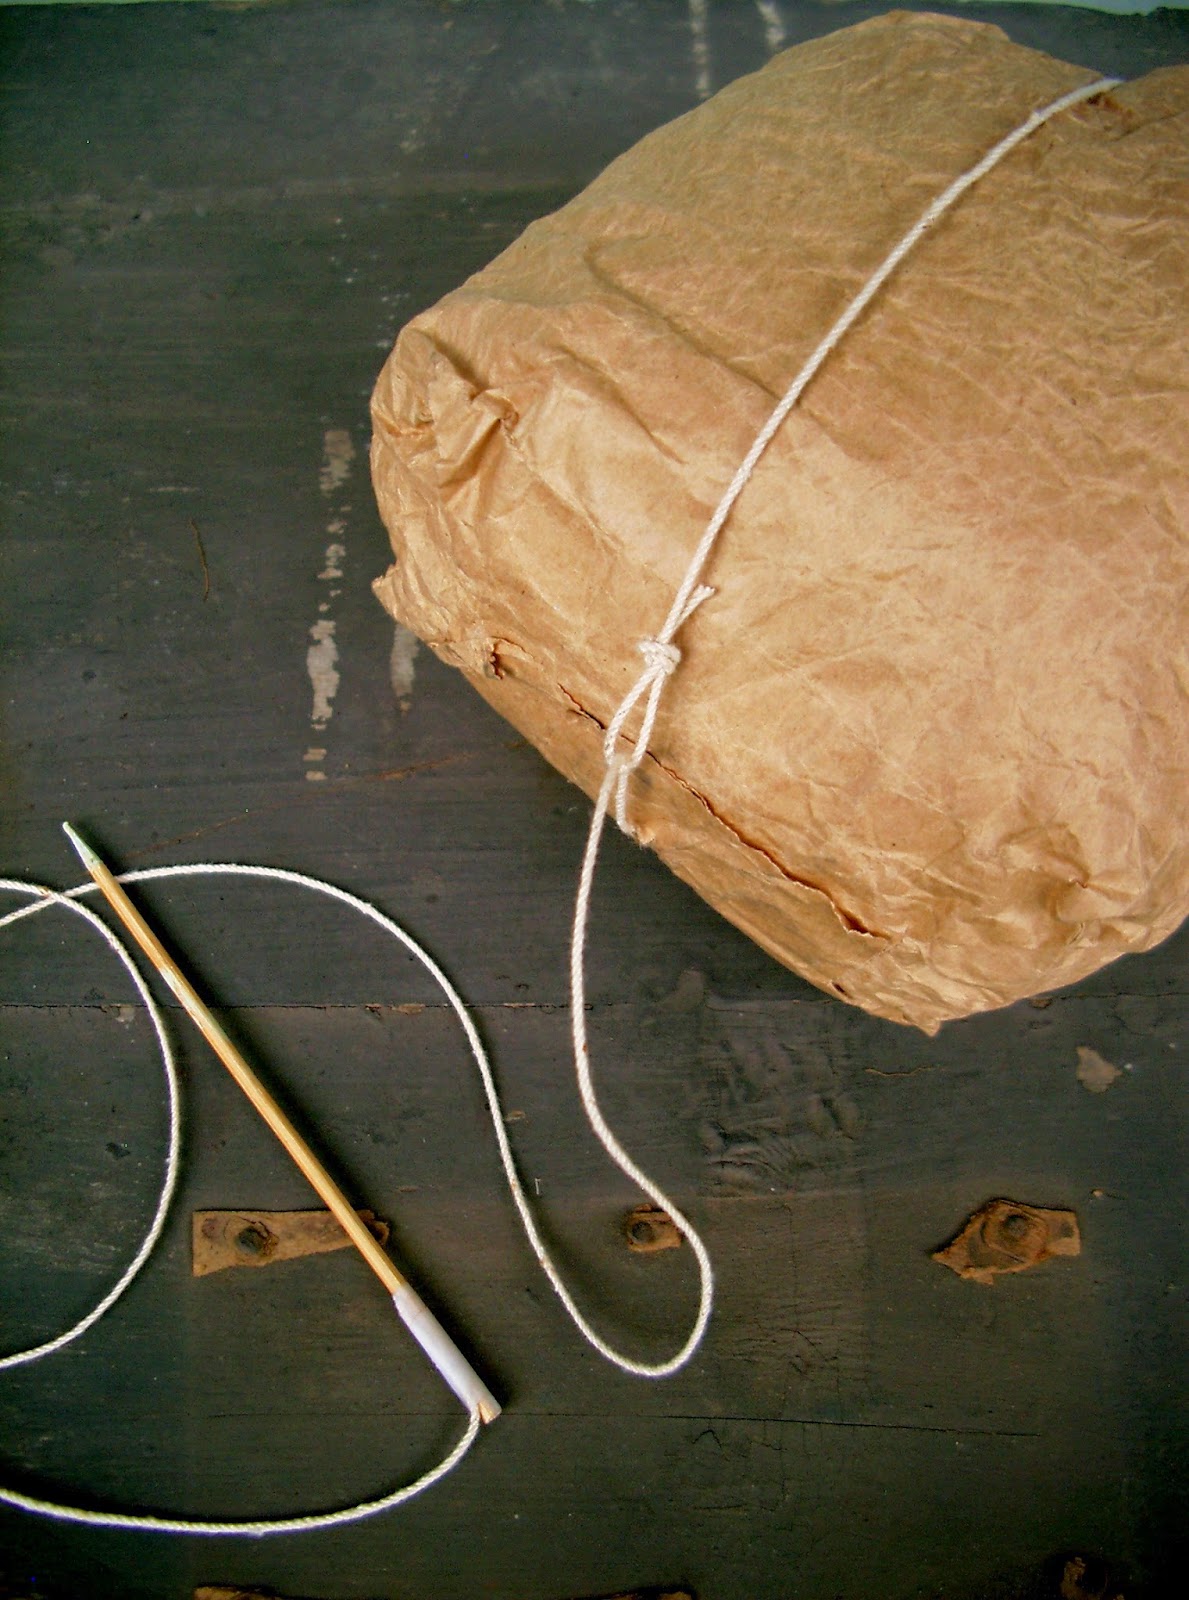
Take a 5 ft. piece of twine and make a loop knot at one end; tape the other end to a bamboo skewer.  The skewer is your “needle”.  Pass the skewer down the center of the bag, carefully piercing through the center of the bottom of the bag.
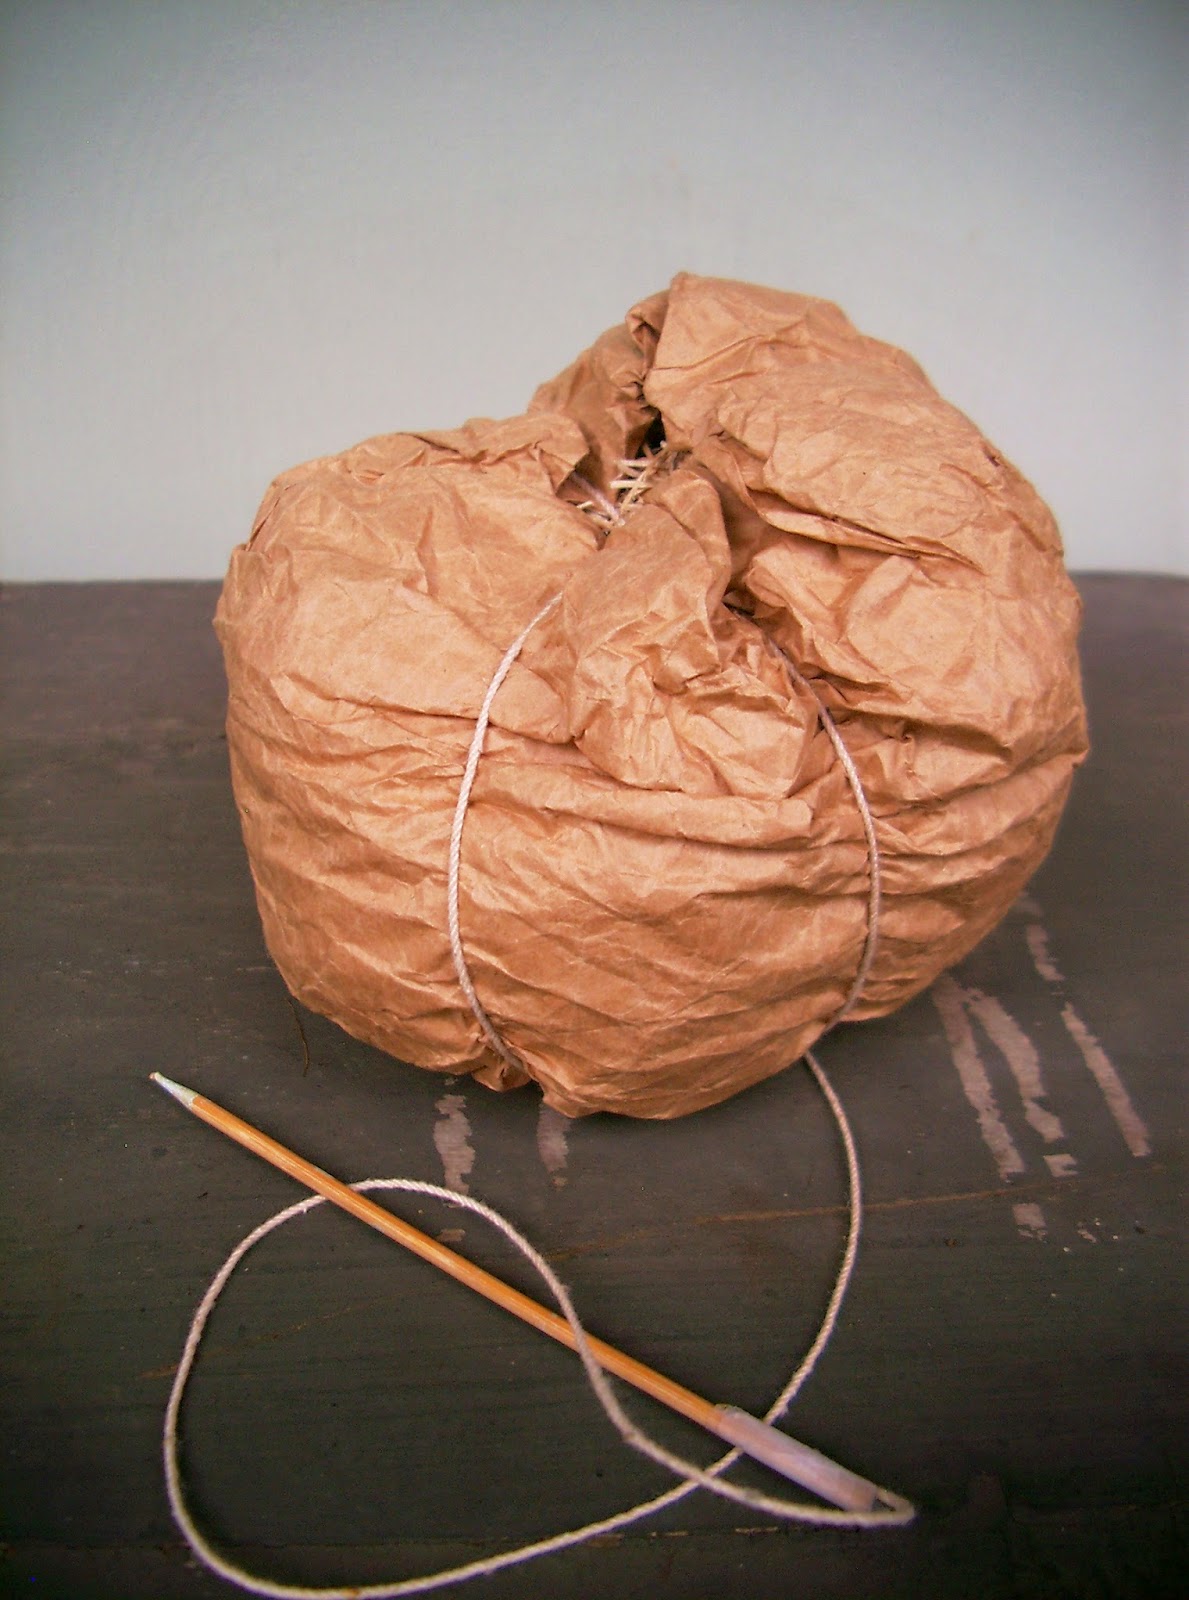
Pass the skewer through the loop knot, then tug the twine to create your first pumpkin groove.  Continue around until you have six evenly spaced grooves with just the right amount of tension to give the pumpkin its characteristic shape.
Securely tie the twine off at the bottom of the pumpkin.  Find or make a stem, then glue it into position. You may be able to forego glueing the stem on if it is long enough to be gently twisted and nestled in.
Add your embellishments, then place your newly created pumpkin among the other fabulous, decorative things around your home.
There you have it.
Now, get creative.  And, do stay tuned for some more pumpkin making tutorials!

NOT YOUR KIDDY’S PAPER PUMPKIN Read More »

Scroll to Top