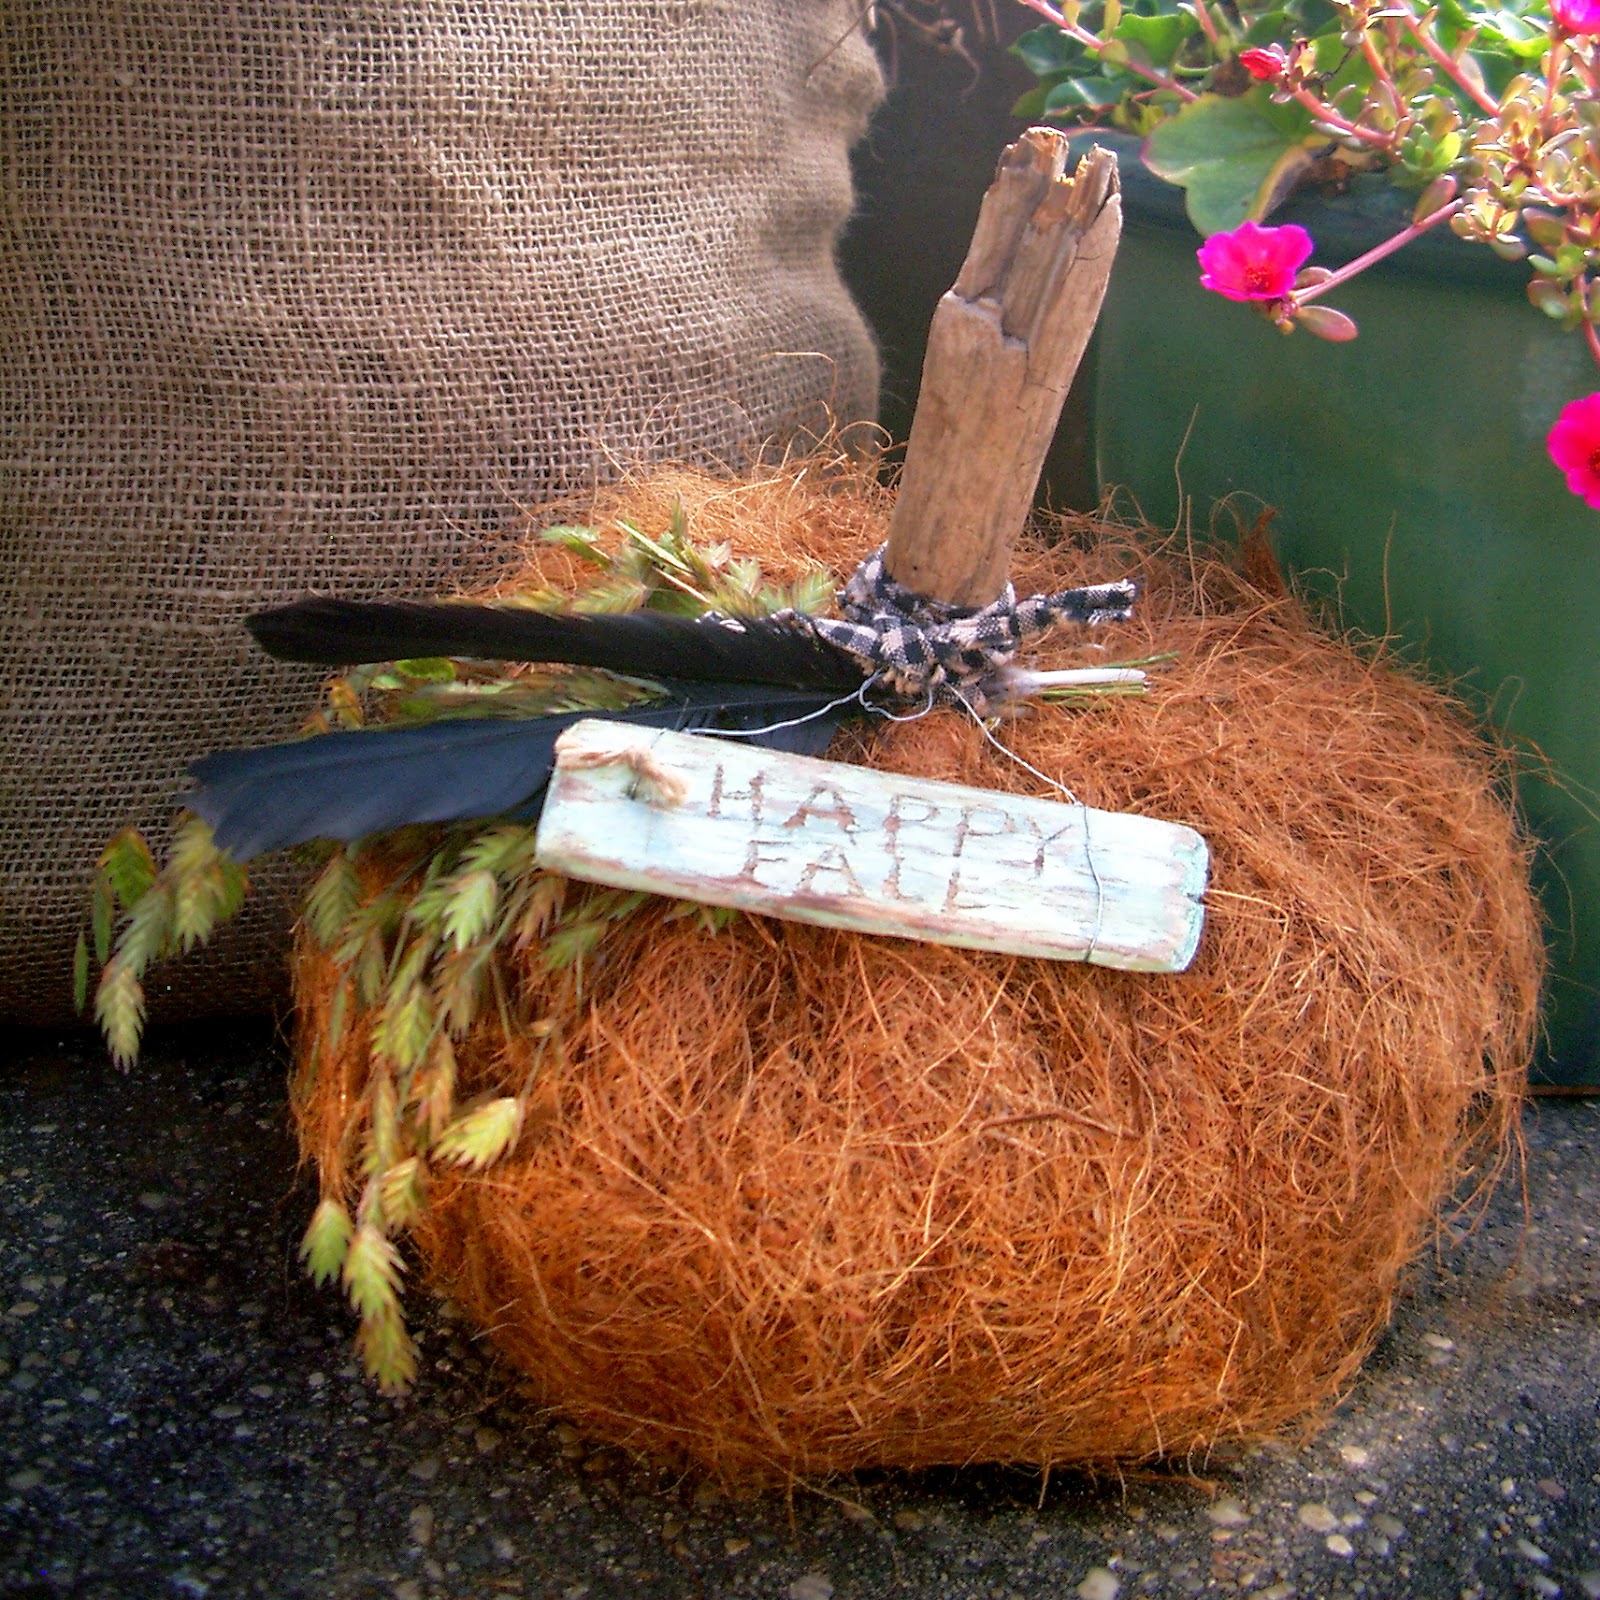
MAKE THIS PUMPKIN!
 |
| ©Linda Nelson 2014 |
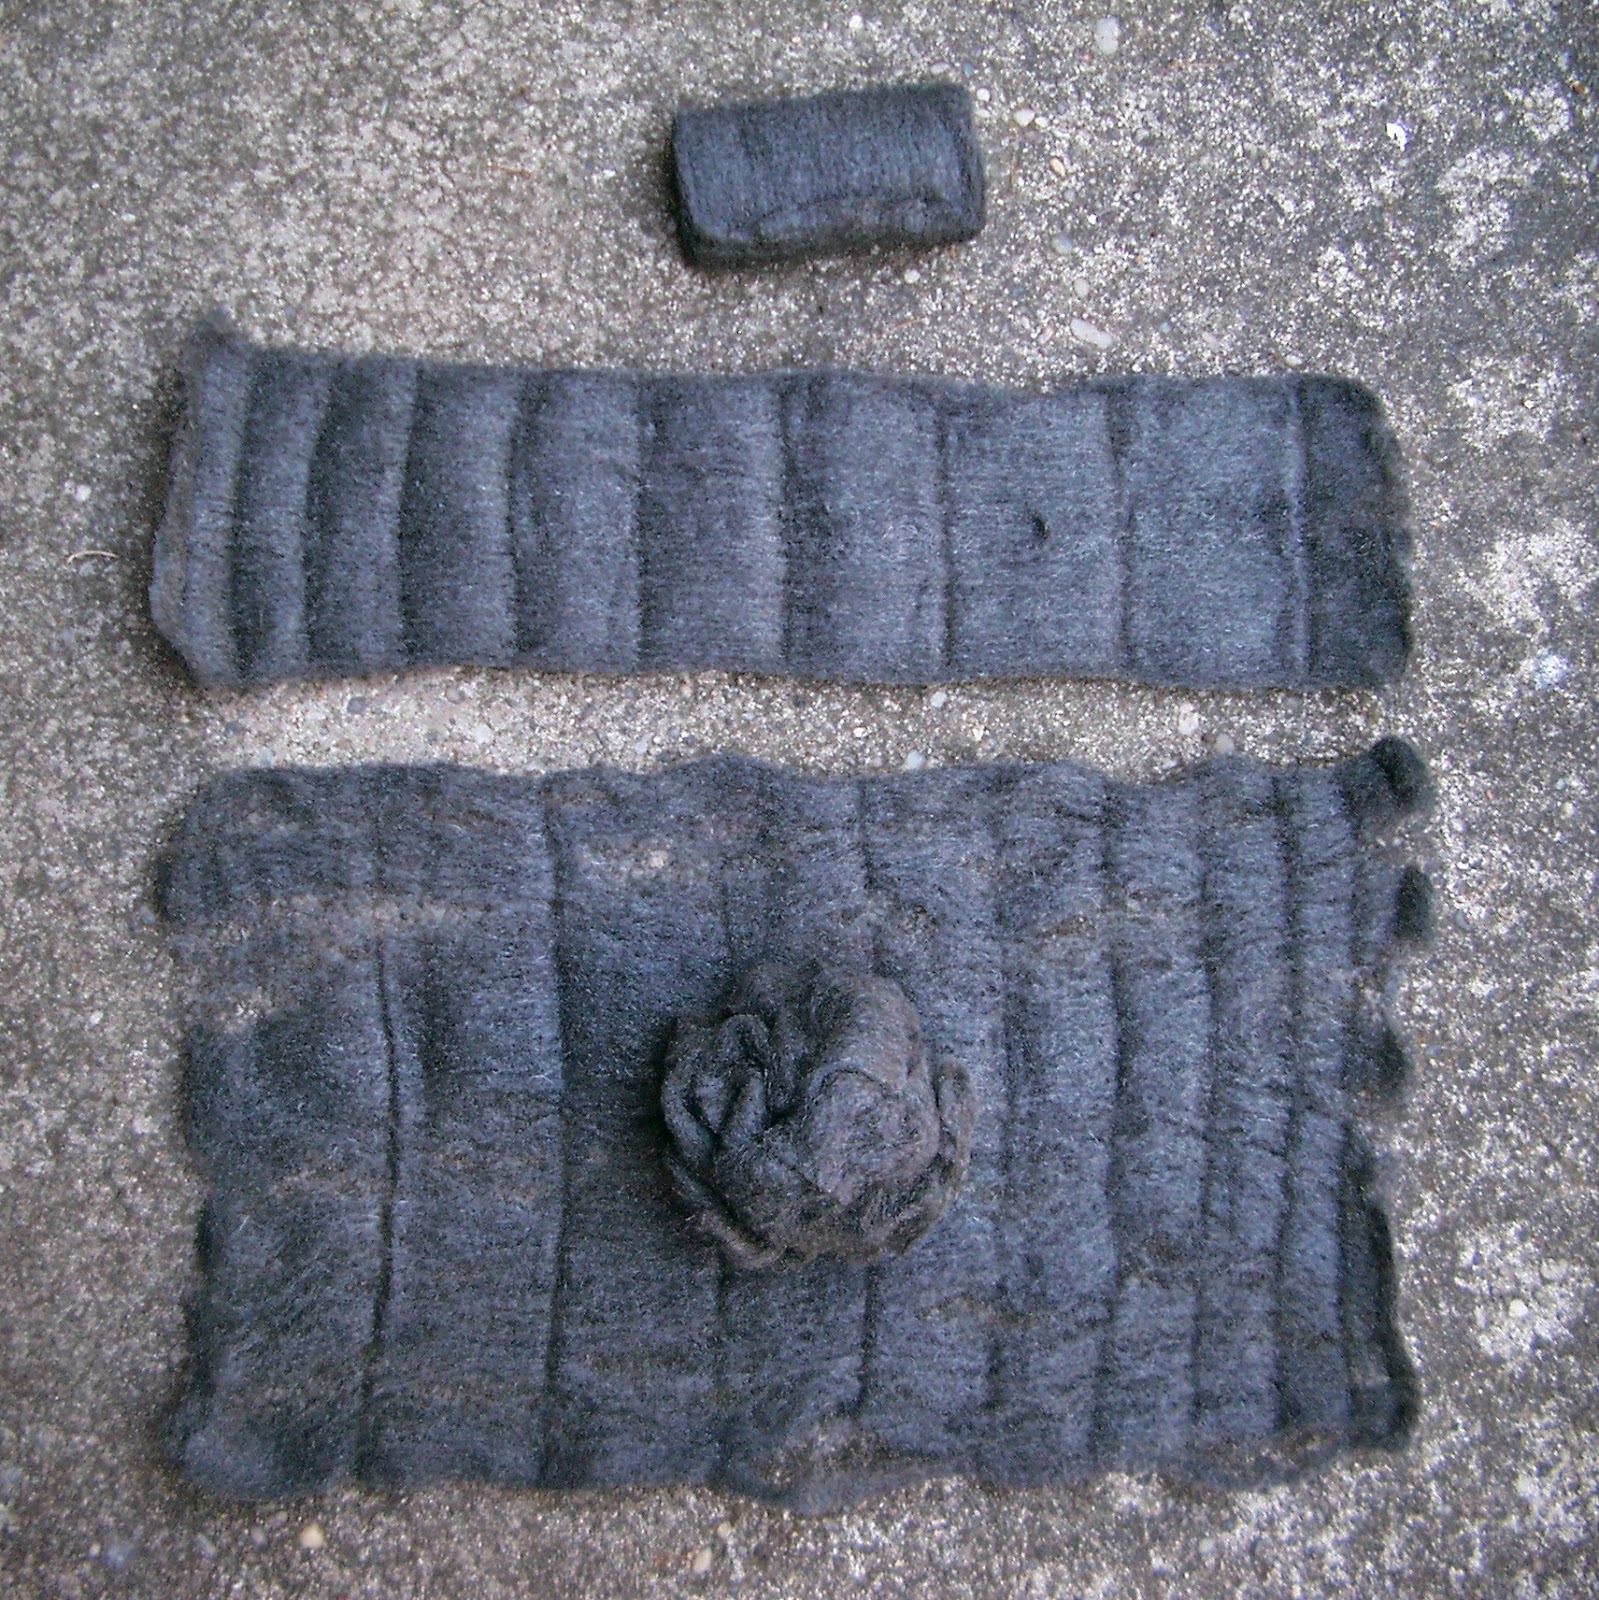
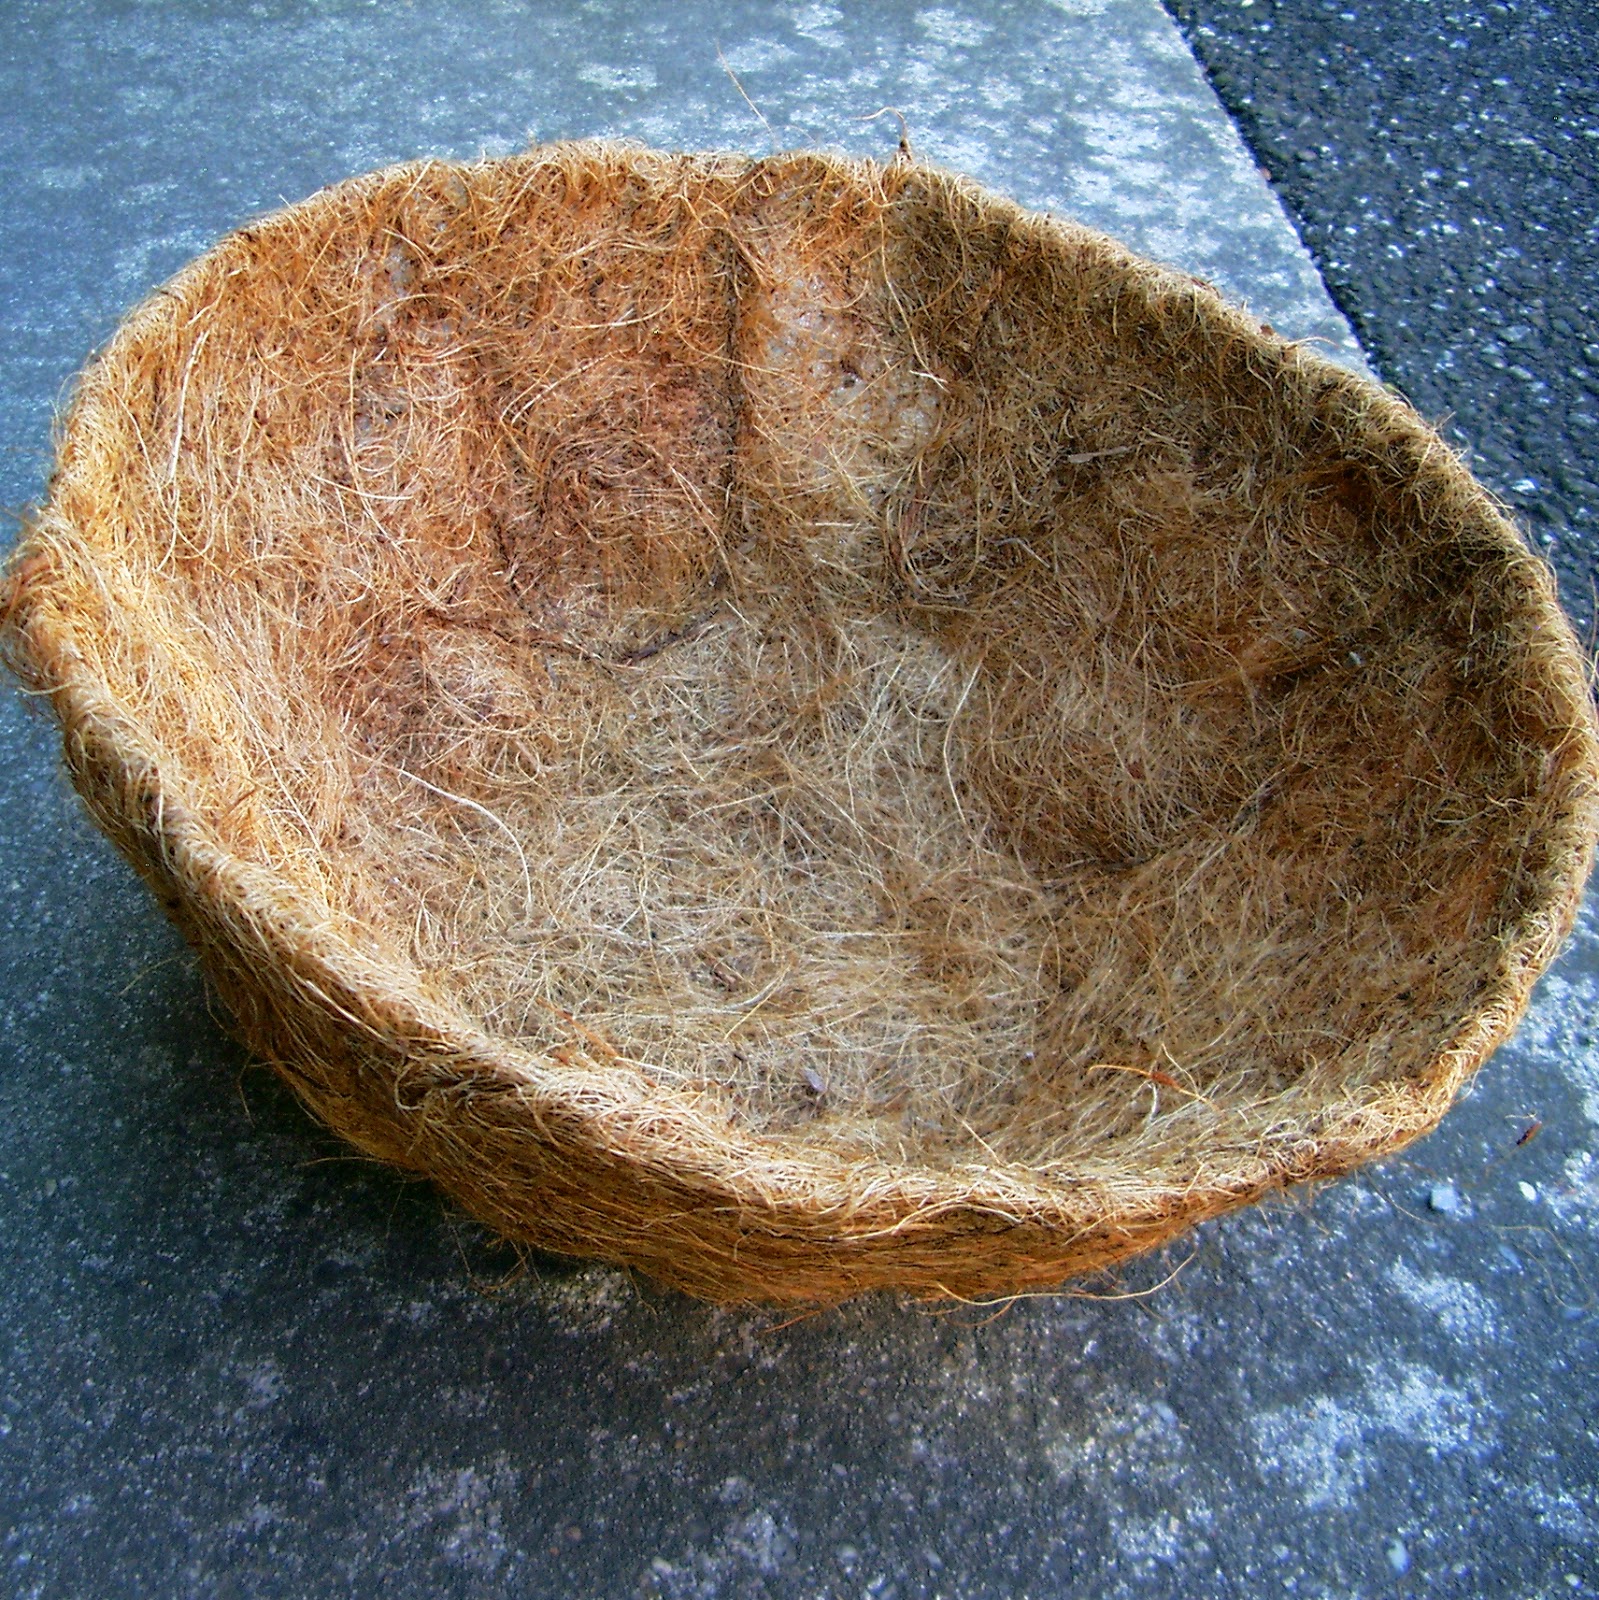
See what fabulousness arises from a coir planter basket liner? It’s the perfect shape; therefore, there’s no cutting involved. Are you sold yet?
You will need a preformed coco liner that is meant to fit inside a 12″ wire basket planter.
 |
| ©Linda Nelson 2014 |
 |
| ©Linda Nelson 2014 |
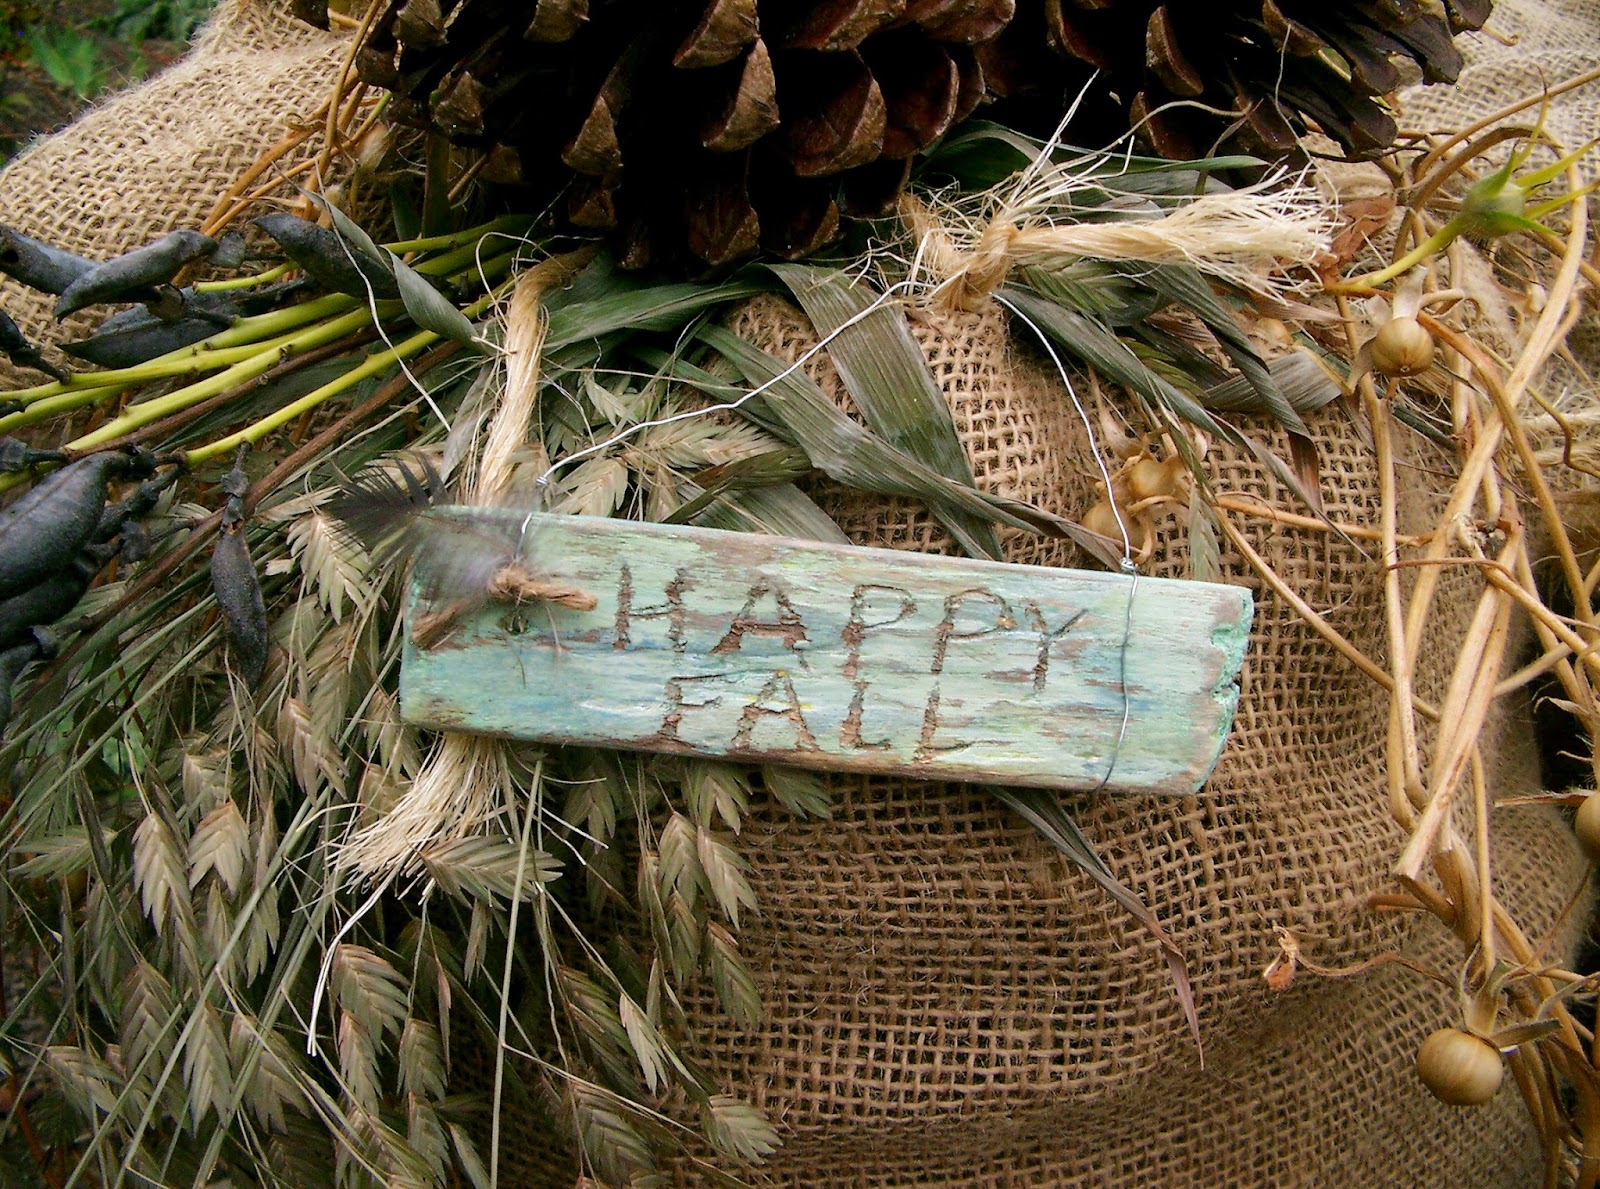
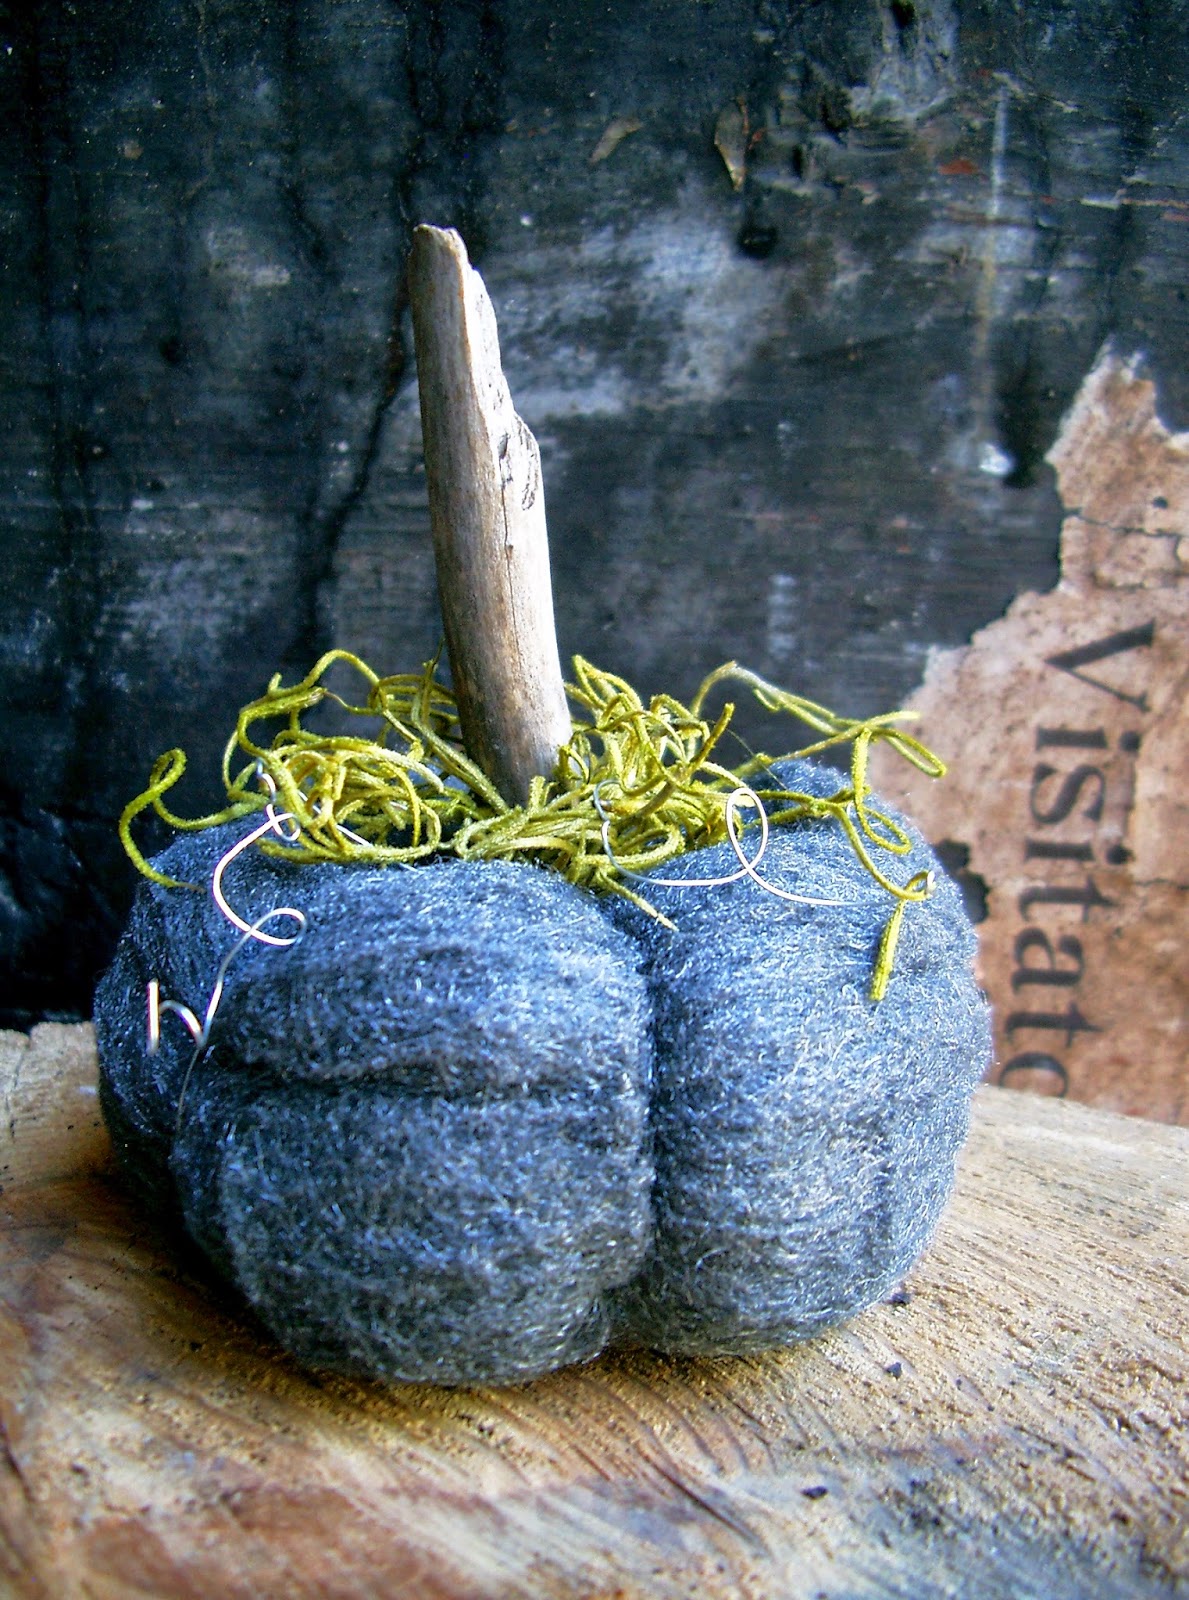
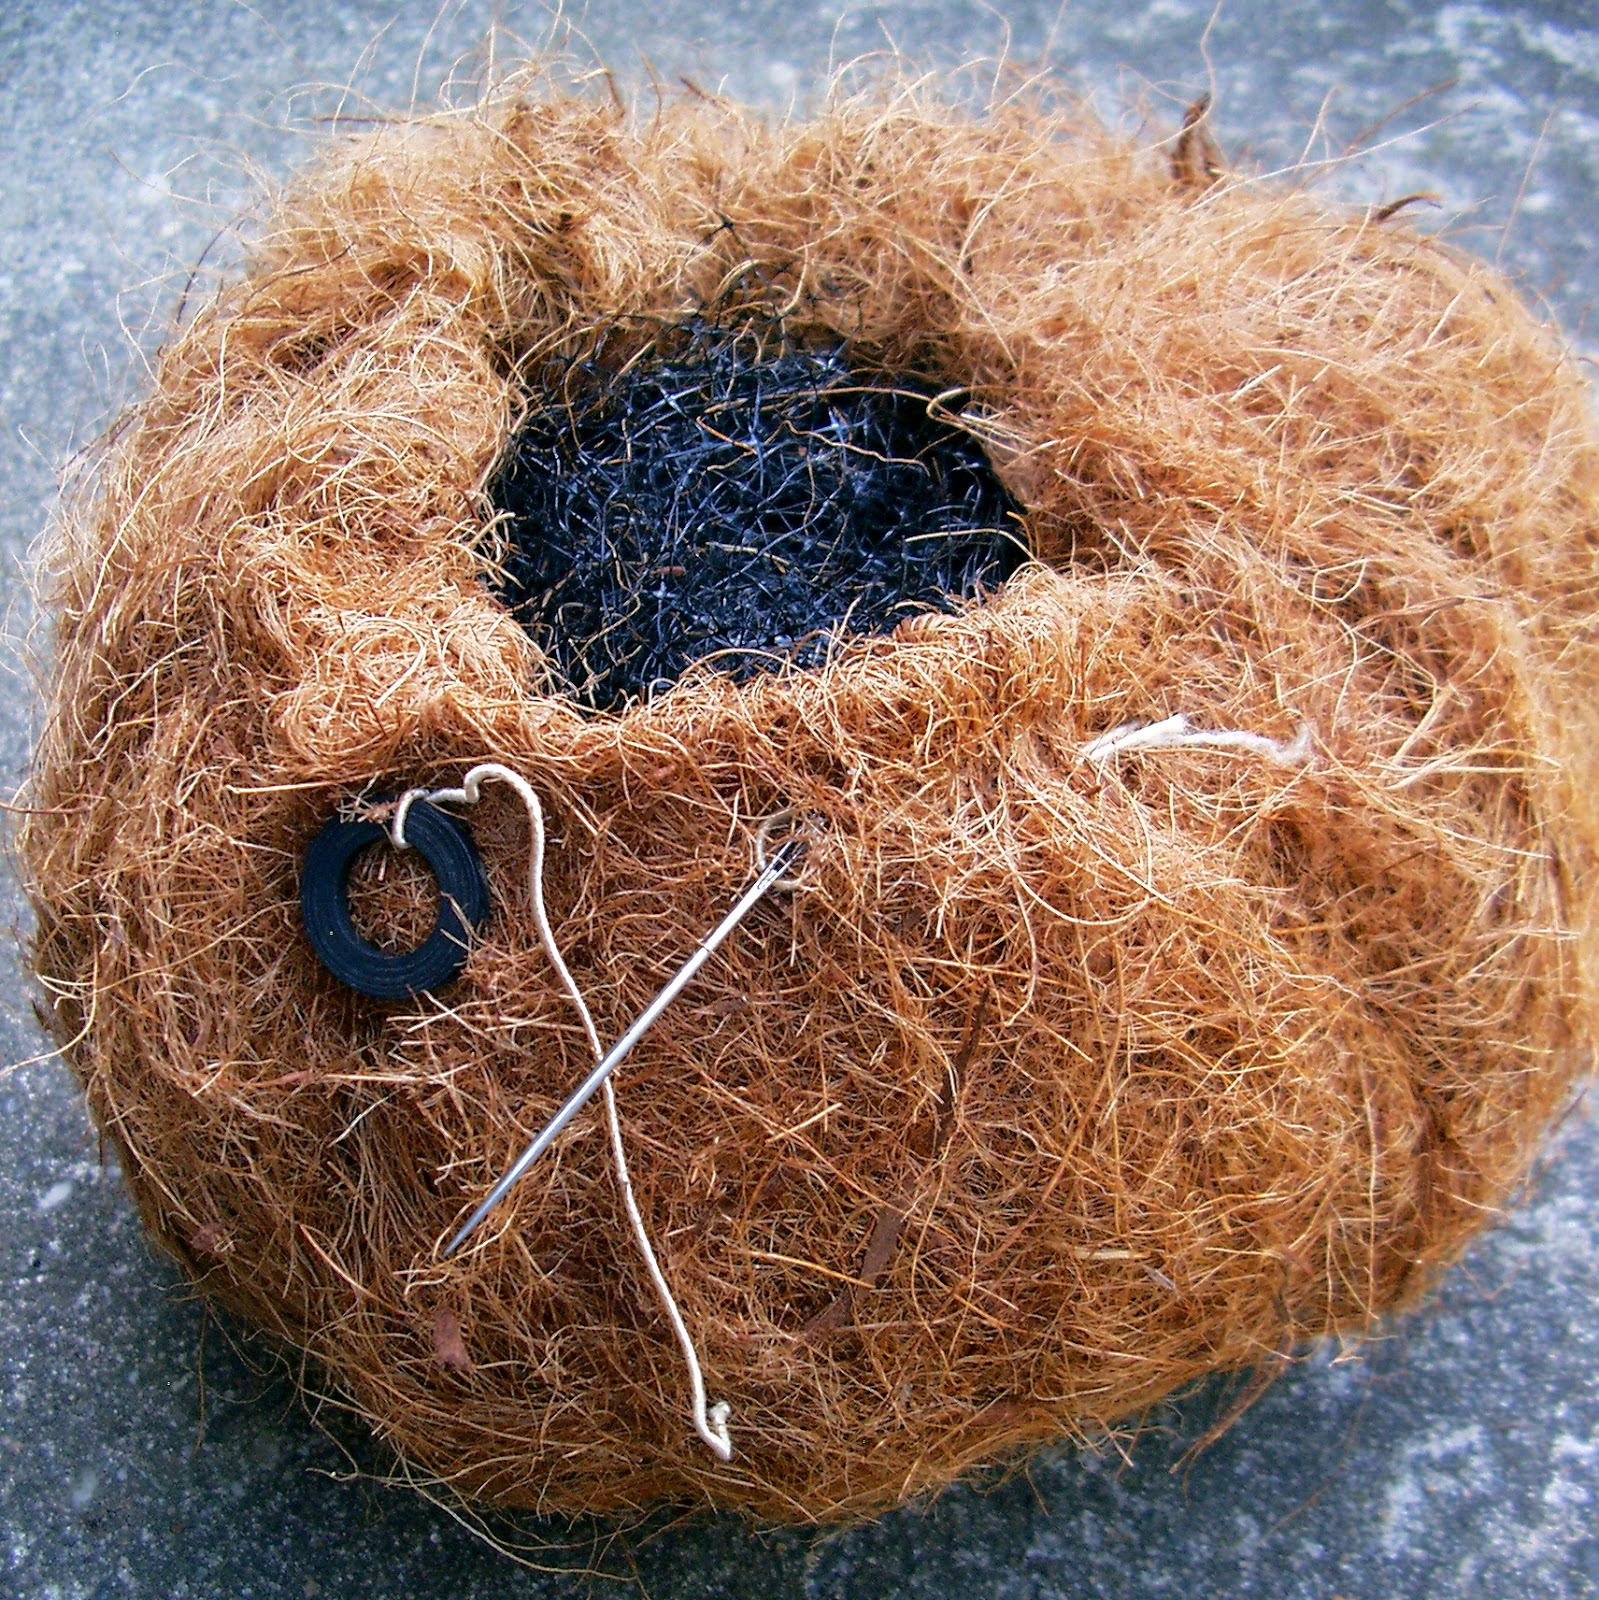
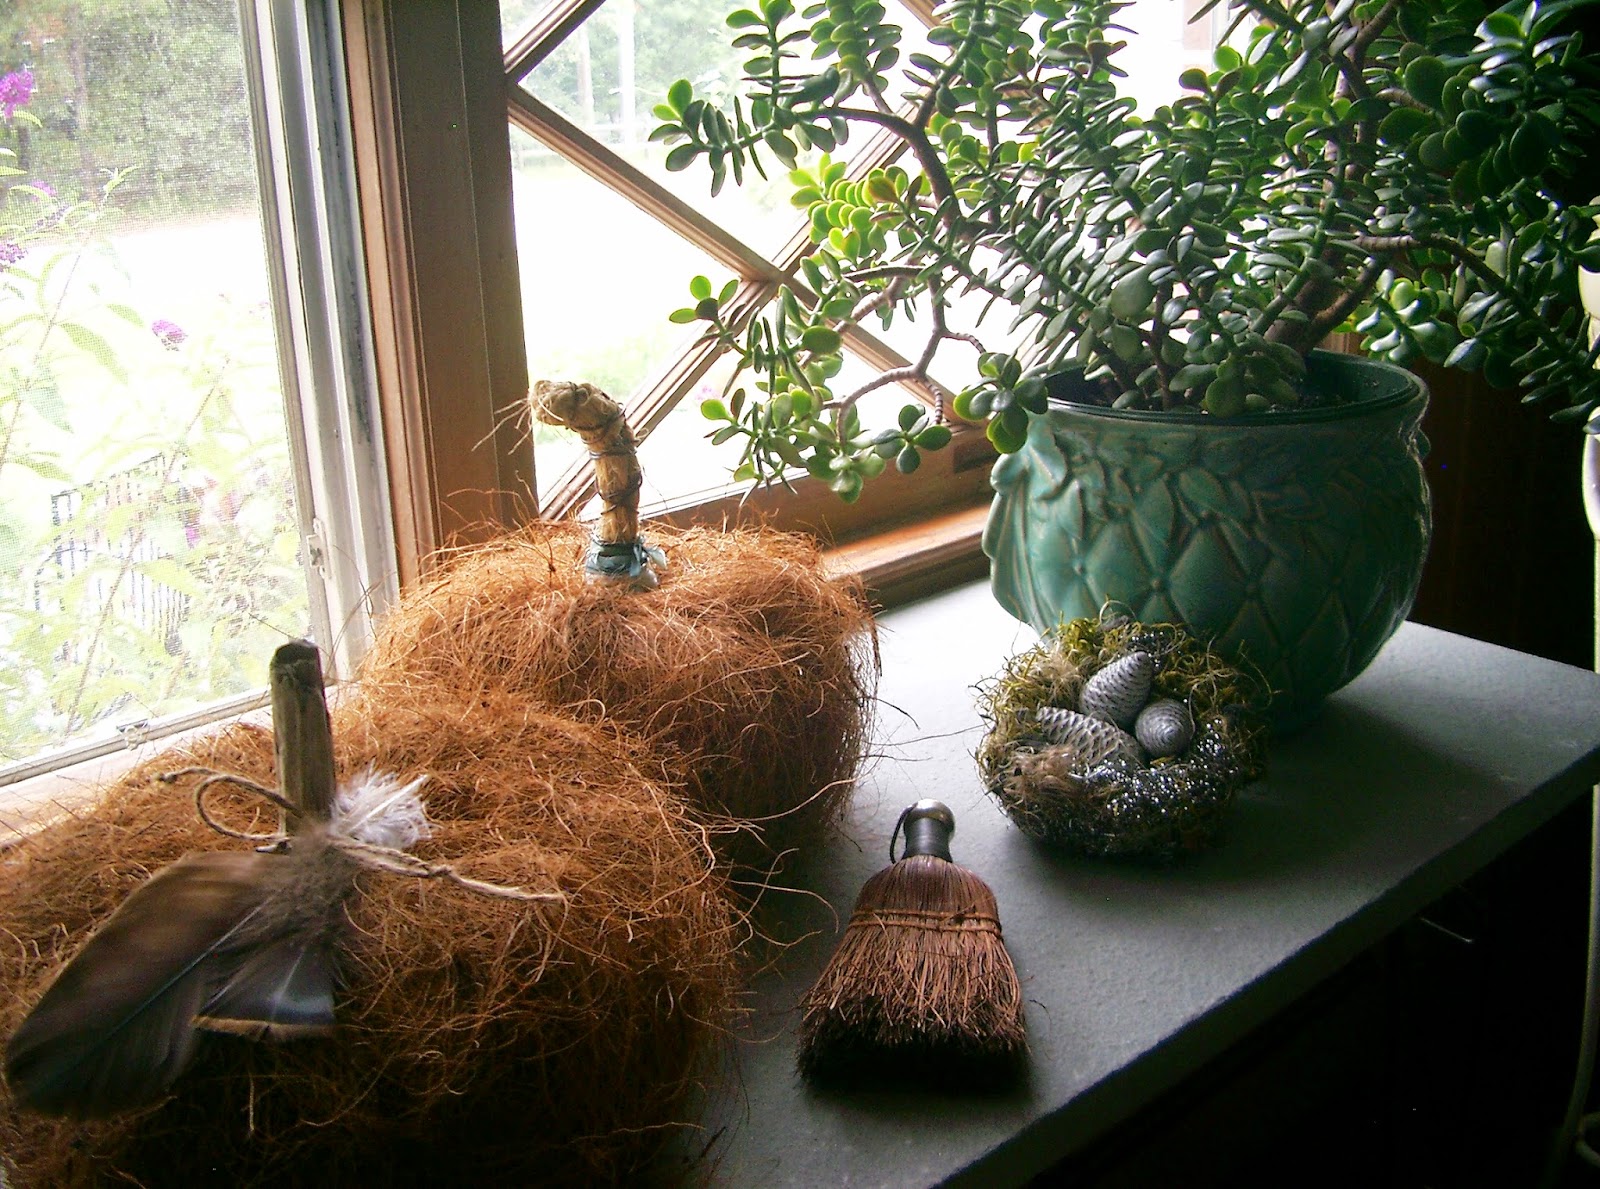
Now, cinch it up as tight as you can, remove the washer and tie the twine ends together. Grab your stem, which could be a branch, an actual pumpkin stem, one formed and shaped out of wire….. (basically, whatever floats your boat) and stuff it where it belongs. You’re done! Painless. Absolutely painless. The decorative part is up to you. I happen to appreciate a simple, natural and rustic look, but you may want to push your embellishing ways over the edge.
 |
| ©Linda Nelson 2014 |
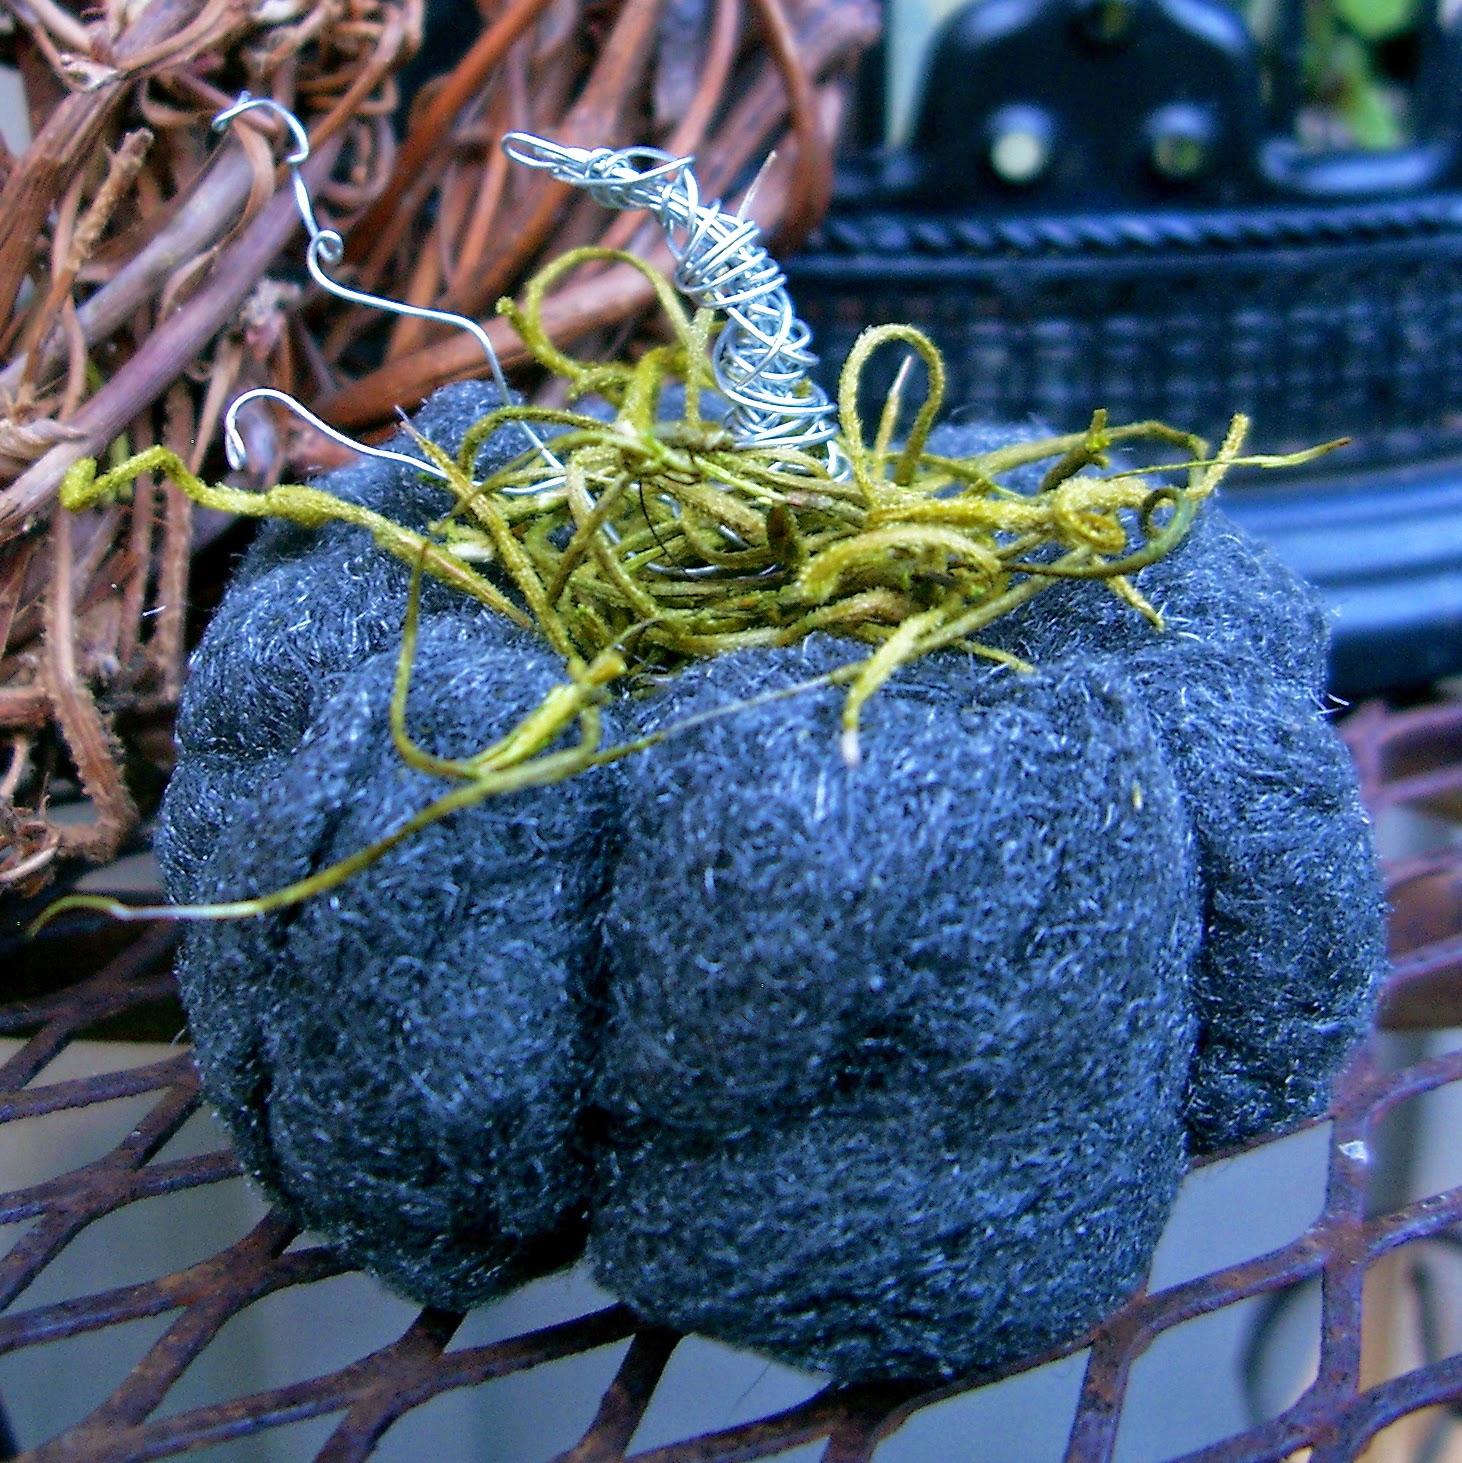
There you have it.
Now, get creative.
MAKE THIS PUMPKIN! Read More »