Have I got a few resourceful, rustic and simple to make little pumpkins for you. Today’s post features not your little kiddy’s paper bag pumpkin, but a rustic, yet sophisticated lady’s paper pumpkin. The neighboring ones in this photo will be showcased in tutorial posts to follow.
 |
| ©Linda Nelson 2014 |
You likey? Well, here’s what you do –
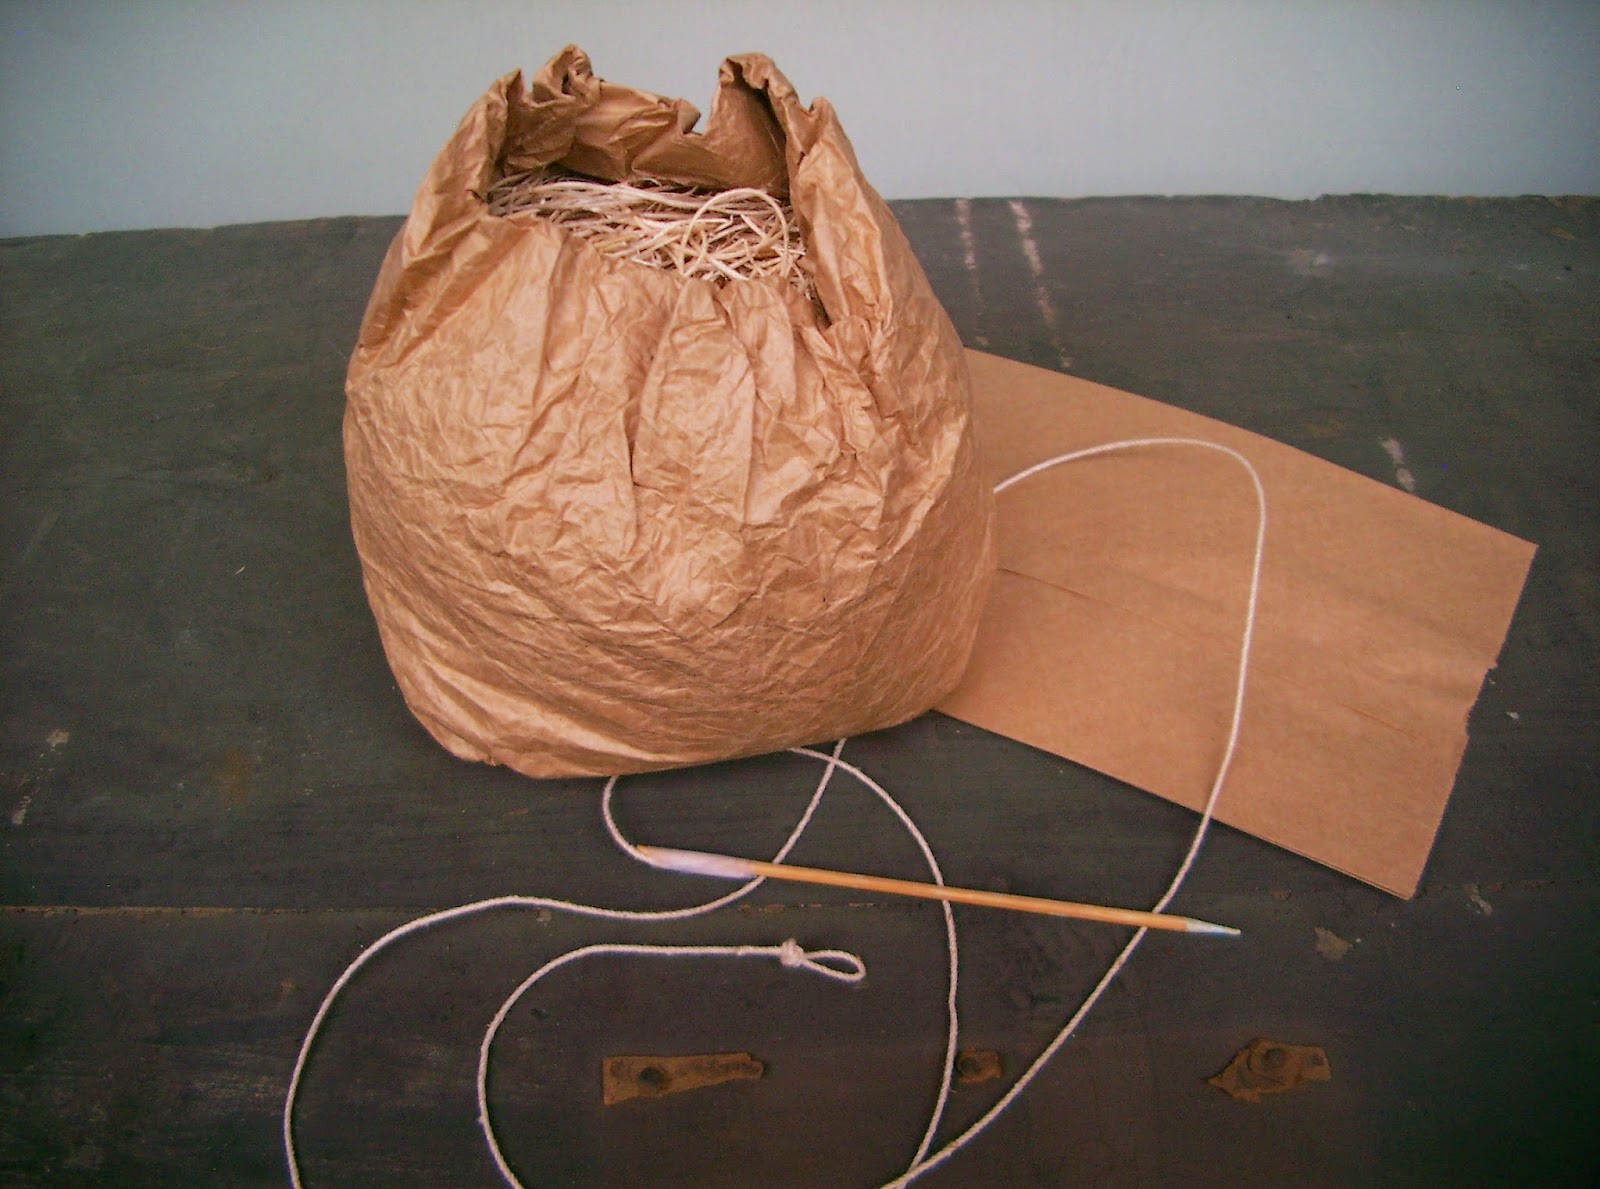
Crumple and scrunch a lunch paper bag until it’s wrinkly and soft to the touch, taking care not to tear it. Stuff the bag (pack it somewhat densely) just over half full with shredded paper, pillow stuffing, or something similar. Create an inward facing rolled cuff with the top half of the bag, rolling until you meet up with the stuffed half.
 |
| ©Linda Nelson 2014 |
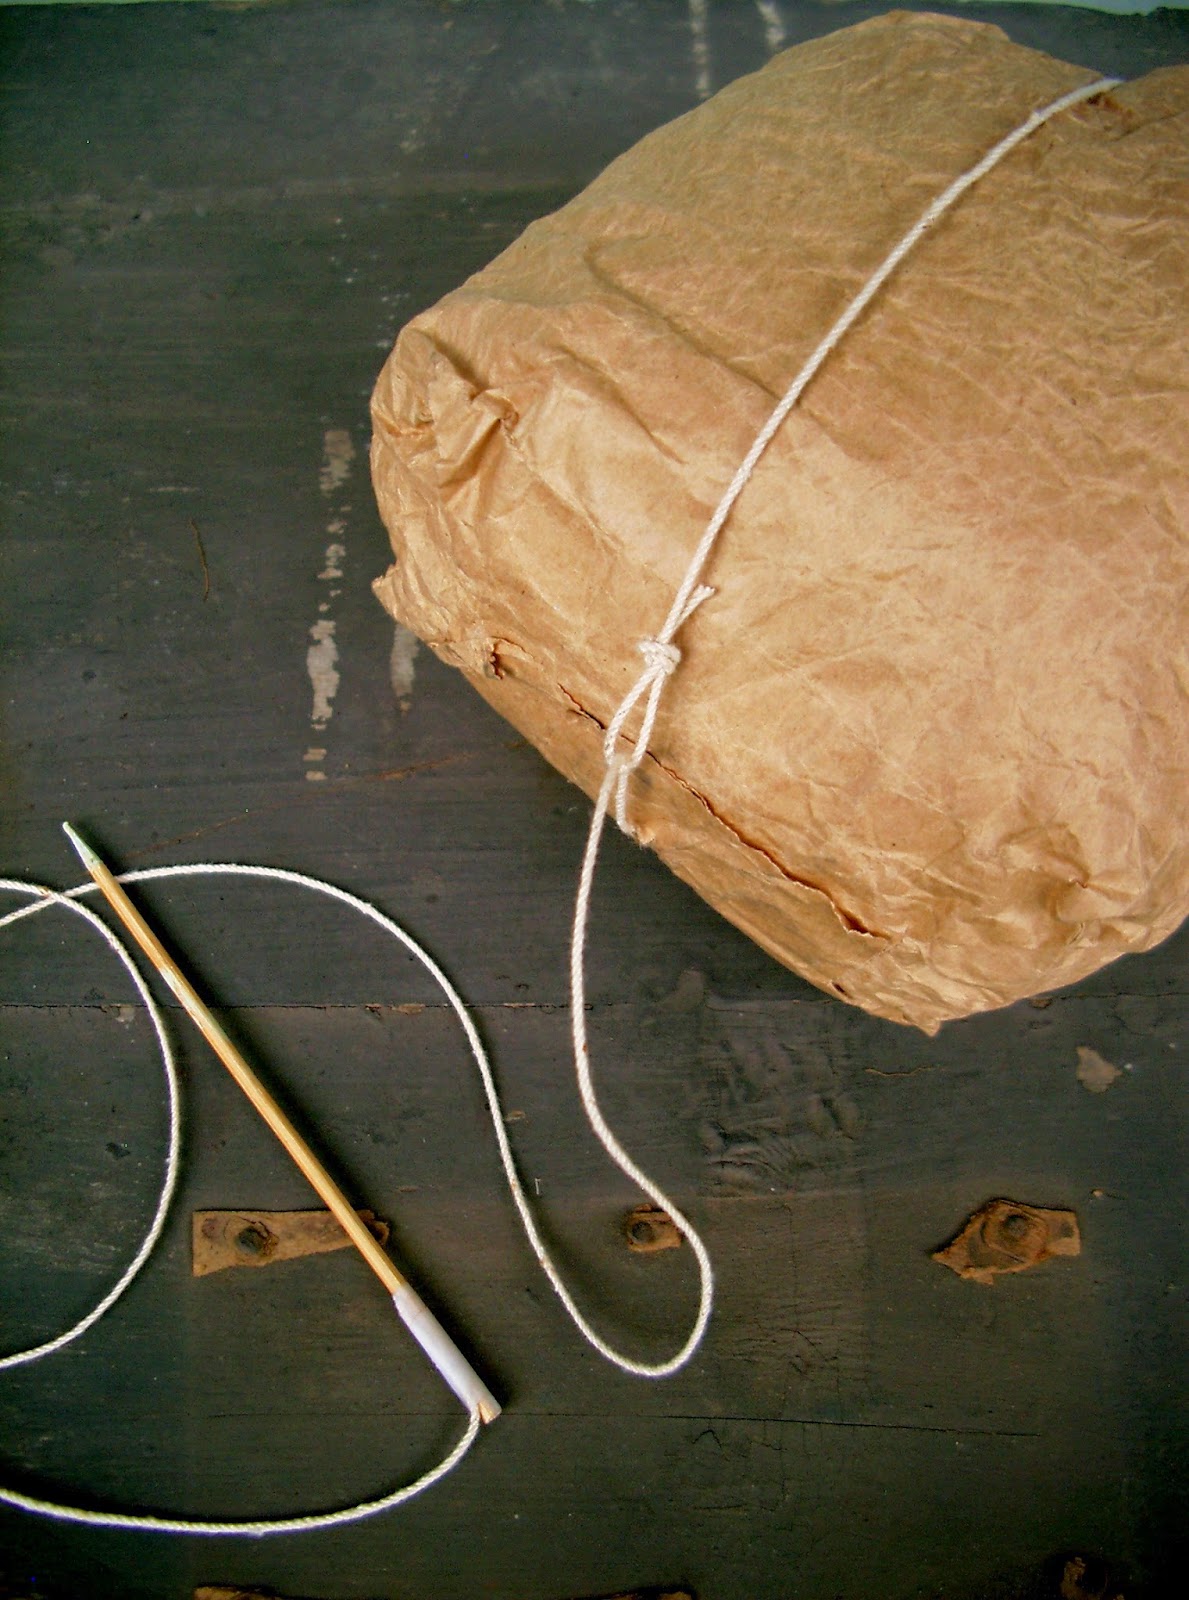
Take a 5 ft. piece of twine and make a loop knot at one end; tape the other end to a bamboo skewer. The skewer is your “needle”. Pass the skewer down the center of the bag, carefully piercing through the center of the bottom of the bag.
 |
| ©Linda Nelson 2014 |
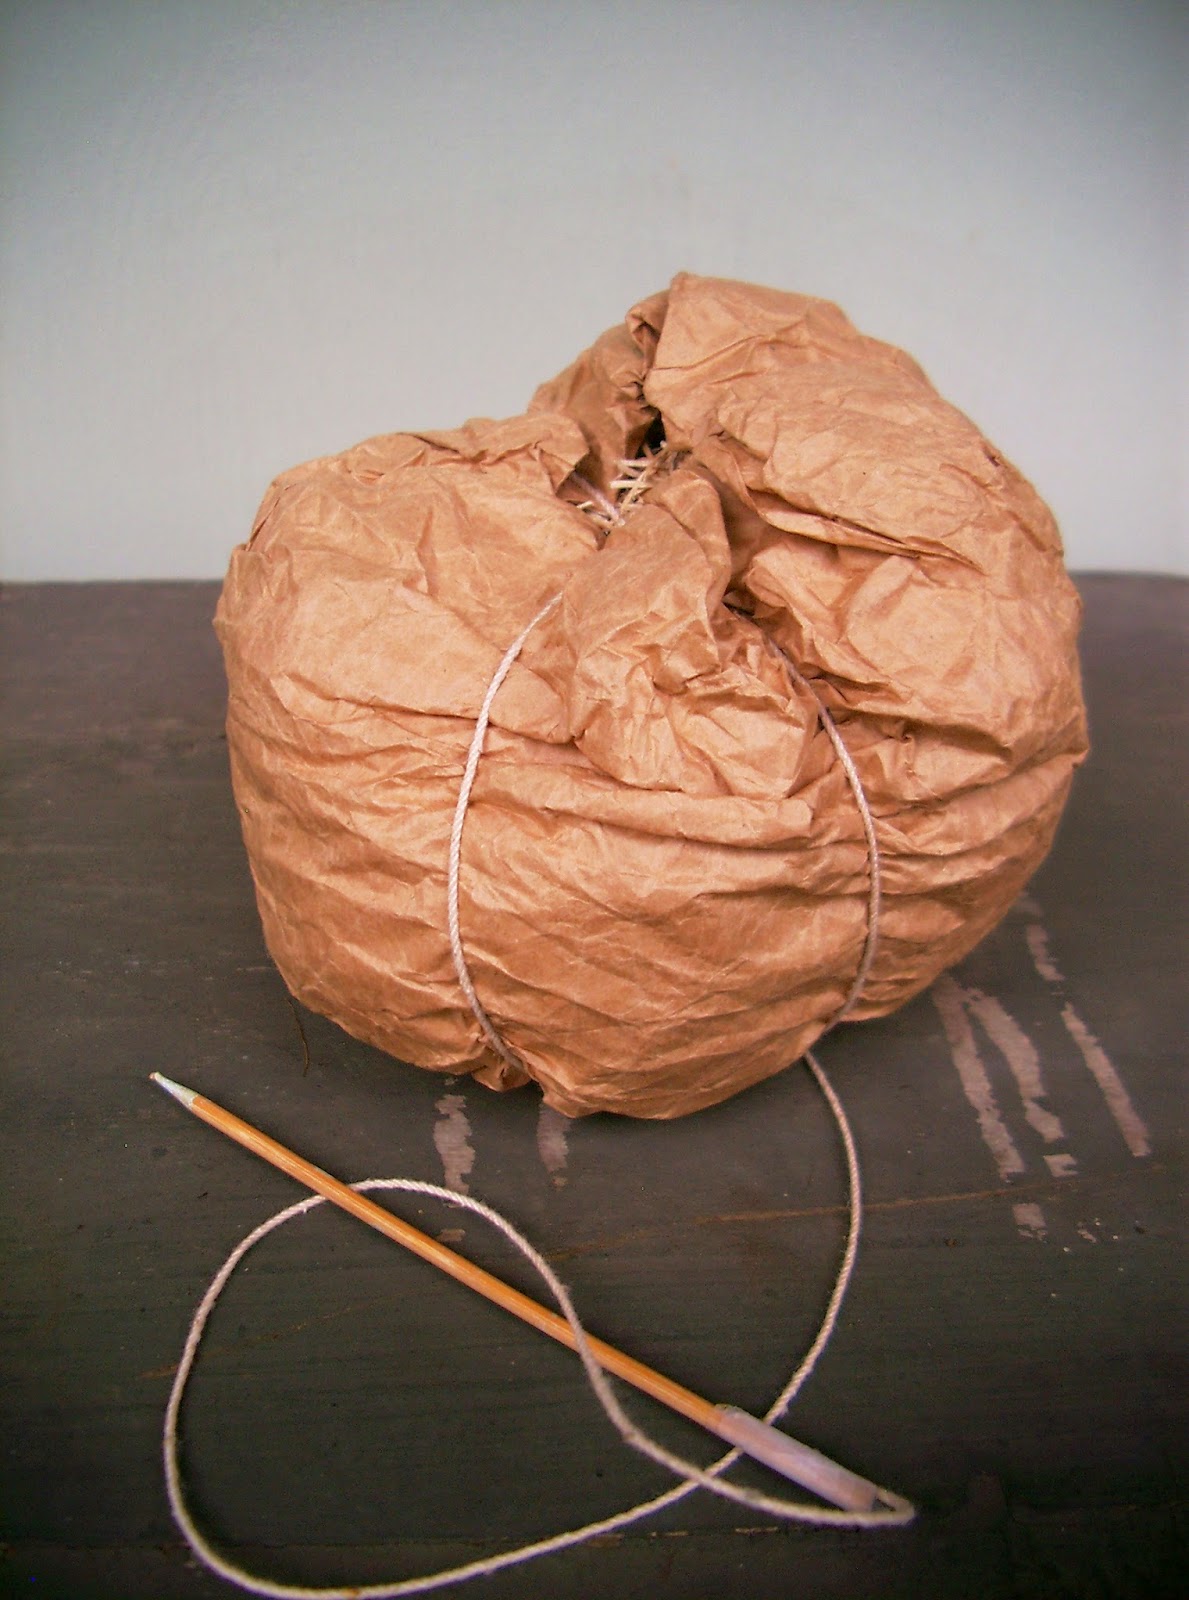
Pass the skewer through the loop knot, then tug the twine to create your first pumpkin groove. Continue around until you have six evenly spaced grooves with just the right amount of tension to give the pumpkin its characteristic shape.
 |
| ©Linda Nelson 2014 |
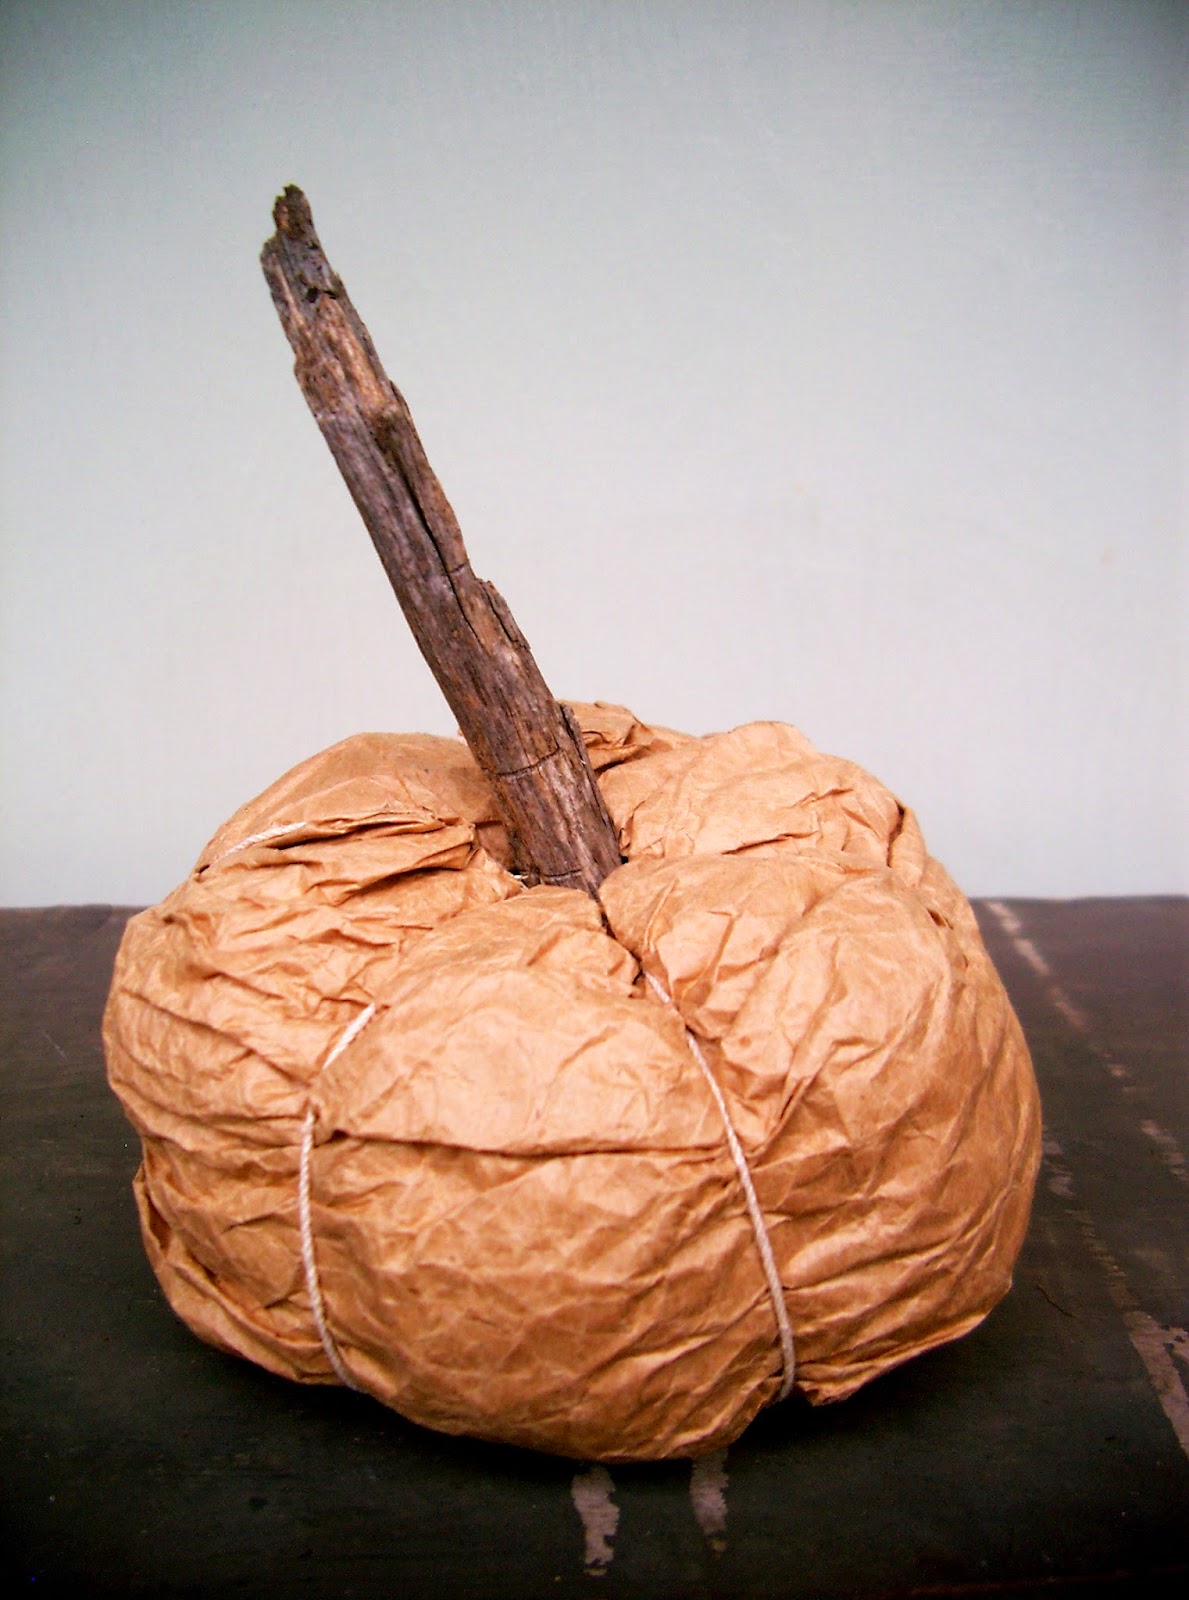
Securely tie the twine off at the bottom of the pumpkin. Find or make a stem, then glue it into position. You may be able to forego glueing the stem on if it is long enough to be gently twisted and nestled in.
 |
| ©Linda Nelson 2014 |
Add your embellishments, then place your newly created pumpkin among the other fabulous, decorative things around your home.
There you have it.
Now, get creative. And, do stay tuned for some more pumpkin making tutorials!

un'idea semplice ma di grande effetto, mi piace moltissimo!
lori
Grazie, Allegra!
this is so cool and i just happen to have a stack of lunch bags right next to me thanks xx
Well, thank you, monkey.
Oh I love this!! Now I will have to find a lunch bag some where. I am visiting from the Fantabulous Fall Favorites Blog Hop and pinning this to our board.
Thank you, Tammy. Enjoy making them. Thank you for spreading the word and sharing the fun.