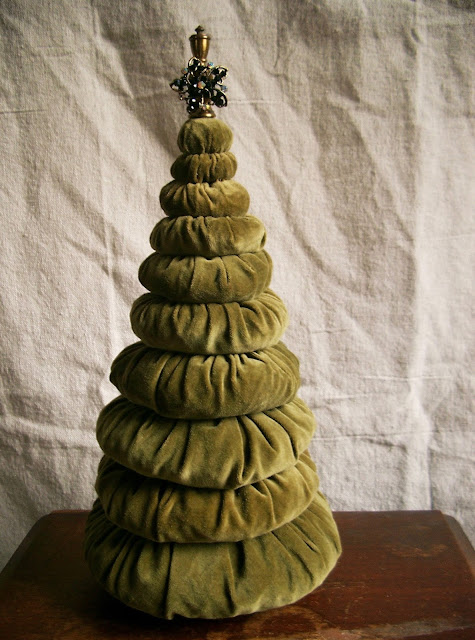
My sister had been doing some clutter purging, and passed a few fabric remnants on to me when I spent Thanksgiving at her home. I’m a sucker for handouts like that. A few days later my mom mentioned to me that she had a box of trim, lace and sewing notions stashed away in a closet, and asked if I was interested in the stuff. Yes, mom. Oh my……. I’ll need to prepare quite a bit for this future post because opening that box led to opening other boxes, and to opening up a running stitch of memories. And, I can’t wait to share those memories with you!
Anyway, I’ve decided that I’m going to return some of the fabric to my sister. Yep, I’m going to “gift” the piece of olive green velvet fabric back to her……. for Christmas.
 |
| ©Linda Nelson 2016 |
If you’d like to make a stuffed yo-yo Christmas tree, you will need –
- a sister who’s getting rid of about 1/2 yard of fabric
- button thread (it’s much more durable than regular thread)
- a needle
- round templates in graduating sizes (I used pot lids dishes, etc…)
- beanbag fill (rabbit/guinea pig bedding shavings would also work!)
- a dowel or metal rod about 3/8″diam. (the length depends on how tall you make your tree)
- a small pair of pointy scissors
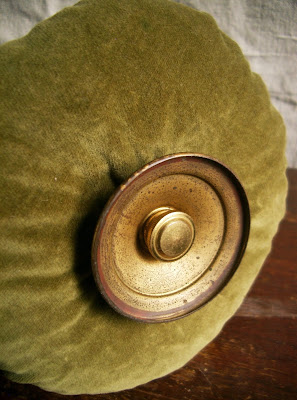
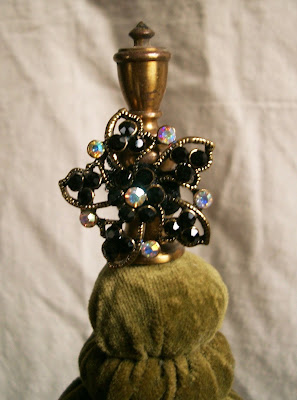
- tree base and tree topper (*see note)
 |
| ©Linda Nelson 2016 |
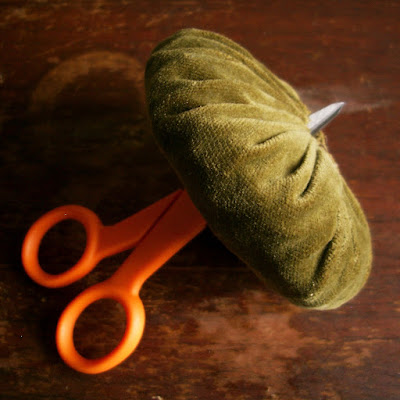
Stitch, stuff, cinch and tie off all your yo-yo’s. Using the pointed end of the scissors, poke a hole through the center of each yo-yo making sure the hole is wide enough to feed the dowel/rod through. Feed all the yo-yos onto the rod (cinched side facing up). Now, it’s time to add your topper and base, though I must let you in on a little secret –
 |
| ©Linda Nelson 2016 |
 |
| ©Linda Nelson 2016 |

LOVE, LOVE, LOVE this tree!!!! I am so looking for green velvet now…
You have to make one! And, I'm sure you must have some old lamp parts stashed somewhere 🙂
How wonderful! Your tree conjurs up all kinds of lovely vintage memories, especially with the use of the velvet. I have a bunch of lamp parts that I just took apart awaiting a new life. Thanks so much for the inspiration! Pinning!
Yay!….you save lamp parts, too. I'm glad this tree inspired you, Lucy. Have fun making one 🙂
The green velvet tree looks so festive and how clever that you've repurposed that fabric in such a beautiful way!! Thank you for sharing at Sweet Inspiration this week!
Thank you for you kind comment and for hosting the Sweet Inspirations parties, Katrin.
Oh my gosh, I have sooooo many lamp parts in this house 😉 I love the idea and the end result is really stunning. Thanks for sharing with us at Funtastic Friday!
I'm glad you like them and so happy to hear that you collect lamp parts, too. Thanks for hosting Funtastic Fridays.
Wow, what a great idea, I love how you used an old lamp and topped it with beautiful Jewely. Thanks for liking it up to Waste Not Wednesday!
Thank you, Toni, and thanks for hosting 🙂
I love this tree and the fact that it is made from fabric remnants. It reminds me of my pumpkins made from a chenille bedspread. Thanks for sharing with the Waste Not Wednesday Link Party.
Thank you for hosting and checking out my "sister's" yo-yo tree, Denise.
What a fabulous idea! I love that you have repurposed from fabric remnants 🙂
What an absolutely stunning tree! Love!
Thank you, Sam. Great party; a nice collection of creative talent shared.
Thank you, Mary, and thank you for hosting.
I'm crushing on your velvet Christmnas tree Linda 😉 Such an unusual and stunning idea. Your sister is going to love it
Thank you, Michelle!
Original and gorgeous, lovely!!!
XoXo
Thank you, Carmen!
For those of us (ME MAINLY) how do you make the yo-yos for this tree?
Hi Charlotte, Thank you for visiting my blog. The directions are pretty much stated in the post. You could also google ” how to make a fabric yo-yo” and I’m sure many videos will pop up. For the tree, you would just need to cut the circles in graduating sizes. Good Luck! Linda
Love, love this idea !!!