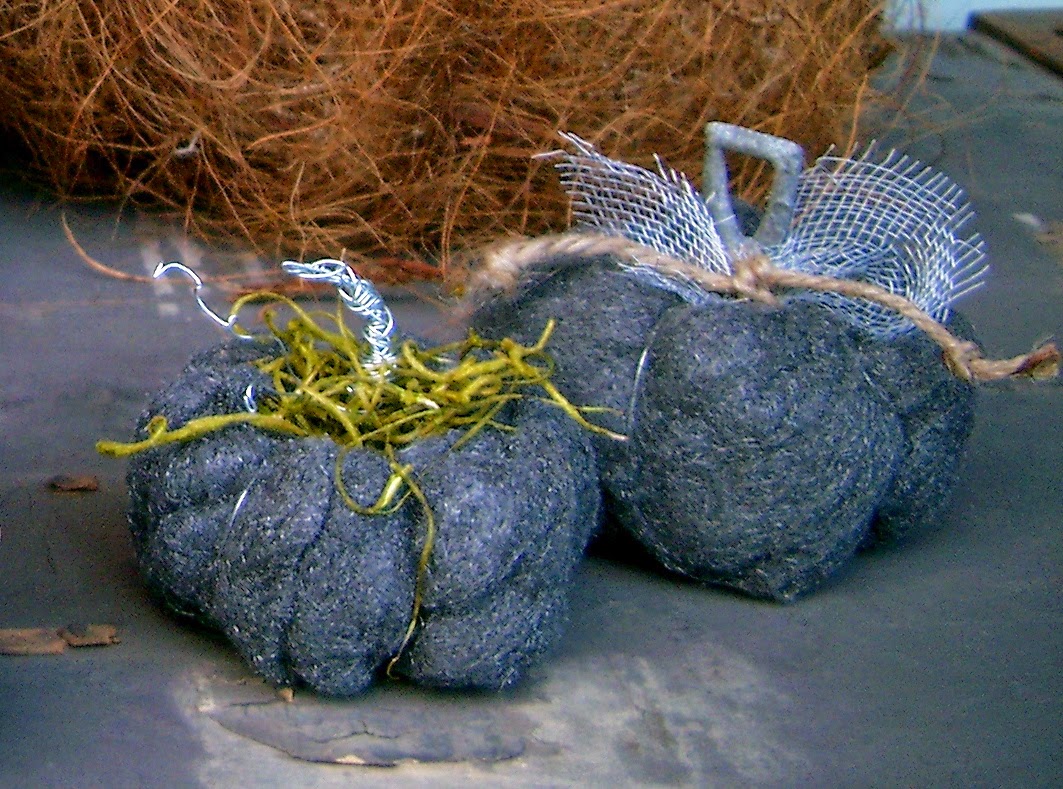
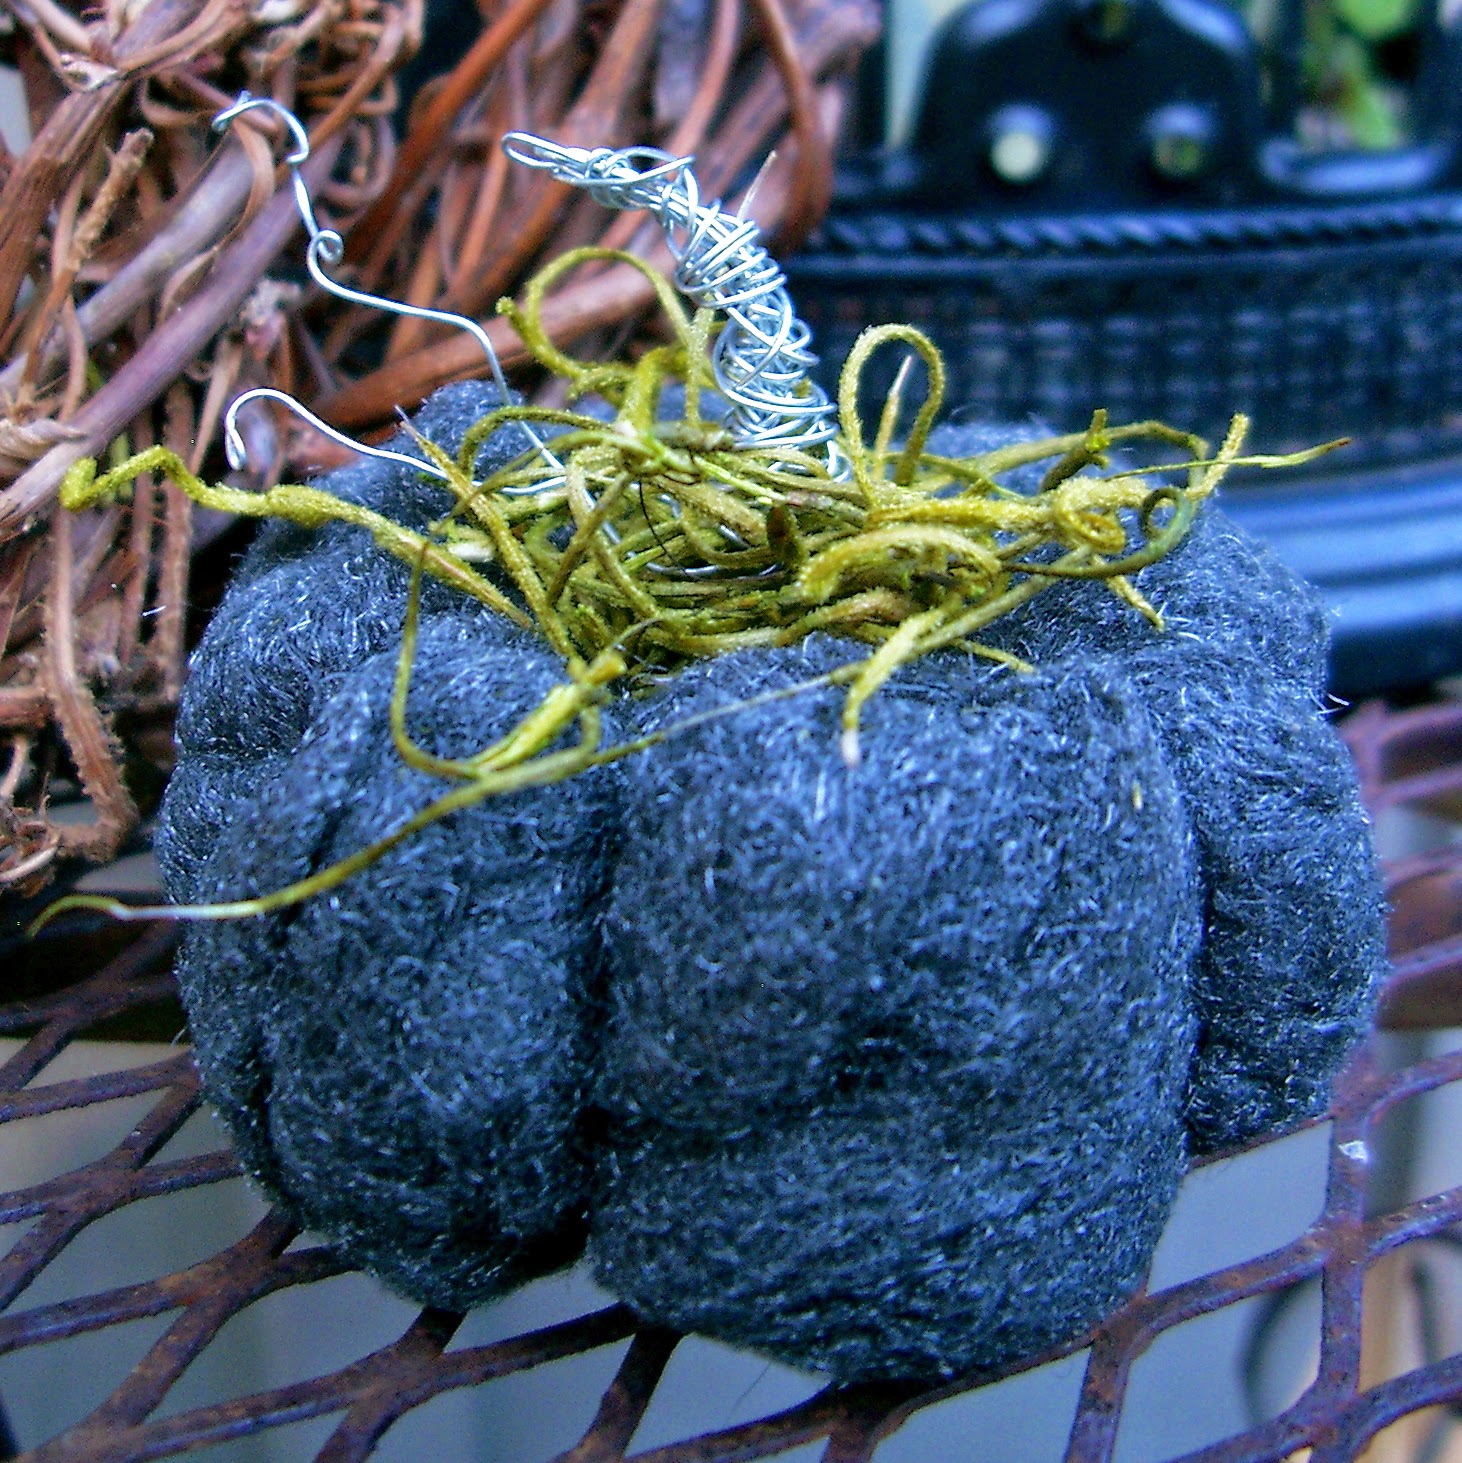
I present to you, the palm-sized shop room pumpkin – “made for a man, yet still decorative enough for a woman”.
 |
| ©Linda Nelson 2014 |
To make one, here’s what you do –
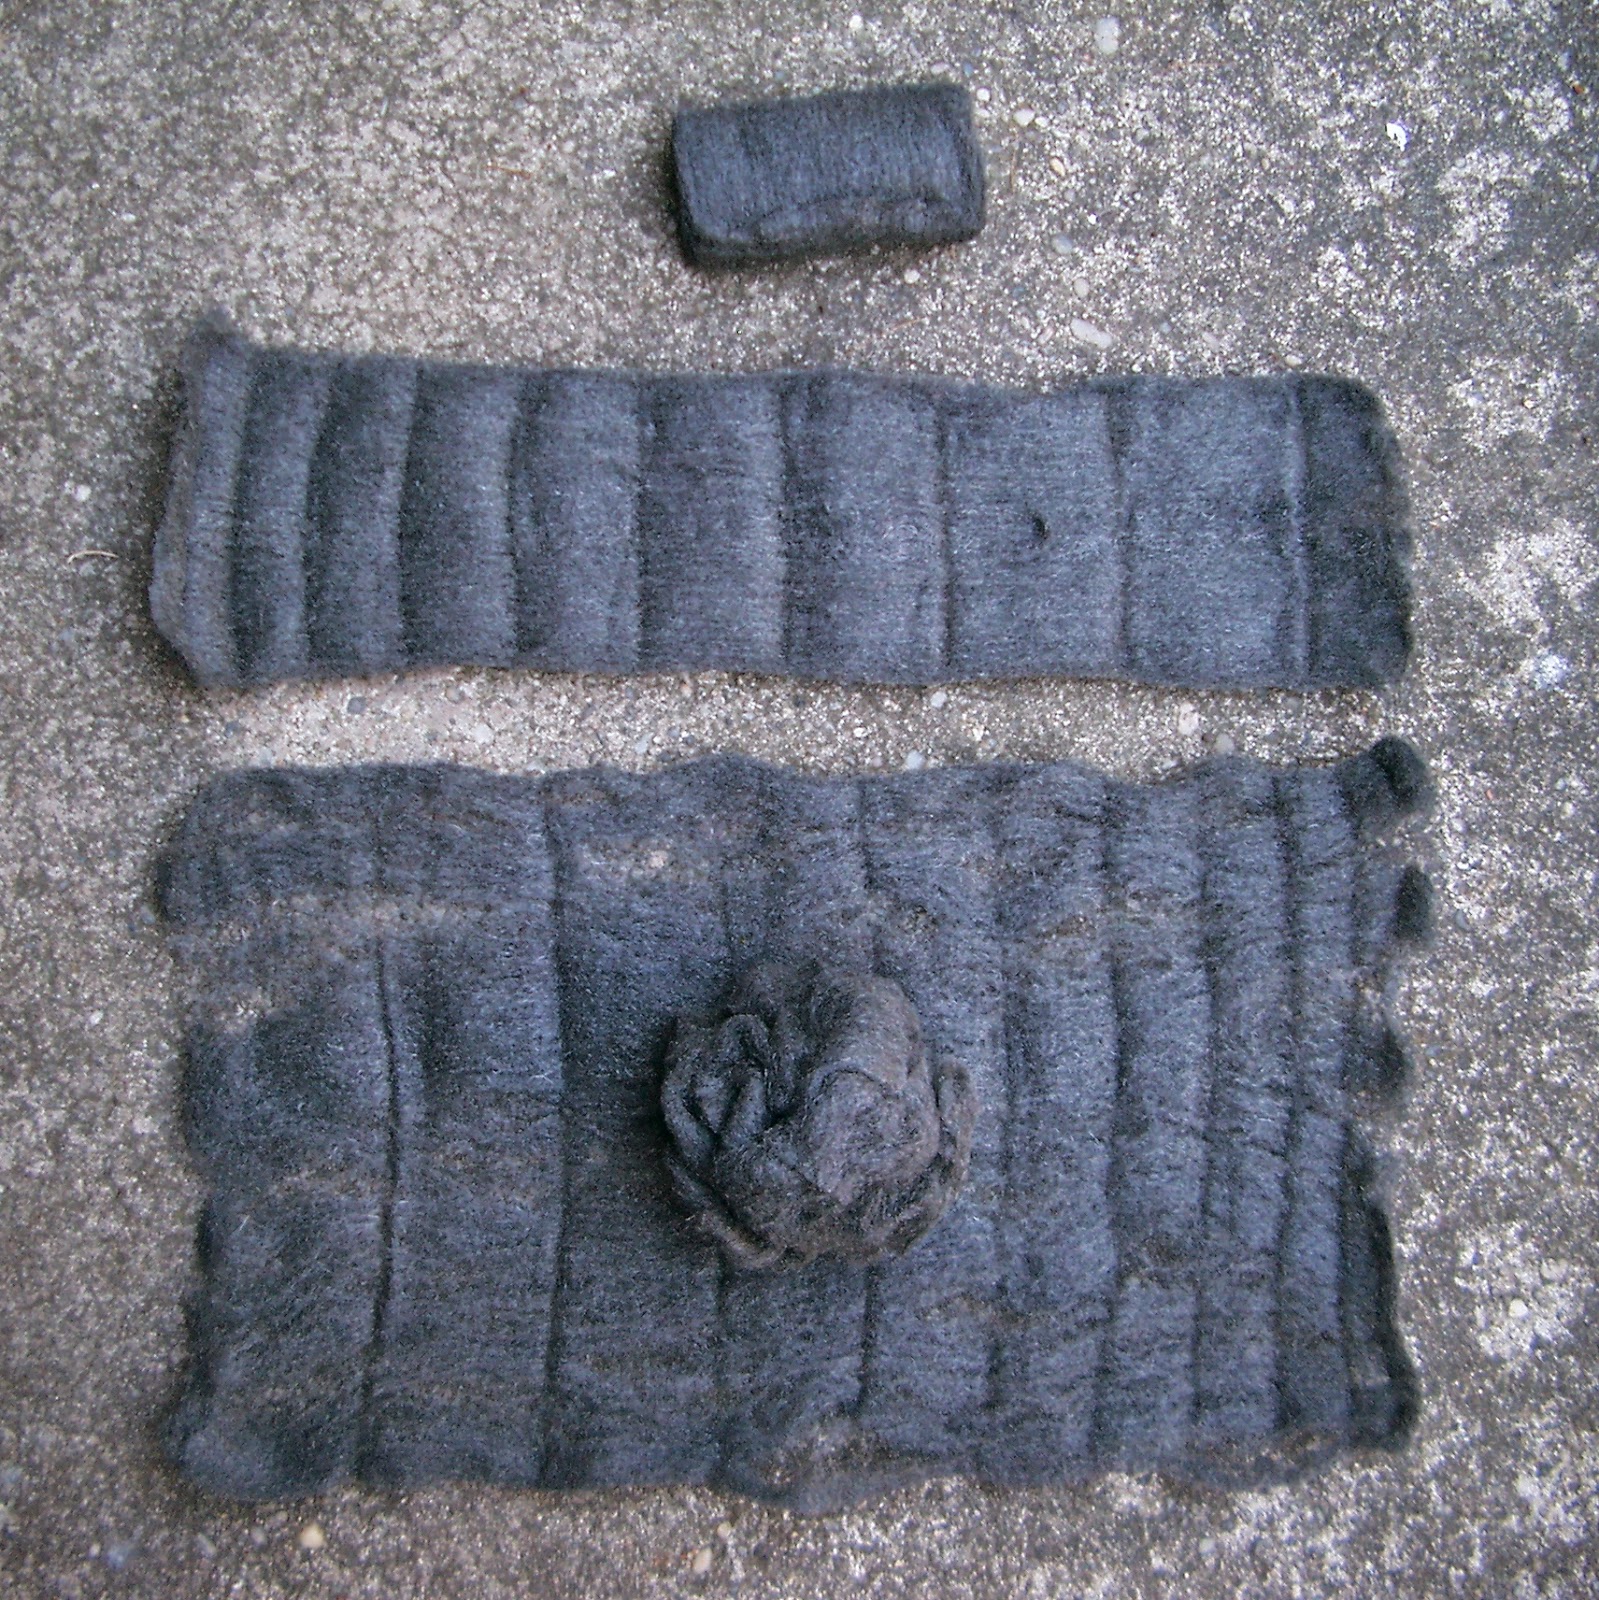
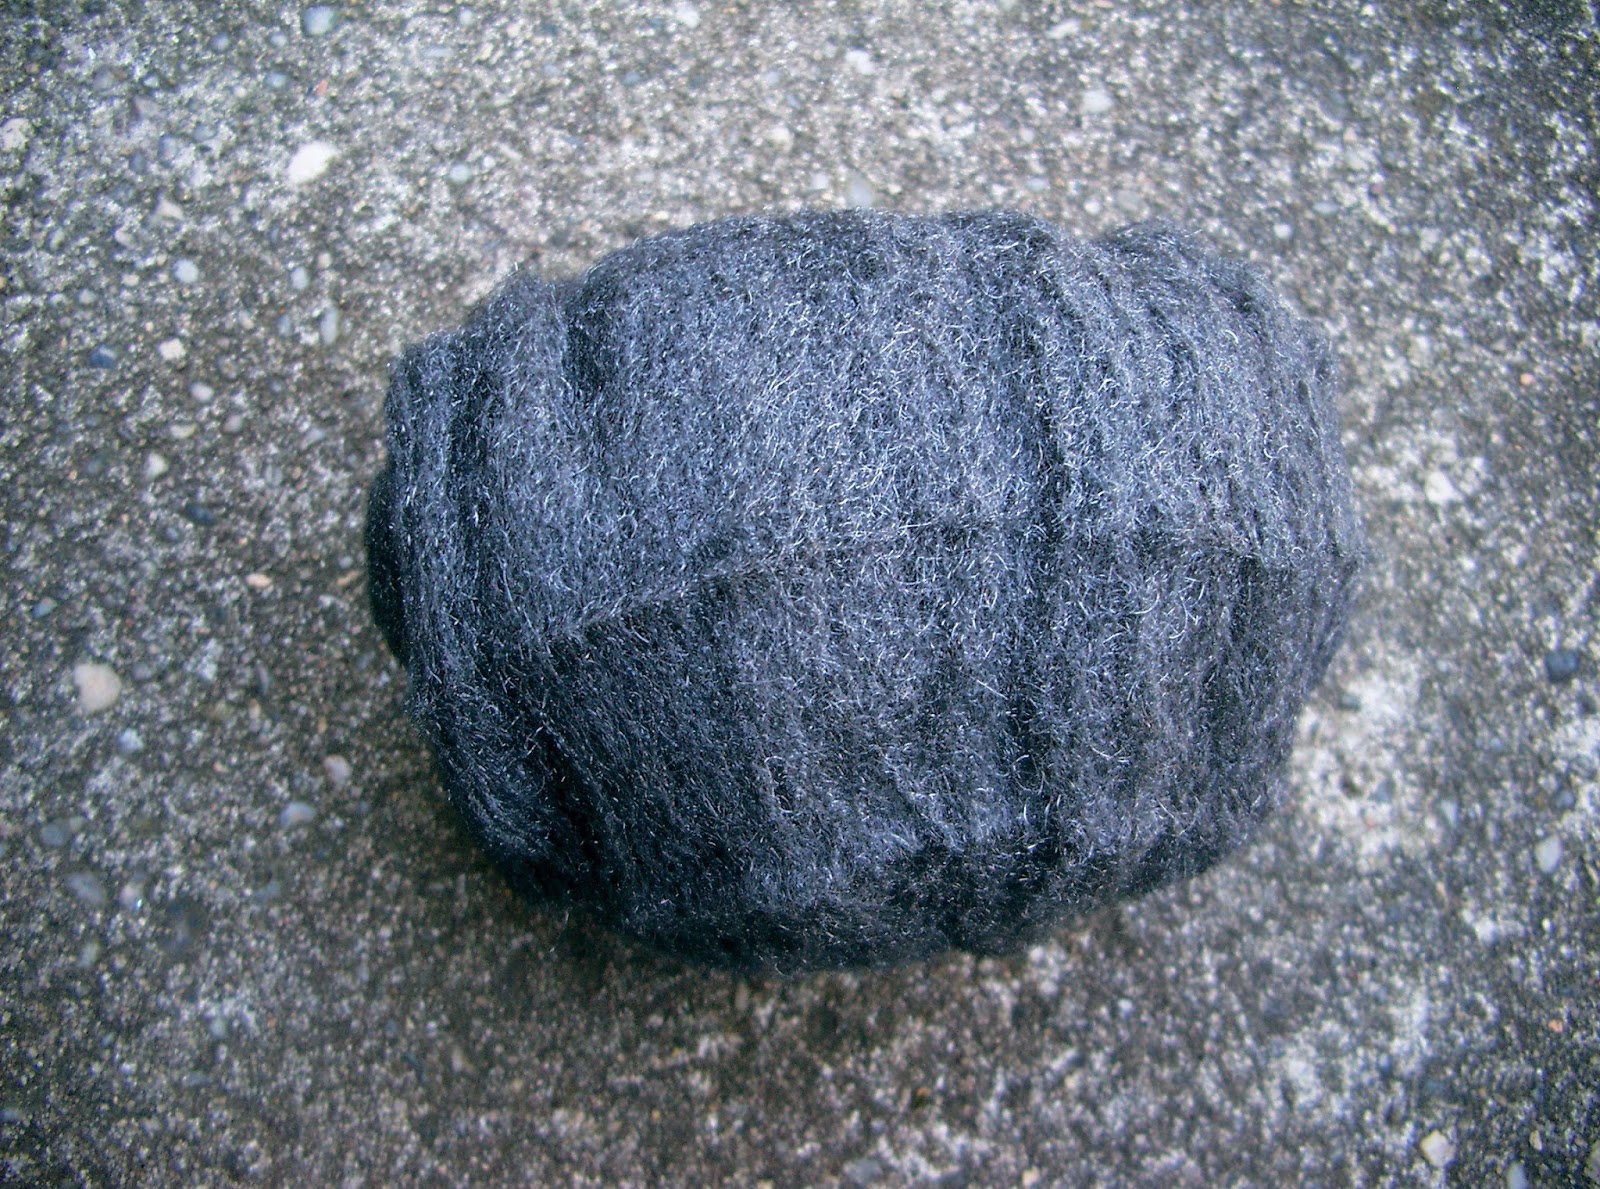
Unroll two wads of #000 extra fine steel wool(sold in packages at any hardware store) and gently stretch their fibers lengthwise and widthwise to make two very thin sheets. Roll one sheet up into a ball; use the other sheet to cover over it to make it larger. Gently cup it in your palm and shape it into a nice ball.
 |
| ©Linda Nelson 2014 |
 |
| ©LInda Nelson 2014 |
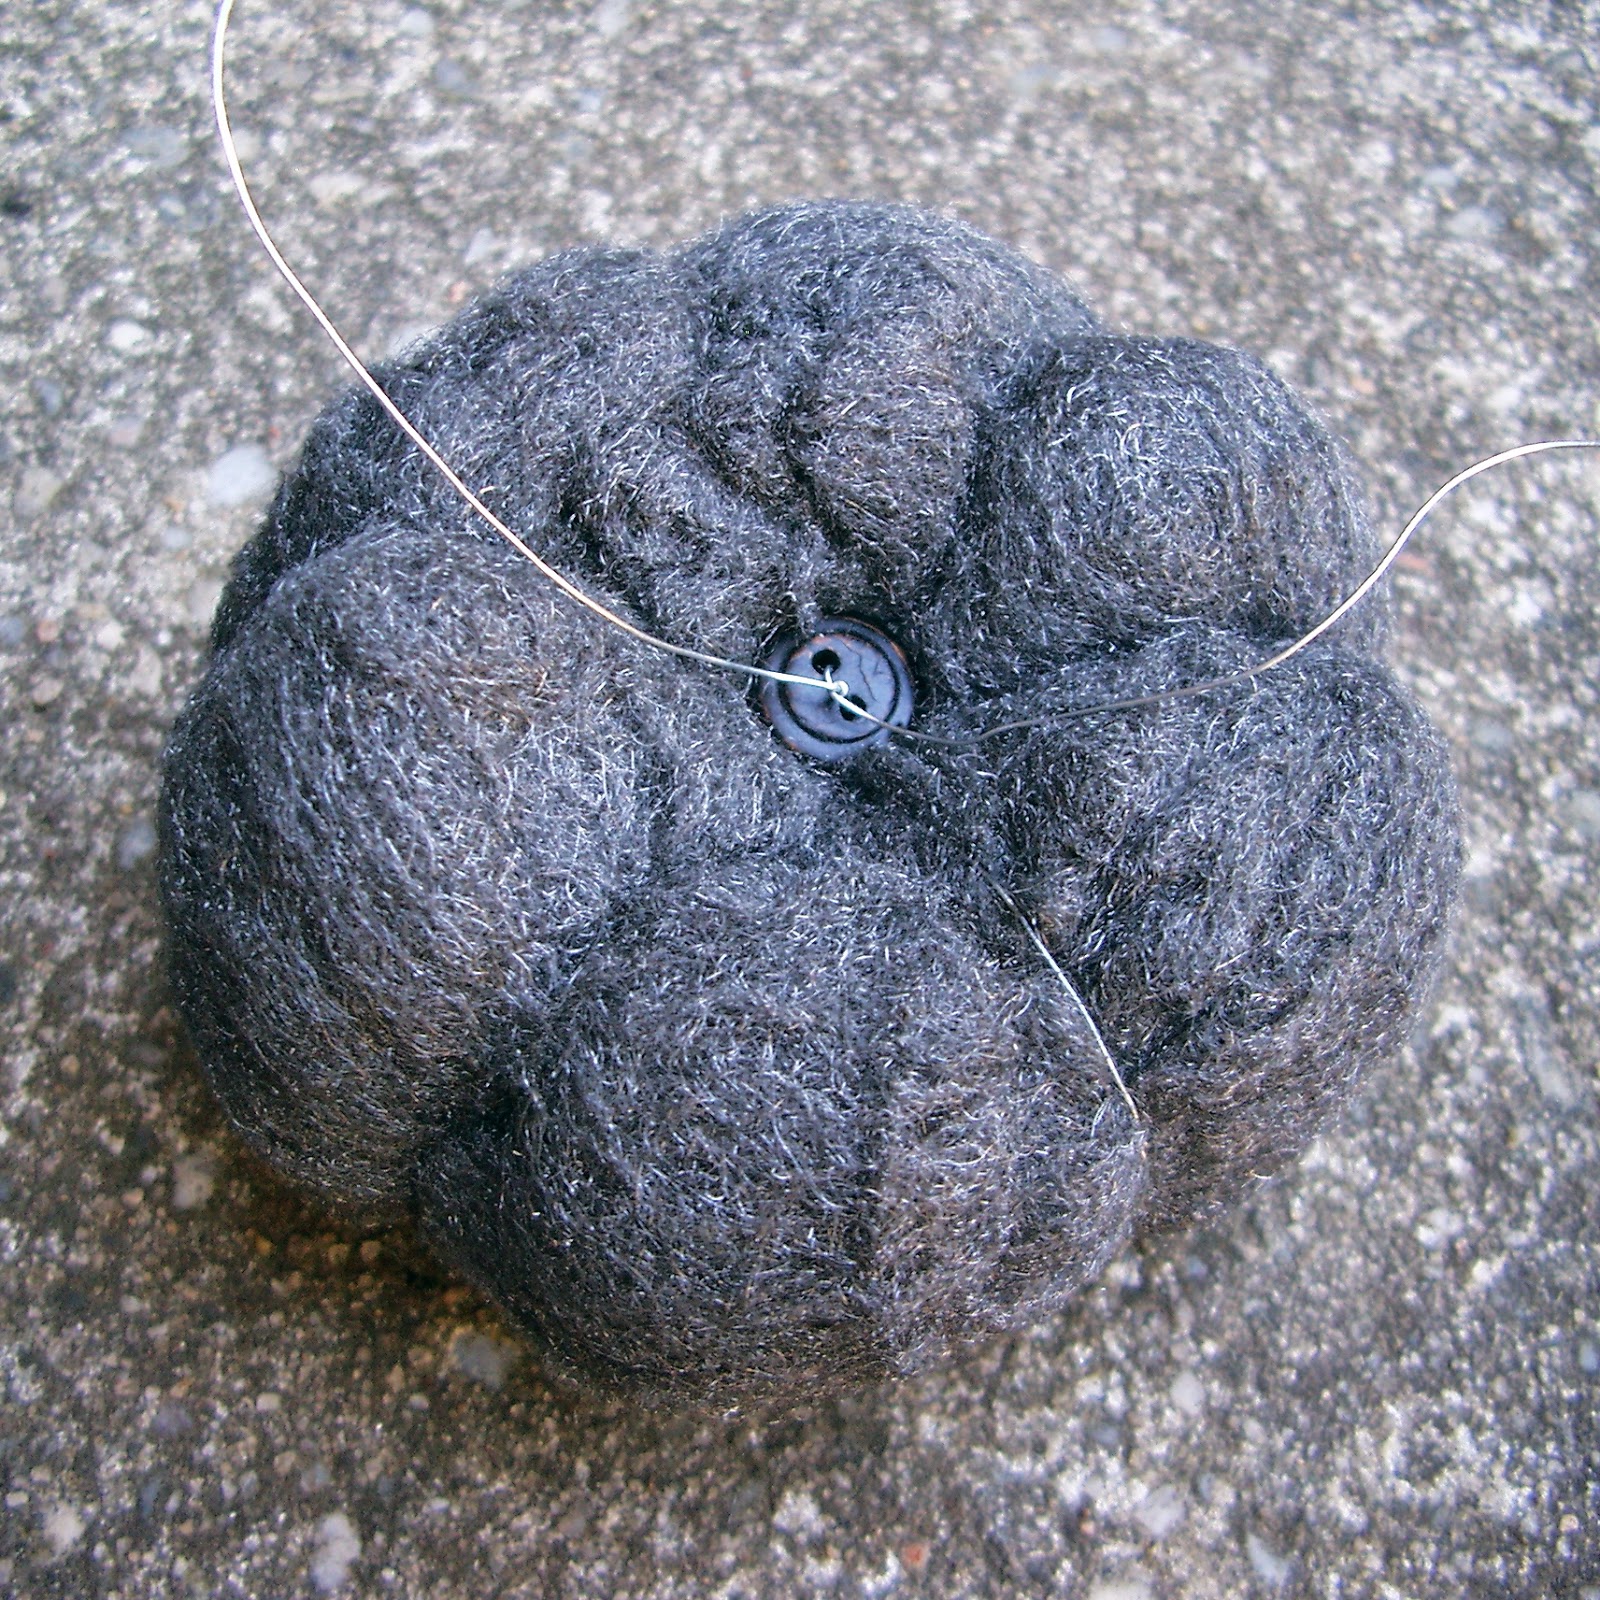
Using a 3 1/2 ft. piece of florist’s wire and a tapestry needle, create your pumpkin grooves. To do this, feed the wire down the center, then come up on the outside, feed the wire down the center again, then come up on the outside a little bit further away from the previous section, and continue until you have created six sections. Remember to leave about a 6 inch tail of wire; you’ll twist it together with the other end when you’re done with this step. Maintain an equal tension with all groove sections. Stick the wire ends into a tiny two-hole button, then twist to secure. The button step isn’t absolutely necessary; twisting the wire ends together is probably sufficient enough. Snip off the excess wire ends or leave them intact to use as curlicue tendrils.
 |
| ©Linda Nelson 2014 |
The remaining steps for making this pumpkin are open to your imagination. Glam this pumpkin up, take it down an industrial route or anywhere in between.
 |
| ©Linda Nelson 2014 |
 |
| ©Linda Nelson 2014 |
To make a smaller pumpkin, use only one sheet and simply roll it up into a ball, then proceed as directed.
There you have it.

Linda, this is another great Faux Pumpkin tutorial. I love it… (and it seems you have conquered 'Blogger' link-adding challenges too!) Congrads! Have a great day. Thanks for linking up and linking back to the party.
Thank you, Rose. Yes, every day is an opportunity to conquer AND create.